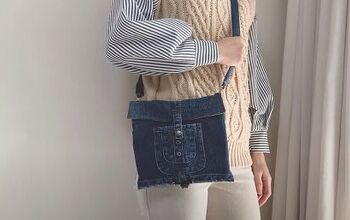
How to Make a Stylish Upcycled Shoulder Bag

In this tutorial, we’re starting the denim series with a DIY denim bag. I’m going to show you how to make a shoulder bag out of an old denim jacket. So, grab your leftover denim, and let’s get started!
Tools and materials:
- Paper
- Ruler
- Scissors
- Denim
- Pattern weights
- Rotary cutter
- Interfacing
- Lining
- Pins
- Loop turner
- Lighter
- D-rings or keychain rings
- Iron
- Zipper
- Sewing machine
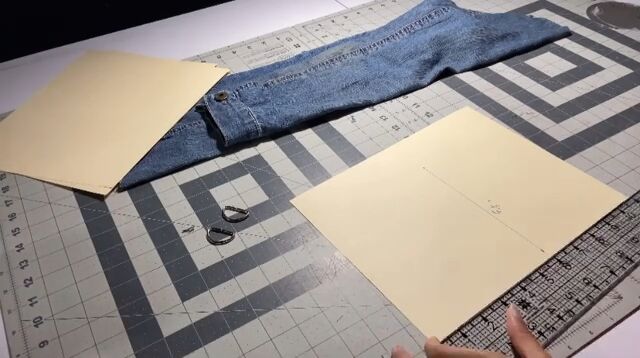
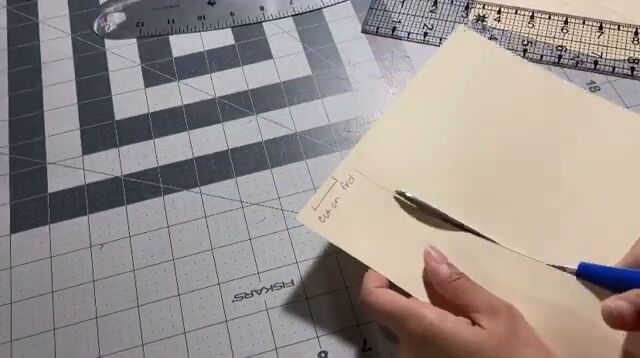
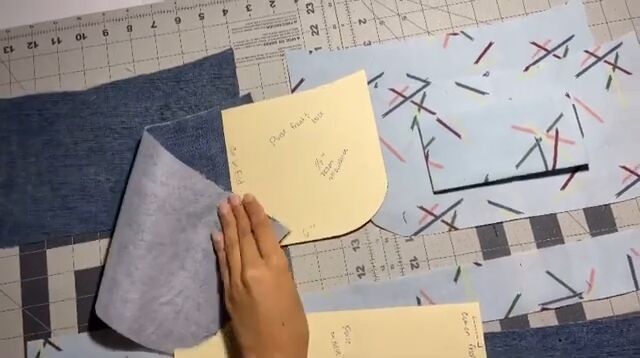
1. Make and cut out the pattern for the purse front and back
To make the shoulder bag sewing pattern, measure 6.5 x 6 inches on a regular piece of paper.
Make a little curve to the side edge of the paper and then curve off at the bottom. This will give us a rounded bag. This is the front and back of the purse.
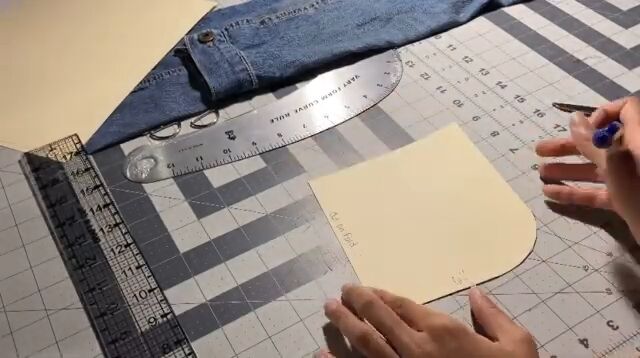
Write “cut on fold” on the center edge.
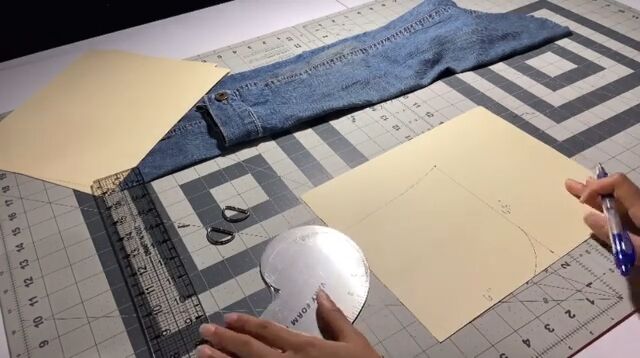
2. Cut out the pattern for the purse's middle
Now, measure out the parameter of the two edges where the round part is. Mine was about 11.5 inches.
Cut out another piece of paper that is 11.5 inches x 2 inches. Write “cut on fold” on this piece as well. This will be the purse's middle.
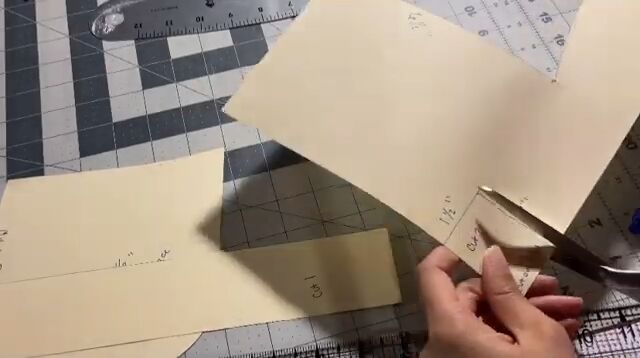
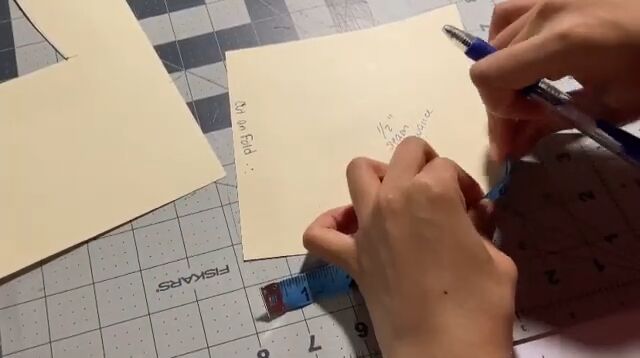
3. Make and cut out the pattern for the strap
For the strap’s connecting piece, cut out a piece that is 1.5 x 2 inches. You can either cut that on the fold or cut two, but not both.
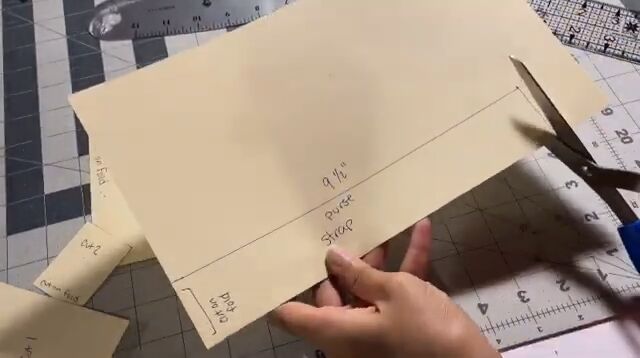
Then cut out another that is 9.5 inches x 1.5 inches. This one is also cut on a fold. I also recommend cutting a half inch for seam allowance. This is our purse strap.
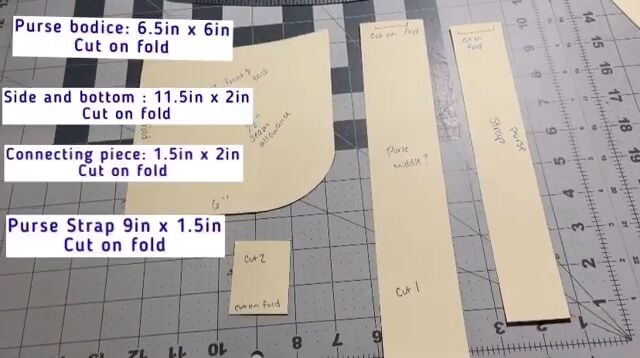
Here are all the pieces you should have.
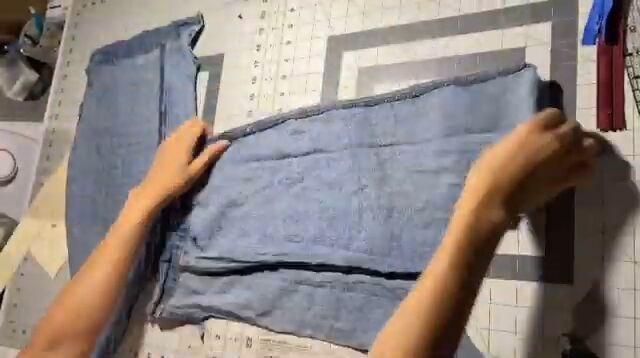
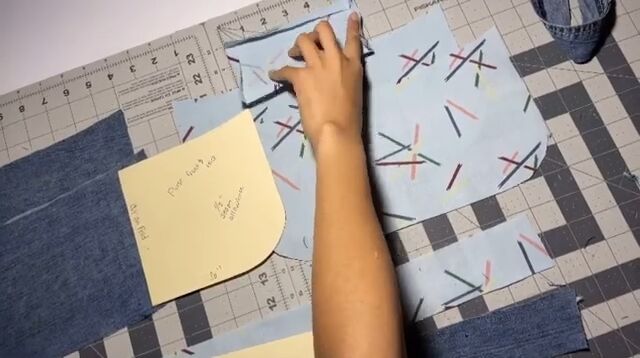
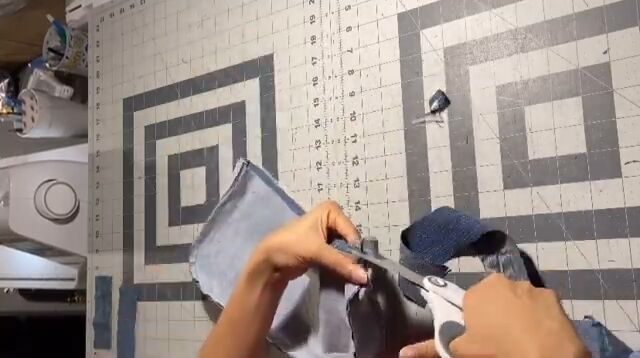
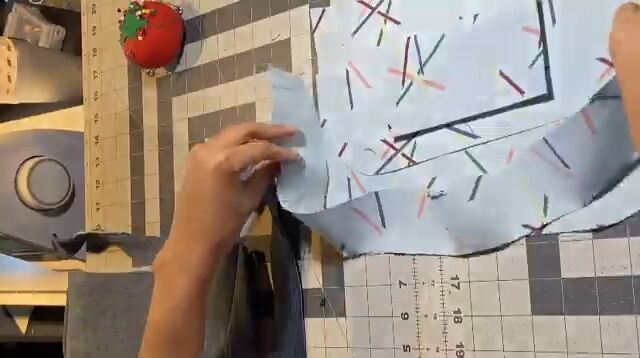
4. Cut all of the denim
Cut up the denim from all the seams so you have a flat piece to work on.
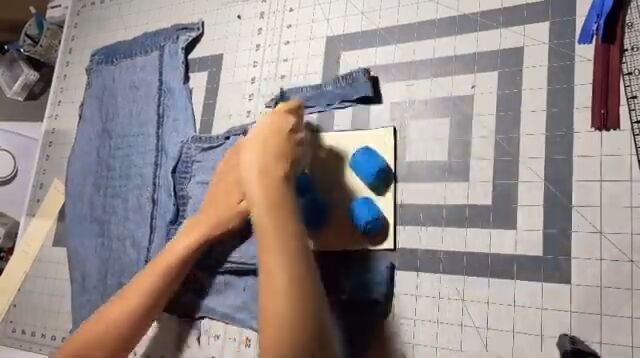
5. Cut out the pattern
Use the pattern to cut out all of the denim. Remember to cut on the fold if the pattern indicates it. I used some pattern weights to hold it down to the denim and I cut it out with a rotary cutter. Don’t use the seams of the jeans.
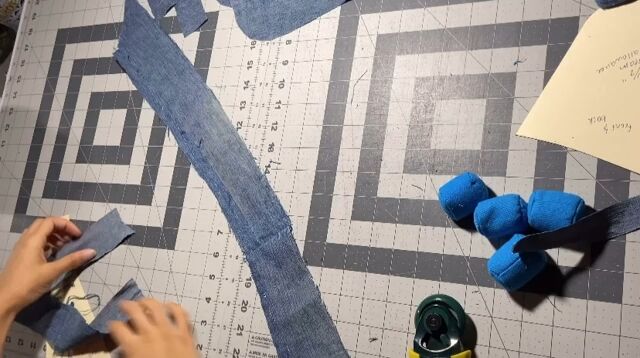
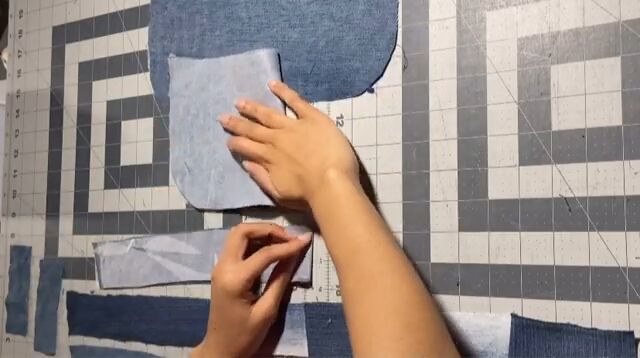
For some of them, I had to sew multiple pieces together to make a longer piece so we could cut on a fold.
Here are all of the pattern pieces together.
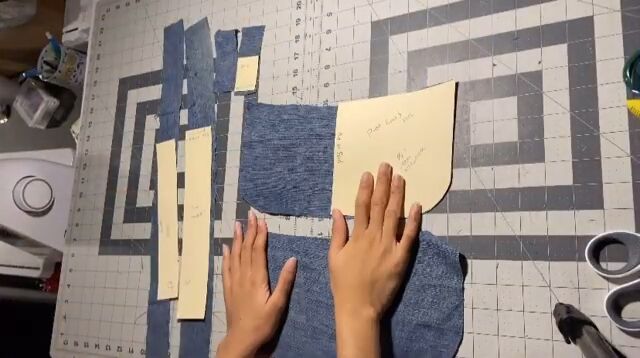
I also used this time to cut out the lining. I used interfacing on the main parts of the bag.
I also cut out a little pocket with the lining that is about 7 inches x 4 inches, including seam allowance.
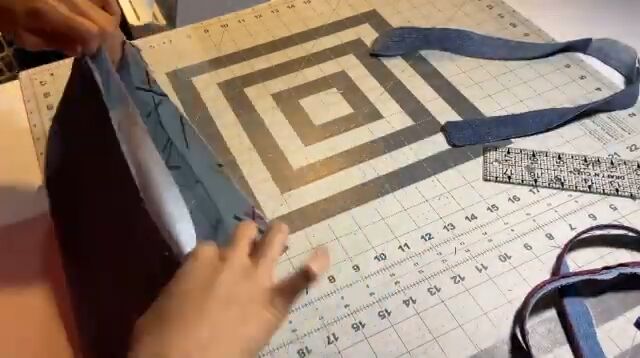
6. Pin the body of the purse together and sew
Fold the bottom edge of the main purse and the middle of the bag together in half to find the center. Pin the center.
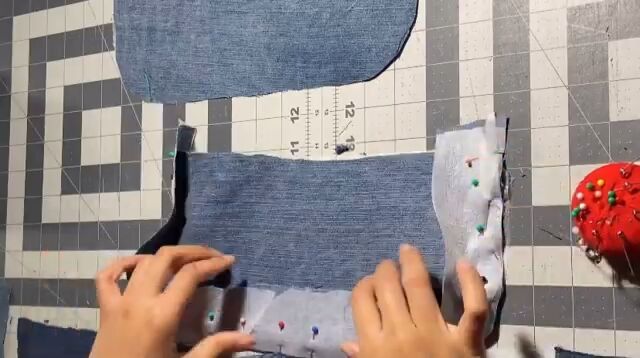
Then pin them together. Be careful on the curves and make sure you’re not leaving any spaces.
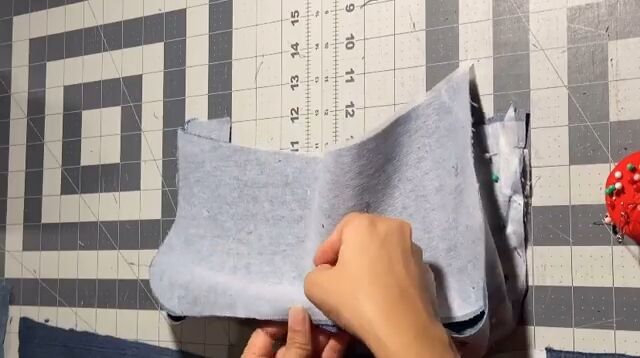
Repeat with the other piece.
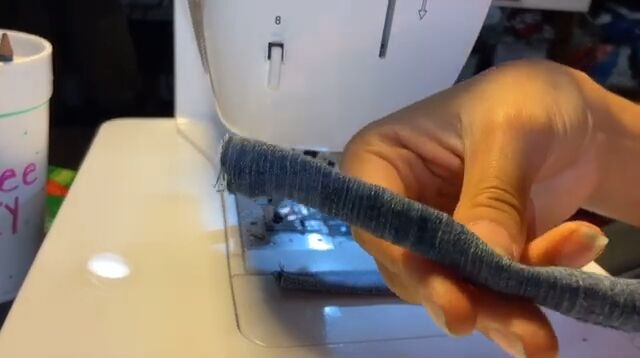
Sew with a regular straight stitch, using your presser foot as seam allowance all the way around. Use a half-inch seam allowance for all of the pieces for consistency.
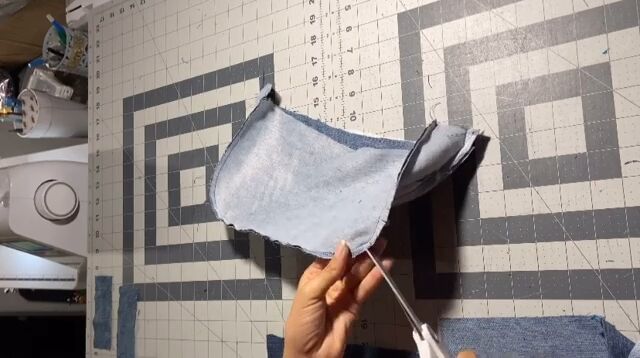
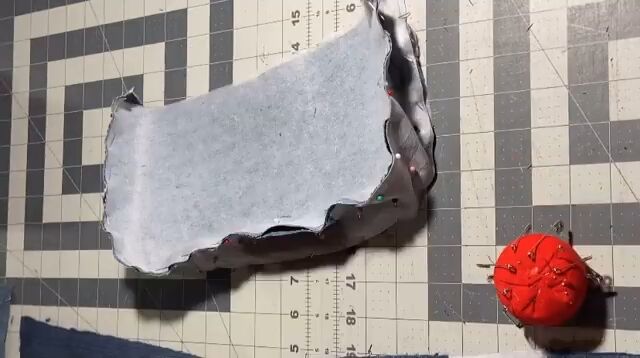
7. Cut the edges
Cut little snippets into the edges around the curve.
8. Cut excess fabric
If you have any excess fabric from the top, cut that off.
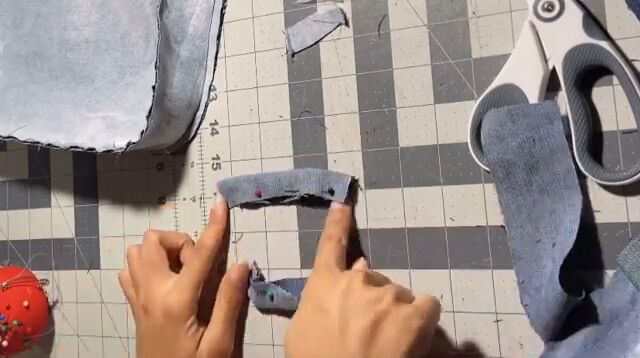
9. Pin and sew the handles
To make the handles, fold your pieces right sides together and pin at the edge then sew it together with a straight stitch.
Use a loop turner to turn it inside out.
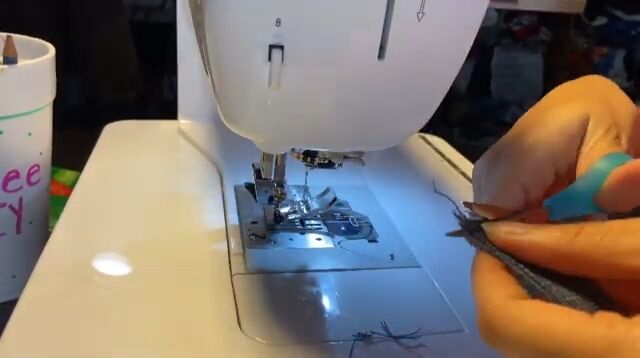
Cut off any excess string.
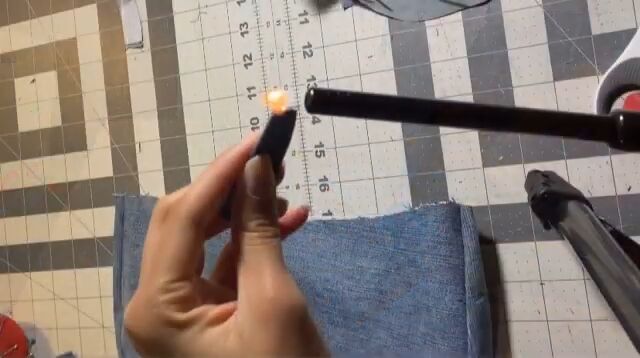
Cut them in half and then burn the ends for a clean finish.
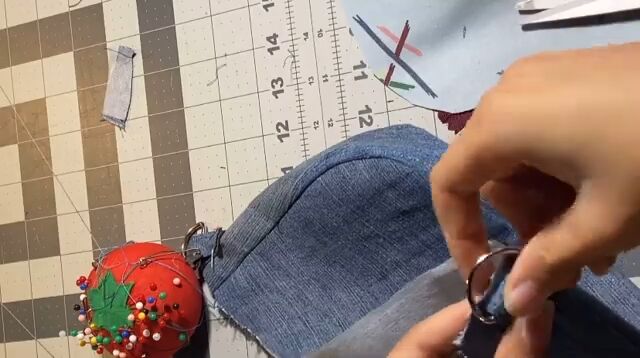
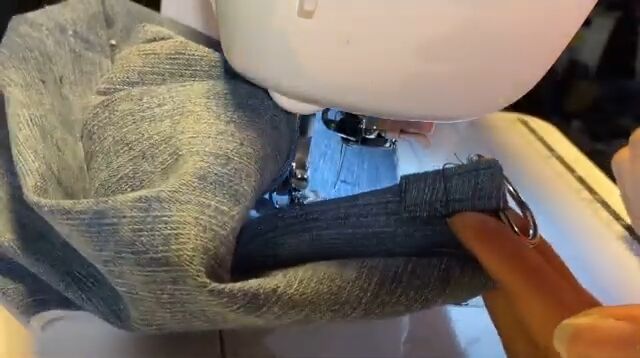
10. Attach the handles to the bag
Using D-rings or keychain rings, put the handle you have just sewn between the D-ring and pin it down about an inch to an inch and a half down from the top edge of the purse. Sew together in a square.
Here’s how they should look.
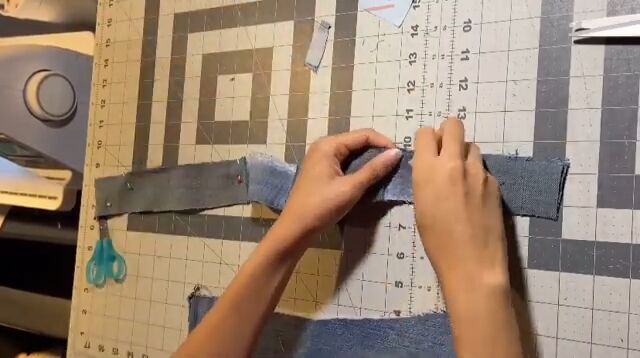
11. Pin and sew the straps
Next, take the two straps and pin them right sides together. Sew all the way around, leaving a space so you can use your loop turner to turn it right side out.
Pin the open edge closed, then iron/press the seams to make sure they’re flat and even before sewing again.
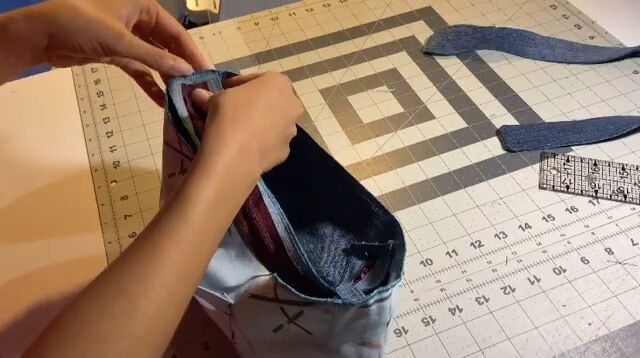
12. Sew the lining
Sew together the lining the same way you did the main part of the purse. Attach the pocket to the lining if you want a pocket.
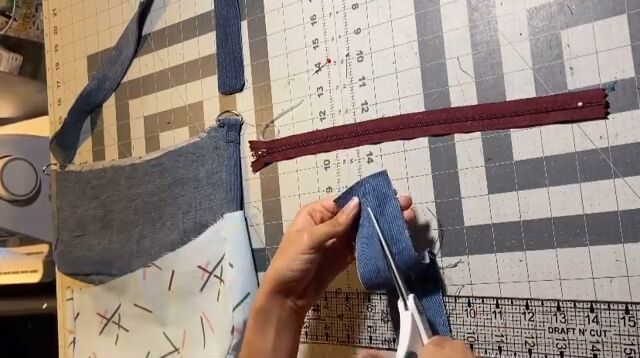
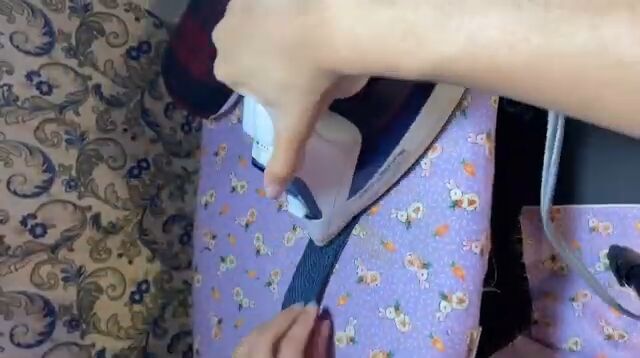
13. Cut out the zipper placket
For the zipper placket, mark out a piece of fabric that is 12 inches x 2 inches. Then cut between the rectangles.
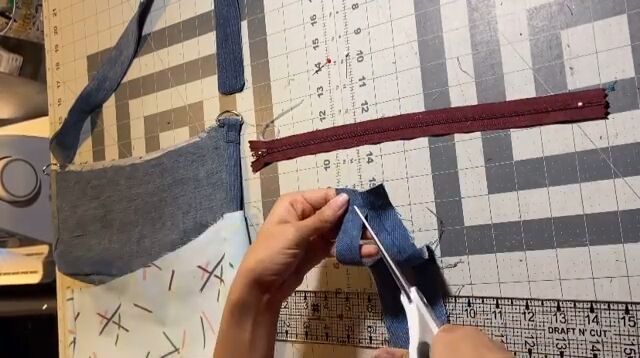
At the end, cut a triangle.
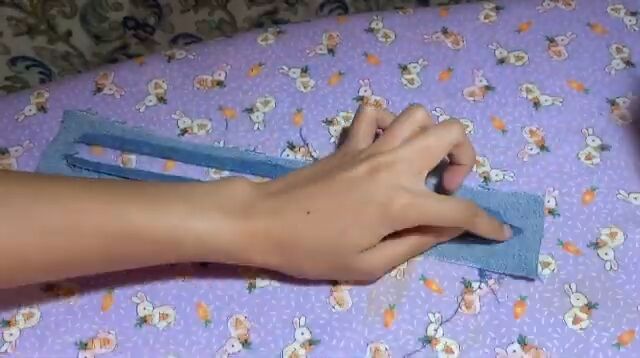
Iron down the edges and fold them back before sewing to the zipper.
14. Attach the lining
Before attaching the zipper, make sure the lining is sewn down with a serger or a zig-zag stitch.
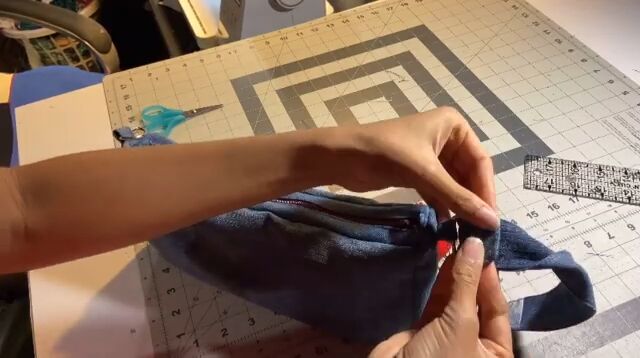
15. Attach the zipper
Pin and sew the zipper to the opening of the bag. Leave the zipper open so you can turn it right side out once it’s all sewn together.
16. Attach the straps
Flip the bag right side out. Pull the strap through the D-rings and fold it right at the top. Pin and sew into a square.
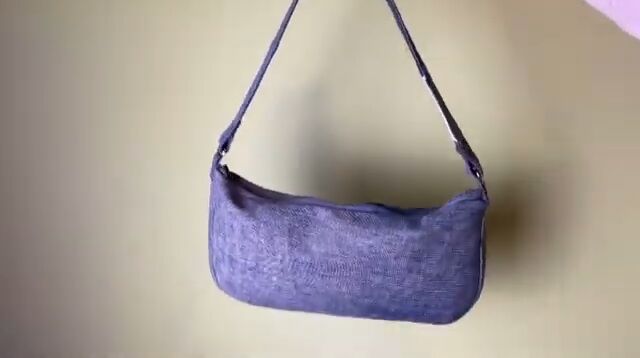
DIY denim bag
Here’s the finished DIY denim bag! If you try out this DIY shoulder bag tutorial, let me know down below!
The author may collect a small share of sales from the links on this page.


Comments
Join the conversation
Hello Renee, what a great tutorial and result. Your directions and pictures were wonderful and your attention to detail perfect. I loved that you went the extra mile to make a placket for the zipper it adds so much to the overall design and looks finished. I was wondering if you thought to make the strap handle longer and to add D rings to it to make it adjustable so that it could be made into a cross body bag? Thank you for sharing your project :)