How to Make a DIY Small Jewelry Box Out of an Old Mint Tin

In this tutorial, I’m going to show you how to make a DIY small jewelry box using a mint tin. If you’ve been looking for some DIY jewelry box ideas, this is a super simple one that looks and functions beautifully. Let’s get started!
This post was transcribed by a member of the Upstyle editorial team from the original UpstyleTV episode.
Tools and materials:
- Mint tin box
- Scissors
- Scrap fabric
- Cardboard
- Scissors
- Marker
- Hot glue
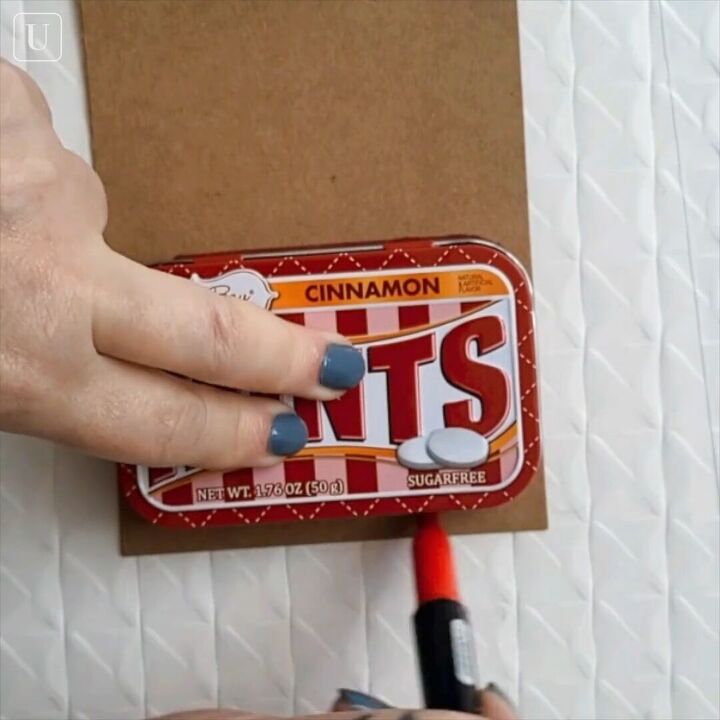
1. Trace the box
The first thing you should do is trace the bottom of your tin box onto your scrap of cardboard.
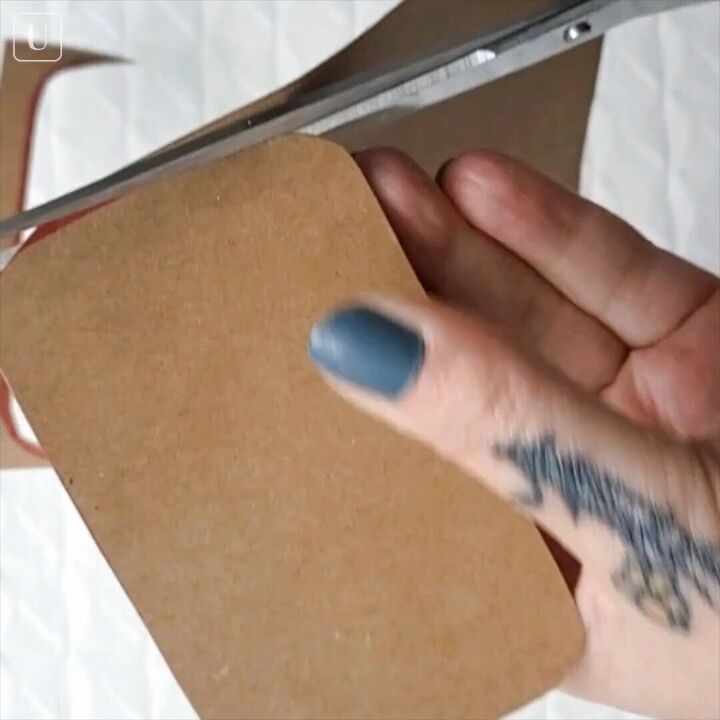
2. Cut
Cut out the traced shape you made.
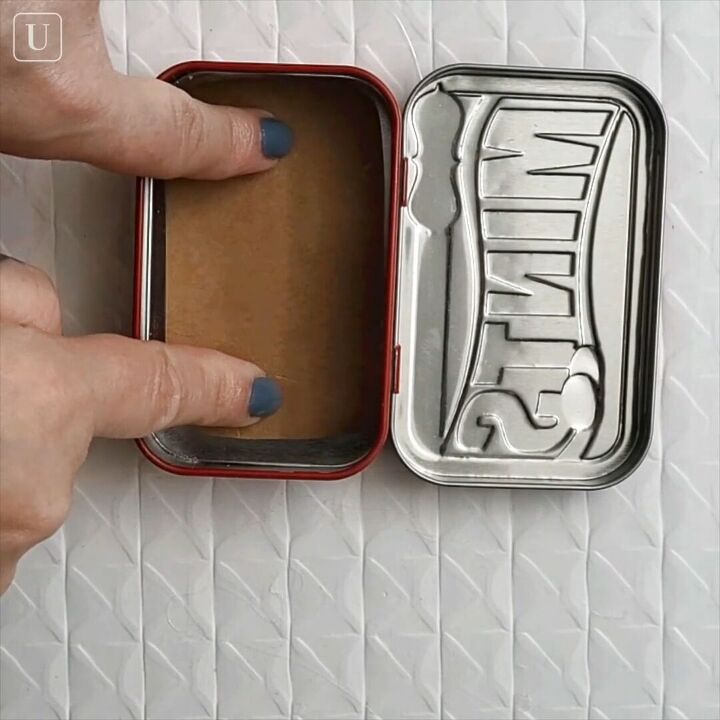
3. Place the cardboard inside
Take your piece of cardboard and pop it into your tin container. Now, you want it to fit inside with a little bit of room to spare.
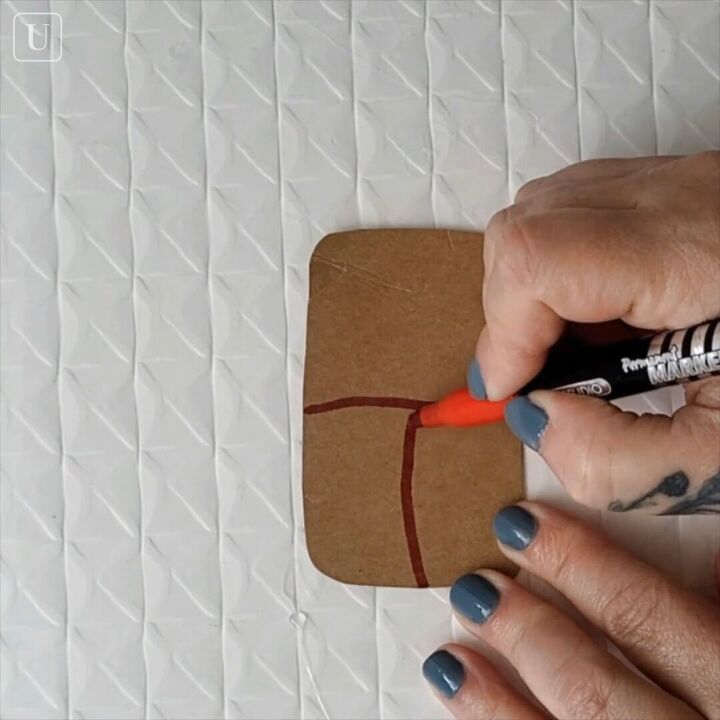
4. Divide your cardboard
Now, divide your cardboard into three compartments with a really general sketch.

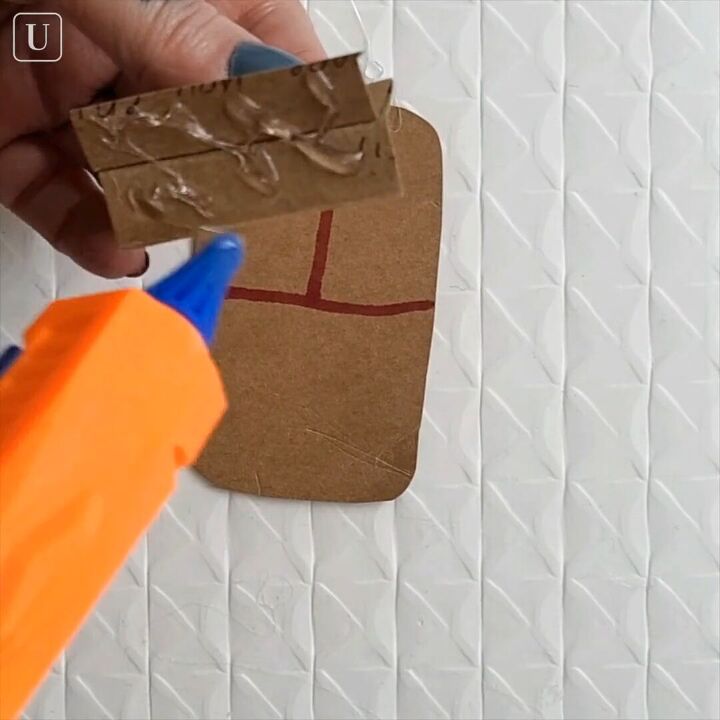
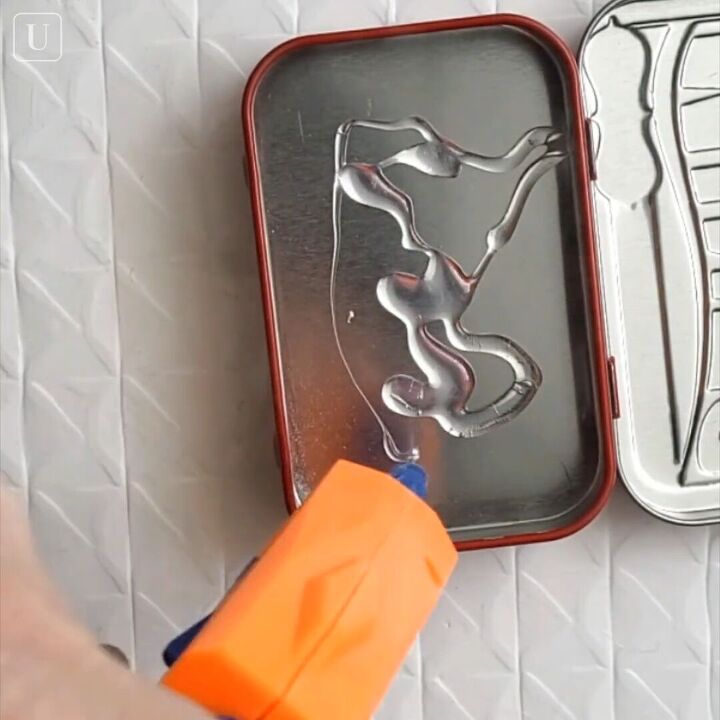
5. Cut the scrap cardboard into walls and glue it to the cardboard compartment sketch
Take the remaining scrap of cardboard and cut it to size to create the walls for your compartments. You can fold the cardboard in half so it’s a little sturdier.
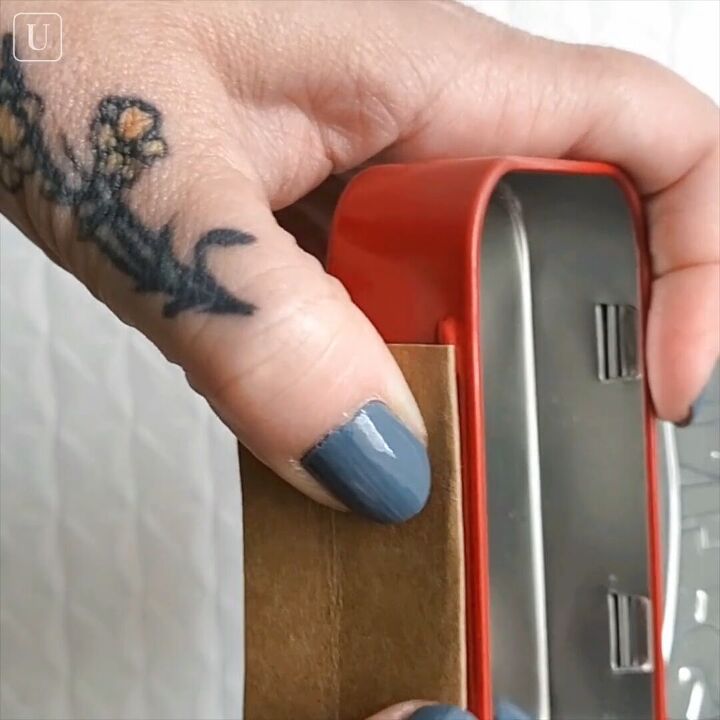
After you measure the width, you can use the tin to measure the height. You want it to be a couple of millimeters smaller than the full height of the tin.
Fold the open edge down under the bottom of the tin.
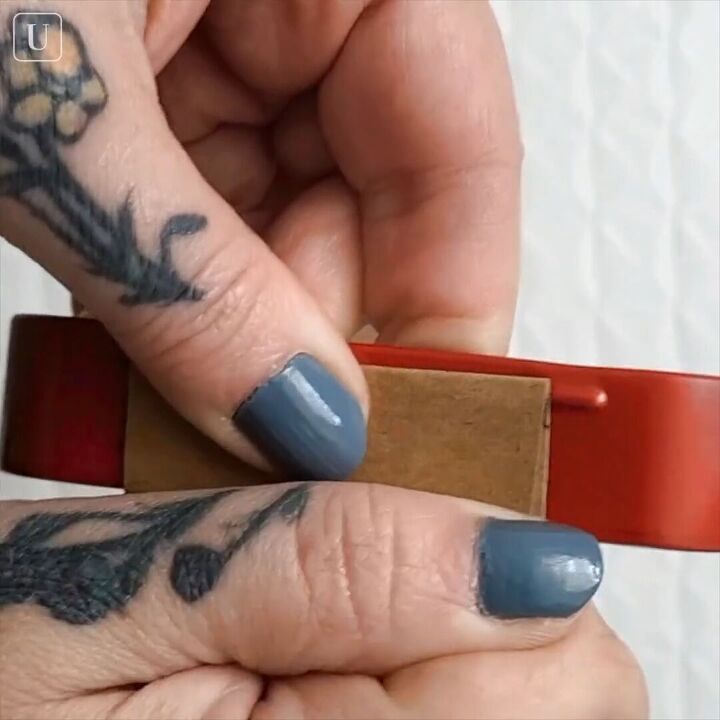
Then, you can fold those two open edges out and you’ll have two tabs where you can securely glue the separating wall.
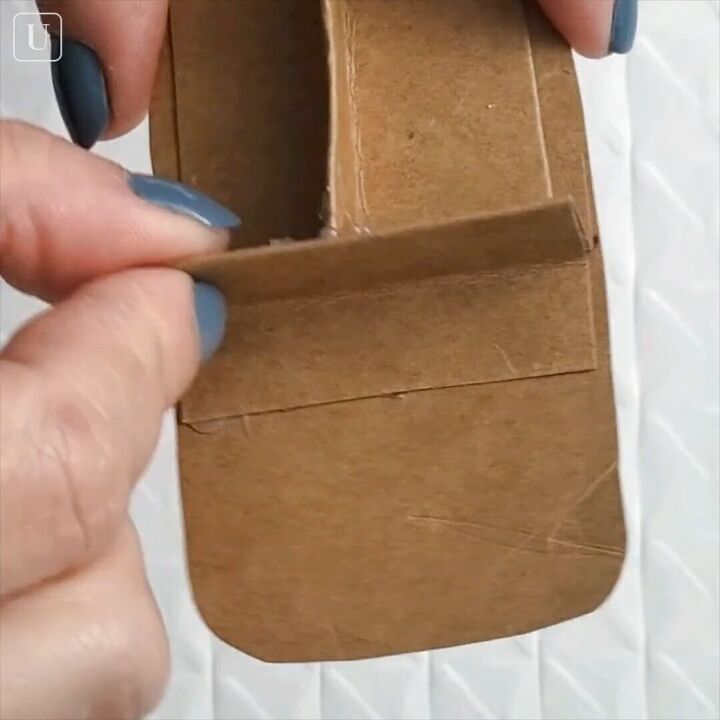
Here’s what your tin jewelry box’s compartment separator should look like.
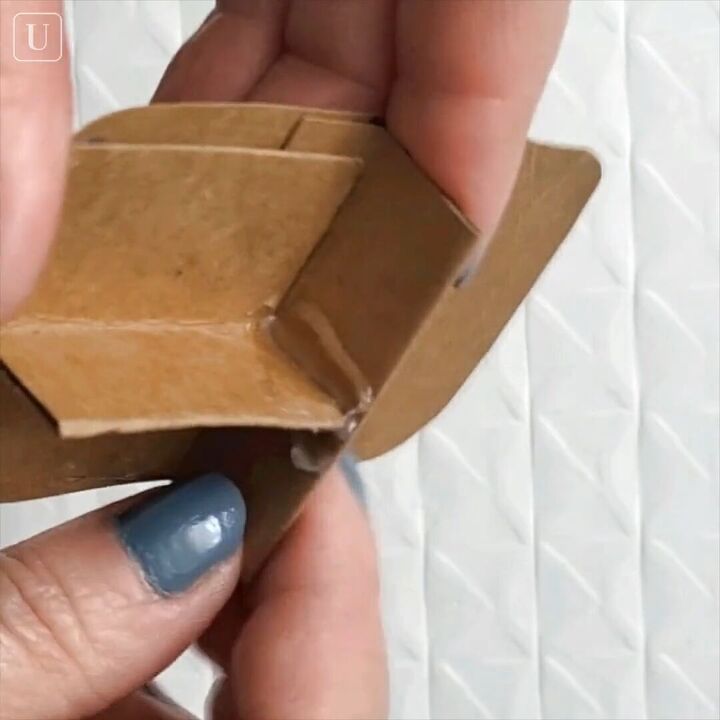
As you can see, I added some extra glue to join the walls together and make them extra sturdy.
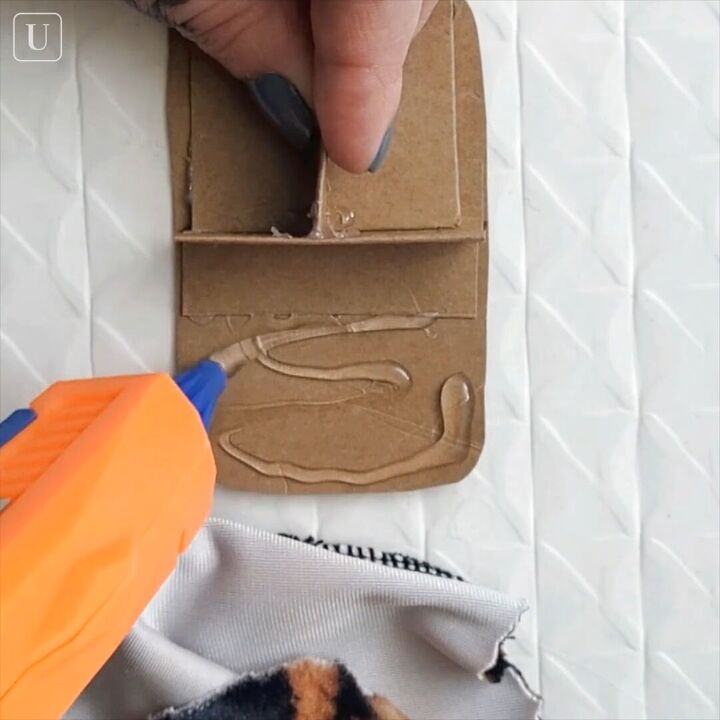
6. Glue fabric to the compartment
Now, to decorate, start by covering one side of the compartment with glue.
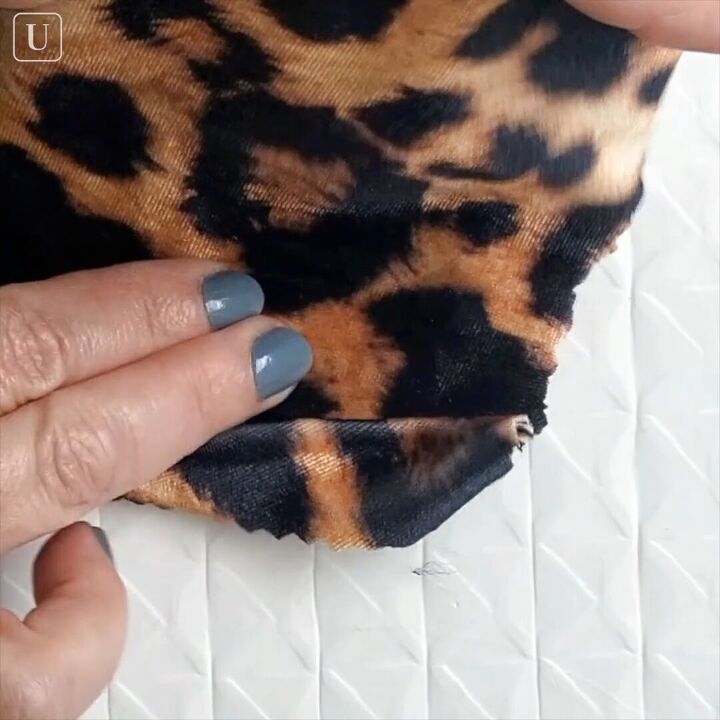
Then, stick your fabric into place. As you go, carefully pinch all of the fabric in place to make sure it’s stuck down and not going anywhere.
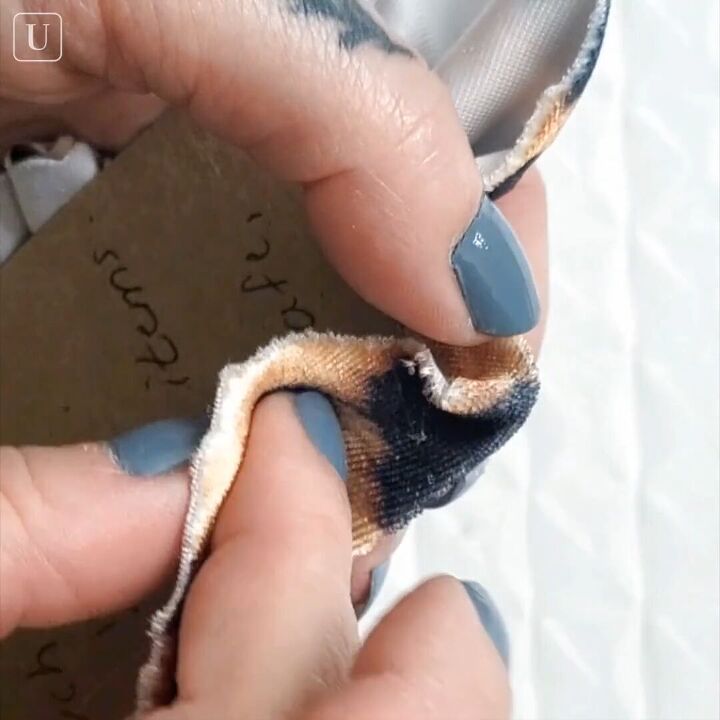
Finally, add glue to the back edges and trim off the extra fabric.
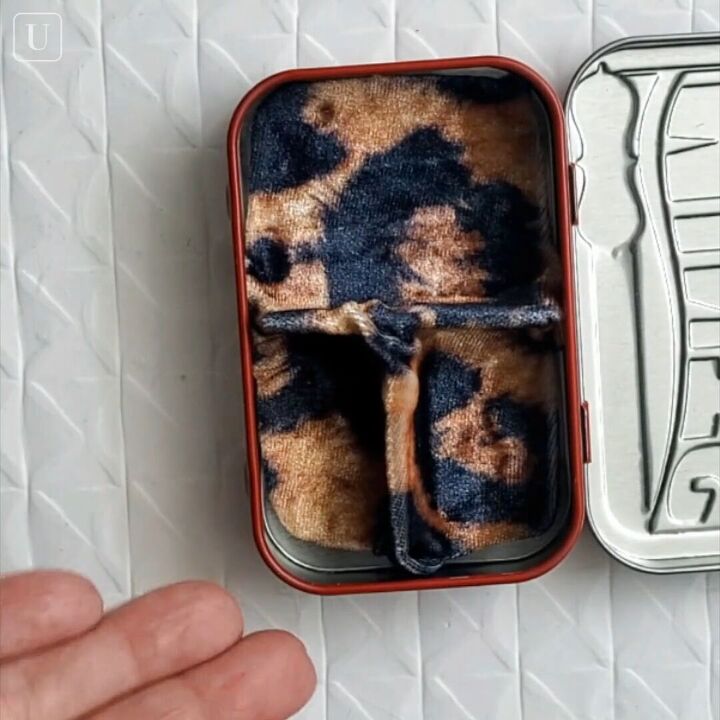
7. Glue down the compartment to the tin box
Now to test: put your compartment into your tin box to see if it fits.
Once you’re happy with it, just glue it down.
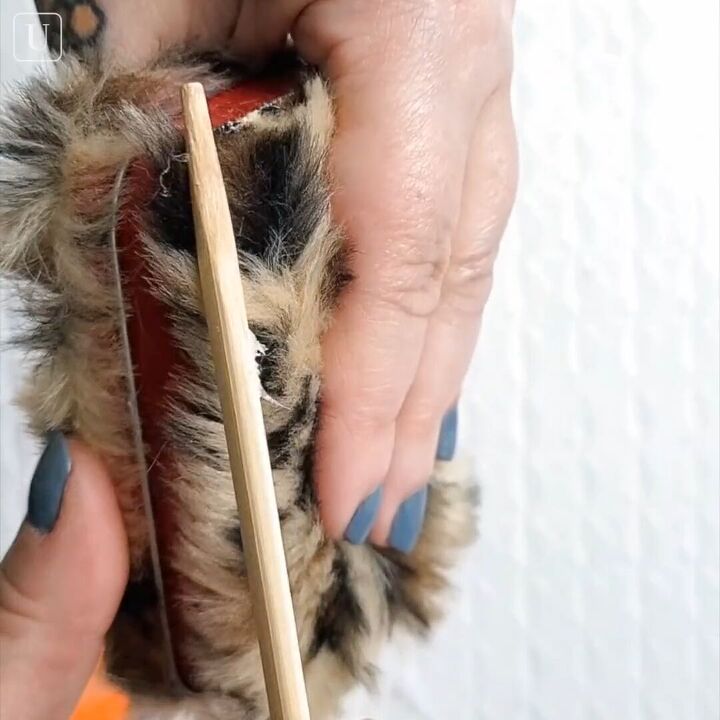
8. Glue fabric to the outside
To decorate the outside, just glue some fabric to the top and bottom. I used a furry piece of fabric and just brushed down the fur over the sides.
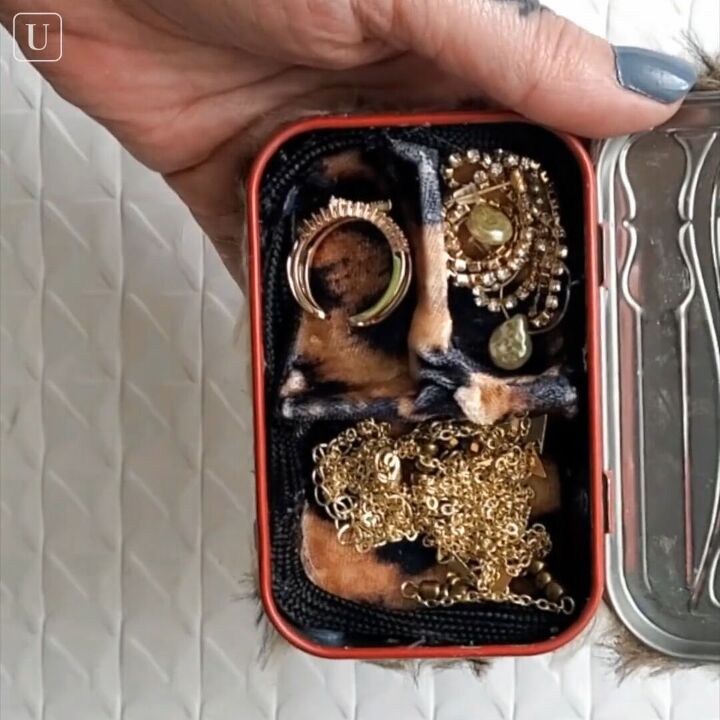
DIY small jewelry box
Now, your adorable, travel-sized DIY jewelry box is complete! It’s so fantastic and came out so well. There’s space for necklaces, rings, and earrings too. It stays closed, it’s protected, and it’s perfect for traveling or giving as a groovy little gift box.
Let me know if you decide to make your own jewelry box using this tutorial!
The author may collect a small share of sales from the links on this page.


Comments
Join the conversation
I made a hearing aid box out of one. Used craft foam on the bottom, put in a silica bag from a pair of shoes (dry out in oven which is cooling from baking something), pop in my hearing aids at night. Didn't want anything fancy, now maybe I do and will try some other ideas. Thank you.
Great repurposing idea! However, I’d like to make a suggestion: Also cover the inside of the lid for a finished look.