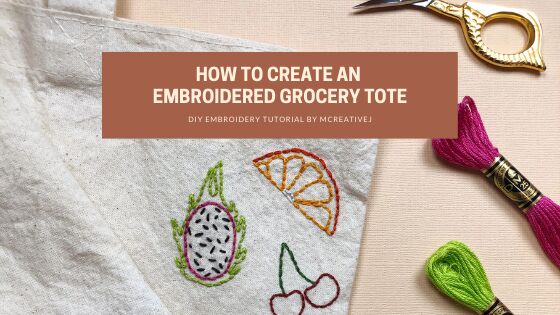
How to Create an Embroidered Grocery Tote Bag
Updated: Jan 4
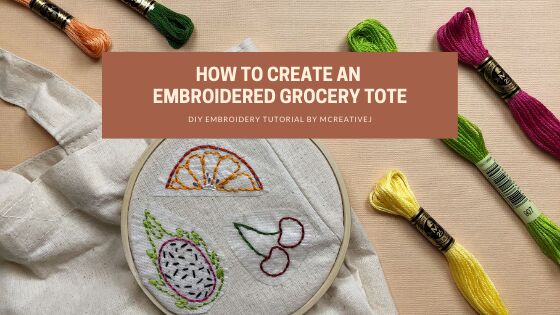
I'm a fan of tote bags. They're perfect for everything! I love being able to throw a bunch of stuff into one for any occasion. Lately my tote bags have been getting a lot of use at the grocery store. So let's jazz up the trusty tote bag with embroidery!
Here's how to stitch your own fruity-fun grocery tote.
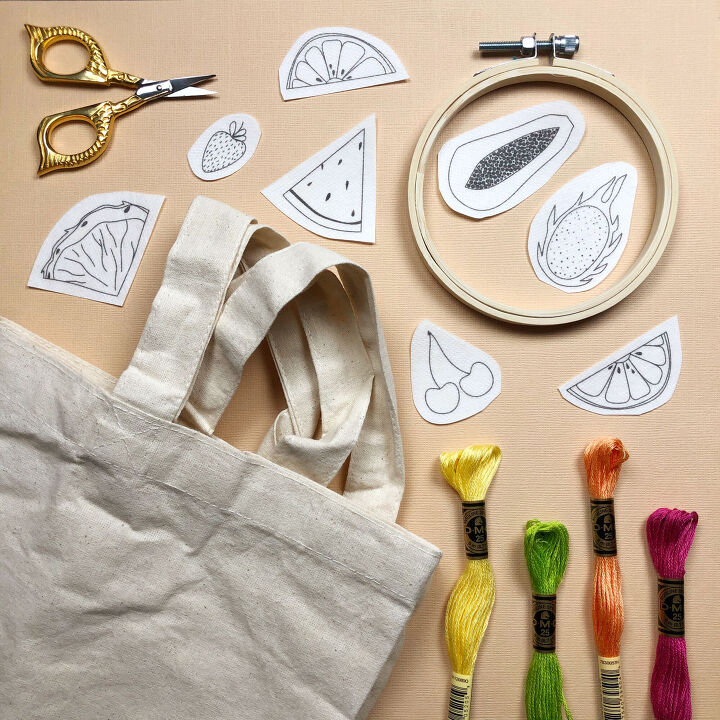
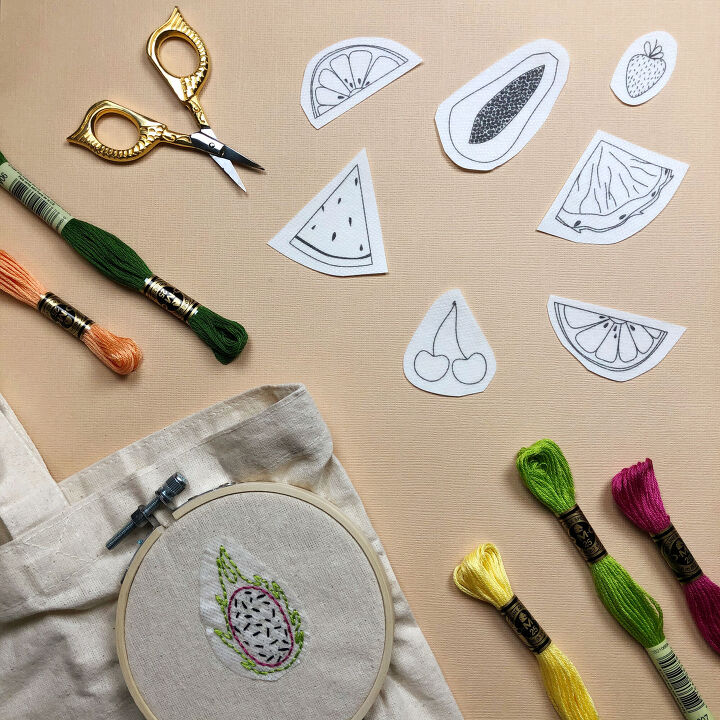
Materials:
- embroidery thread (assorted colors)
- Fruit Peel Stitch and Stitch patterns
- scissors
- warm water
Let's get stitching:
1. Start by placing one side of the canvas tote in the embroidery hoop.
2. Next, peel off one of the fruit designs from the Fruit Peel Stick and Stitch patterns. Place the design pattern sticky side down onto the canvas tote.
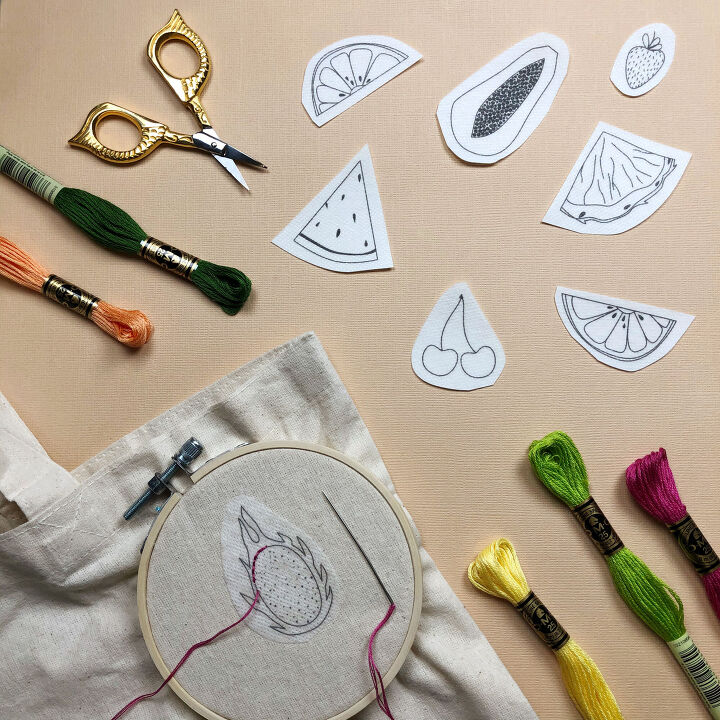
3. Using 3 strands of embroidery thread and the back stitch, outline the fruit shapes with short back stitches. Shorter stitches are best for wearable embroidery, because they are less likely to snag on things while in use.
How to create the back stitch:
The backstitch creates a solid line and is good for hand embroidering text or outlining a design. Begin by pulling the needle and thread up through the fabric a stitches length away from the edge of the design. From underneath, space the needle out the length of your desired stitch (mine are usually 1/4 inch or less), pull the needle up through the fabric and bring the needle and floss back down through the end of the previous stitch to connect the two. Continue until the section is complete.
4. Swap out thread colors as needed, continuing to outline each fruit shape. Use a slip knot to tie off each thread securely on the back of the tote bag. Because things will rub against the inside of the bag, you want to make sure your stitching is secure. When stitching, also be sure not to sew the two sides of your tote bag together.
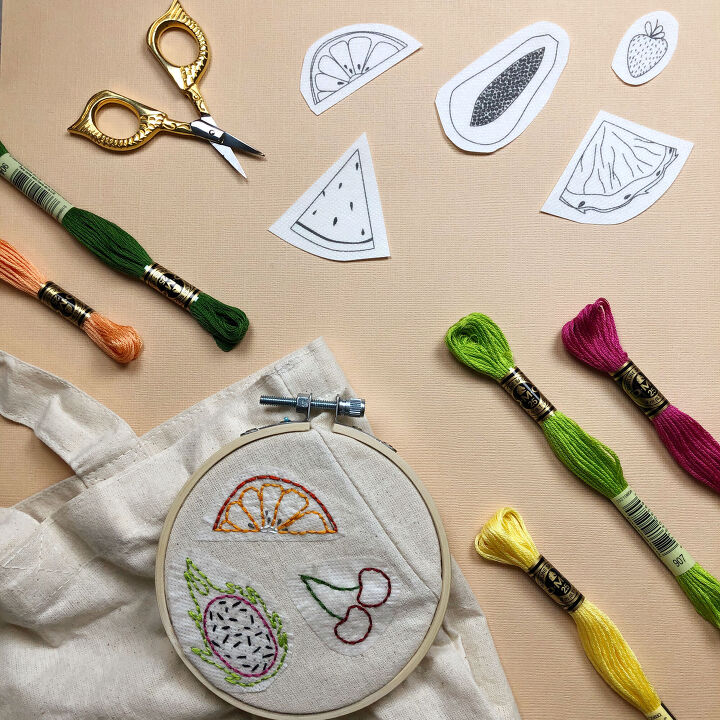
5. When you're finished stitching, remove the tote bag from the embroidery hoop. Run the stitching under warm water. This will dissolve the fruit transfer designs. Lay the bag flat to air dry or use a blow dryer.
And that's it! Once the bag is dry, it's ready for all the things!
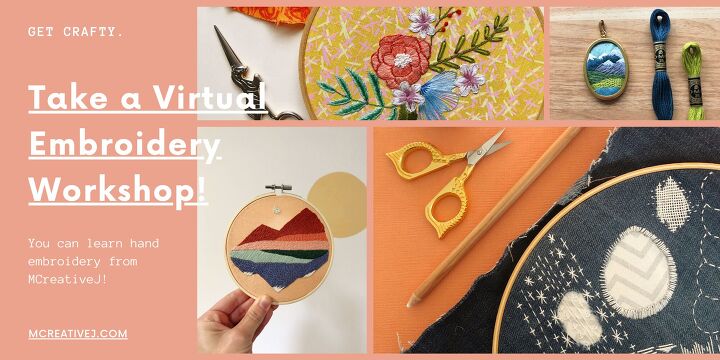
Want to learn more stitches? Join MCreativeJ for an online workshop.
***This post contains affiliate links. Should you purchase an item listed, I may receive a small portion of the sale.***
0 views
The author may collect a small share of sales from the links on this page.


Comments
Join the conversation