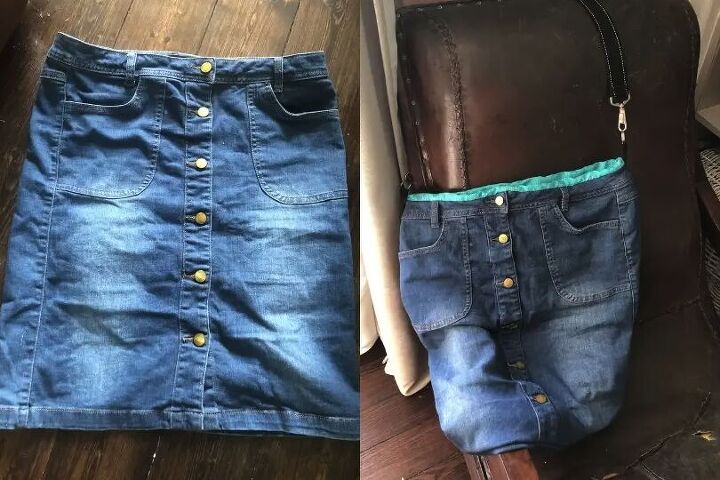
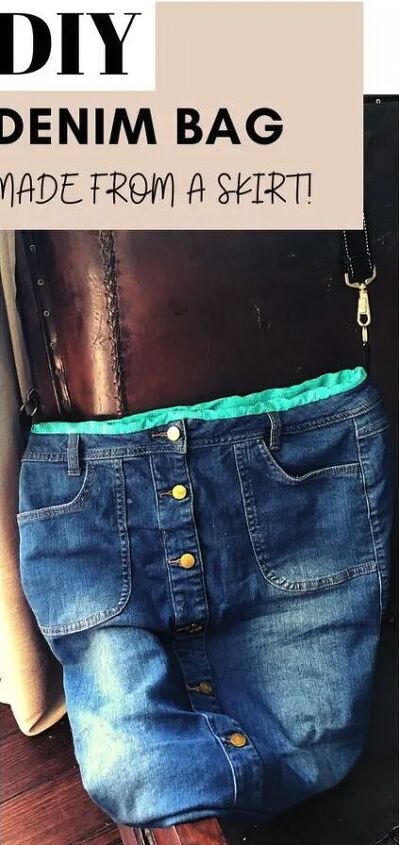
How to Make A Bag From a Denim Skirt
This tutorial is all about how you can make a fun over the shoulder style bag out of an old denim skirt you don’t wear any more.
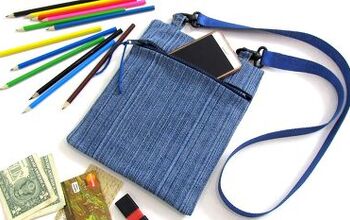
By now you guys know I’ve been on a bit of a denim upcycling run of late! First there was my denim quilt made out of old jeans and then two projects made from the leftover pockets – a bedside organiser and another denim handbag.
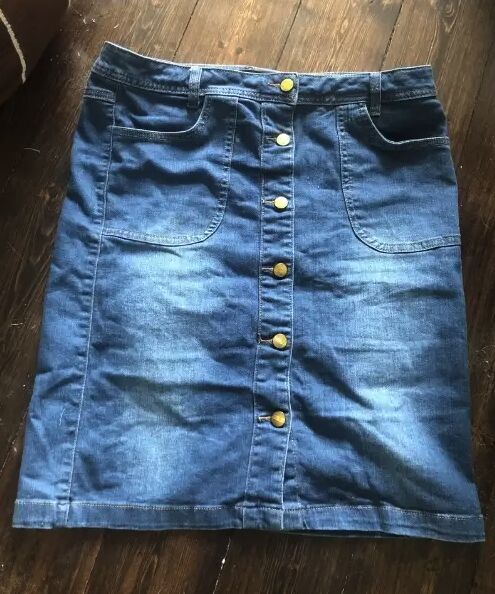
Well one bag just wasn’t enough! So when I cleared out my closets a little more and discovered this denim skirt (that I never really wore that much even when it fit me!), I decided it would be a fun challenge to myself to turn it into a bag.
It was already fitted with handy outside pockets after all!
MATERIALS NEEDED TO MAKE A BAG OUT OF A DENIM SKIRT
- 1 Denim Skirt
- Denim Sewing Machine Needles
- 2 pieces of lining fabric at least the same length and width as your skirt.
- 1 piece of fabric for internal lining pocket (optional) – mine was about 11″ wide by 20″ long.
- 1 9″ zipper (optional)
- Magnetic snap (optional)
- Bag Strap
- D Rings (ideally – I used keychain rings – use what you have!)
- Two small thin fabric scraps or two short lengths of webbing for strap loops.
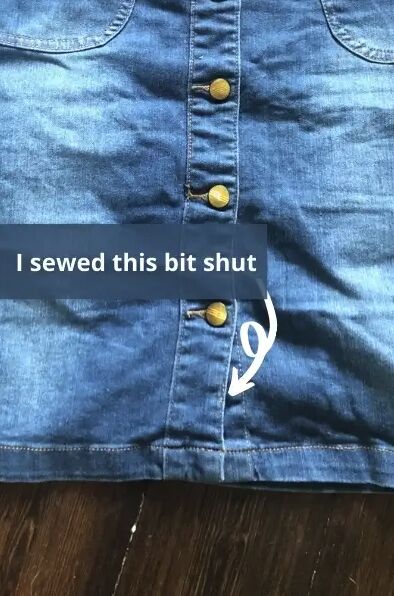
STEP 1: SEW UP ANY SLITS IN YOUR DENIM SKIRT
My denim skirt is a bit deceiving – it looks like it buttons up the front, but in actuality that button placket is stitched shut except for at the very bottom. So I started by sewing the bottom slit closed. If you have a side slit or a similar one to this then it’s probably best to sew it shut to give your bag maximum strength.
STEP 2: SEW THE BOTTOM OF YOUR BAG
To create the bottom of your bag all you need to do is turn your skirt inside out and sew the bottom opening together (right sides to right sides). Don’t forget to change the needle in your sewing machine to a denim one first!
If your skirt has a thick hem that would be difficult to sew through, just cut that off first and then sew the edges together with a 1/2″ seam allowance. I didn’t need to cut the hem off of my skirt – I just sewed it right up!
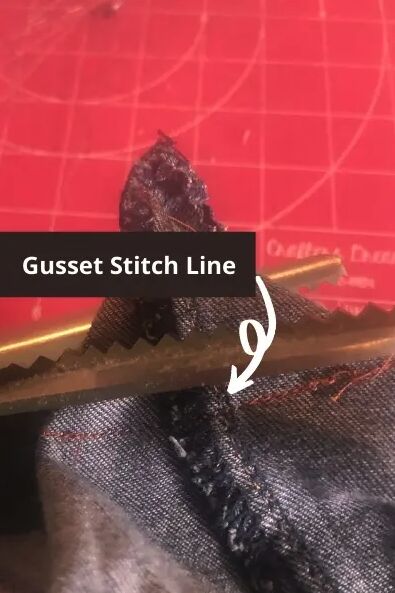
Next you want to create the ‘gussets’ which is what gives the bottom of your bag that sort of boxy look.
To do this keep your bag inside out and line up the bottom seam and side seam at each bottom corner. Then measure in about 2.5″ from the tip of the corner and sew across.
When you’ve done that you can cut off the excess corner material. If you’ve ever made a little zipper pouch you might have made gussets for those two – it’s exactly the same process.
STEP 3: PREPARE YOUR BAG LINING
I chose a fun teal colour for the lining of my bag. To figure out how much I needed I measured the outside of my bag an added 1/2″ seam allowance on all sides.
I then cut out two pieces that size.
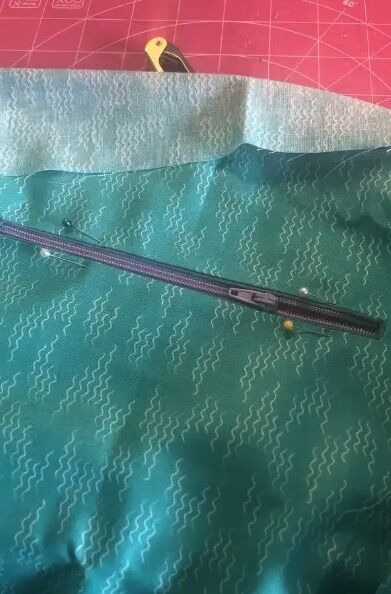
OPTIONAL INTERNAL ZIPPER POCKET
If you want to add an internal pocket to your bag, this is the stage to do it.
To make an internal pocket you need a 9″ zipper, and another piece of fabric for the pocket lining. This is just one long piece of fabric that you will fold in half to make the bottom of your pocket.
My pocket lining fabric was approximately 11″ by 20″.
I learned how to make internal pockets from this youtube tutorial and I always direct folk here instead of trying to explain it myself!

ASSEMBLING YOUR LINING
Once you’ve added our internal pocket (or not if you want to skip that step!) the process is very similar to what we did for the outside of the bag.
You place your two bag lining pieces right side to right side and sew down the sides and along the bottom – leaving about a 5-6″ gap for turning. Backstitch on the edge of that opening!
You then repeat the process above to create the same gusset corners in your lining.
If you want to insert a magnetic snap (or any other kind of internal fastening) this is also the time to add that in.
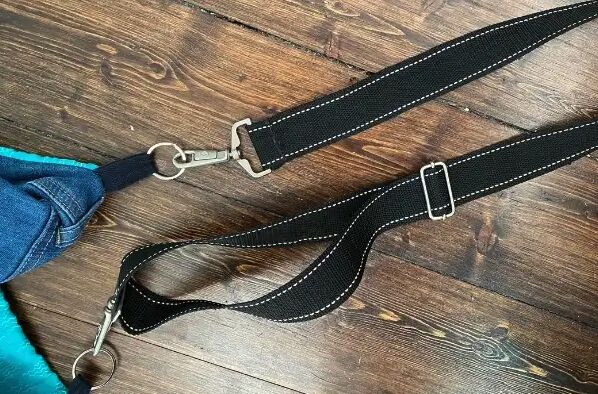
STEP 4: PREPARING YOUR BAG STRAP
It is at this point that you need to start planning for your bag strap. For this project I decided to use the strap from some sort of holdall bag we used to own (at least I think that’s what it was from!) that I had squirrelled away in my craft cupboard. It was basically an adjustable strap with hook snap attachments.
If you don’t have a ready made strap you can make one yourself out of fabric ( see the braided one I made for this bag) or you could use an upcycled leather belt like I did in this project.
In this instance all I needed to do was make some little loops to attach the strap rings too – I’m so not using the right terminology here, but basically I mean the metal loops you use to attach your bag strap to your bag.
Ideally these metal loops would be D rings – but I didn’t have any of those and I did have a whole bag of keyring loops, so I improvised!
The loops the rings are attached onto I made out of two short lengths of webbing – about 5″ long. You’ll see how to attach these to your bag in the next step.
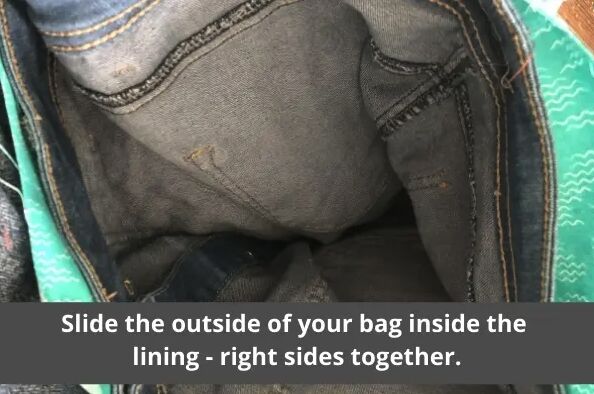
STEP 5: ASSEMBLING YOUR BAG
Now the fun part – putting it all together!
First you need to place your bag outer inside the lining – right sides together.
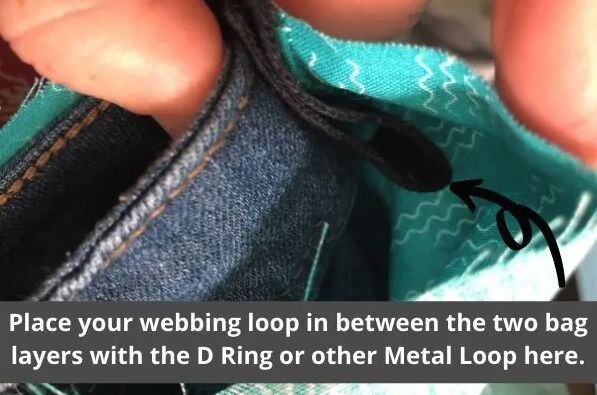
Then slide in your bag strap loops at the side seams. You want to fold each piece of webbing in half and have the two raw edges lined up with the raw edge of your lining fabric.
In the photo below I didn’t have my metal loop attached yet, but you should have yours slid over your webbing before you sew your lining in place.
Once you’ve pinned or clipped all of this in place it’s time to sew all around the top edge of your bag with a 1/2″ seam allowance.
Depending on the thickness of your skirt waistband this bit can be a bit tricky.
If it feels too thick to sew try using a walking foot on your machine or increasing the tension a bit.
Just take it slowly and also make sure you are using a denim needle.
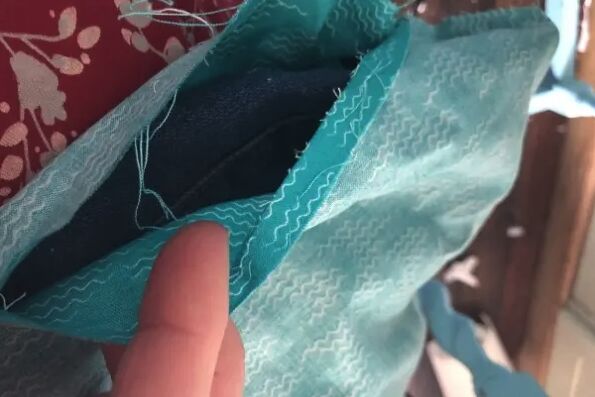
Lastly you want to turn your bag right side out using the gap you left in the lining and sew that gap shut either by hand or with your machine.
Normally I would also topstitch around the top of the bag to tuck the lining inside but because the skirt waistband was relatively thick I skipped that step this time – which means the teal lining is a bit more visible at the top of my bag then bag linings usually are – but I’m okay with that!
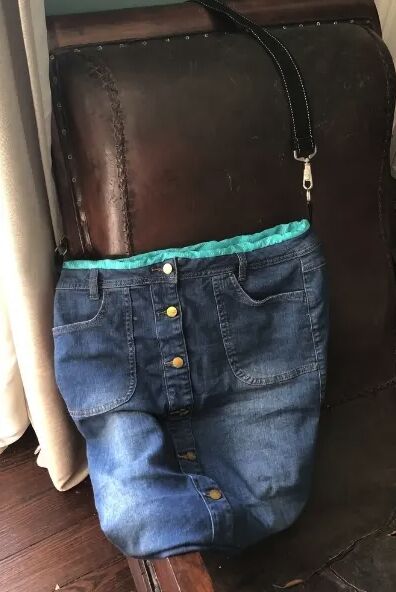
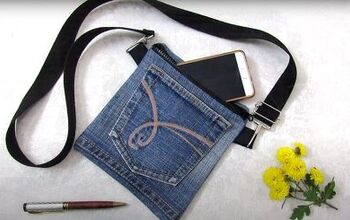
FINISHED – LARGE OVER THE SHOULDER BAG MADE FROM A DENIM SKIRT!
If you liked this post check out my other denim upcycling projects here!
The author may collect a small share of sales from the links on this page.


Comments
Join the conversation