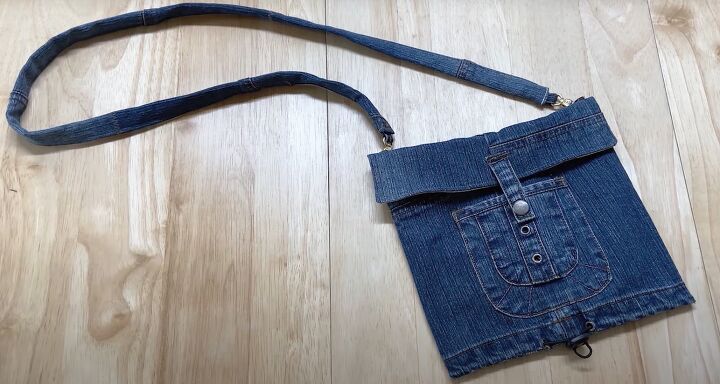
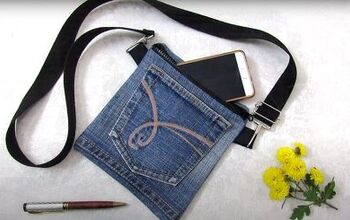
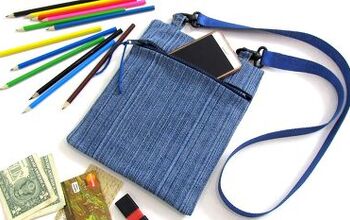
How to Make a Cute Crossbody Bag Out of Jeans

I love upcycling clothes, and in this project I'm showing you how to make a crossbody bag out of jeans.
I made mine from denim cargo pants and I was able to use one of the pocket closures as the bag fastener. You’ll also need a small amount of cotton fabric for the lining.
Best fabric scissors!
Tools and materials:
- Jeans
- Cotton fabric
- Fusible interfacing
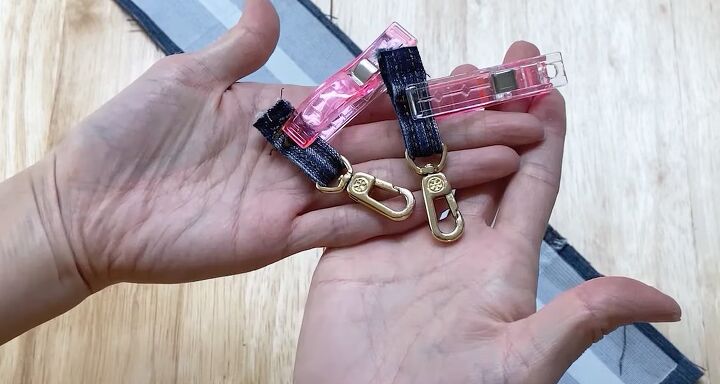
- 2 D-ring swivel clasps
- Scissors
- Pins
- Ruler
- Fabric marker
- Seam ripper
- Sewing machine
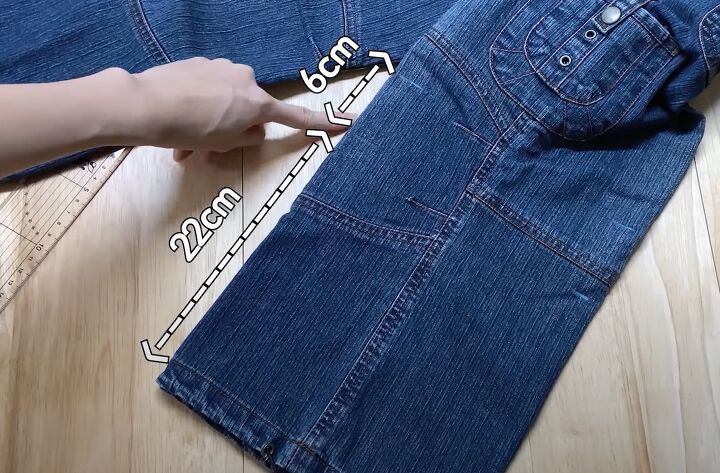
1. Prepare the denim
Measure 8.5 inches (22 cm) plus 2.5 inches (6 cm) up from the hem at both sides of one leg and cut across the folded leg at the 11 inch (28 cm) mark.
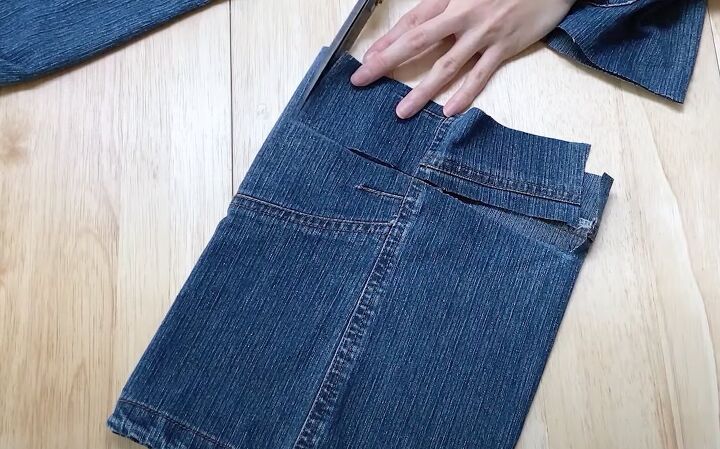
Starting a half inch (1 cm) in from each side, cut out a 2.5 inch (6 cm) section from the top layer only.
Use a seam ripper to remove any patch pockets and belt loops from the jeans.
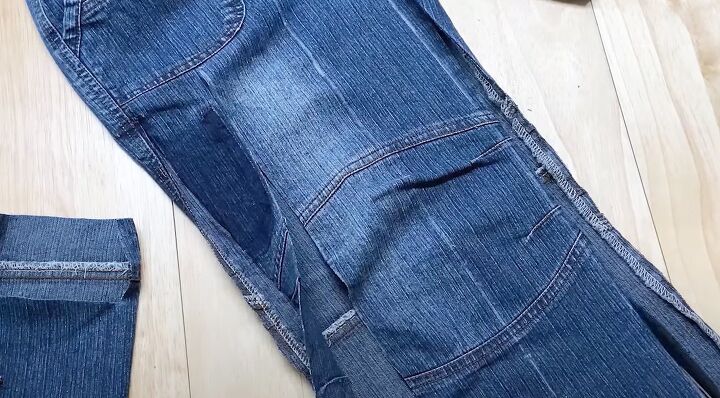
Cut open the second leg along the inner and outer leg seams below the crotch.
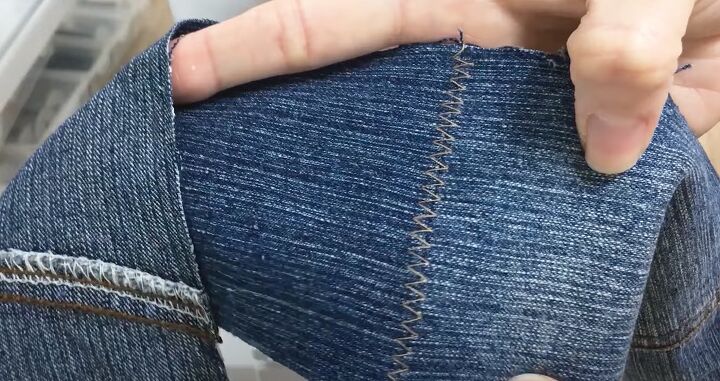
Cut two 3 inch (8 cm) wide strips from the top and bottom layers.
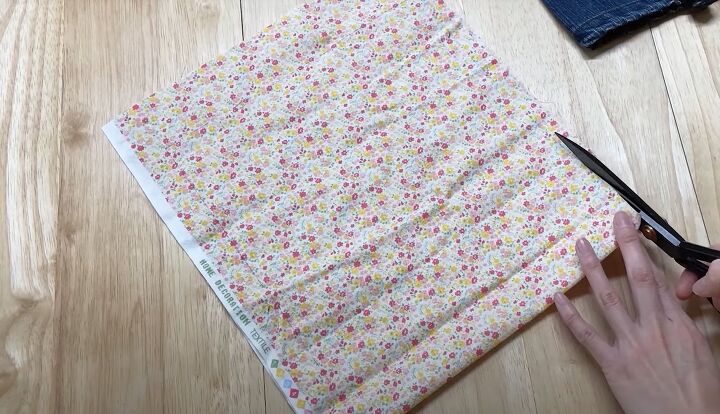
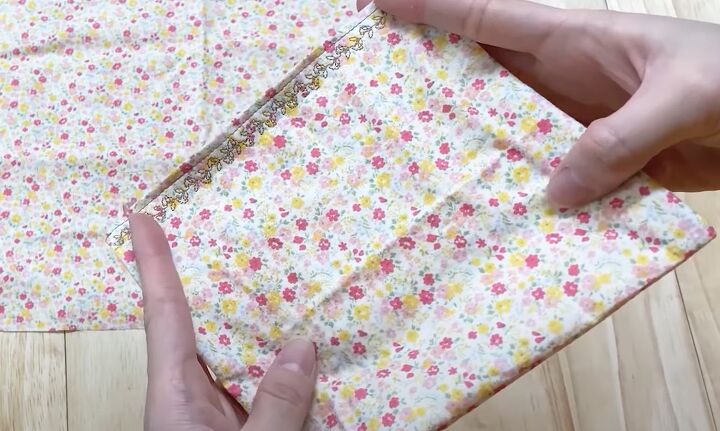
2. Cut lining
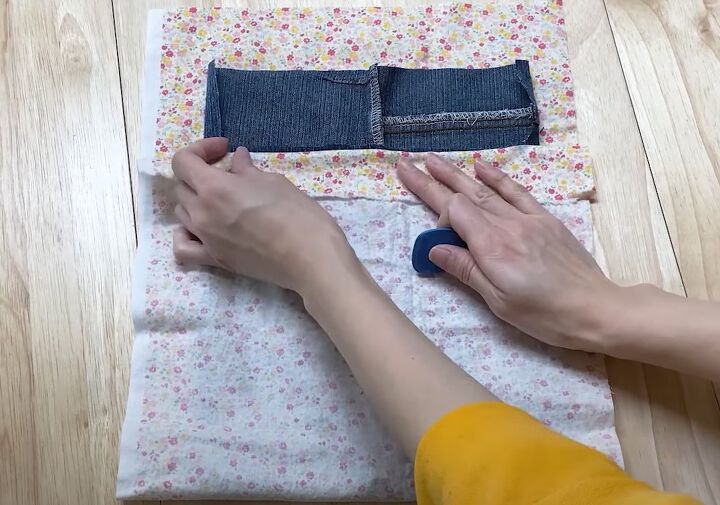
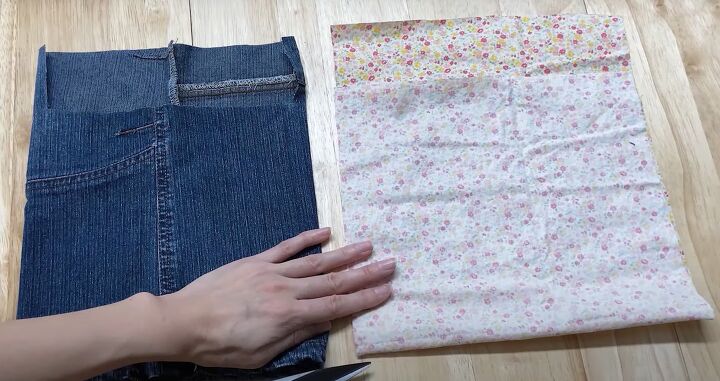
Cut a rectangle 12 x 22 inches (30 x 55 cm) from cotton fabric. Place the main bag section on the lining.
Fold the lining up over the bag and mark the position of the 2.5 inch (6 cm) cut-out section. Cut across the lining at this point.
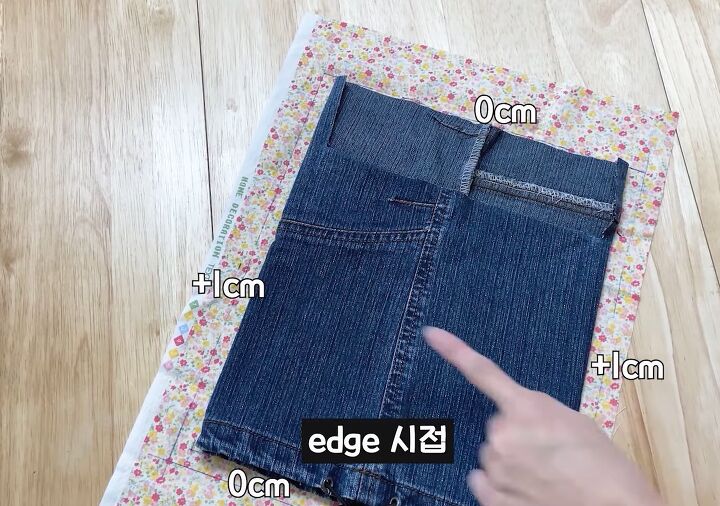
Open the lining out flat and draw a rectangle on it half an inch (1 cm) outside each side edge of the bag and level with the top and bottom edges.
Fold the lining at the lower line and cut out the marked rectangle through both layers along the other three edges.
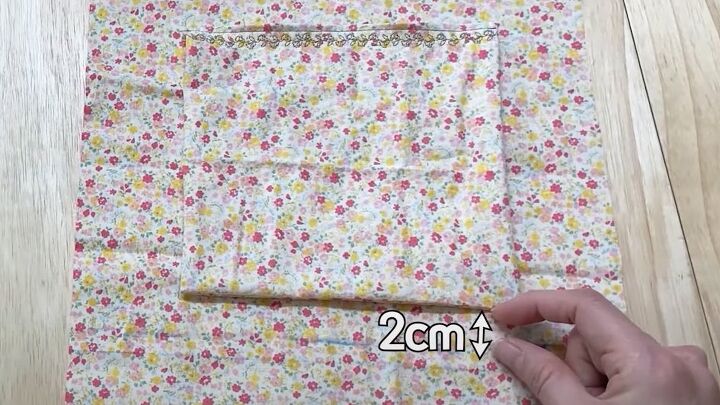
3. Inner pocket
Cut a notch at each side of the lining, half an inch (1 cm) above the bottom line.
Cut a second piece of lining 6.5 x 13 inches (17 x 34 cm).
Fold it in half widthways with wrong sides together and sew around the open edges, leaving a small opening on one side.
Snip the excess fabric at the corners and turn the fabric right side out through the opening.
Sew two rows of top or decorative stitching along the open edge.
Place the pocket on the right side of the lining 0.75 inches (2 cm) above the notches and sew around the side and lower edges.
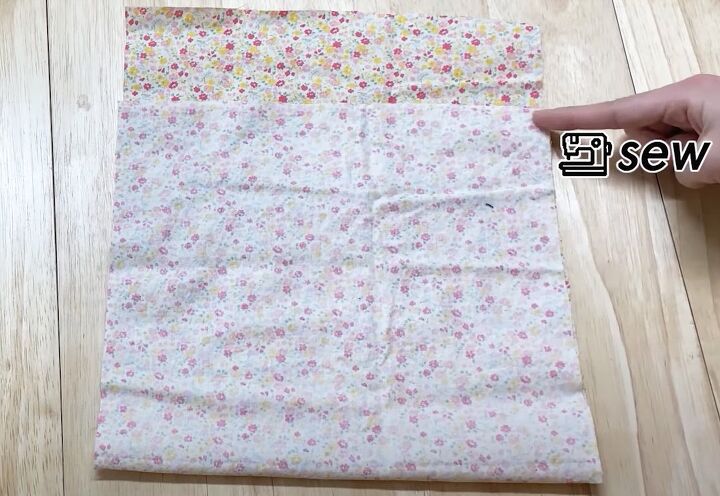
4. Sew lining
Fold the lining at the notches with right sides together and sew the side seams.
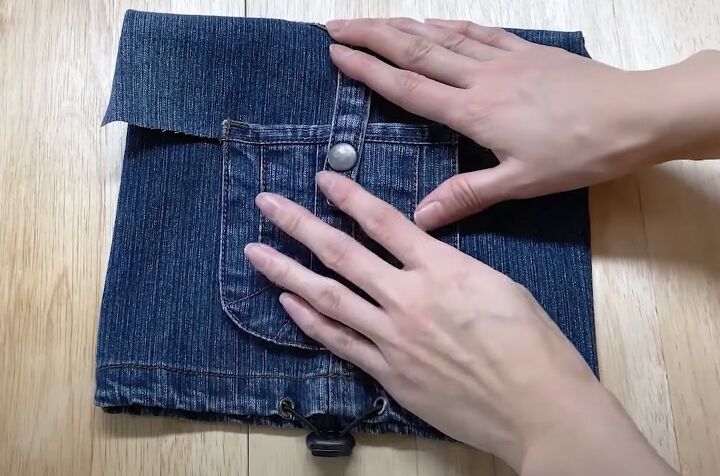
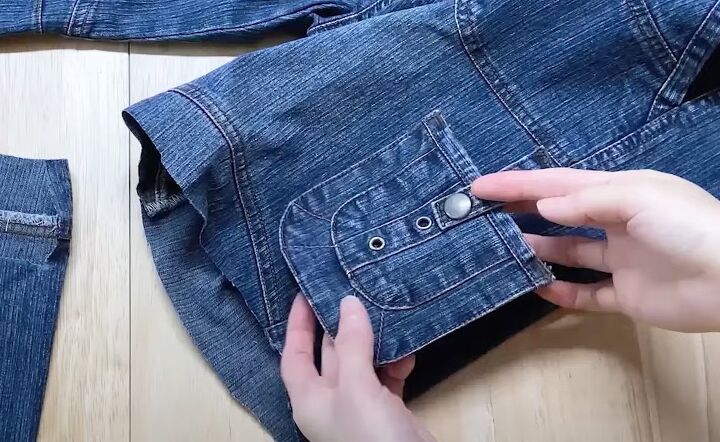
5. Outer pocket
Place one of the pockets on the shorter side of the bag and fold the flap over to check the position of the closure.
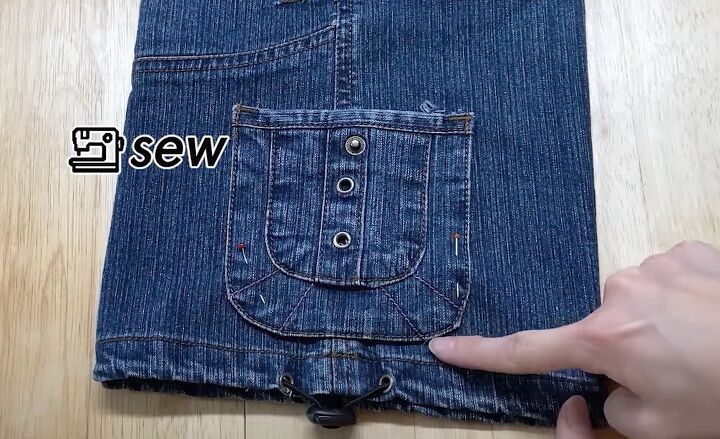
Sew the tab on to the flap. Sew the pocket to the front of the bag.
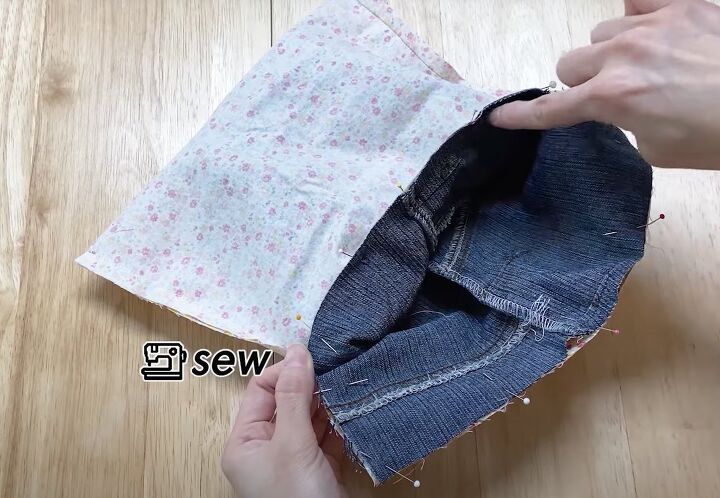
6. Attach lining
Tuck the back, right side out, inside the lining so the two right sides are together.
Pin in place along the raw edges and sew on the wrong side of the bag.

Cut off the excess fabric at the outer corners and snip into the inner corners.
Turn right side out. Sew a line of top stitching along the top edge of the bag and the three edges of the flap.
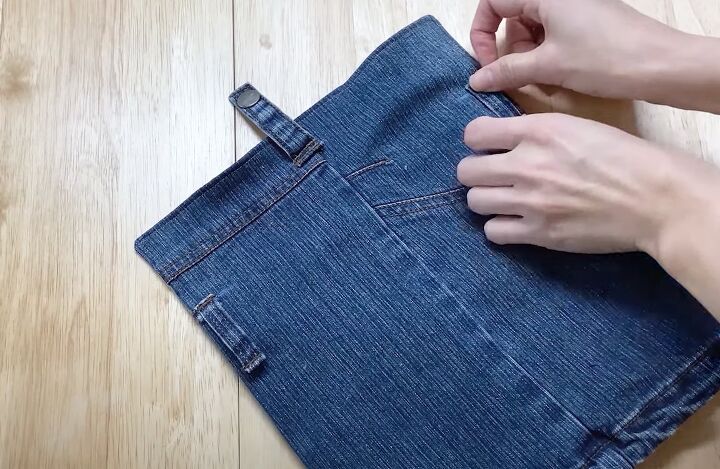
7. Attach loops
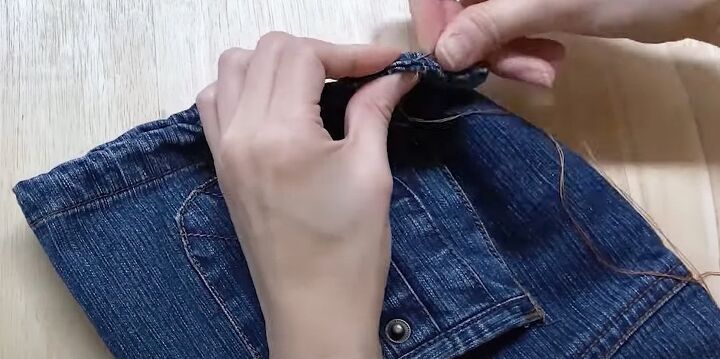
Pin the belt loops to the back of the bag, with the top edge of the loops in line with the top edge of the bag. Hand stitch in place.
8. Close lower edge
Hand sew the lower edges of the bag together, using invisible or ladder stitch.
9. Strap
Join the strips together to make one long strip.
Press the seams open and sew a zigzag stitch over them on the right side.
Fold the strips in half widthways and cut to 41 inches (105 cm) total length.
Iron fusible interfacing to the wrong side.
Thread a belt loop through each D-ring.
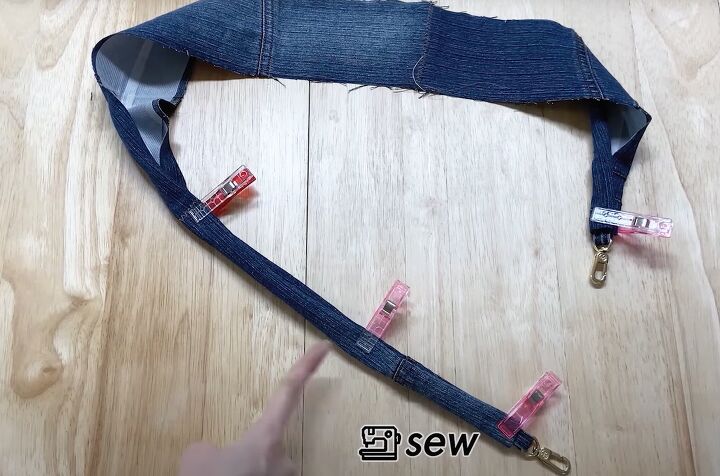
Fold in one short end of the strap. Turn in the top and bottom edges to the center then fold the strap in half lengthways, enclosing the ends of the belt loop. Hold in place with a fabric clip. Repeat at the other end.
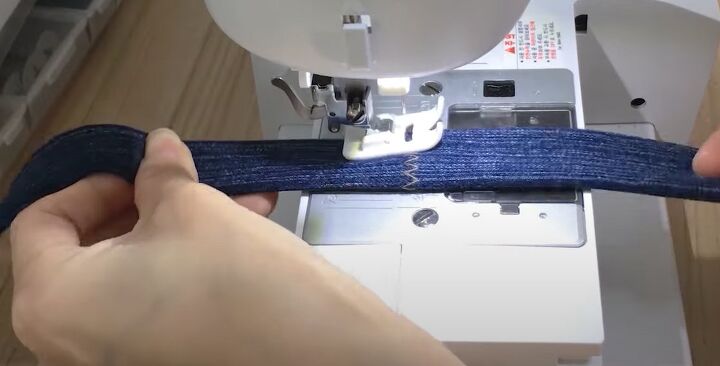
Turn in the top and bottom edges of the strap in the same way along its length and fold it in half lengthways.
Top stitch carefully around the three open edges.
Attach the strap to the belt loops on the bag.
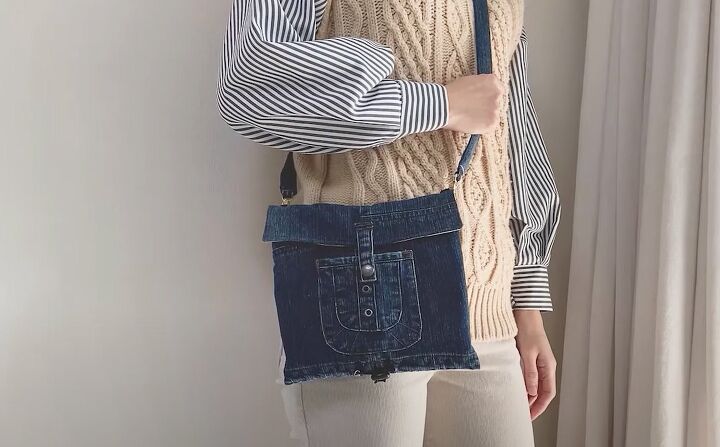
DIY crossbody bag
Even though my jeans had a lot of seams to work around, this was an easy and fun refashion and very satisfying to do.
You could add a layer of cardboard between the lining and the back of the bag to keep it flat, if you wanted.
I hope this tutorial gave you some ideas for how to make your own denim crossbody bag.
Please let me know in the comments if you liked it and check out my post on How to DIY a Chic Denim Bag.
The author may collect a small share of sales from the links on this page.


Comments
Join the conversation
SO cute! I love it! Thanx for sharing!