Macrame Market Bag Tutorial
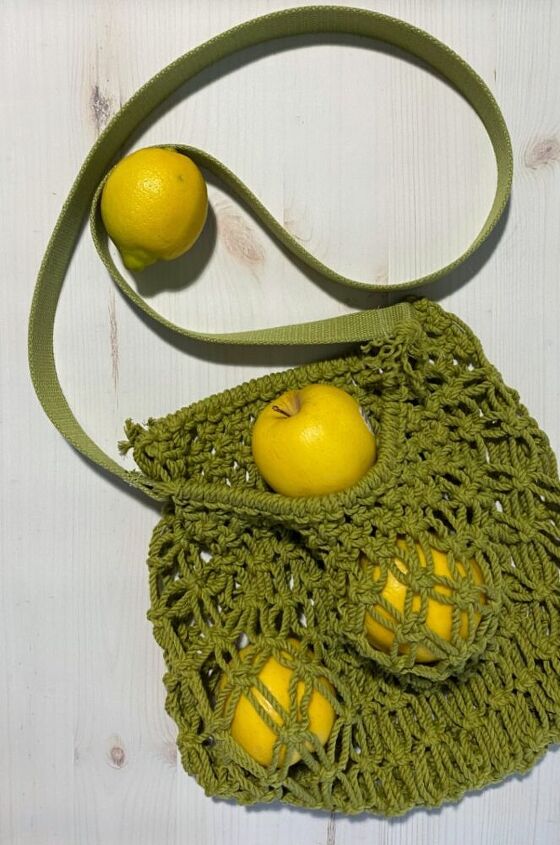
Last summer, I posted a tutorial for a macrame market bag that I made. I’ve enjoyed this bag so much – its lightweight design and crossbody strap – that I decided to weave another one in moss green.
(Affiliate links included for your convenience. As an Amazon associate I earn from qualifying purchases. See disclosure here.)
- 3mm cotton macrame cording in moss green – 374 feet
- masking tape or painters’ tape
- 1.5″ heavy cotton webbing – 45″
step 1 – preparationNote: the finished size of this bag when lying flat is approximately 15″ wide x 15″ long. Cut 4 pieces of cording, each measuring 20″ long. Next, cut 48 pieces of cording, each measuring 92″ each. Make sure to tape all rope ends with masking or painters’ tape to prevent fraying while knotting.
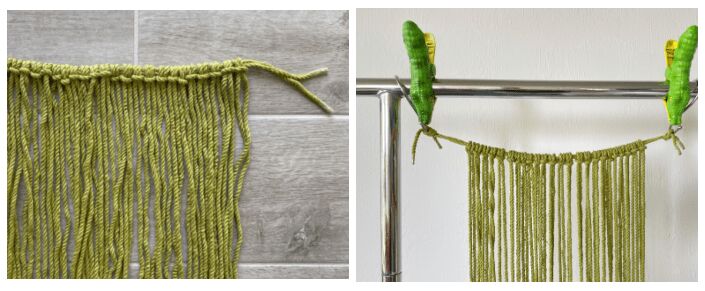
step 2 – side oneLark’s Head Knots – Place two 20″ pieces of cording horizontally on a flat surface. These will be the handle. Next, using Lark’s Head Knots, tie 24 pieces of cording (each measuring 92″ in length) onto the two horizontal pieces. (You can see from the photo below that I attached the project with S-hooks to a rack; and yes, those are beach towel alligator clips holding the hooks in place! Hey, I use what I have on hand!)
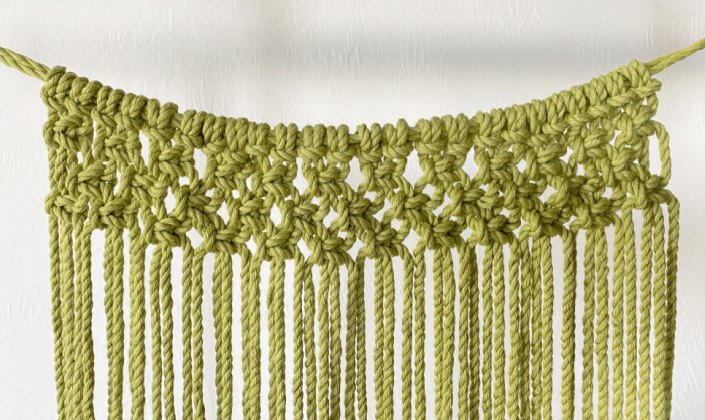
Rows 1-3 – The first 3 horizontal rows of Square Knots will be woven closely together, without a lot of open space between them.
- Starting with the first cord on the left, make a horizontal row of 12 Square Knots.
- For row 2, begin with the third cord from the left and make a row of 11 Alternating Square Knots.
- For row 3, begin with the first cord on the left and make another row of 12 Square Knots.
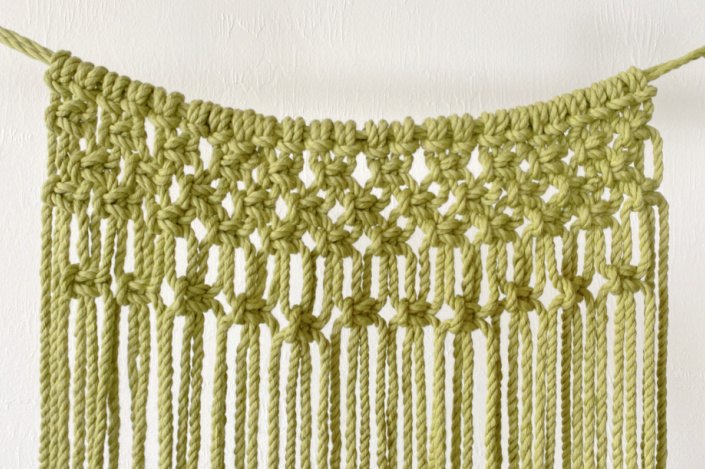
Row 4 – Begin the fourth row about 1″ down from the last row. Begin with the third cord on the left and make a row of 11 Alternating Square Knots.
step 3 – side two
Using the remaining (2) 20″ cords and (24) 92″ cords, repeat step 2. This creates side two of the bag.
step 4 – joining the sides
Place the two sides next to each other; tie the two loose cords on the end of each side together in a Square Knot.
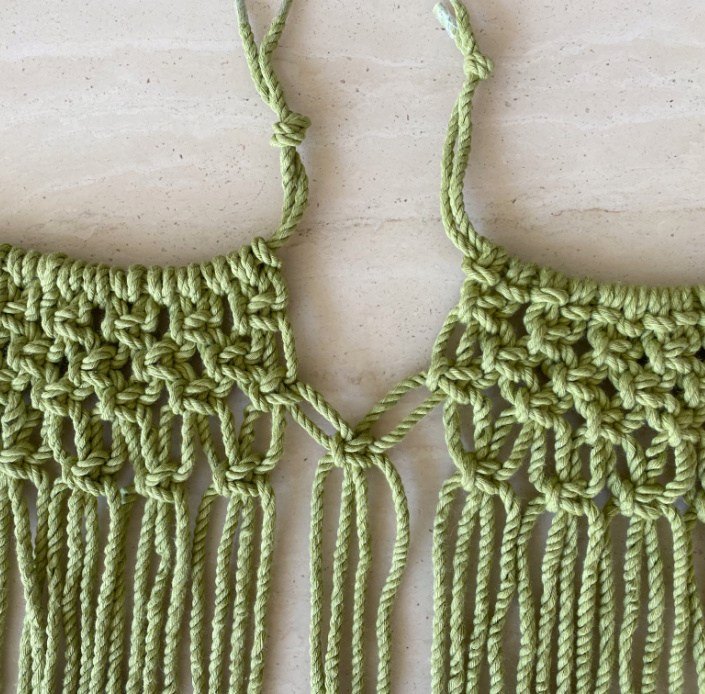
Join the other end in this same manner. Next, tie the top handle cords together with a simple knot, leaving about 2″ of space from the body of the bag (shown in photo above.)
step 5 – creating the body
Now that the sides are joined, continue adding more rows. About an inch below row 4, add another row of Alternating Square Knots all around the circumference of the bag. Try to keep the row straight, but don’t worry if it curves up slightly on each side. This adds a bit of flair to the shape. Continue making rows of Alternating Square Knots, keeping the rows spaced about an inch apart. Continue until you reach your desired depth of the bag.
completing the bag
Refer to steps 6 through 9 of my previous tutorial to complete the bag. But be careful – you may love this little macrame market bag so much, you’ll want to make one in every color!
The biggest compliment is a little share – pin the photo below!


The author may collect a small share of sales from the links on this page.


Comments
Join the conversation
This is adorable!
Thank you!