Make This Incredible Nylon Bag From a Windbreaker

So, I'm guilty of owning too many bags and purses, and I'm sure there are many others, too. But, the thing about bags is, you can never really have enough. There's a bag for every occasion! In this tutorial, I will show you how to make a stunning and functional nylon bag. I had a windbreaker and decided to turn it into something more useful by making this simple nylon bag. You're going to love this tutorial, and the result is pretty cool, too. Let's get started.
Tools and materials:
- Windbreaker
- Sewing machine
- Paper
- Scissors
- Measuring tape
- Pins
- Lining- optional
- String
- Zipper
Make the pattern
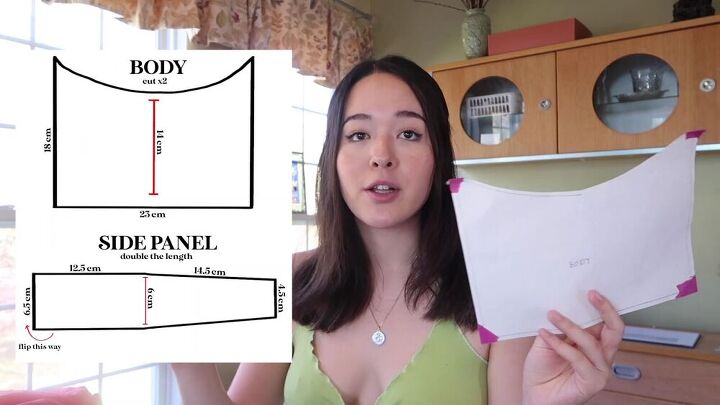
So, the pattern is pretty simple. Grab a piece of paper and make the body and side panel according to the measurements. For the body, cut two pieces 23 cm (9 inches) in length, 18 cm (7 inches) in width, and the body itself should be 14 cm (5.5 inches). For the side panel, the longer side should be 6.5 cm (2.5 inches) while the other measures 45 cm (18 inches). The top straight line is 12.5 cm (5 inches), while the diagonal line measures 14.5 cm (5.5 inches). The body itself is 6 cm (2.5 inches).
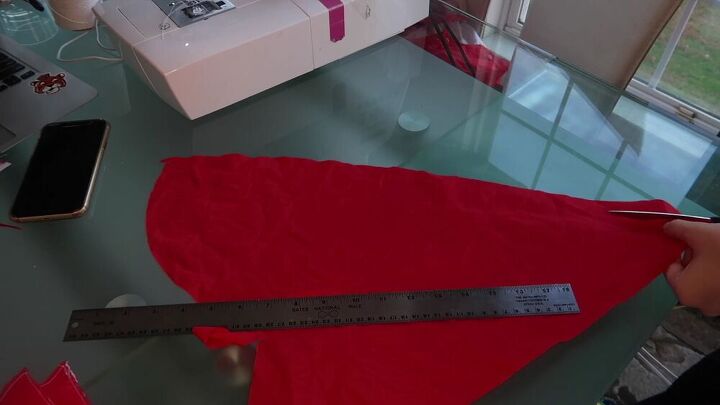
Cut out the pieces
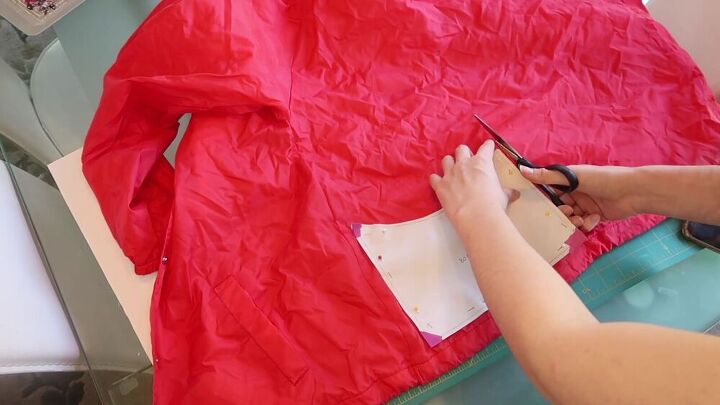
Using your new nylon bag pattern, trace the pattern onto your fabric or windbreaker and cut out the necessary pieces. The pattern already has a ¼ inch seam allowance, but I cut a little extra for some wiggle room. Cut two of these.
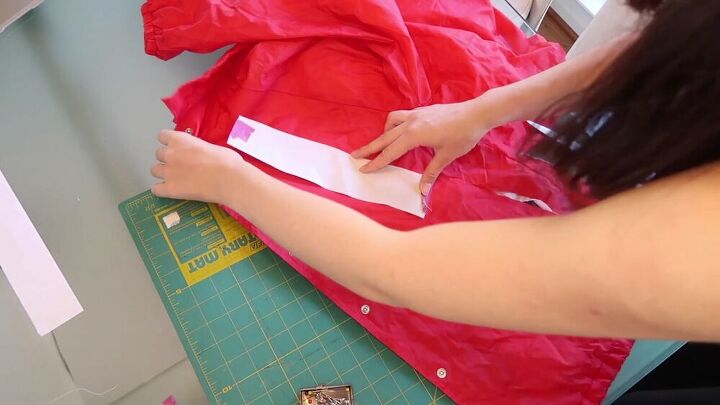
When cutting the side panel, keep in mind that the pattern only shows half of the real measurement. So, flip it over while cutting so it doubles in length. Make sure the thickest part of the side panel is in the middle.
Sew the lining
So, my windbreaker jacket already had a lining, and I decided to keep it as an extra layer. If yours also has, go ahead and sew the lining to the nylon bag. If you don't have a lining, you can get some lining and do the same. This part is totally optional.
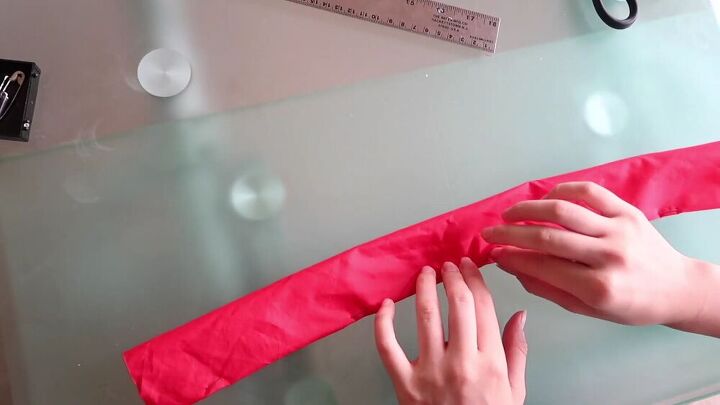
Create the piping
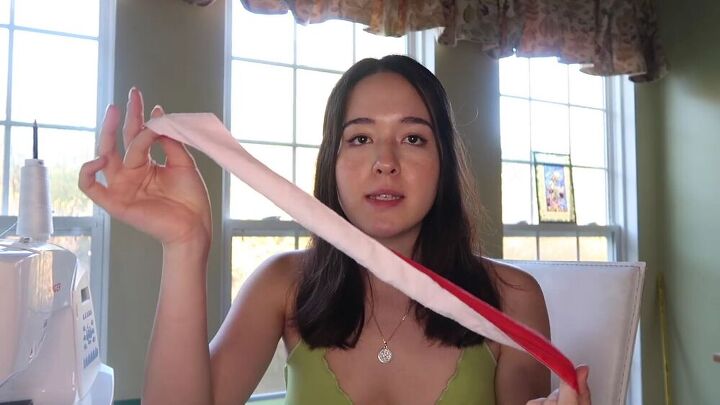
I went a step further and added some piping to the sides of the simple nylon bag. For this, you'll need string and long strips of nylon fabric. Cut the strips 1.5 times longer than the side panel.
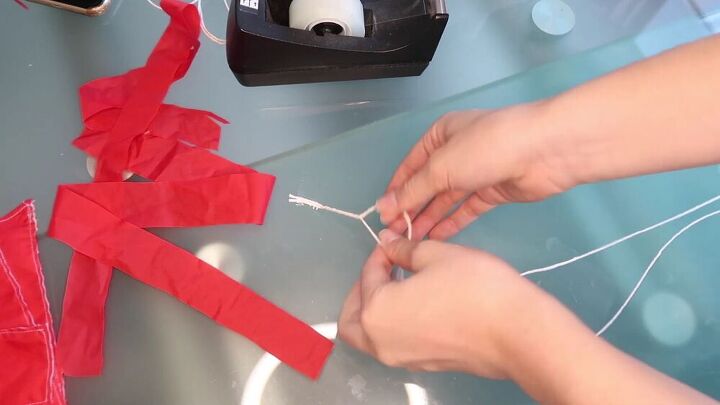
String two pieces of string together to make the piping thicker.
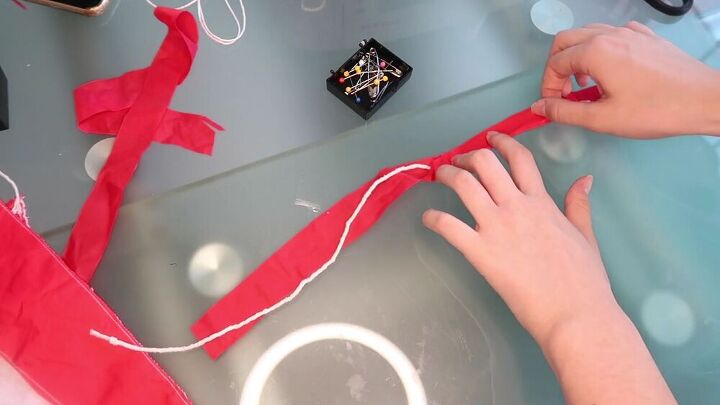
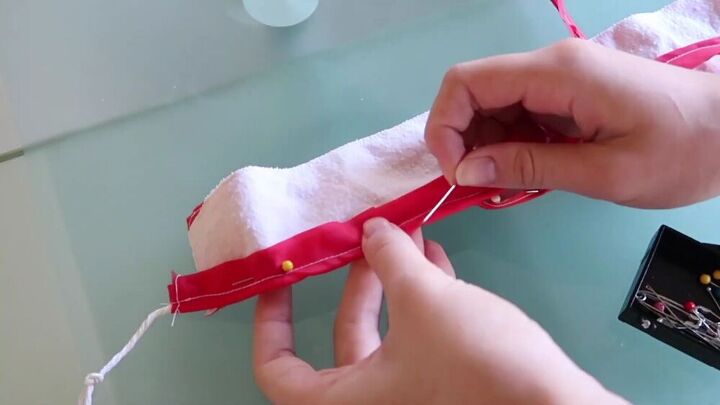
Then, place the string in the middle of the fabric strip, fold the fabric over and pin as close to the string as possible.
Next, sew along the pinned edge, making sure you sew as close to the string as possible so that you have a tight encasing. Also, sew the ends of the string to the fabric, so they don't come loose.
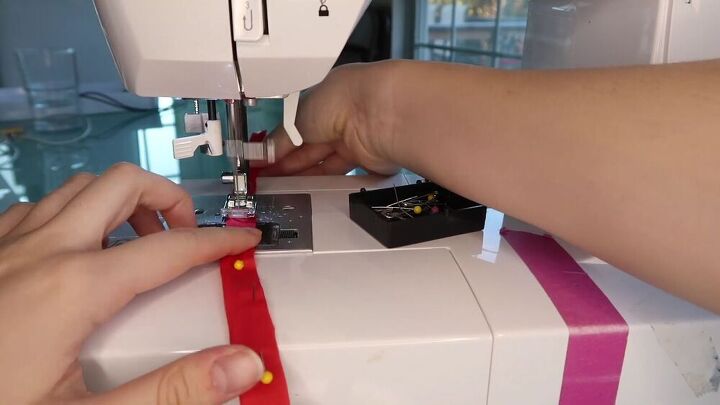
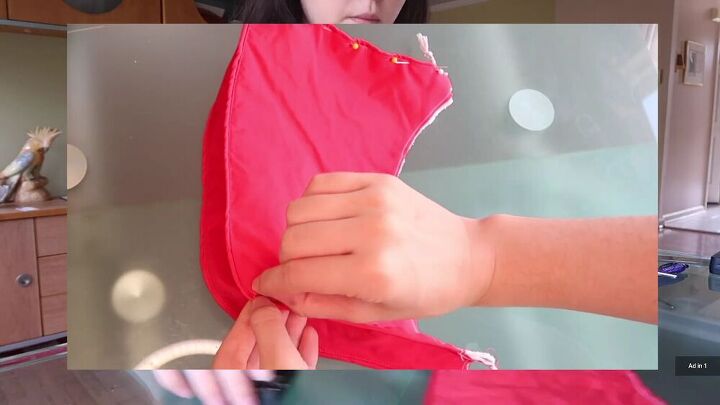
Assemble the bag
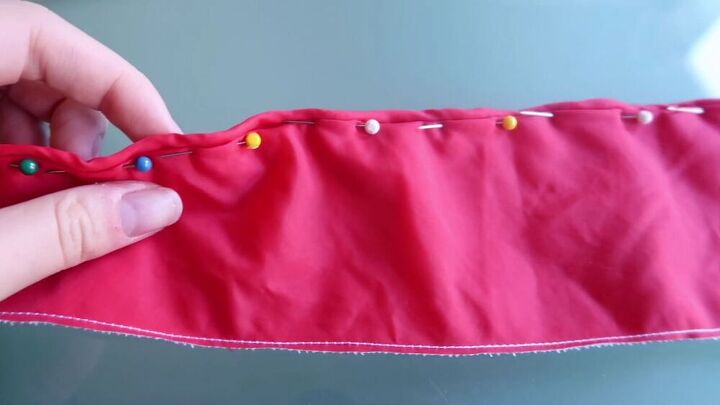
Fold the raw edges of the long panel and, at the same time, attach the piping strips to the edges. This will give the bag a nice, professional finish.
TIP-
Pin the piping so that only the part with the thread sticks out.
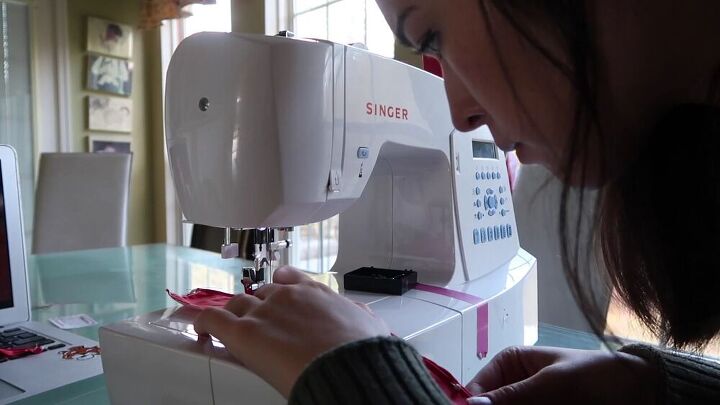
Sew along with the pins very slowly and repeat the same step for the other side of the panel.
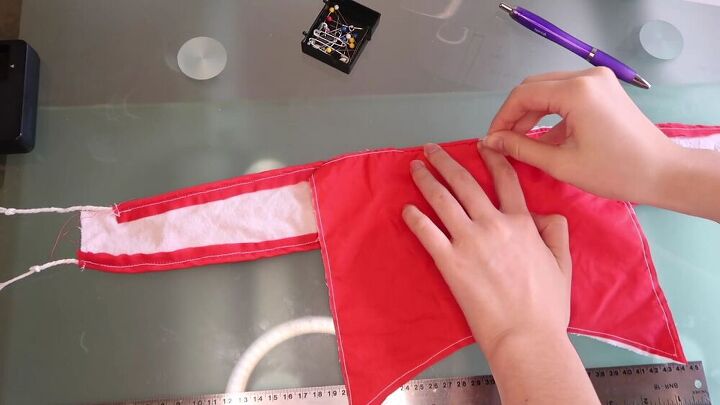
Go ahead and mark the center of one of the body pieces. Then, fold the edge of the bottom part and attach the panel accordingly. Make sure to pin it to the wrong side. The piping should stick out just a little bit.
Now pin the panel the same way to the rest of the bag. There is a curve at the bottom, so be sure to pin and attach it correctly as it curves up. Check out my video from 7:53 minutes to see exactly how I achieve this.
Repeat the same steps above for the second body piece of the nylon bag.
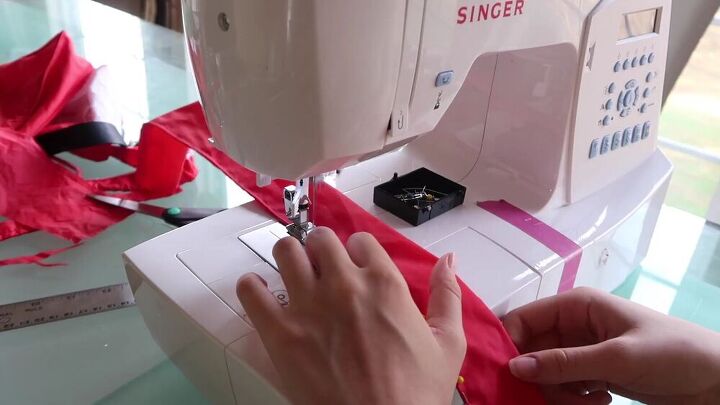
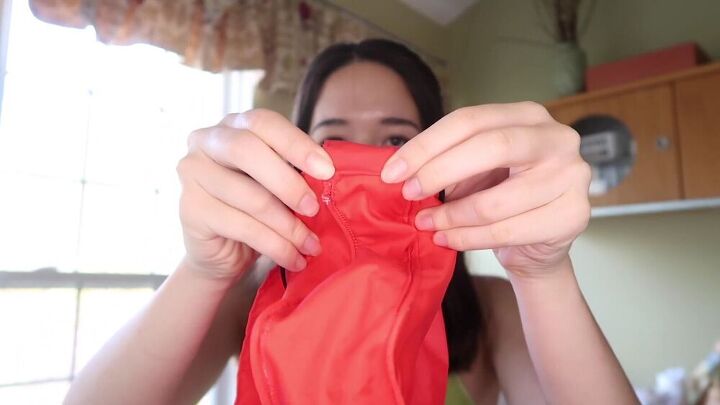
Add the zipper
It's time to add your zipper to your DIY nylon bag. Cut your zipper to length and attach it to the top opening. See how I do this from 9:29 minutes.
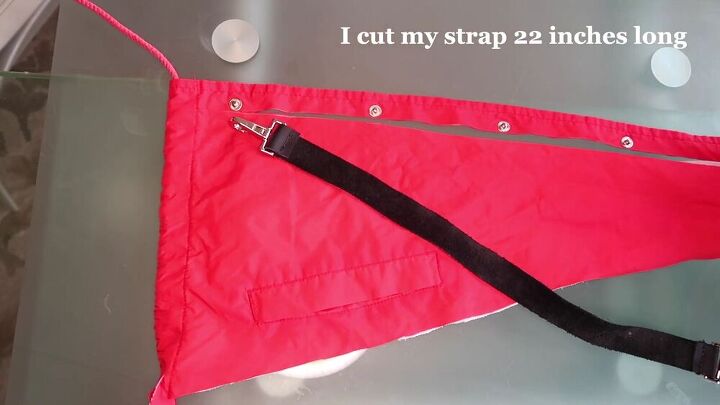
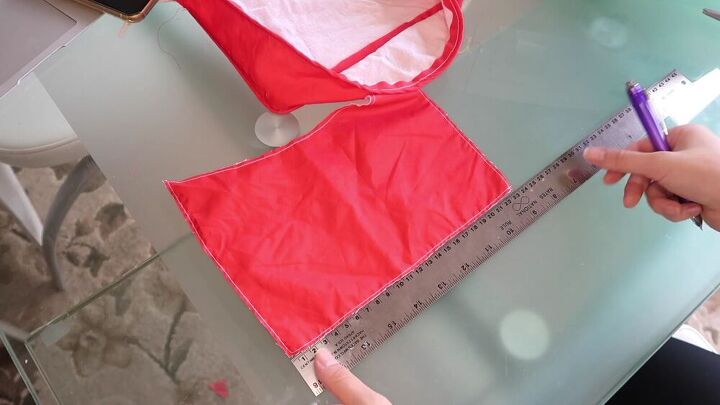
Make the strap
I used an existing strap from one of my other bags to measure this nylon bag strap. My strap was 22 inches long and 4 inches wide.
Pin the raw edges and then fold it in half and pin again.
Sew along the pins and along the folded edge.
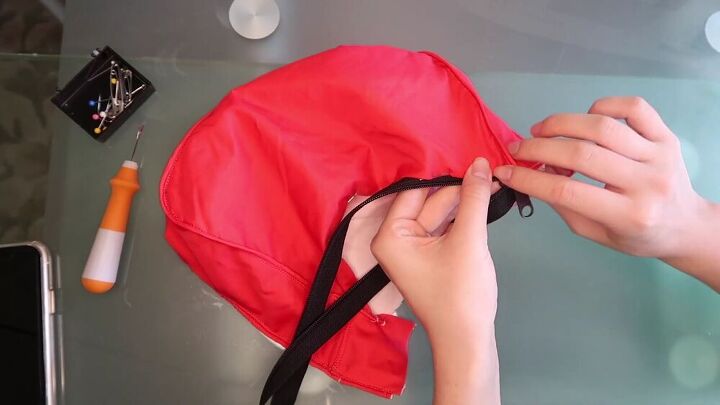
Sew on the strap
Your beautiful nylon bag is almost done! Now, simply fold the ends of the straps by about an inch and sew the folded ends to the side of the bag.
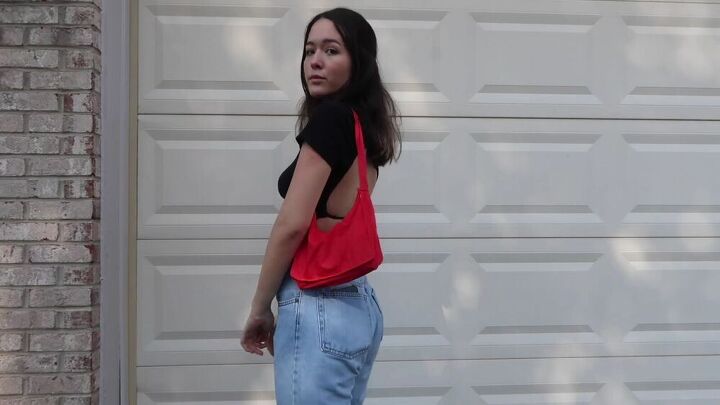
Here it is, guys! A beautiful nylon bag made by yours truly! What do you think? I love it; it's so trendy, cool, and awesome! Perfect for going out, too. I love how it brings a pop of color to my outfits, and it's just simply… unique! I hope you enjoyed this tutorial on how to sew a nylon bag. Good luck!
The author may collect a small share of sales from the links on this page.


Comments
Join the conversation
CLEVER!!!!