How to Easily Make a Pretty Pressed Flower Phone Case For Spring

With spring here I want to show you how to make a beautiful pressed flower phone case. The DIY flower phone case is the perfect accessory for the season and will look beautiful all spring long. Let me show you how to do it!
Tools and materials:
- Clear phone case
- Clear nail polish
- Pressed flowers
- Gold leaf
- Tweezers
- Tape
- Alcohol wipe
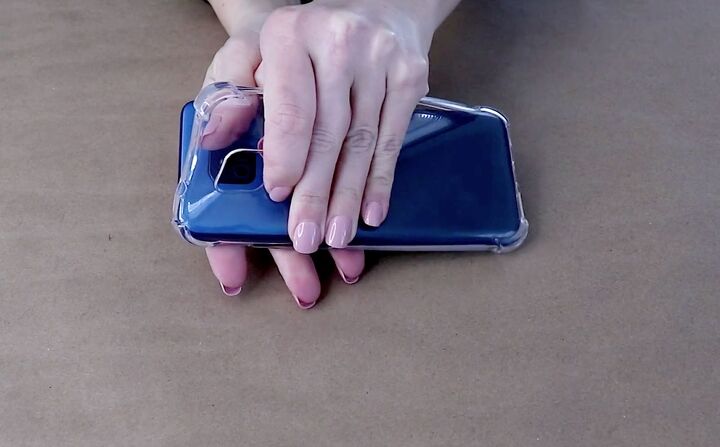
1. Clean the phone case
The first thing you need for your DIY flower phone case is a clear phone case. The kind made from a flexible material that you can get on Amazon for a few dollars is perfect to get started.
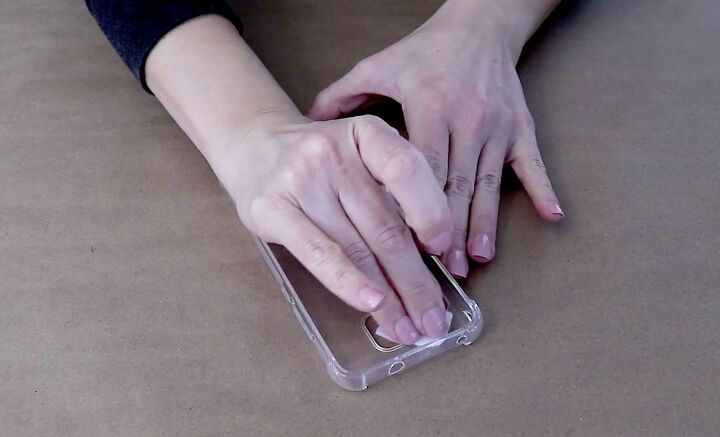
Use an alcohol wipe to clean it well and get any of the grease from your fingers off of it.
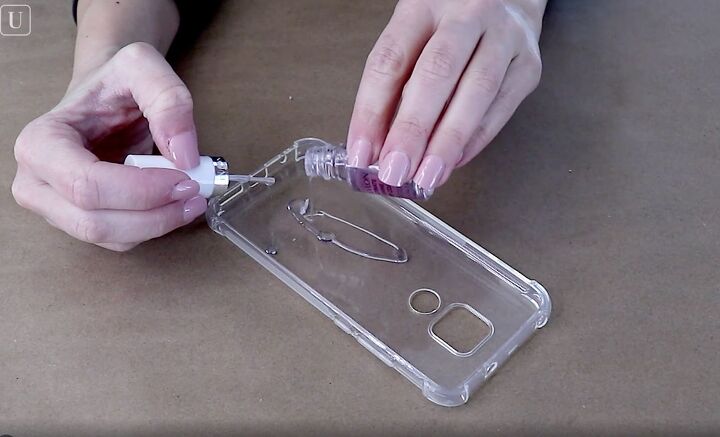
2. Pour clear nail polish into the case
To decorate the case, you want to grab some clear nail polish and pour it into the inside of the case.
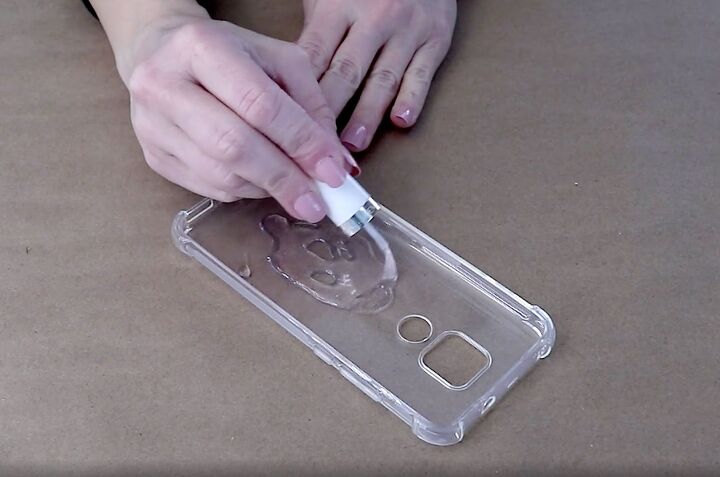
Use the brush that comes with the nail polish to spread it out and make a nice thin coat over the entire inside of the case.
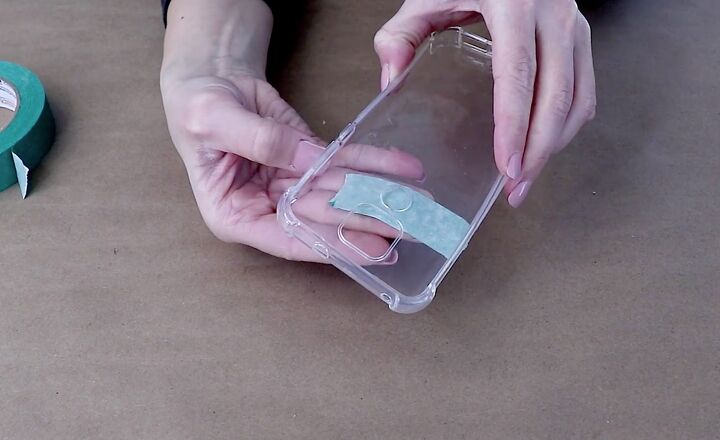
To make sure that the nail polish doesn't seep through the holes cover them on the outside with some tape.
Then, continue adding the nail polish around the little openings, spreading it in a thin coat with the brush.
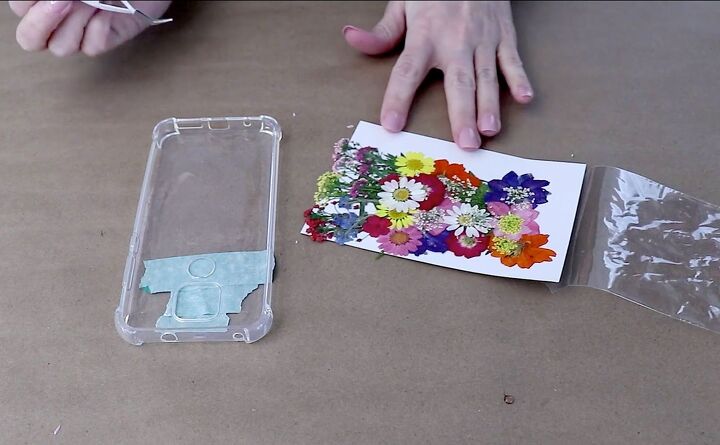
3. Decorate the phone case with pressed flowers
Once everything is covered with nail polish, it's time to start adding some flowers. I picked up this collection of dried pressed flowers and they come in some beautiful colors.
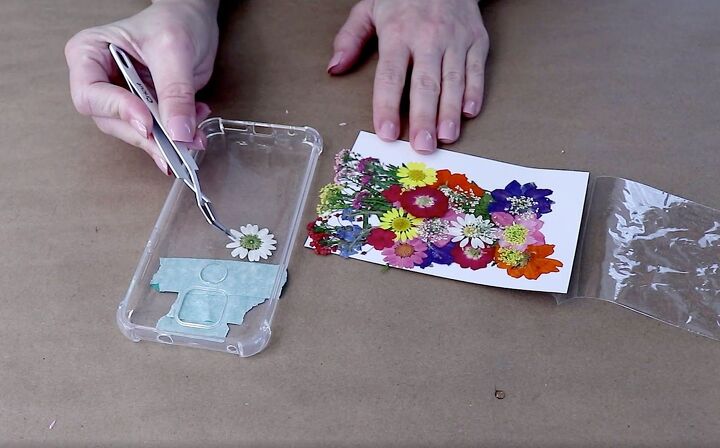
Using a pair of tweezers, start applying them to the inside of the case. Make sure they are face down because you're going to see them from the other side.
I love that there are so many in the collection so you could do a couple of different phone cases all in different colors.
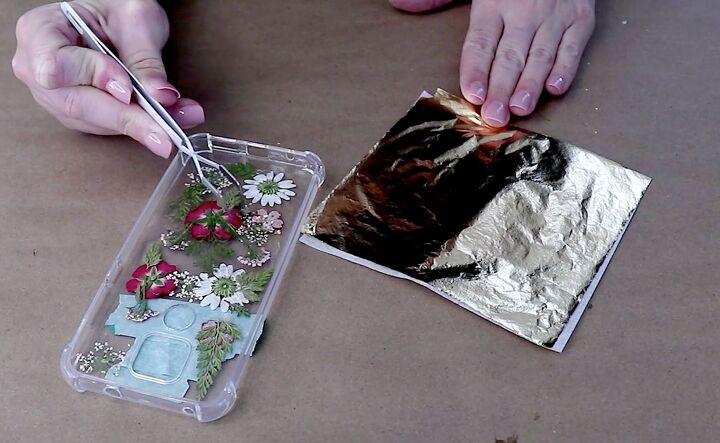
4. Add gold leaf
Once you have all the flowers placed where you want them, it’s time to add a little gold leaf.
You can buy gold leaf in sheets and it's best to handle it with a pair of tweezers. It will stick to your fingers if you just pick it up with them.
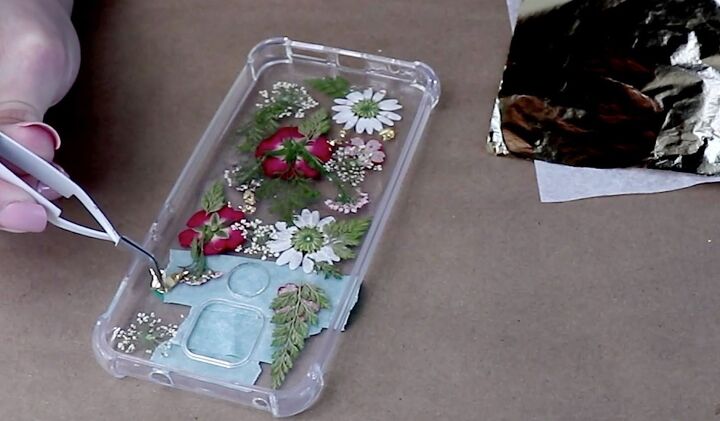
Break off little pieces and drop it around the flowers and it will add some nice metallic touches around those beautiful colors.
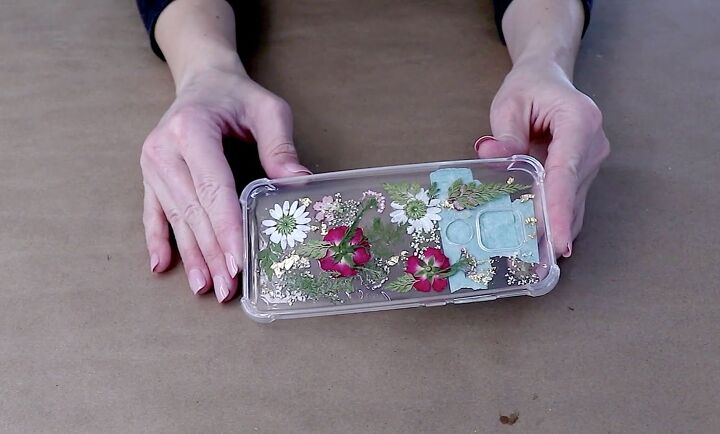
When you have finished arranging the flowers and gold leaf, set the case aside and let that nail polish dry completely.
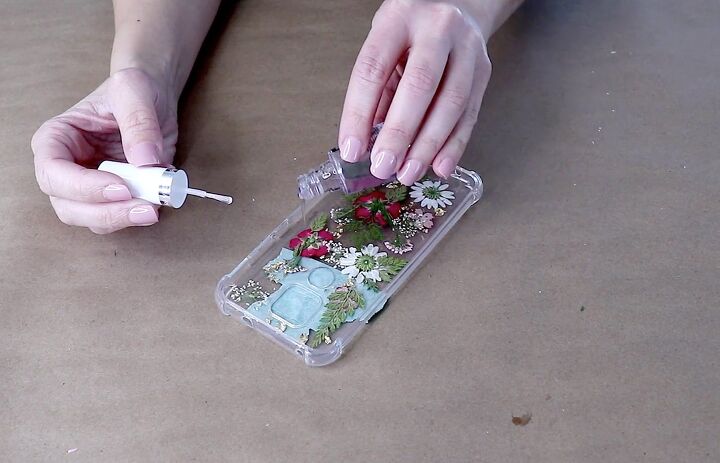
5. Seal the decorations
Once the bottom layer of nail polish is completely dry, add another layer to seal in all of the gold leaf and flowers.
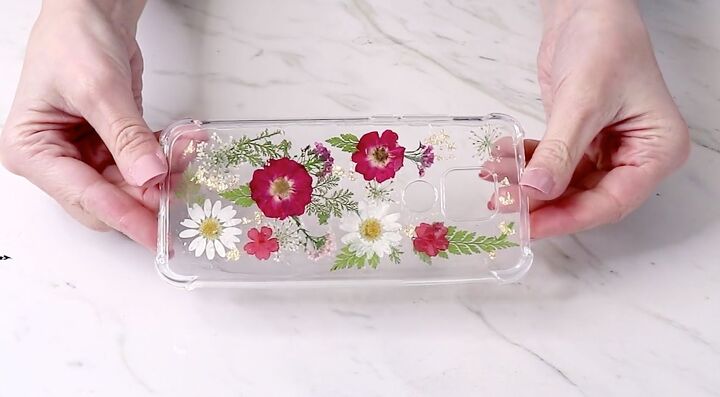
After the nail polish is dry, the case is done.
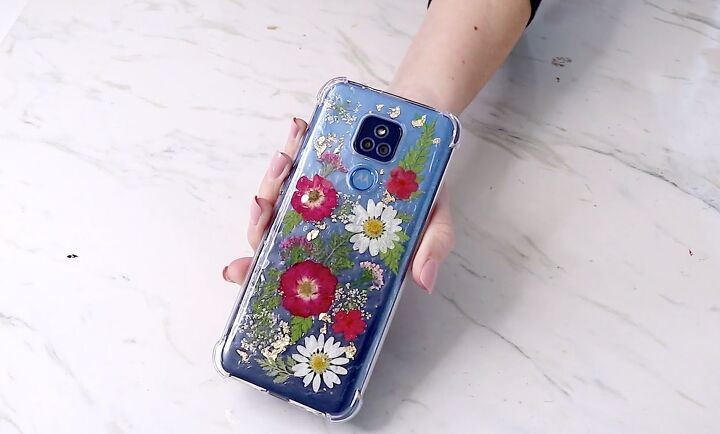
DIY pressed flower phone case
Now you have a custom floral phone case that didn’t cost a lot to make and you were able to use the colors and the style you wanted.
I hope this inspired you to create a pressed flower phone case this spring for your phone. Let me know your thoughts in the comments below.
The author may collect a small share of sales from the links on this page.


Comments
Join the conversation
I absolutely loathe the smell of nail polish, but I want to try this! I will try Modge Podge (gloss), see how that works. If it doesn't work, I'll try clear poly.
Great idea, decorating the inside of a phone case like this!
Yes! Love it!