Screen Printing Tote Bags
Make a stencil to create multiple tote bags!
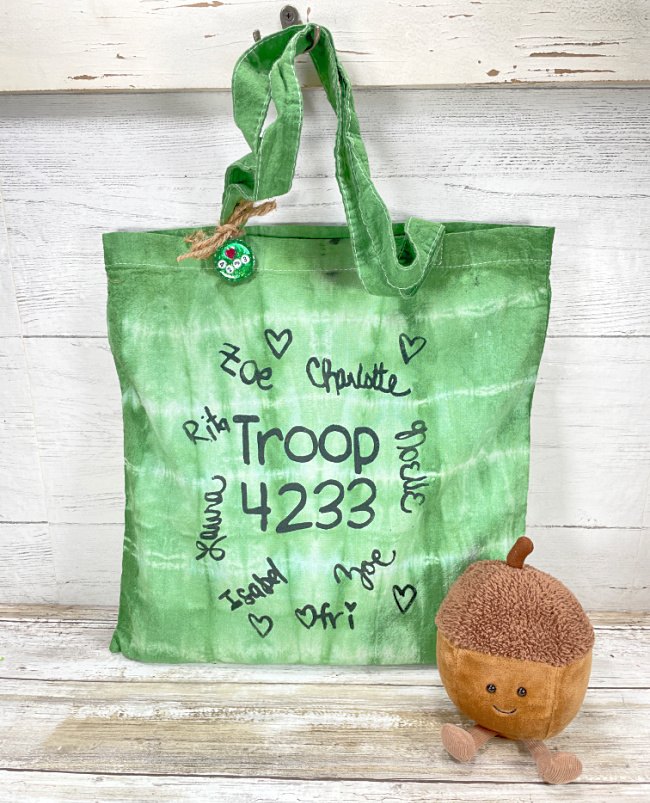
When girls have a tote bag to keep their troop items organized and handy, they are likely to be more successful. This darling project allows you to make a stencil with all of the girls signatures (or designs) that can be used over and over on multiple tote bags (or even t-shirts)! The Ikonart Stencil Kit comes with everything you need to be successful the making of the stencil which create success in fabulous apparel.
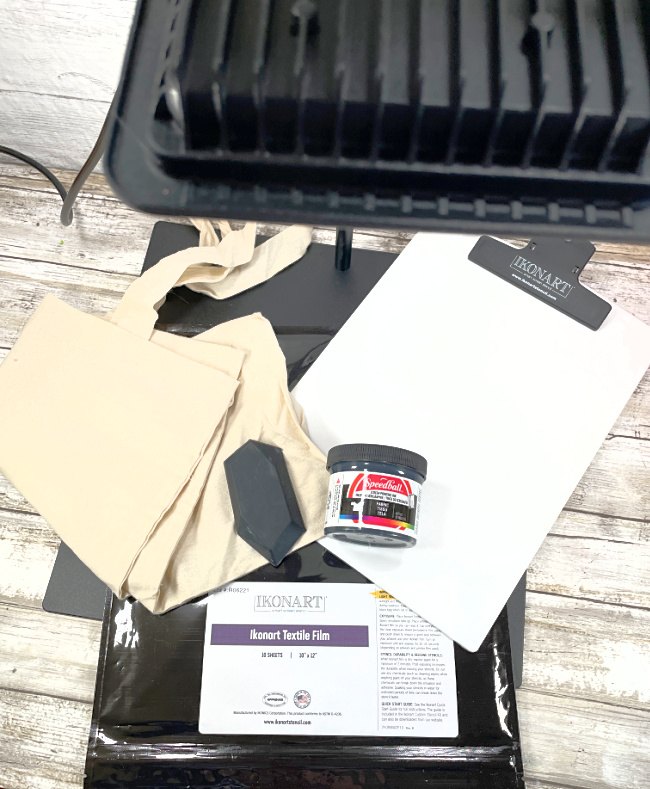
Materials and Supplies Needed
- Canvas Tote Bag (Tie Dyed If Desired)
- Speedball Screen Printing Ink for Fabric
- Ikonart Custom Stencil Kit (Keep reading for LOTS of information and details.)
- Laser or Inkjet Printer
- Sink for Rinsing
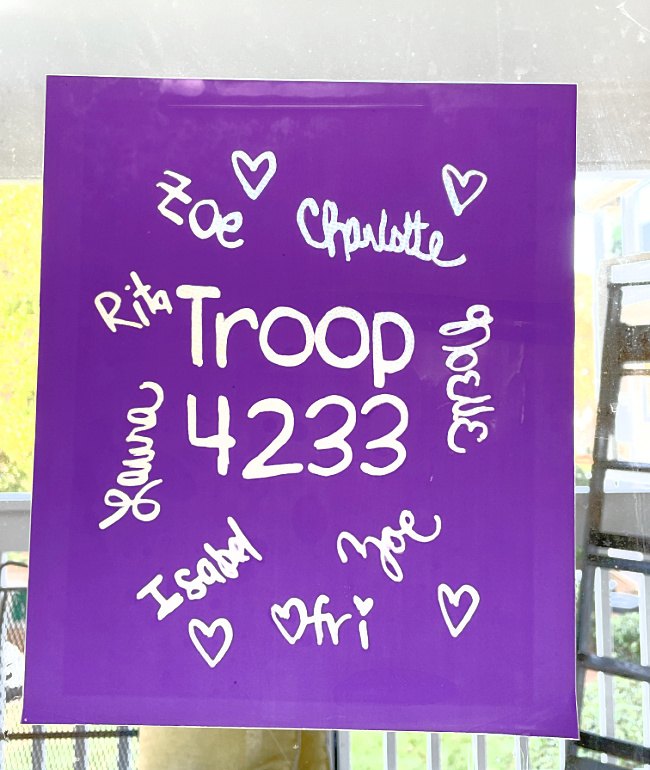
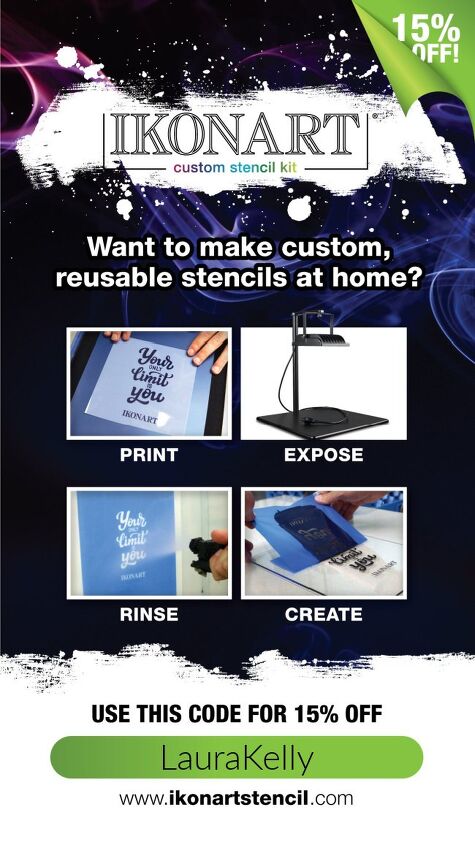
STEP 1: PRINT YOUR DESIGN IN SOLID BLACK AND WHITE
The printing needs to be SOLID and dark. If the girls sign a piece of paper to create the image, go over their lines with a thick black marker. Copy the final design onto printer film (either inkjet or Laser) This could be done directly on the printer film too.
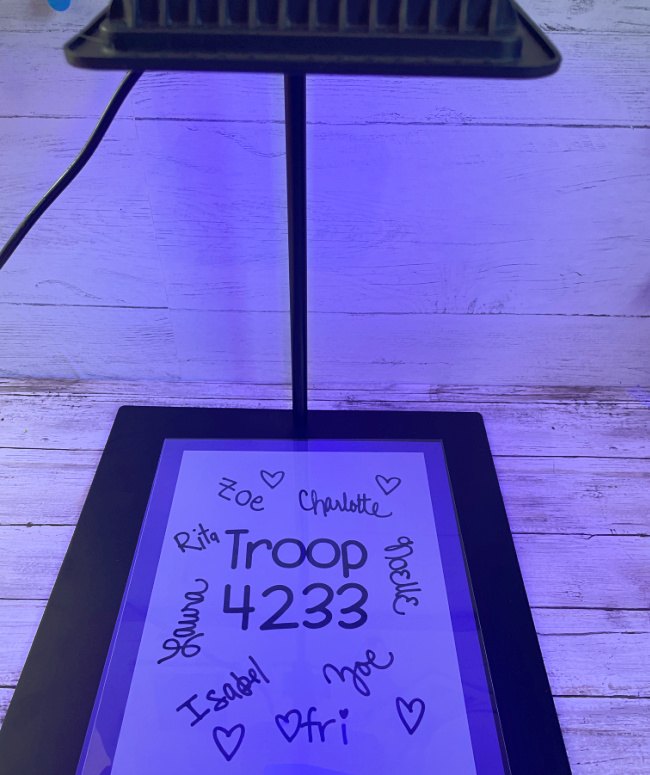
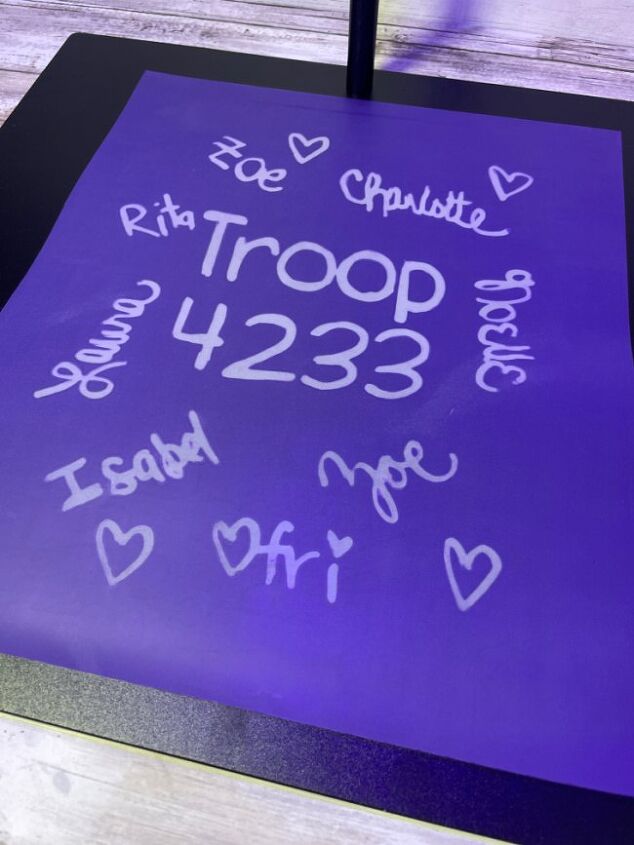
STEP 2: EXPOSE ARTWORK ON THE PURPLE IKONART LIGHT SENSITIVE TEXTILE FILM
For this step, I used IKONART textile film (the purple one) because I am printing on fabric. The purple film is more sticky than the original film, making it easier to work on fabrics.
Note that you will be best to work in a dark space with the lights down low! Place a sheet of the light sensitive film down. Align your artwork on top of the film. Cover everything with the clear sheet (included). Plugin your exposure unit and allow the light to hit the film for 35 seconds – no more!
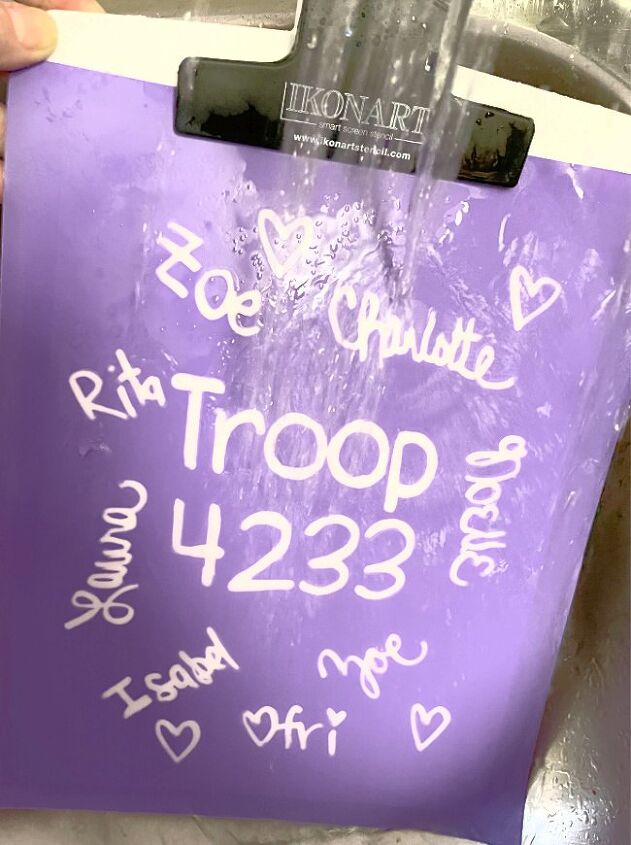
STEP 3: WASHOUT FILM IN SINK
Using a household sink with a spray nozzle, use warm water to wash out the design. The kit includes a white clipboard that works great to hold the film in place – making it easier to hold on to in the sink. It is important to take the time to get the designs completely washed away for the best results.
STEP 4: AIR DRY COMPLETELY
After washing out the film, use a paper towel to blot it on both sides. The film needs to air dry before it can be used. I typically stick mine on the sliding glass door and let it dry there. If you are in a hurry to get started with your project, you can speed up the process with a fan or blow dryer.
The final step to finishing your stencil is to post-expose it. Place it back on the stand (texture side up) and turn the light on it for at least two minutes. This makes the stencil more durable so it will work better and be used over again.
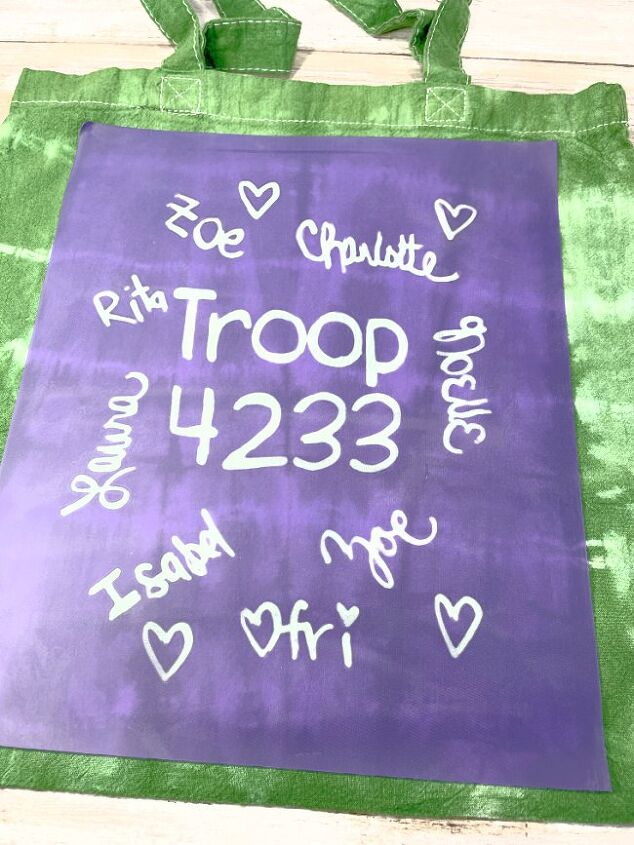
If you want the bags to be tie dyed, that needs to be done ahead of time. The bags need to be dry and ironed.
STEP 5: APPLY ADHESIVE FILM TO YOUR SURFACE
Peel off the clear backing and apply the sticky side of the film to your tote bag
One of the parts to getting a good print is making sure the film is stuck to your surface and doesn’t move around. so it doesn’t move around.
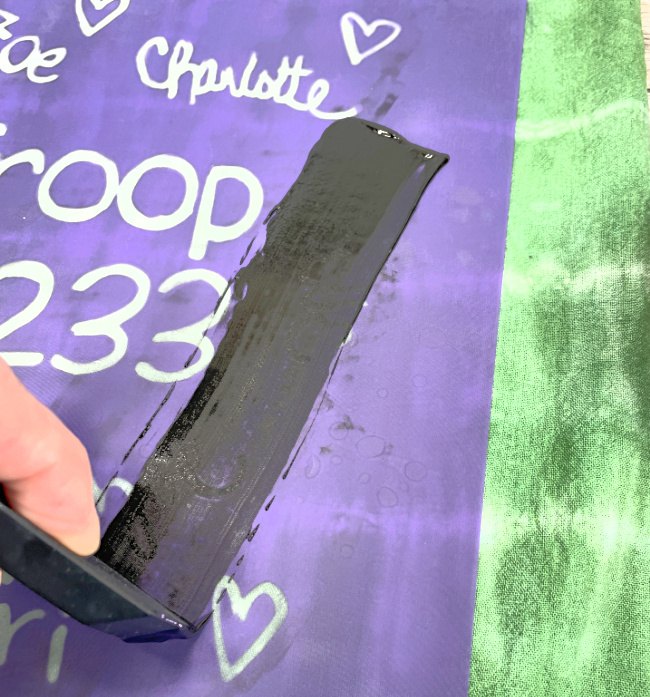
STEP 6: SQUEEGEE INK OVER THE FILM
Use the black IKONART squeegee to spread the Screen Printing Ink over the design. Go in one direction for the best results. When the entire area is covered, peel away the screen from one corner to reveal your project design.
Let the bag dry completely before using it. For a more permanent setting of the ink, heat pressing is a good idea – whether with an iron or a heat press.
IKONART DISCOUNT CODE
I’m excited to be partnering with IKONART to offer a deal just for you! Use the coupon code LAURAKELLY for 15% off your entire order. This includes the new textile film!
The author may collect a small share of sales from the links on this page.


Comments
Join the conversation