How to Make a Cute DIY Box Bag That Looks Like a Mini Caramel

Get ready for an amazing DIY box bag sewing tutorial! I’ll show you how to make a fabric box bag with this easy-to-follow, step-by-step tutorial! These bags are so cute, and the process of making one is pretty fun! Let’s begin!
Tools and materials:
- 3 different fabrics (different prints)
- Interfacing
- Measuring tape
- Pins
- Sewing machine
- Matching thread
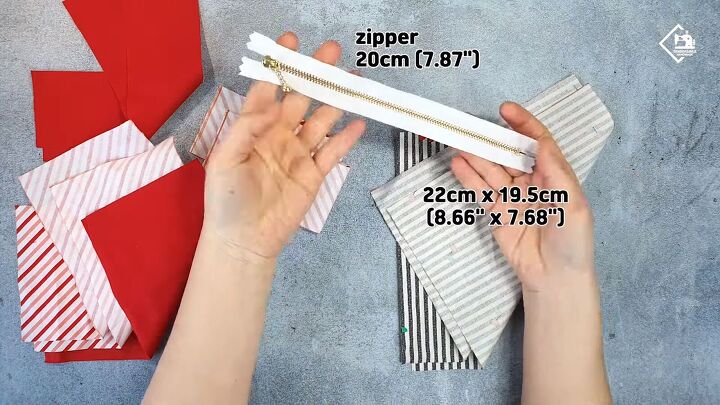
- Zipper
- Scissors
- Iron
- Marker
- Ruler
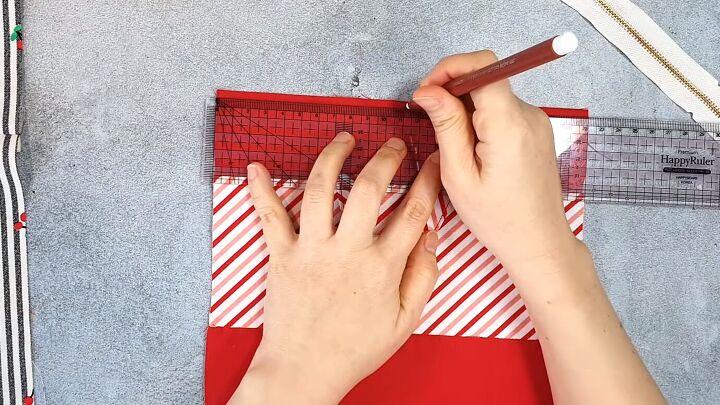
1. Cut the pattern pieces
Measure and cut the following pieces;
- Two 8.66 x 2.36”
- Three 8.66 x 4.33”
- Two 2.36 x 7.87”
- Two 8.66 x 7.68”
I used fabrics with different fabrics to create a caramel-like effect. Also, you’ll need a 7.87” zipper.
2. Assemble the base and straps
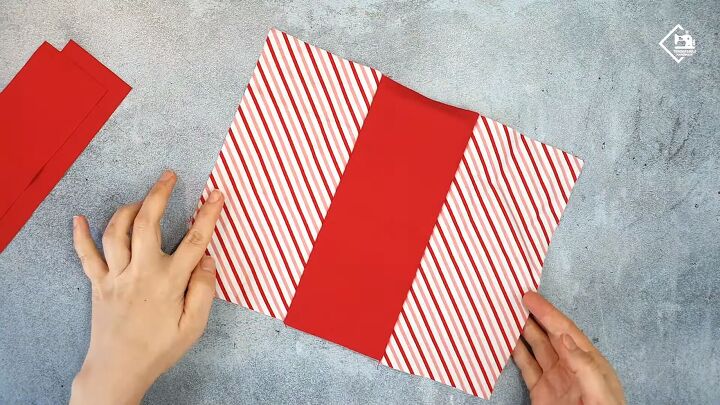
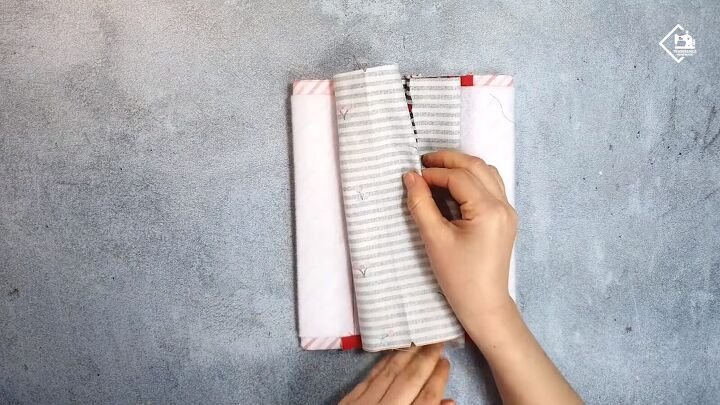
Take the three 8.66 x 4.33” pieces and sew them together to make one big base piece.
Pin one piece’s edge to the middle piece and do the same for the other. These are right sides facing. Stitch with a 0.4” seam allowance on both sides.
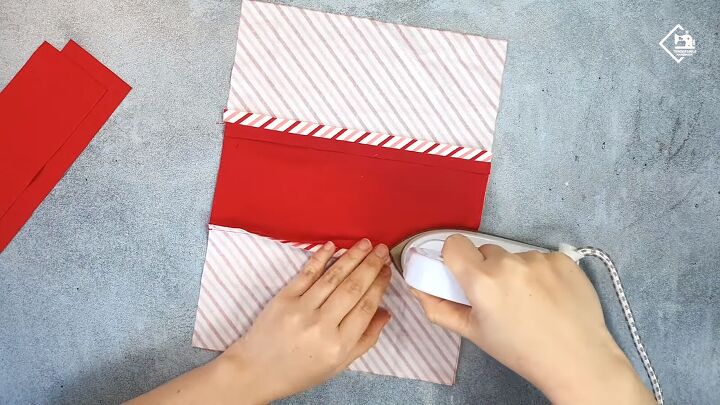
Press open the seams.

Fold the two 2.36 x 7.87” pieces in half and press.
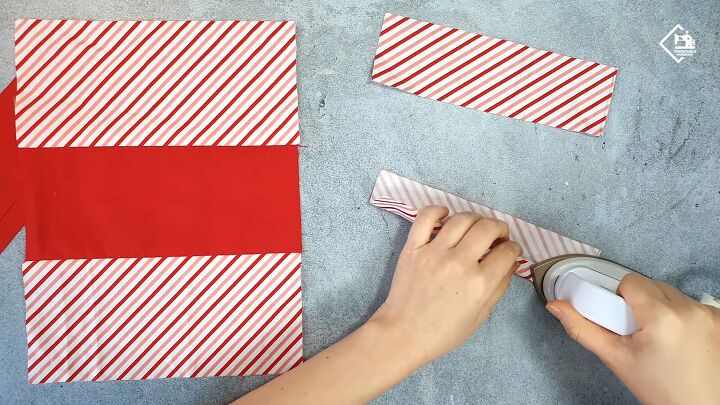
Open the strip and fold in ¼ lengthwise, and press. Repeat the same on the other edge.
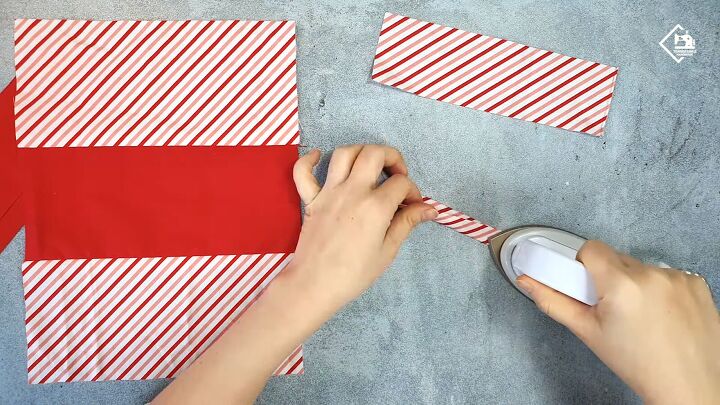
Fold the whole strip in half and press.
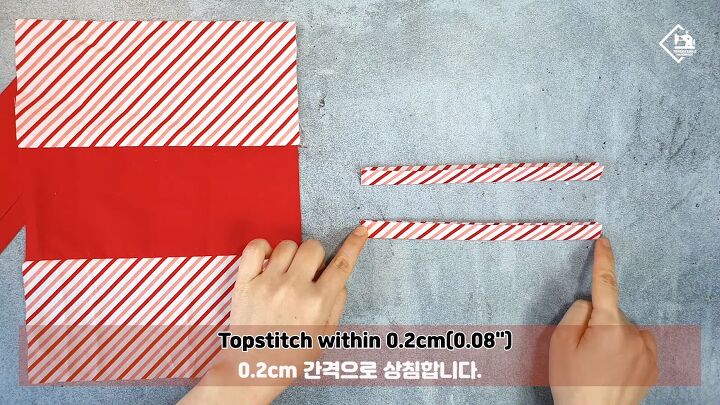
Topstitch the long sides with a 0.08” seam allowance.
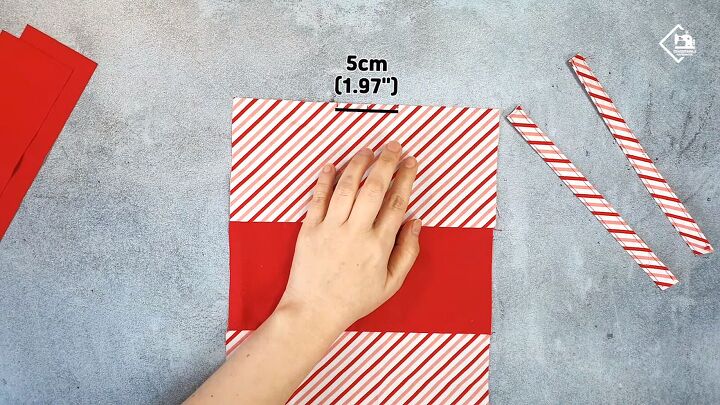
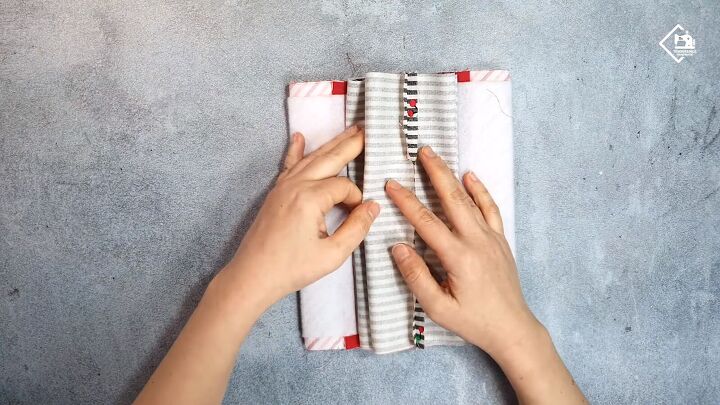
Measure the center point of your base piece. Then, measure 1.97” in the center.
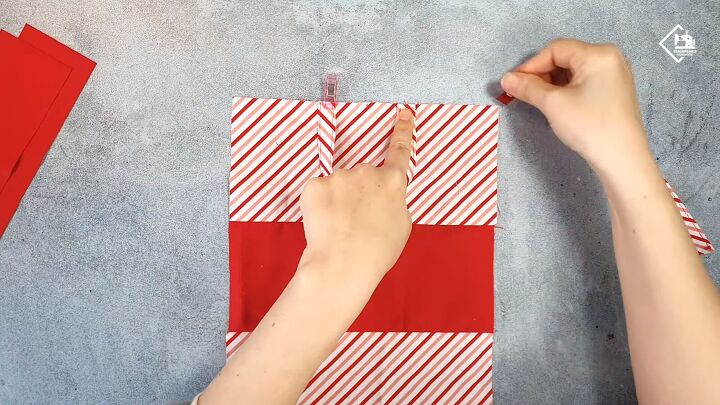
Place one end of the strap on the outer point and the other on the opposite outer point. Fold your strap neatly, as shown.
Stitch the straps with a 0.12” seam allowance.
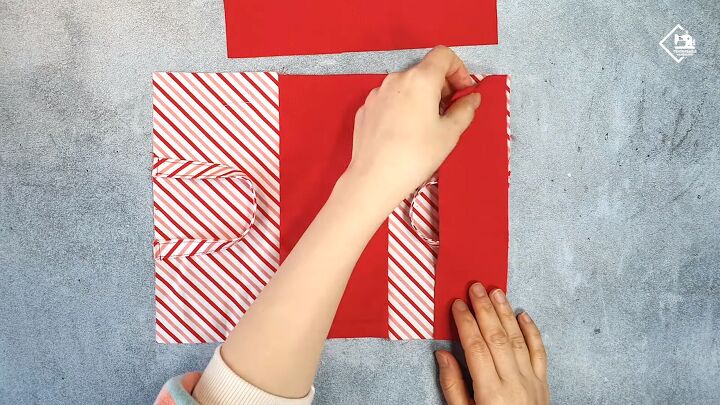
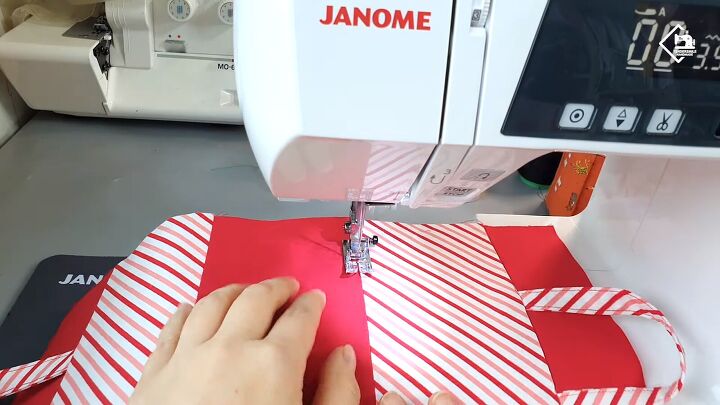
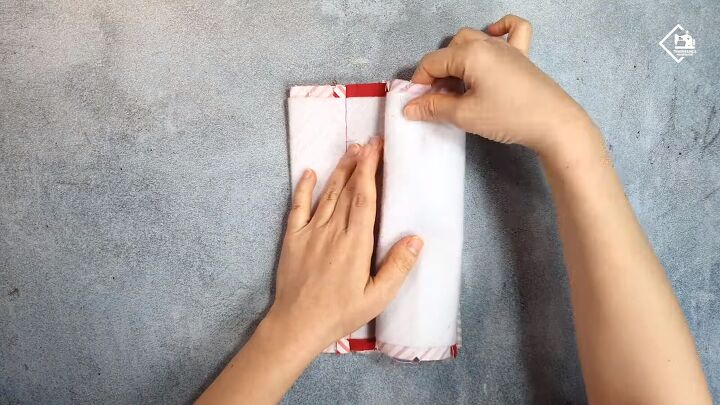
3. Attach the extensions
Pin the two 8.66 x 2.36” pieces on either side of the base, where the handles are located. Ensure both pieces are right sides facing.
Stitch each side with a 0.4” seam allowance.
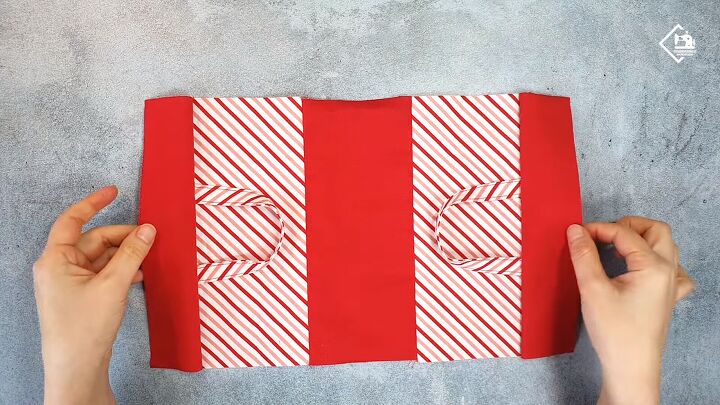
Press the seams toward the center.
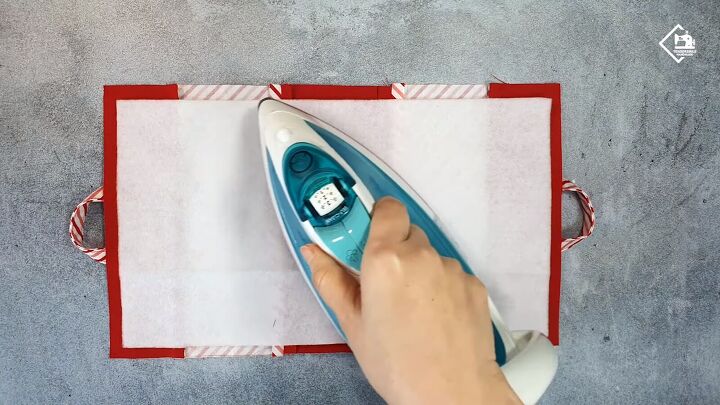
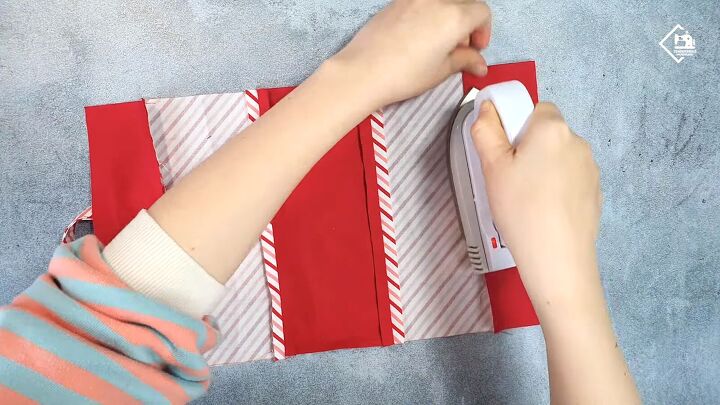
4. Attach interfacing
Next, attach a fusible fleece interfacing. The whole piece should measure 13.78” x 7.87”. Place it right in the center and press.
Topstitch each seam on the right side of the fabric.
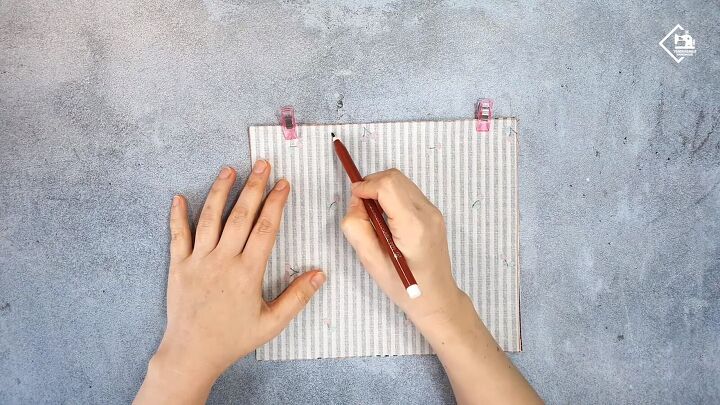
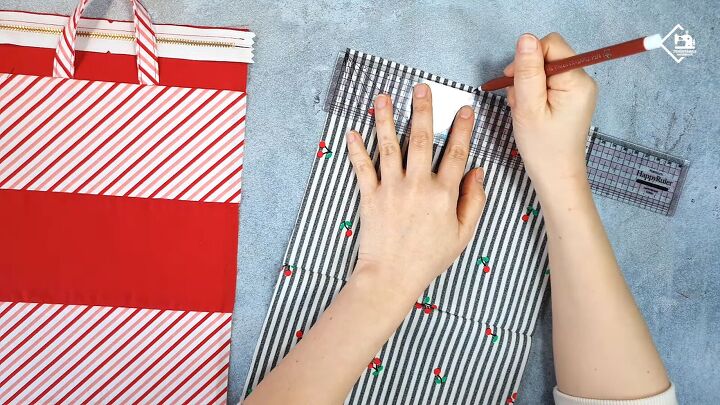
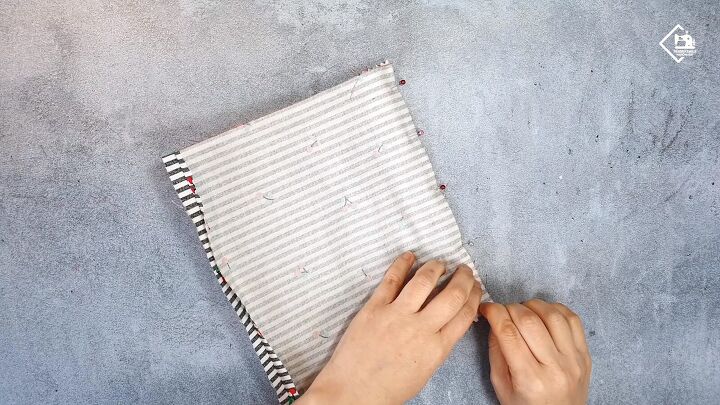
5. Stitch the facing
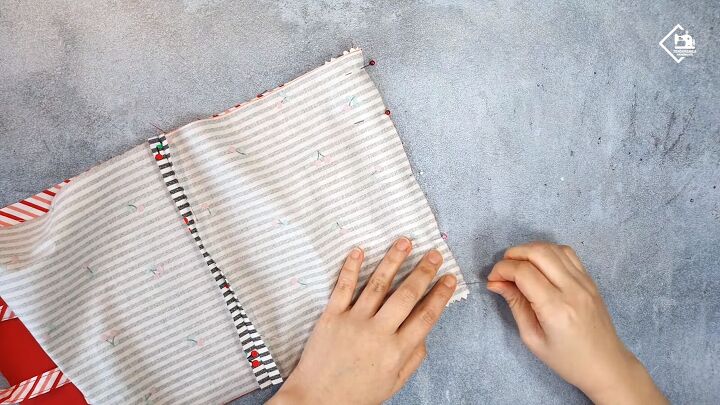
Take the two 8.66 x 7.68” pieces and place them right sides together. Pin the top and make marks as an indication for the opening.
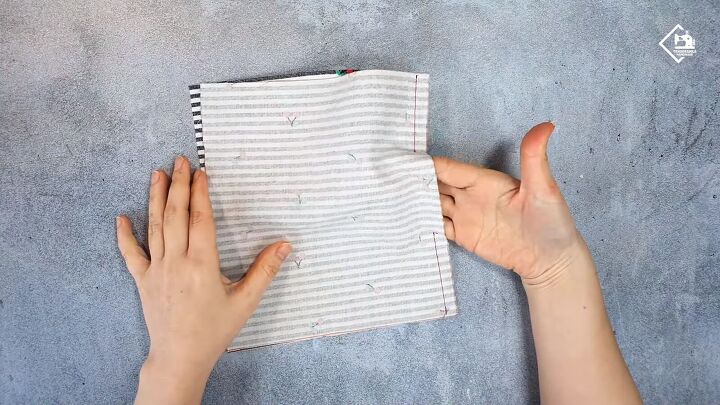
Stitch along the top pinned edge with a 0.4” seam allowance but do not stitch between the markings.

Fold the seams outward on either side.

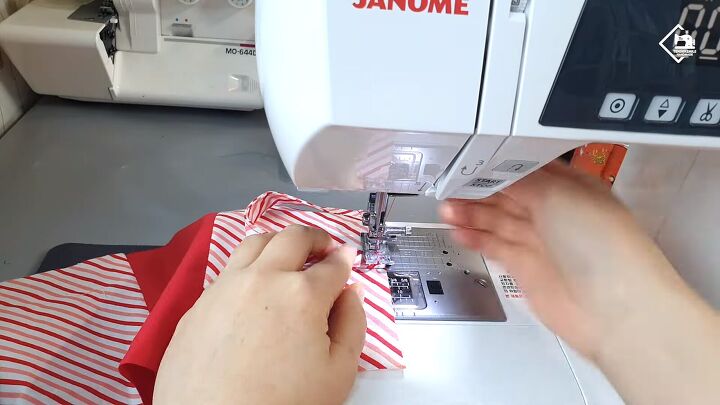
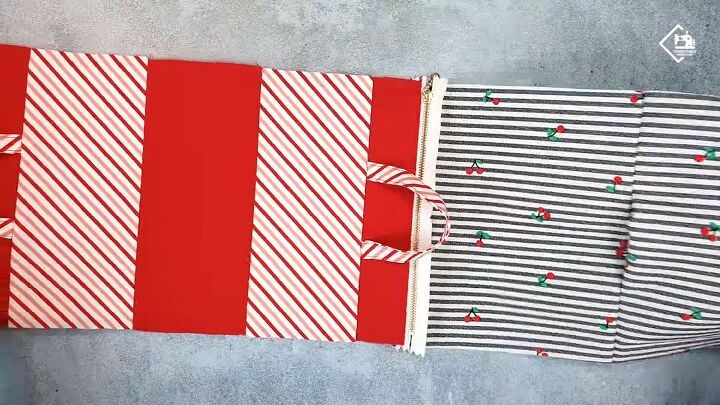
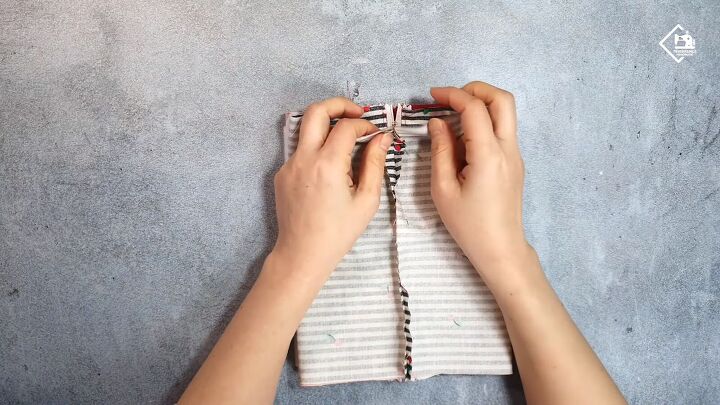
6. Attach the zipper
Fold the zipper in half and snip the sides. These are your center notches.
Find the center of either side of the bag and mark.
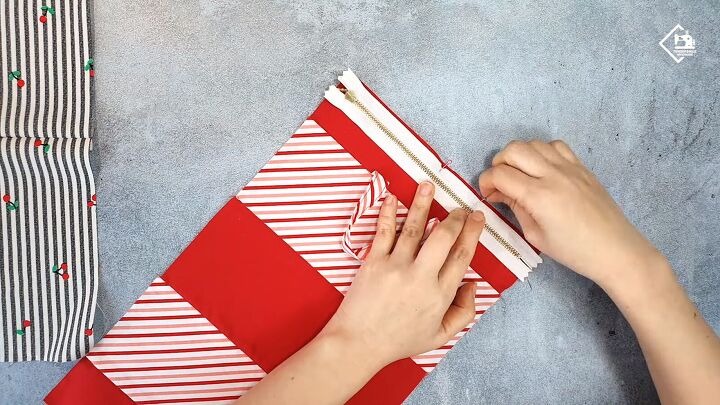
Match the center mark to the center of the zipper and pin. The zipper’s right side must be inward. Stitch with a 0.4” seam allowance.
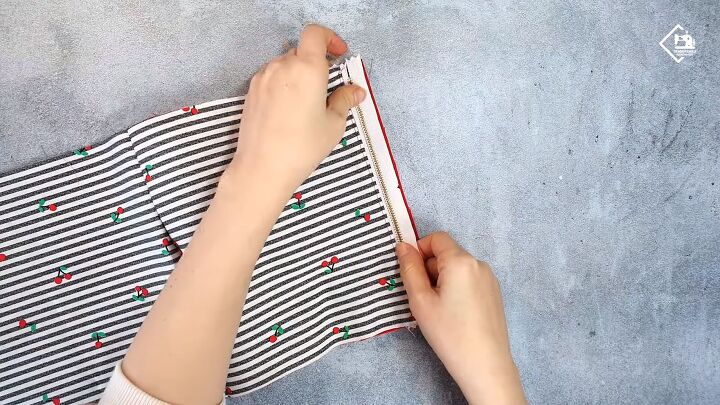
Find the center of the facing.
Align it to the zipper’s notch and pin the top edge. Take note that both the facing and main fabric must be right sides facing.
Stitch all layers with a 0.4” seam allowance.
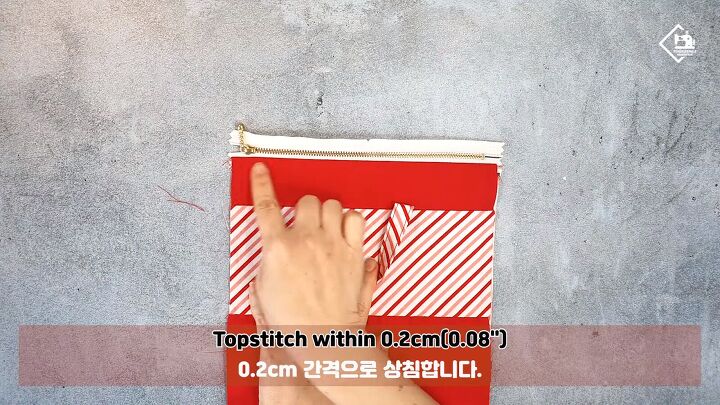
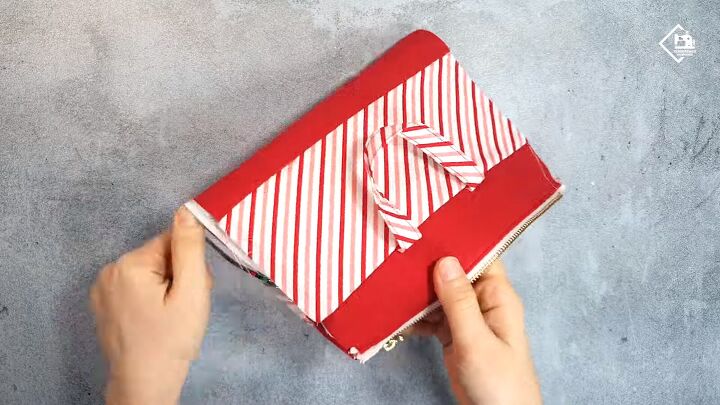
Flip over the facing to the other side. You should now have the zipper exposed. Topstitch the zipper’s seam on the right side of the bag.
Align the other edge of the zipper to the bag’s edge. Do this by opening the facing to one side and lifting the zipper to the edge.
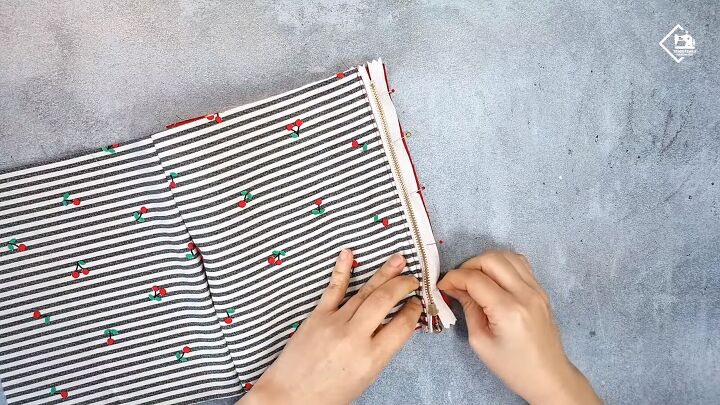
Pin the edge and stitch across with a 0.4” seam allowance.
Lift the facing’s tail up to the edge and align the center. Pin down and stitch.
Turn the bag right sides out so that the facing is inside.
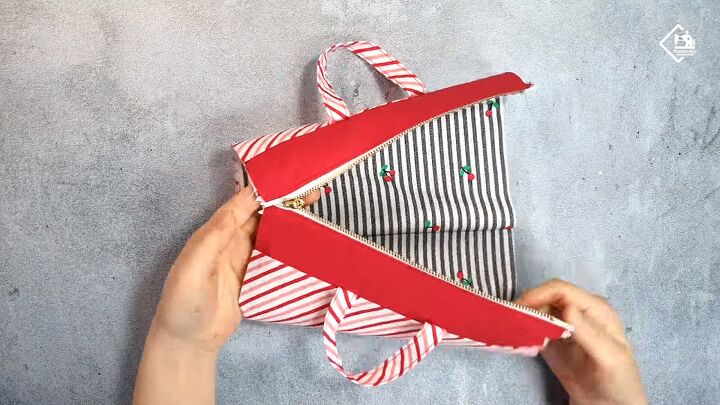
Open the bag and topstitch the zipper’s seam on the right side of the fabric.
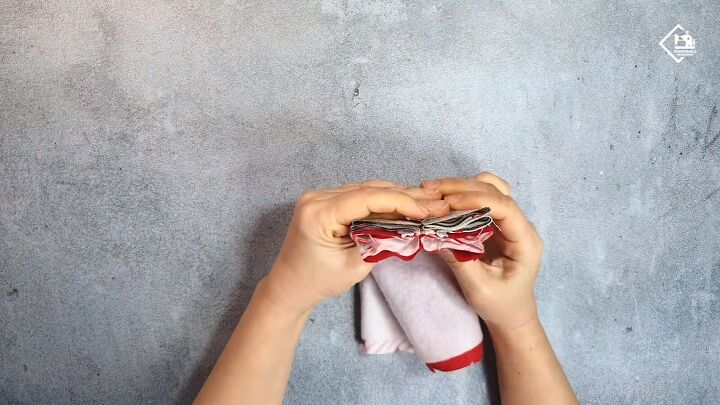
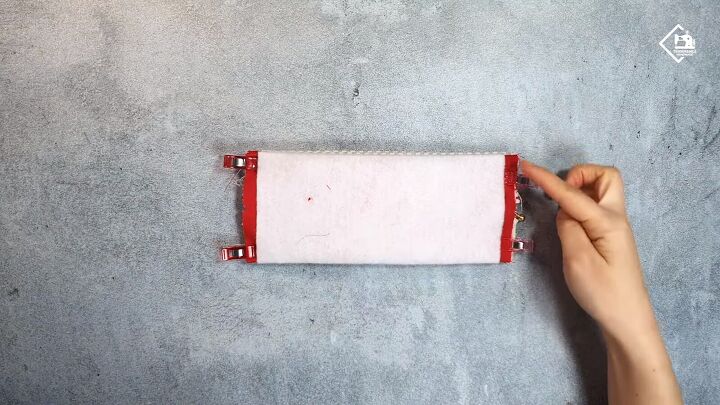
7. Snip the corners
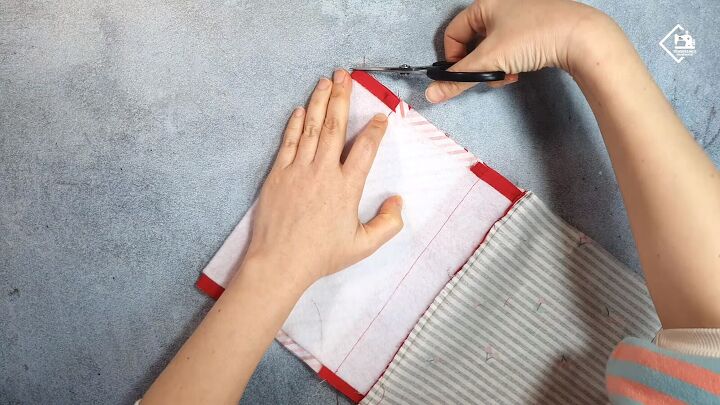
Turn the bag wrong sides out and snip the folded corners.
Fold both sides of the bag inward so that the center bottom aligns with the zipper.
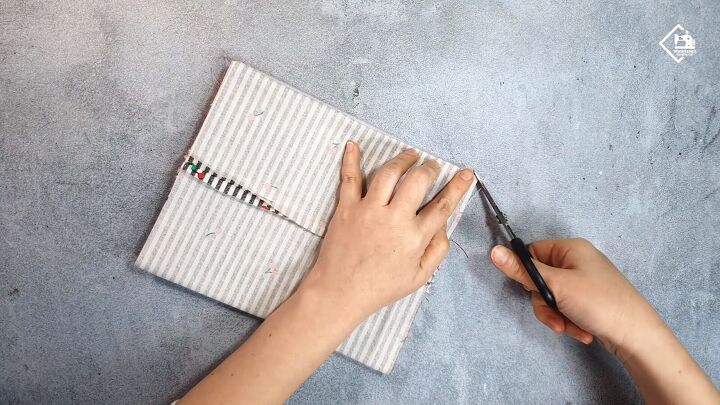
Snip the corners. These will be your notches for the next step.
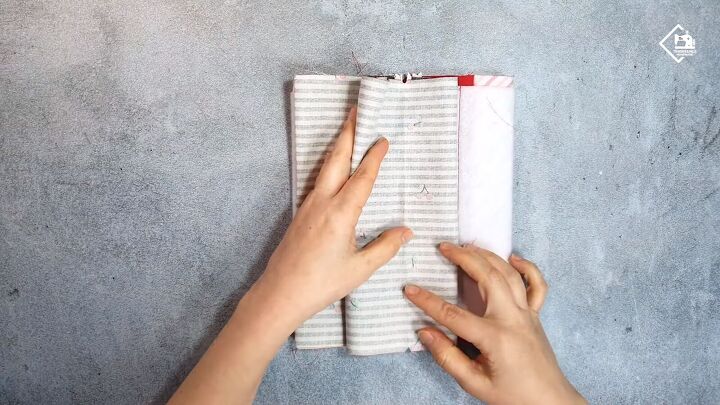
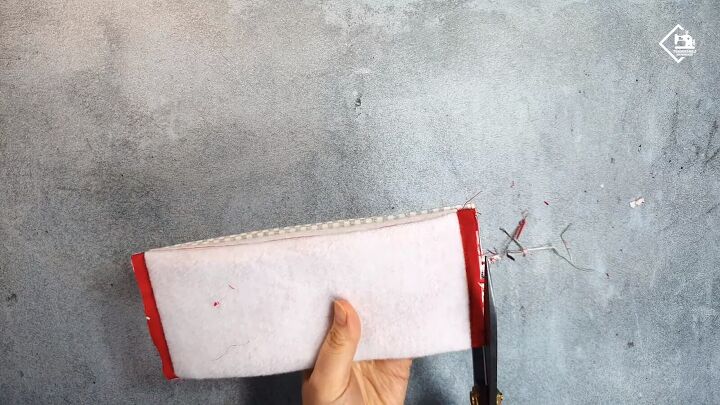
Fold the fabric from the corner inward and match the notch to the center.
Then fold that back to expose the seam.
Do the same for the other side.
Fold the fabric backward to expose the seam.
Turn the piece around and repeat.
You should now have accordion-like folds.
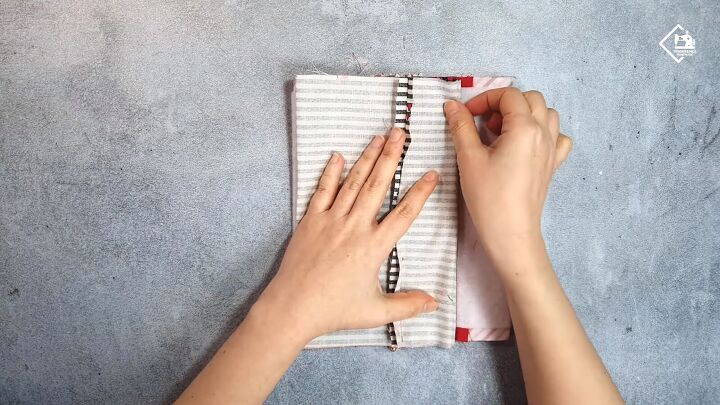
Pin the sides and stitch with a 0.4” allowance.
Cut out the excess from the sides.
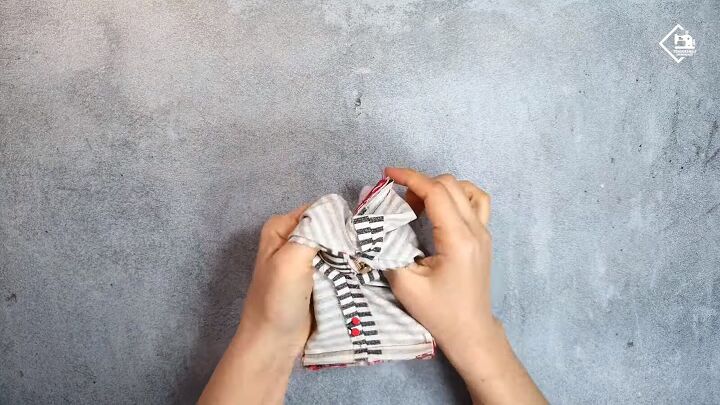
Turn the bag inside out from the facing’s gap.
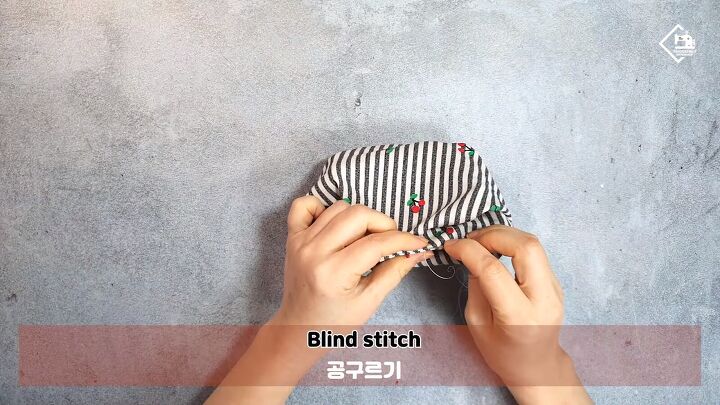
Blind stitch the gap closed.

Open the zipper and turn the bag inside out.
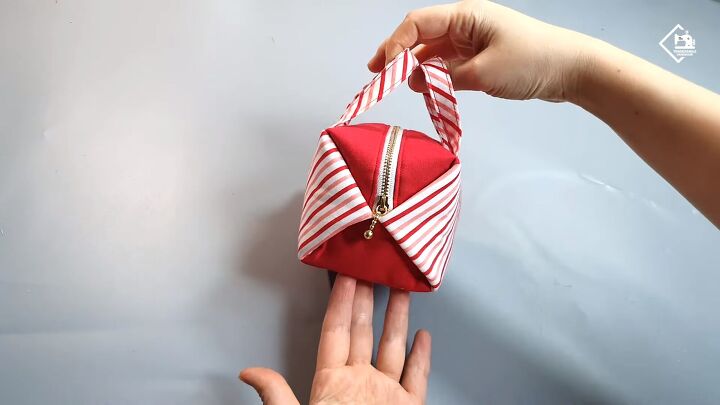
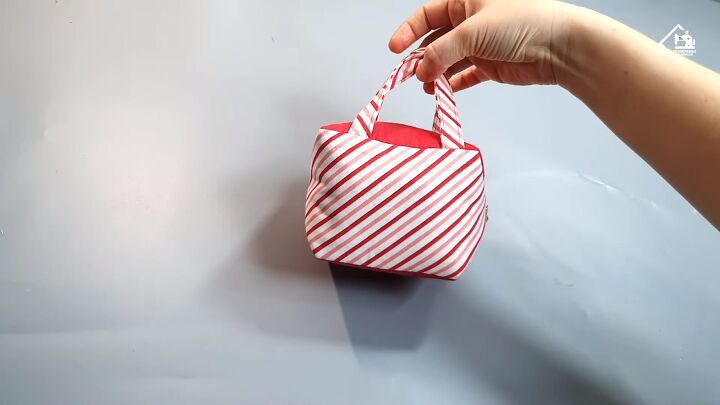
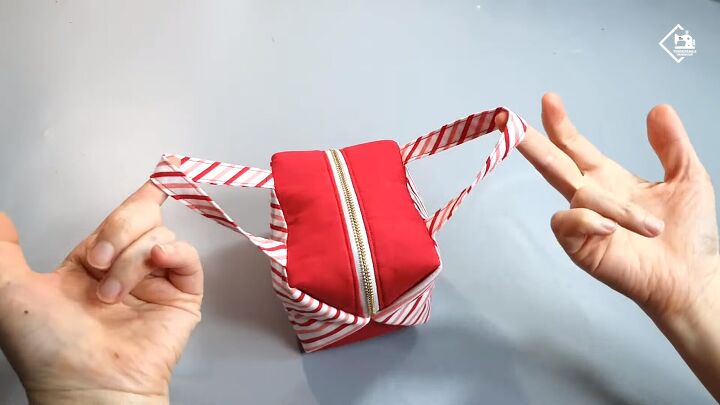
DIY box bag tutorial
Your DIY box bag is complete! I think it’s so cute. I hope you enjoyed this tutorial on how to sew a box bag. Let me know your thoughts in the comments. Have fun!
The author may collect a small share of sales from the links on this page.


Comments
Join the conversation
It would be very easy to make this in any size.