Easy No-Sew DIY Cage Bag

This easy cage bag is perfect when looking for an upcycle. It uses all leftover materials and gives your old tote bag a new life. If you didn’t think your grocery bag could ever be more than a vessel for holding carrots then you were wrong!
Tools and materials:
- Scrap leather
- 26 studs
- Ruler
- Knife
- Nail
- Hammer
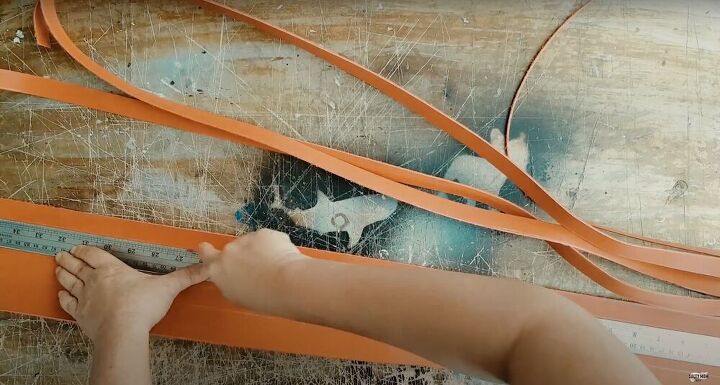
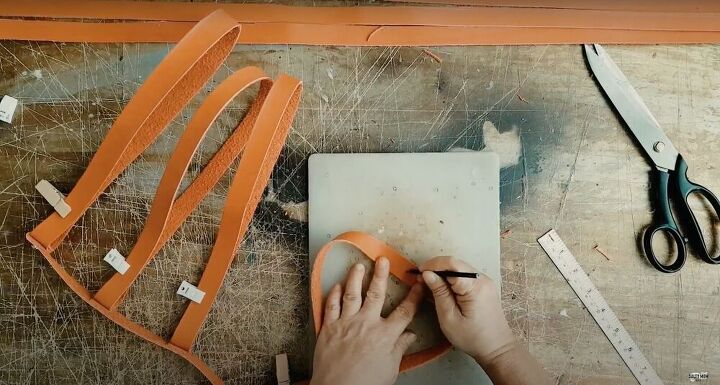
Cut out your leather
Take a scrap piece of leather and measure your short side. Divide the side by two centimeters intervals and trace it along the length of the leather. Cut out your pieces - you will need to have enough leather to have five pieces of leather but I recommend having at least seven. Finally, I trace off the ends of the leather so that all the pieces are 140 centimeters long.
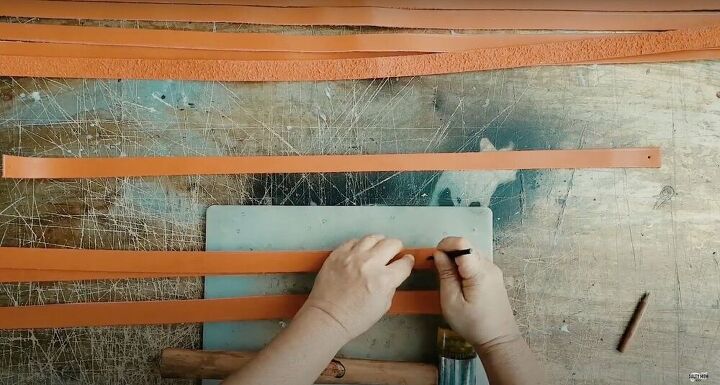
Puncture holes
Take two of your strips and cut them in half to get four shorter strips. Next, puncture a hole about one centimeter from the edges of all four pieces - these will become the body of the bag.

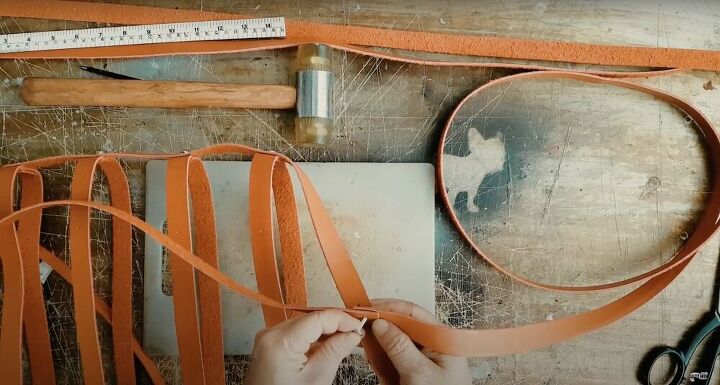
Prepare the bottoms and sides
Take one long piece and puncture a hole a centimeter from the edge (the same as the short piece). Next, wrap the edge around the short piece (as seen in the image above) and find the place for the second hole. Punch a hole and insert a stud.
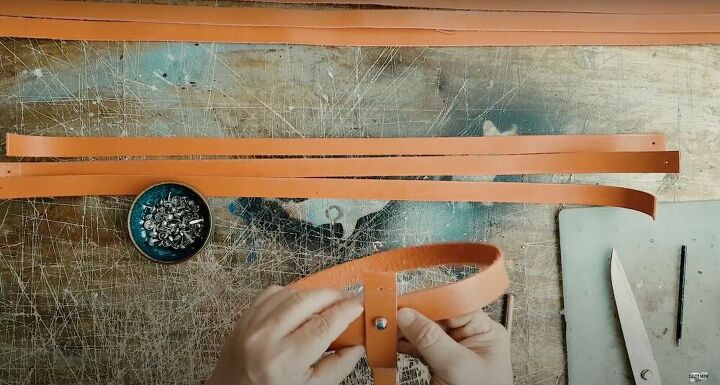
Create the opening
Insert a stud into the second hole on the long piece and attach a small strip - this forms the opening of the bag. Bring the small piece around until it forms a band, fold the first hole from the long piece over, and secure the stud.
Attach the short strips
Pin the opening and lay it flat. Then, measure your long piece and mark off eight centimeters intervals - this is where you’ll attach the rest of your small pieces. Punch holes by your markings.
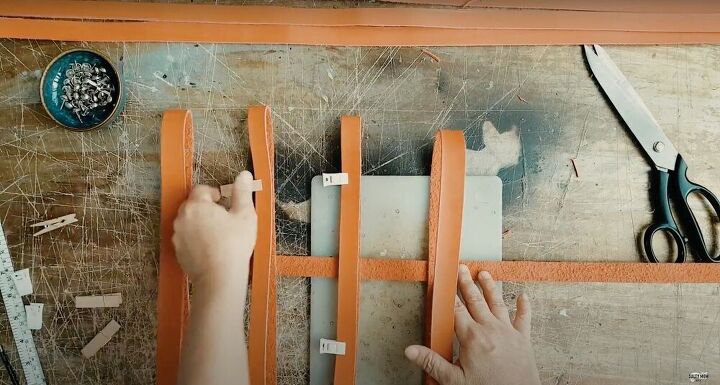
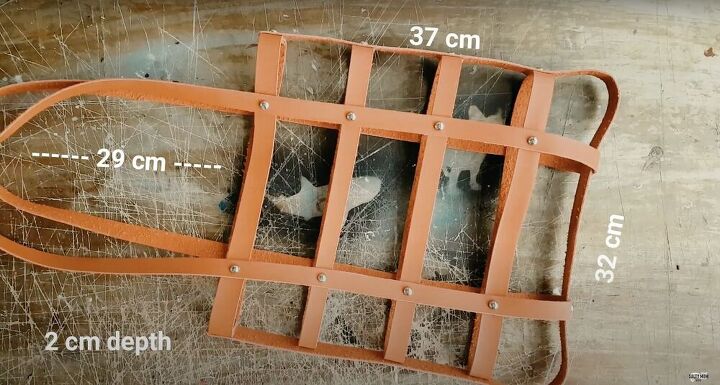
Make the body of the bag
Flip the bag to the side so that when it is laid out, the back resembles a spine and the short strips resemble ribs. Then, find the folded point of the small strips and mark them - we will bring the long piece around here. Measure eight centimeters from the bottom of the spine and then fold the long piece over to the other side. Remember to continue marking and punching holes by the eight centimeters intervals so the long piece can be attached to the short. Secure the leather with the studs and then cut off any excess when you reach the end - there should only be enough fabric to fold the top piece over to secure the leather.
Attach the handles
Punch a row of holes about 7.5 centimeters from the sides - including on the bottom. Here we will connect the straps. Make sure you have two rows on each side (right and left, front and back). Prepare the handles by punching holes one centimeter from the edges. Place your handles on top of each other and pin all three holes together with the bottom of the bag. Finally, work your way up the bag and connect the straps. Repeat on both sides.
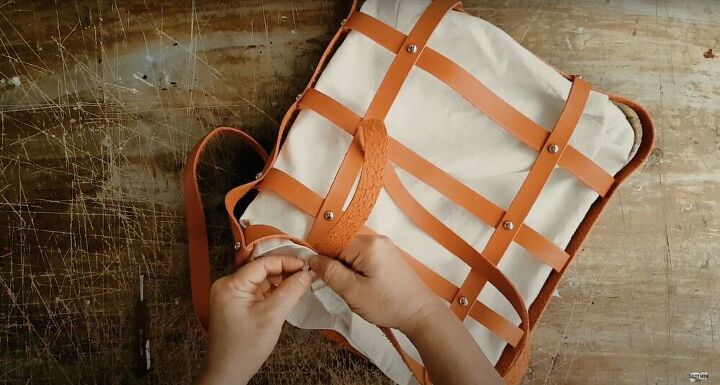
Insert the grocery bag
For the insert, use an old grocery bag. Simply take an old canvas grocery bag and remove the handles with a seam ripper or some scissors. Next, attach the grocery bag by inserting it into the studs that secure the handles and you’re done!
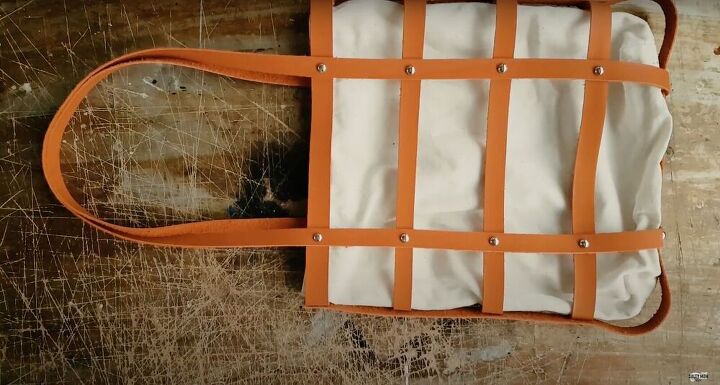


There we have it, a simple cage bag made without any sewing. This bag is a great way to bring life back to old materials and save some money! Never let your leftover materials go to waste again.
The author may collect a small share of sales from the links on this page.


Comments
Join the conversation
👍️
i will try to make the bag. NICE!!!!
Great idea 🥰🥰🥰