How to Make Cute DIY Cord Keepers For Headphones, Cables & More

In this tutorial, I’m going to show you how to make a DIY cord keeper. If, like me, you are always losing your earphones, that will no longer be the case!
These cord keepers are really easy to make, and I assure you that you will find them very helpful to have.
Tools and materials:
- DIY cord keeper pattern
- Fabric
- Plastic snap buttons
- Woven fusible interfacing
- Iron
- Pins
- Sewing machine
- Scissors
- Awl
- Snap button pliers
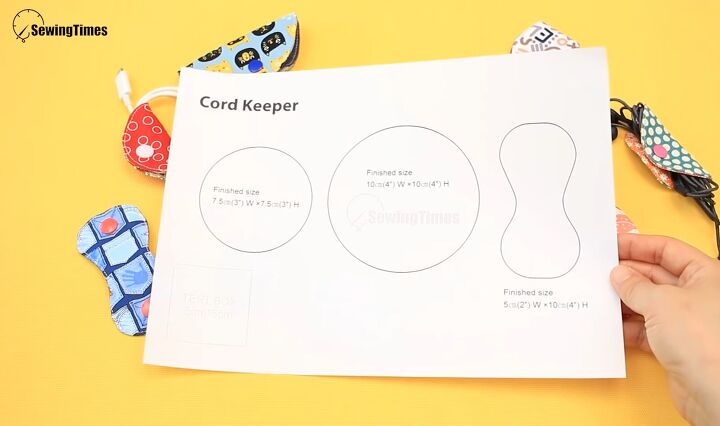
1. Get your patterns ready
Start by printing off and cutting out the patterns which have three different shapes and sizes of cord keepers when they are opened up to their full size.
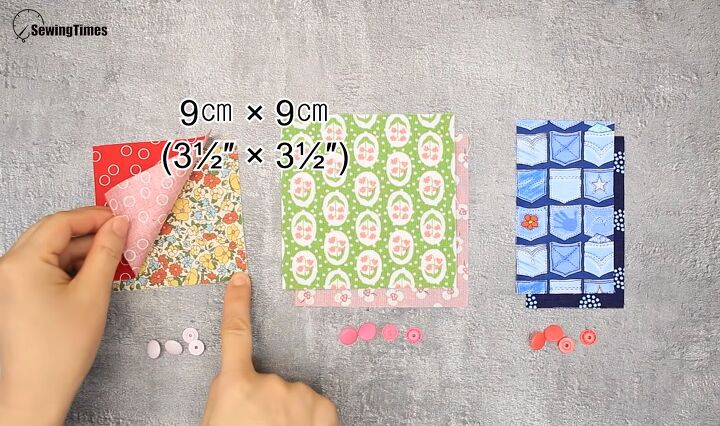
2. Cut out the fabric
For the small circle design, you need two squares of fabric that measure 9x9cm (3.5x3.5 inches).
For the large circle design, you need two squares of fabric that measure 11.5x11.5cm (4.5x4.x5 inches).
For the last design that looks like the number 8, you need two rectangle pieces that measure 6.5x11.5 cm (2.5x4.5 inches).
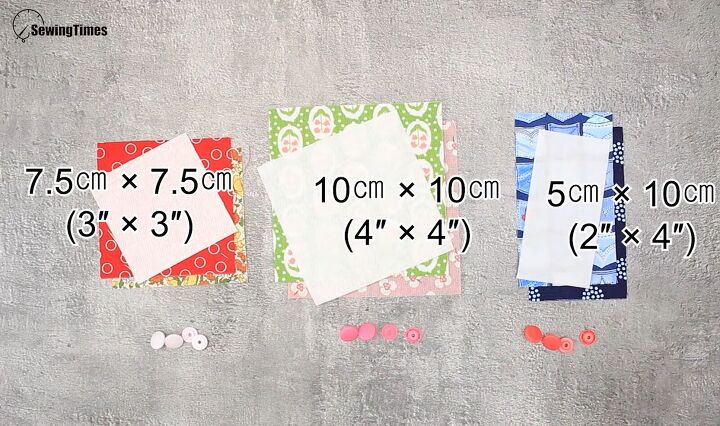
You also need a piece of interfacing for each design. For the first design, this will measure 7.5x7.5 cm (3x3 inches), for the second, it will measure 10x10 cm (4x4 inches), and for the third, it will measure 5x10 cm (2x4 inches).
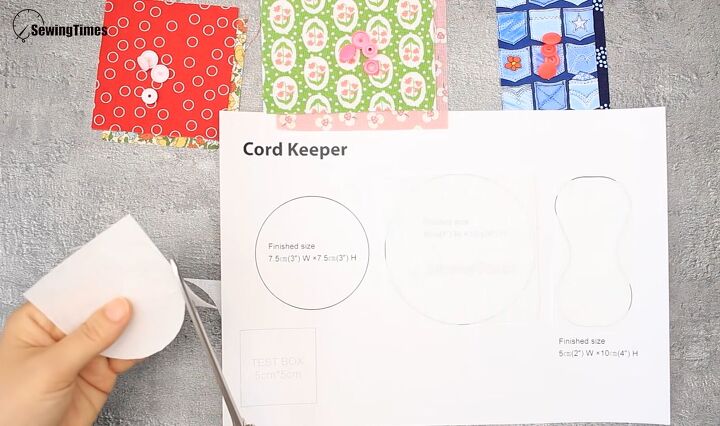
3. Trim the interfacing
Cut the interfacing so that it is the same size and the shapes on the pattern.
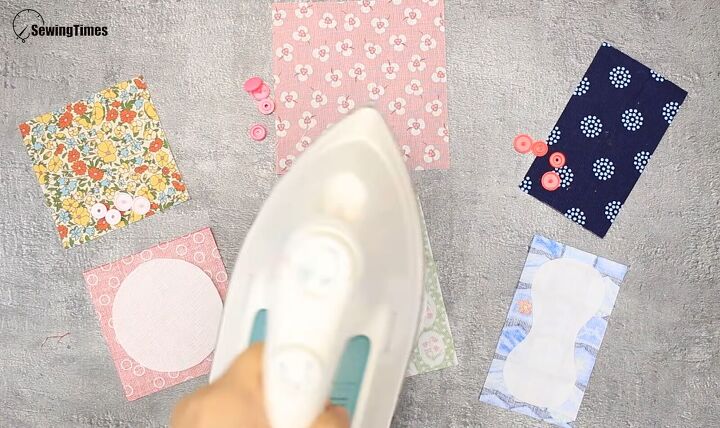
4. Iron on the interfacing
Take one piece of fabric from each design, place it face down and then place the interfacing on top. Iron the interfacing onto the fabric.
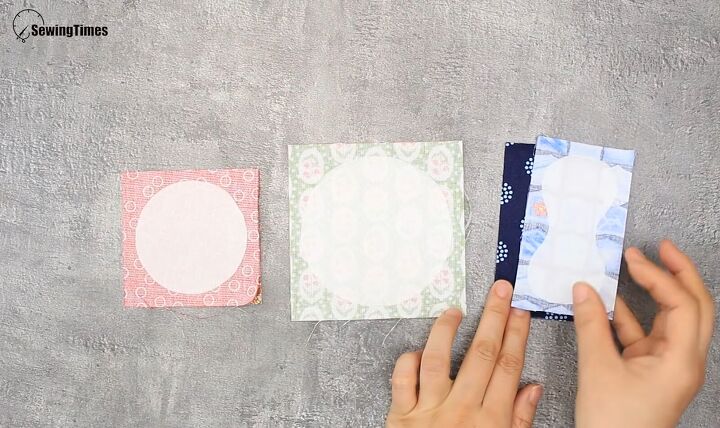
5. Pin the fabric together
Next, take the second piece of fabric for each design and place it under the first piece with the right sides touching. Pin the two pieces together.

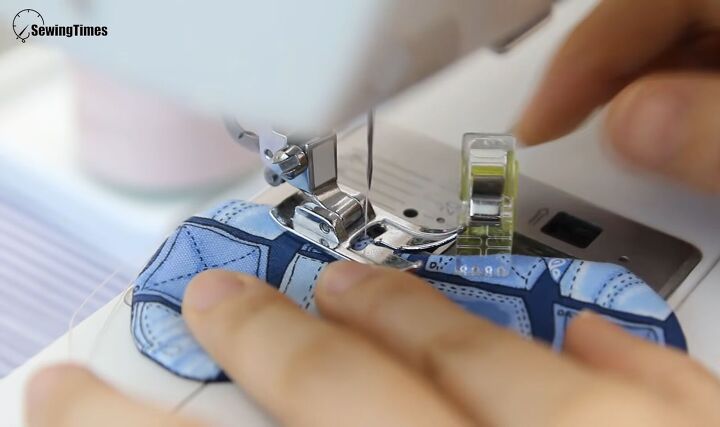
6. Sew around the interfacing
Sew around the facing but leave a section open, as shown above.
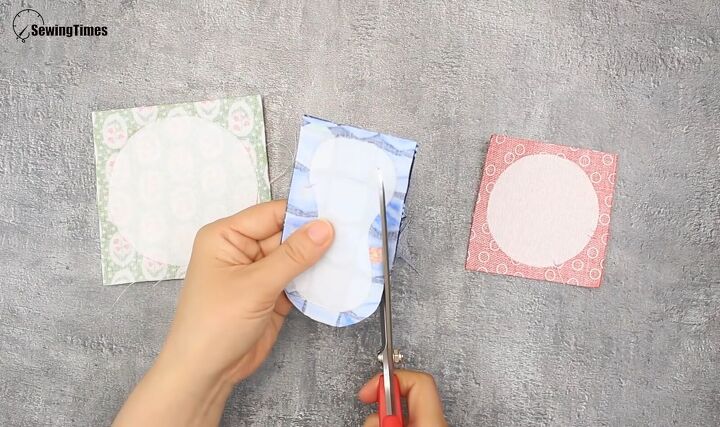
7. Cut out
Once sewn, cut around the interfacing, leaving a 1cm (0.4-inch) seam allowance.
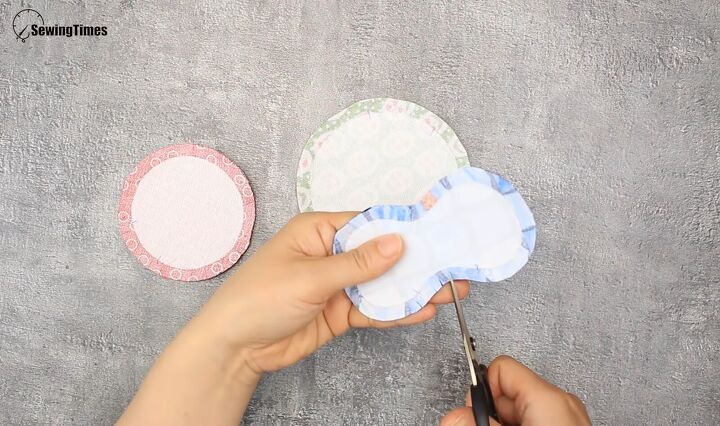
8. Notch the sides
Notch all around the outside, and once done, turn the pouches right side out.
9. Sew the edges
Sew all around the outside, including the open section, quite close to the edge.
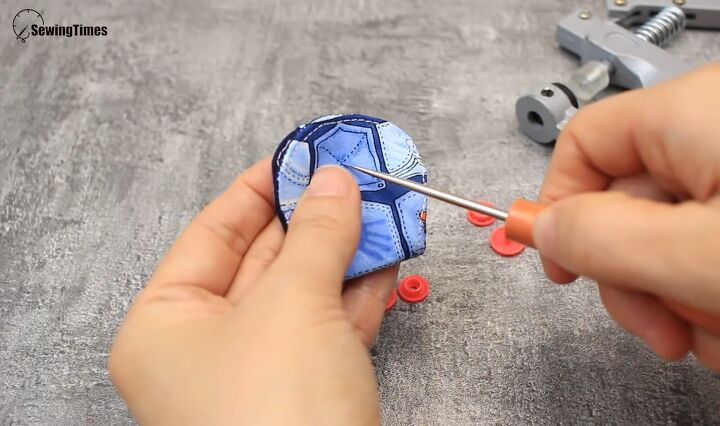
10. Add the buttons
Fold the pieces in half and use an awl to mark where you want to attach the snap buttons. Poke the awl all the way through, then insert the button and punch it down with snap button pliers.
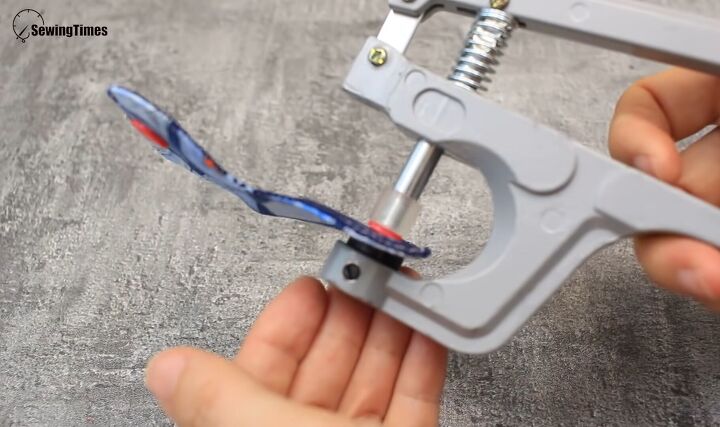
Then insert the second button and punch it down as well. Now you’re done!
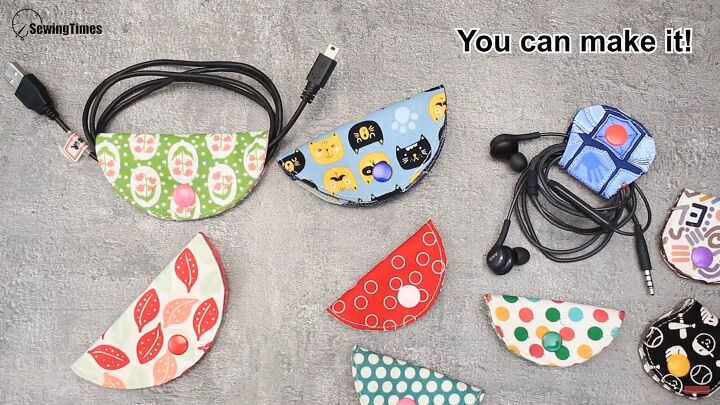
DIY cord keeper tutorial
Here we have our DIY cord keepers in three different sizes. These pouches are such nifty little things to have and they will help you to become more organized.
I hope you enjoyed learning how to make a fabric cord keeper and you’ll make one for yourself.
The author may collect a small share of sales from the links on this page.


Comments
Join the conversation