How to Sew a Cute DIY Cosmetic Bag For Carrying Makeup

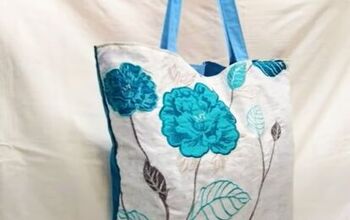
Hey everyone! I have a cute and easy DIY cosmetic bag project for you. This lovely bag is perfect for taking with you on vacation or carrying makeup and toiletries on the go. So, if you want to learn how to make a lined cosmetic bag with a zipper, follow along!
Tools and materials:
- Fabric
- Lining
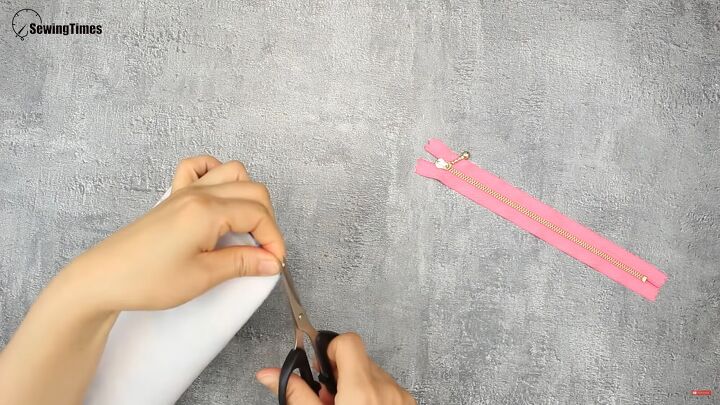
- Scissors
- 8-inch zipper
- Ruler
- Sewing machine
- Matching thread
- Mid-weight woven fusible interfacing
- Iron
- Clips or pins
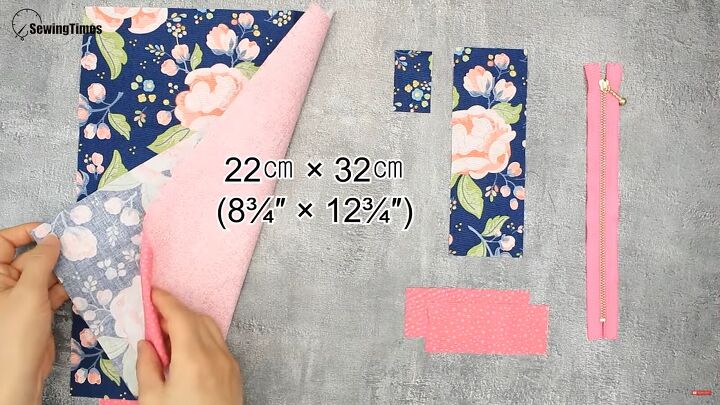
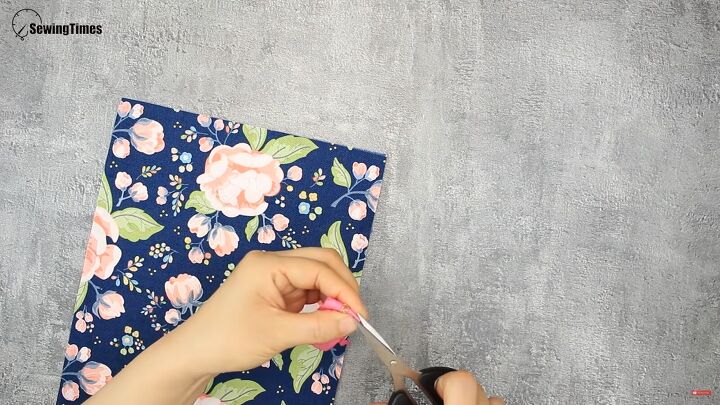
1. Cut the pattern
Start by cutting out the pattern pieces for this lovely DIY cosmetic bag:
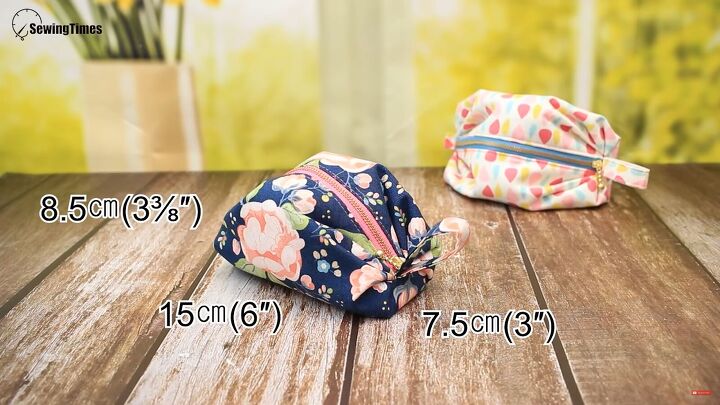
- 2 pieces 8¾“ x 12¾“ (fabric and lining)
- 1 piece 1⅛“ x 2”
- 1 piece 2⅜” x 6¾“
- 2 lining pieces 3¼“ x 2”
- 1 piece mid-weight woven fusible interfacing (Pellon or Vilene) 8” x 12”
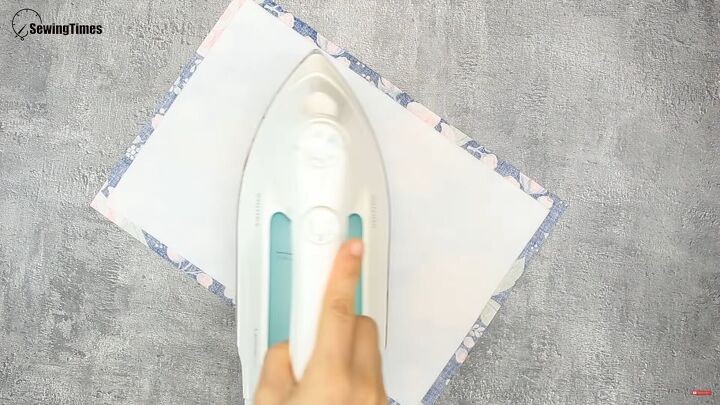
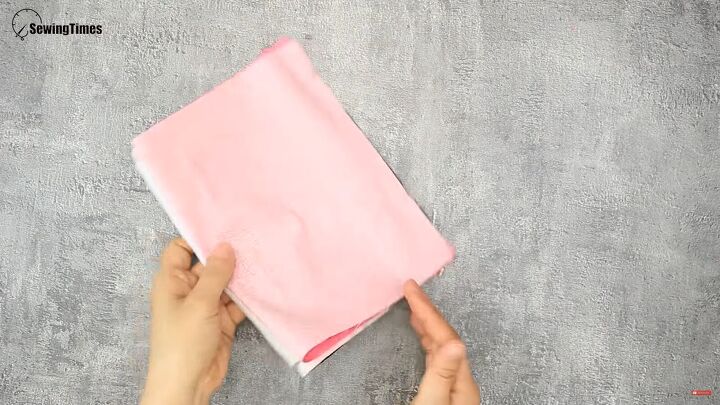
2. Press the interfacing
With an iron, press the interfacing to the wrong side of the main piece.
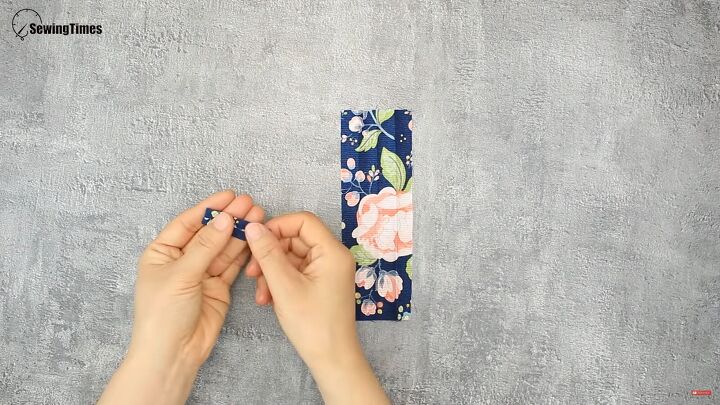
3. Sew the straps
Fold the edges of the 1⅛ “ x 2” piece inward and then in half, lengthways.
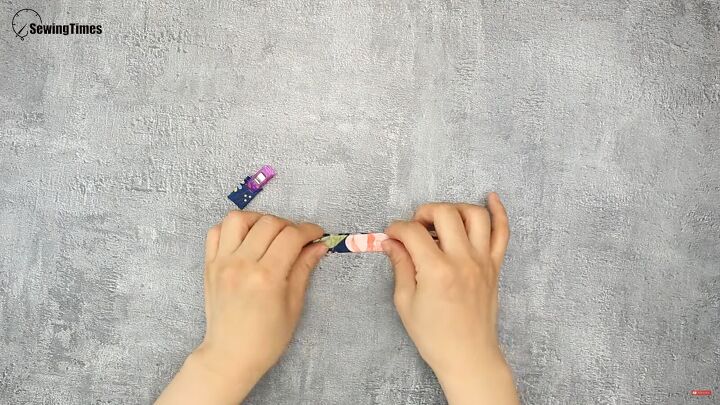
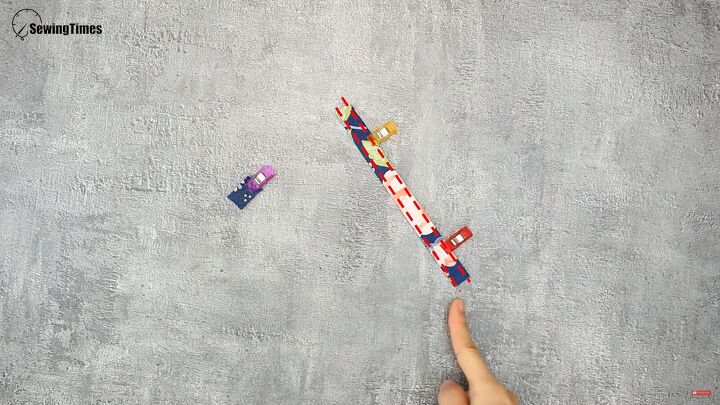
Fold the edges of the 2 ⅜” x 6 ¾ “ piece inward, and fold in half again (widthways). Then sew along both edges.

Fold the sewn piece in half and clip.
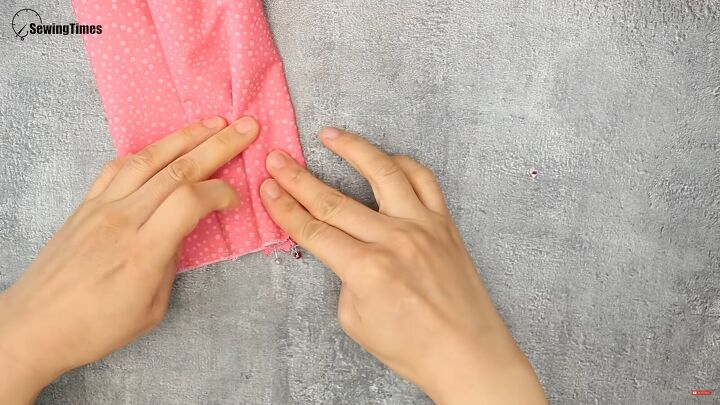
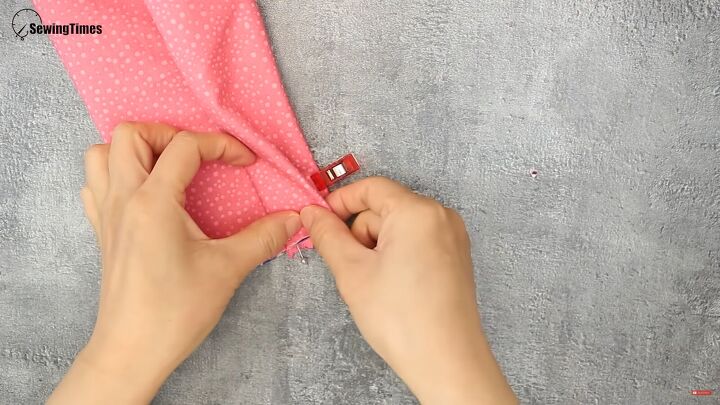
4. Attach the zipper
Fold the main piece in half and snip both sides at the fold. These will be your notches to follow.
Repeat with the zipper, too.
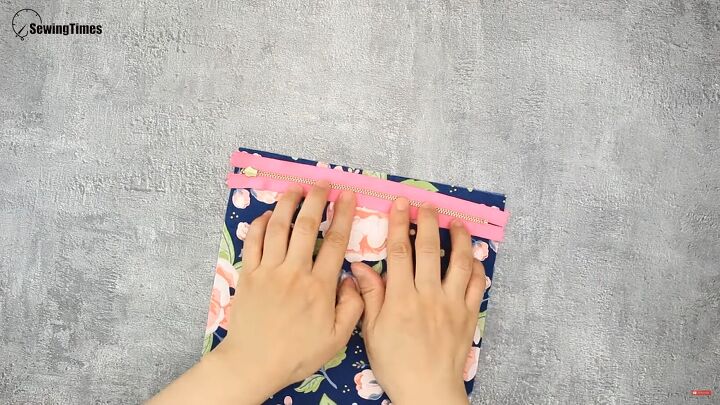
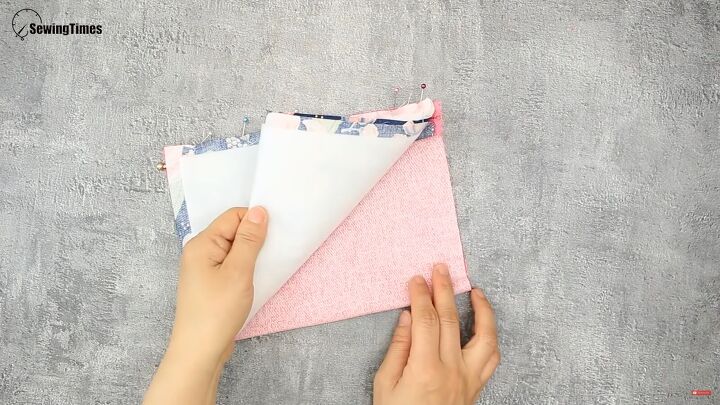
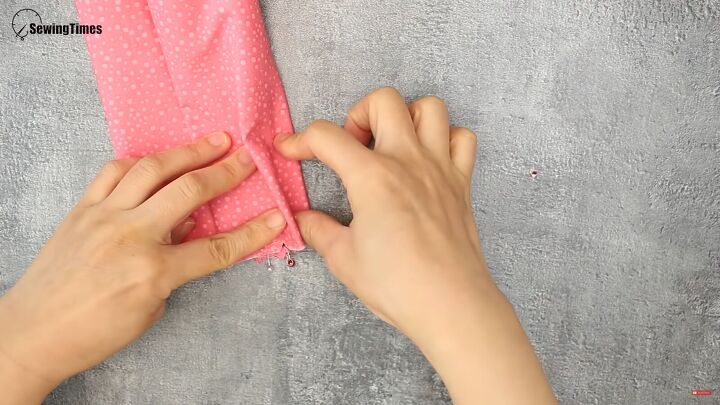
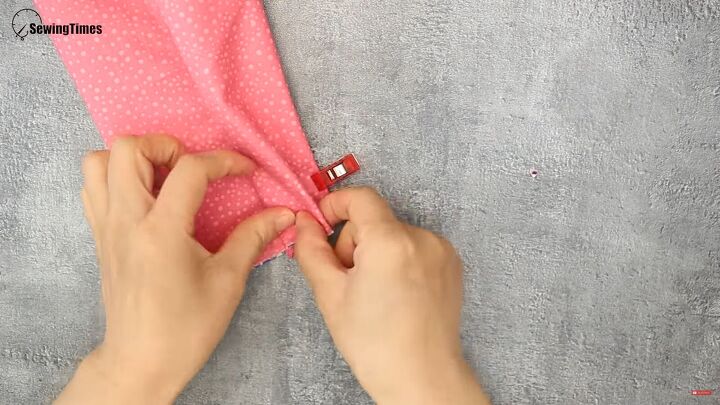
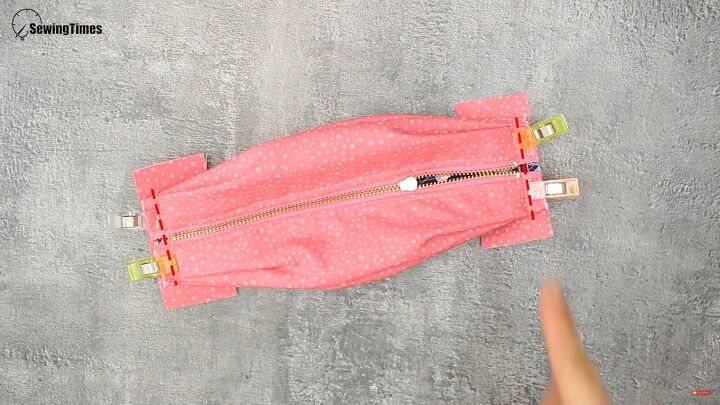
Place the zipper wrong sides out and line up the notches.
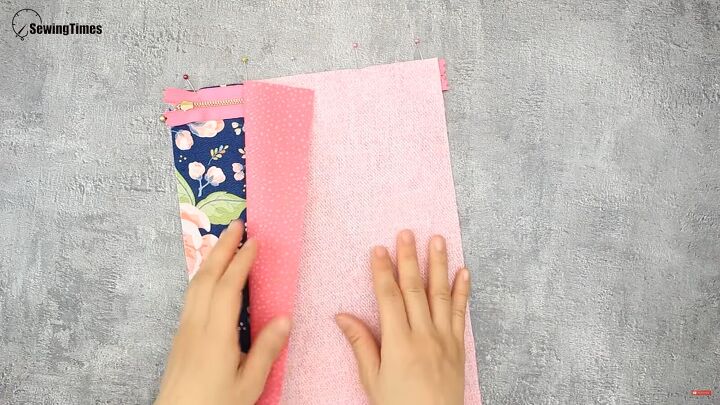
Pin the zipper and place the lining over the top; wrong sides out.
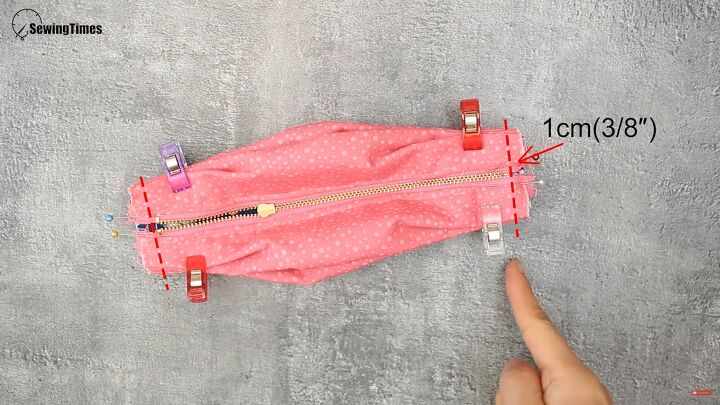
Sew the top edge with a ⅜“ seam allowance.
Turn the piece right sides out; this is what you should have.
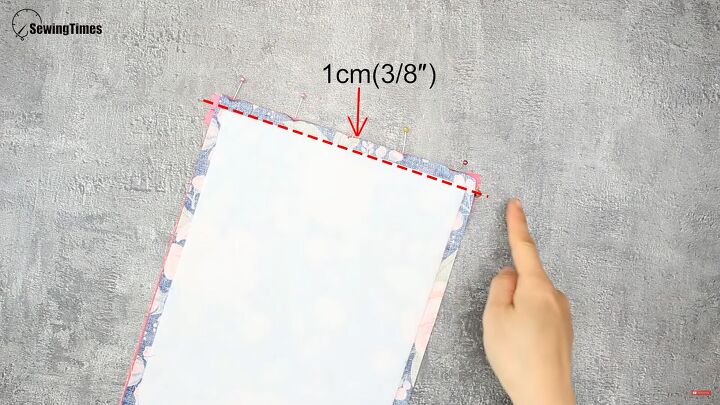
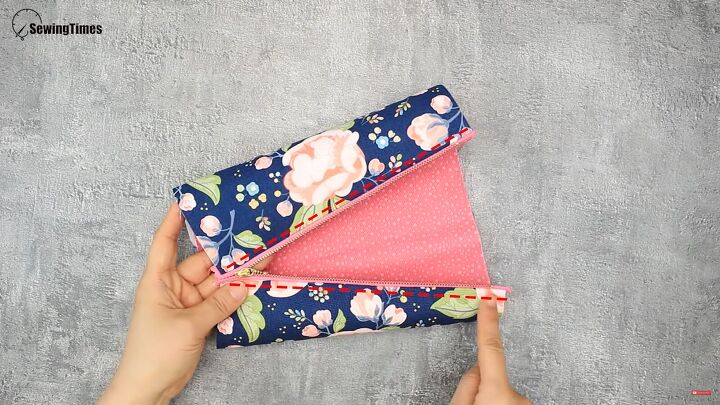
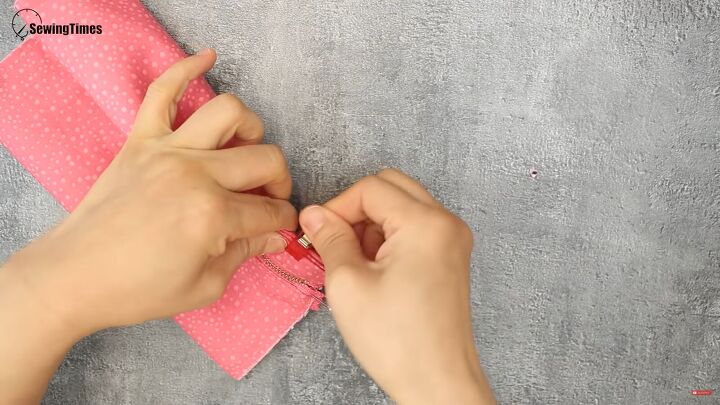
Fold the whole piece so that the lining edge lines up with the unsewn side of the zipper.
Then fold the loose part of the lining over, too.
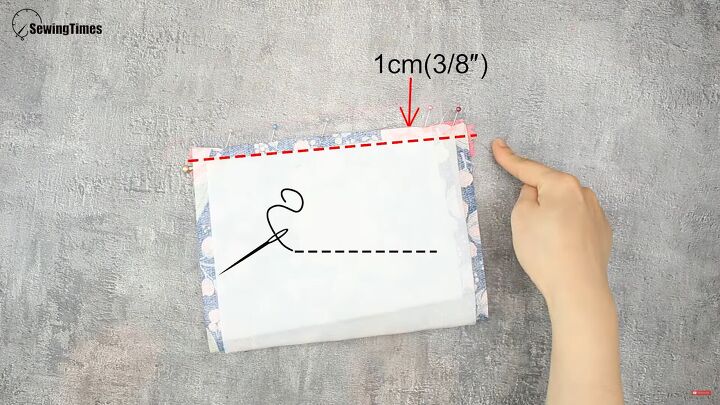
Sew the top edge with a ⅜“ seam allowance.
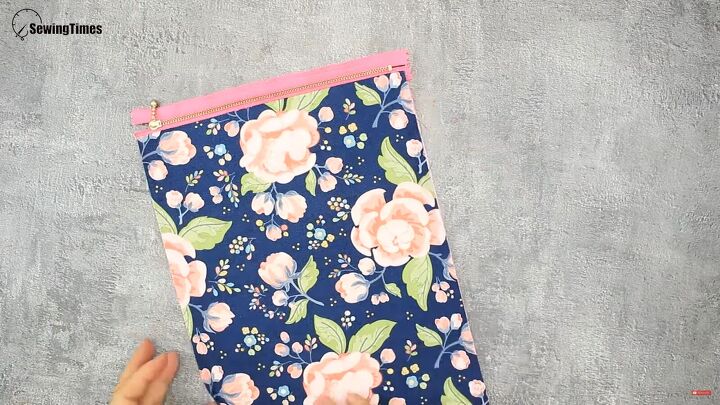
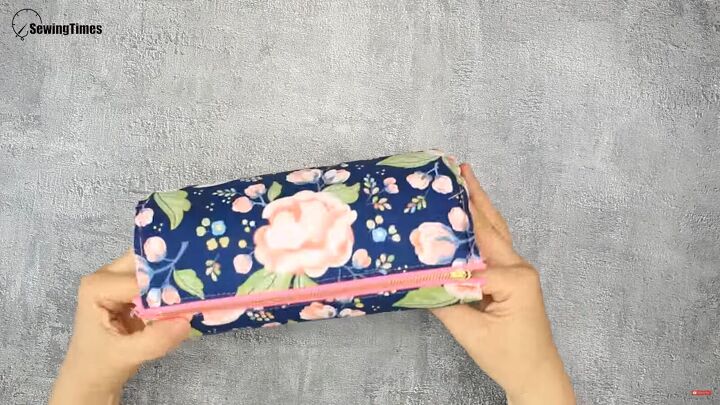
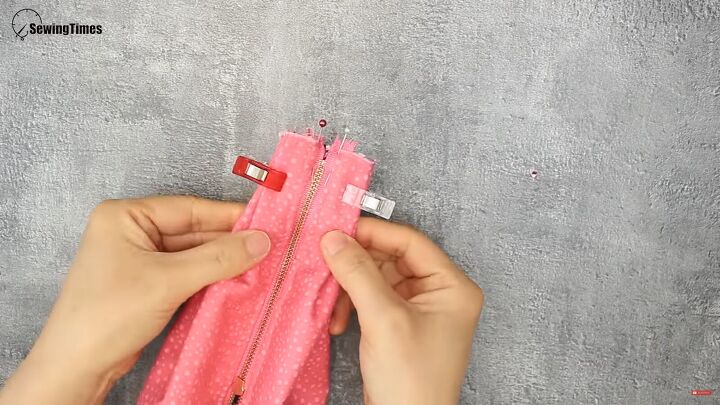
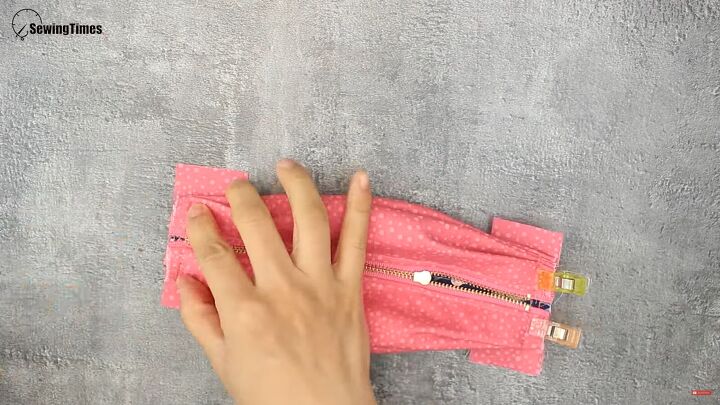
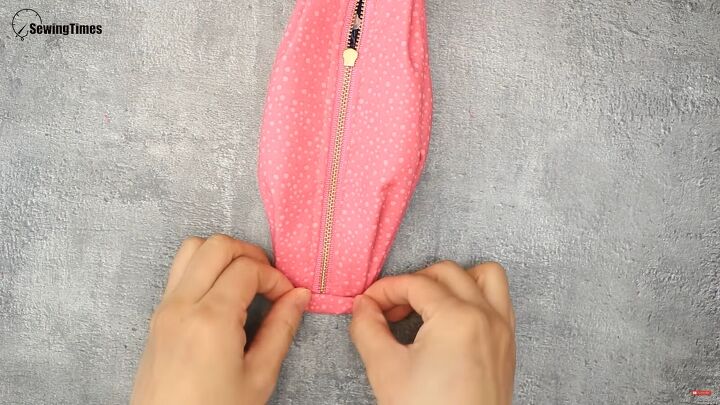
Open up the zip and turn the bag right sides out so that the lining is placed inside.
Topstitch along the zipper on either side.
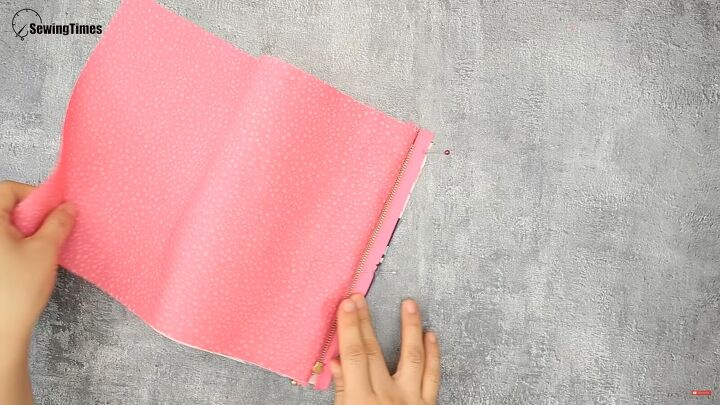
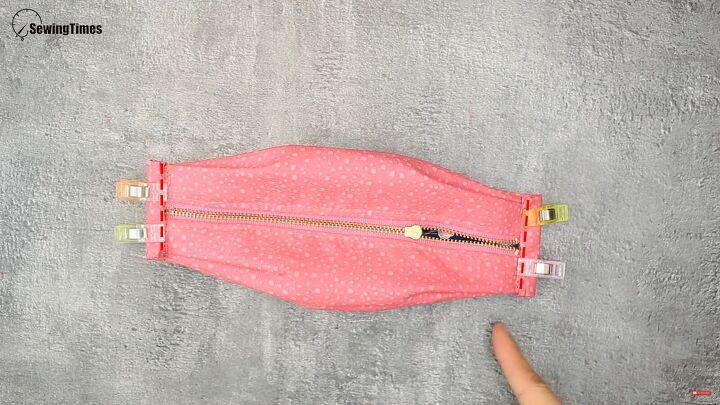
5. Assemble the DIY cosmetic bag
Pin and sew along the sides.
Your DIY cosmetic bag is almost done! Let’s attach the sides!
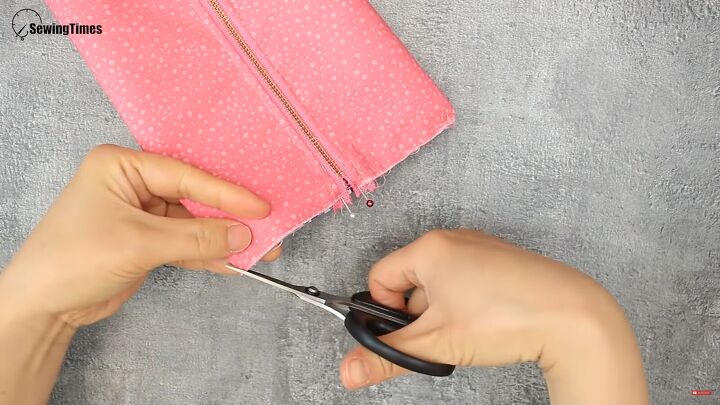
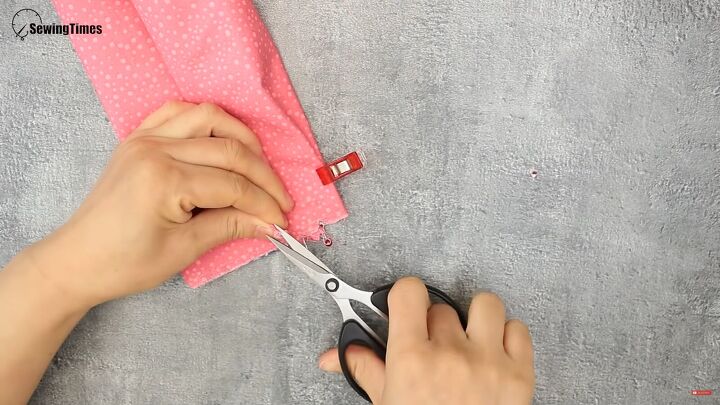
Clip the sides together and snip the folded bottom edges.
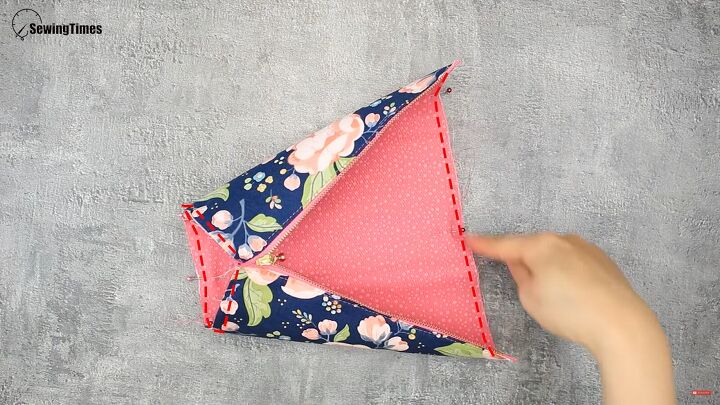
Fold the bag so that the zipper lays center, and pin the straps on either side at the notches.

Turn the bag with the lining facing out. Pin the loose tails of the zipper. Repeat on the other side.
Snip all four corners.
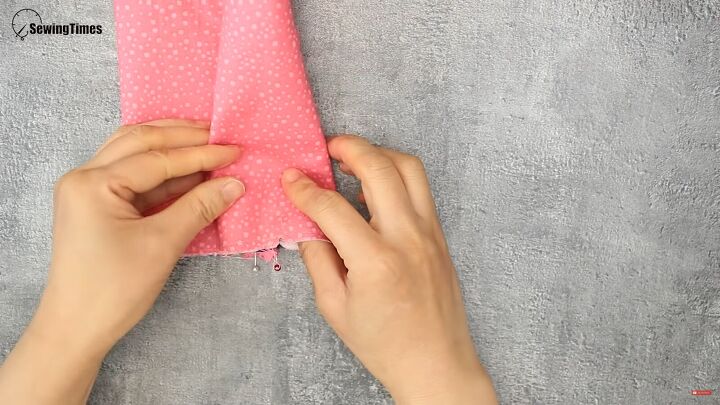
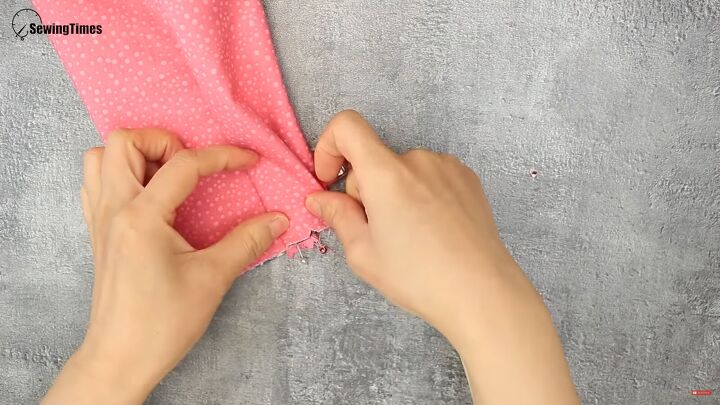
Fold the outer corner toward the zip, and match the notch to the pin.
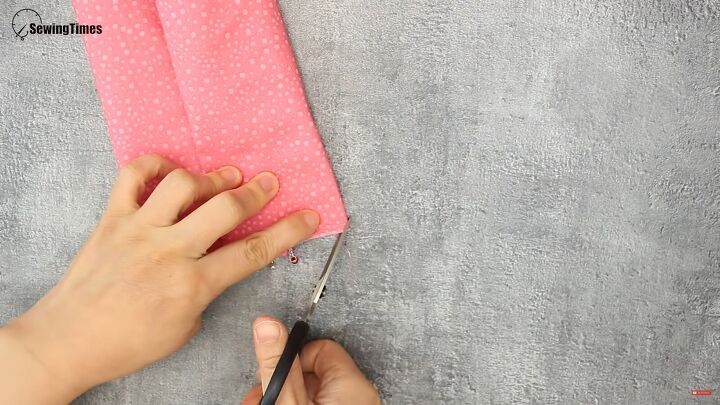
Now, snip the outer corner.
Match that notch with the pin, too.
Then, fold the pleated fabric outward. Think of an accordion when doing this step!
Place a clip on the side and snip the edge of the other folded side.
Fold the other side so that the new notch matches up to the same pin.
Then, fold back the pleat, so you have two folded layers.

Fold the two folded layers to the side (you should now have four folded layers), and clip to secure.

Repeat on the other end, too.
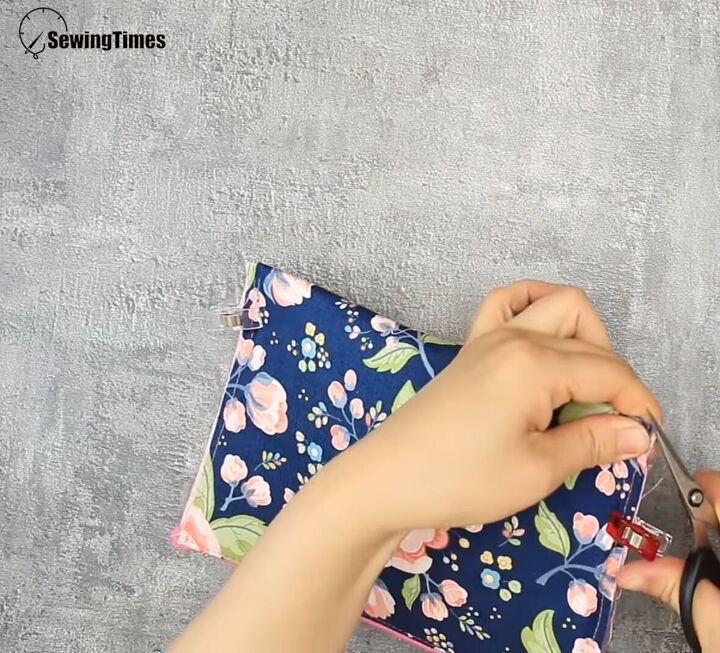
Sew across with a ⅜ “ seam allowance.
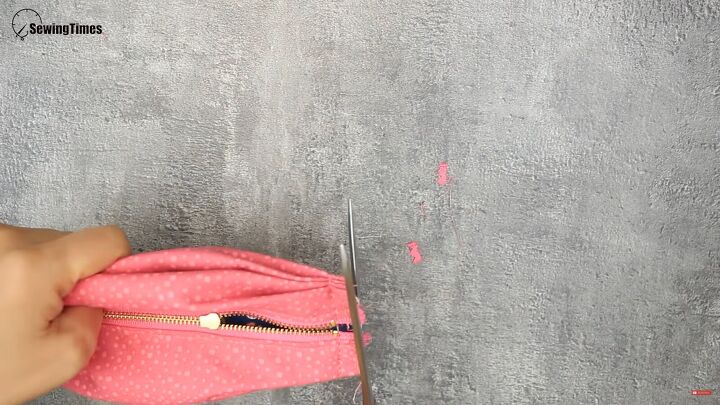
Cut the excess fabric.
Pin the 3 ¼ “ x 2” rectangle pieces on either side.
Then, sew to secure.
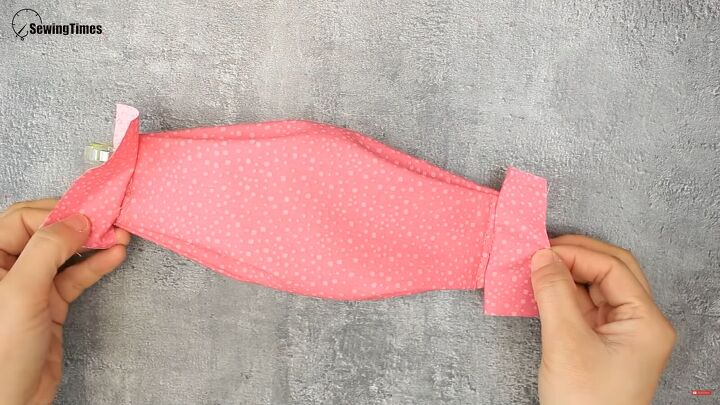
On the other side, fold the edges inward, and the top edge should be folded over twice to cover the seam.
Repeat on the other side and sew to secure. Then, turn the bag right sides out.
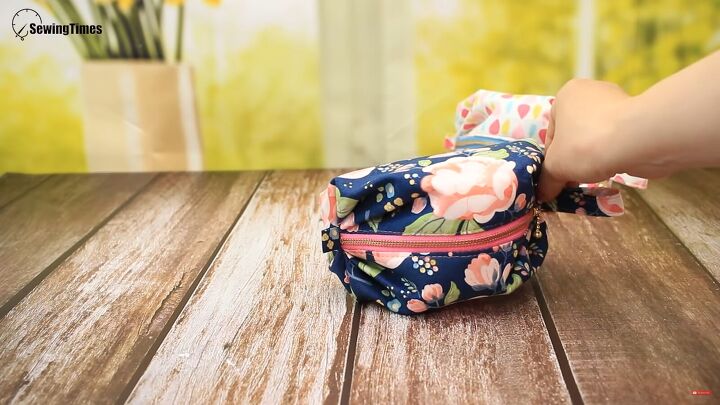
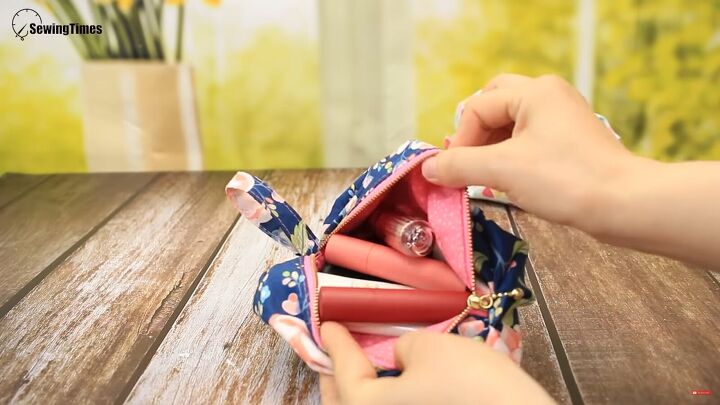
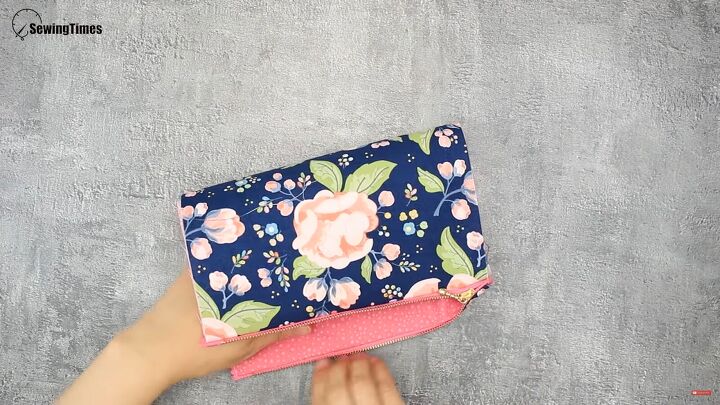
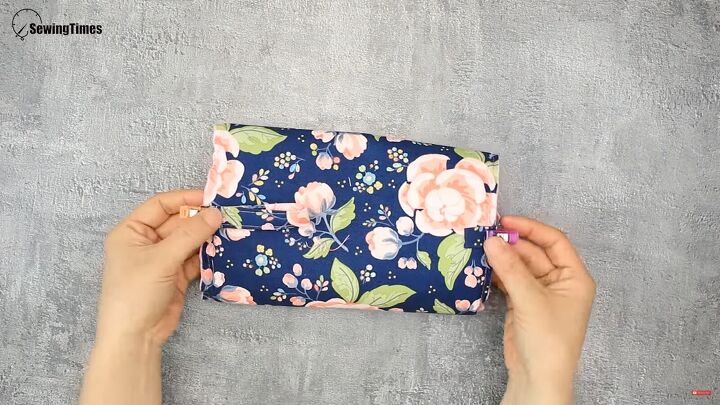
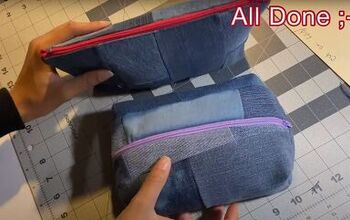
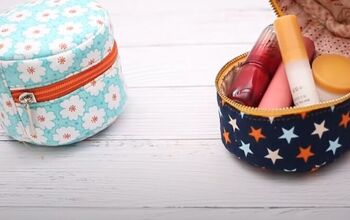
DIY cosmetic bag tutorial
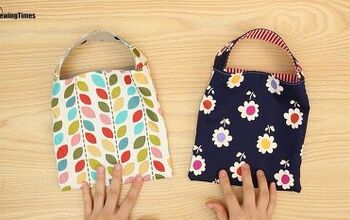
Your DIY cosmetic bag is complete. Now, you can store your favorite makeup essentials and take them with you wherever you go. Also, this would be a great gift idea.
I hope you enjoyed this guide on how to make a cosmetic bag with a zipper. Have fun!
The author may collect a small share of sales from the links on this page.


Comments
Join the conversation