How to DIY a Chic Denim Bag

In this DIY, I’m going to show you how to make creative denim bags from old jeans. These handmade denim bags can be worn as a tote or a crossbody bag. Let’s get started!
Tools and materials:
- Old jeans or denim fabric
- Interfacing
- Sewing machine
- Scissors
- Sewing pins
- Measuring tape/ruler
- Sewing clips
- Protractor
- Scissors
- Fabric chalk
- Eva foam
- Ribbon
- Cotton cord
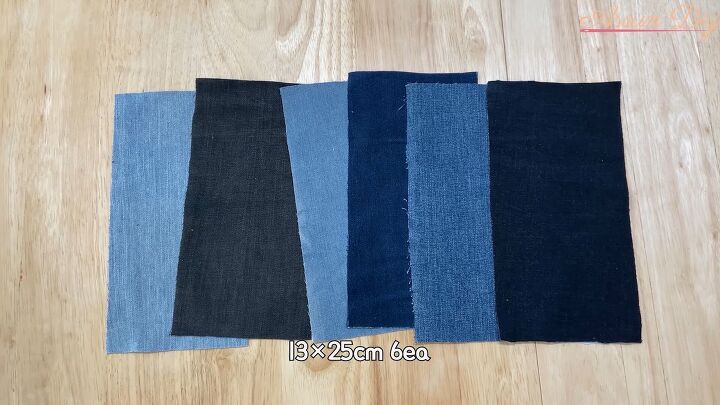
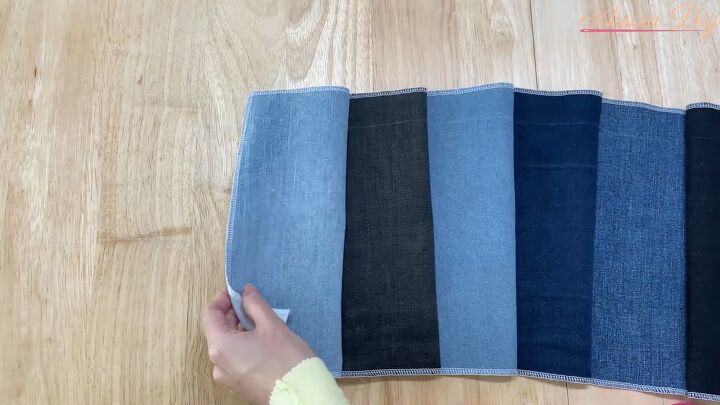
1. Cut out the fabric
Cut out six rectangles from old jeans that are 5 x 10 inches in size.
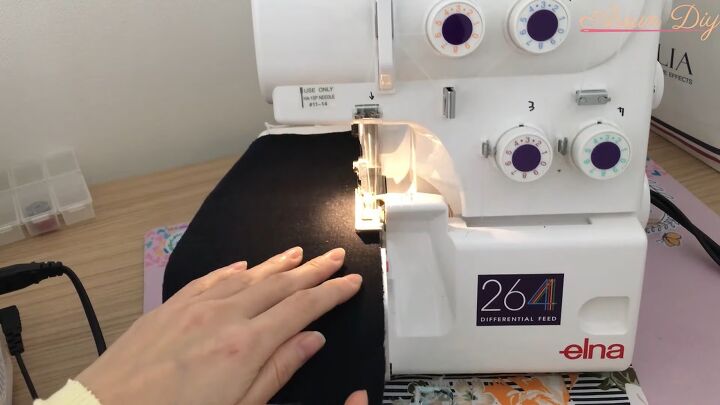
2. Line and iron the fabric
Line the jean fabric with interfacing on the wrong side, iron, and then sew together with a zig-zag stitch.
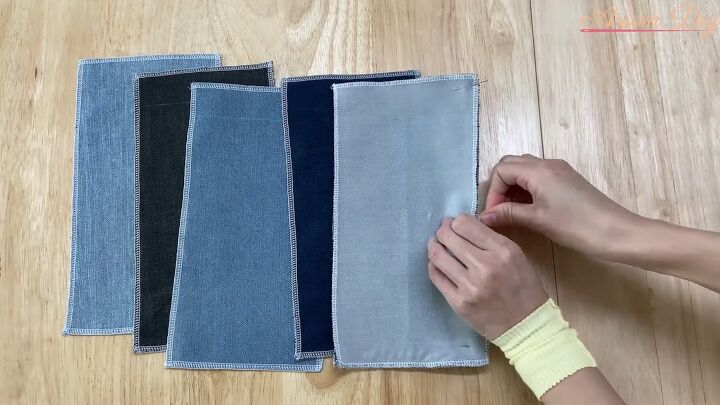
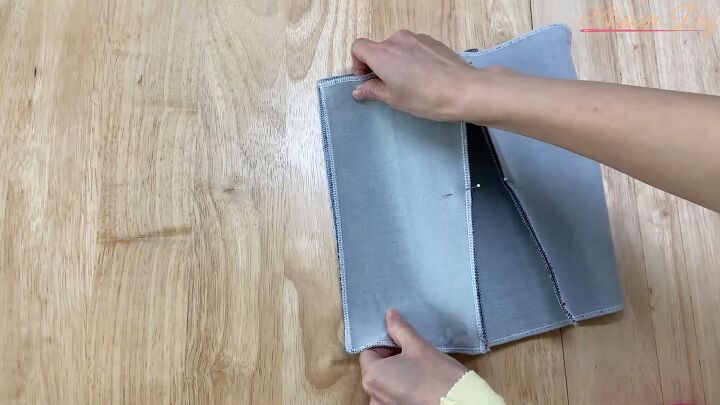
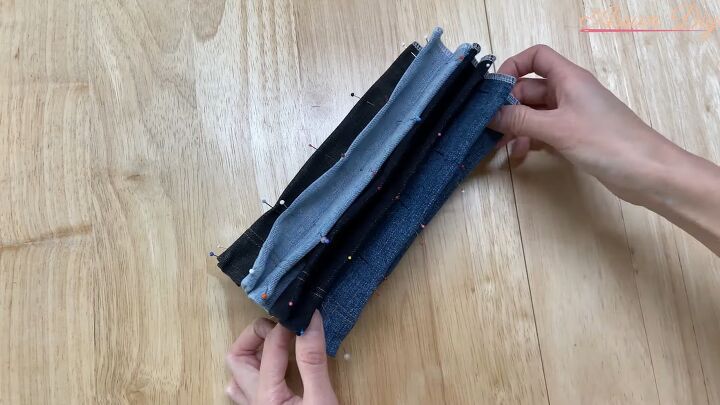
3. Pin each piece of jean fabric together
Lay two pieces of jean fabric together right sides facing and pin on the edge.
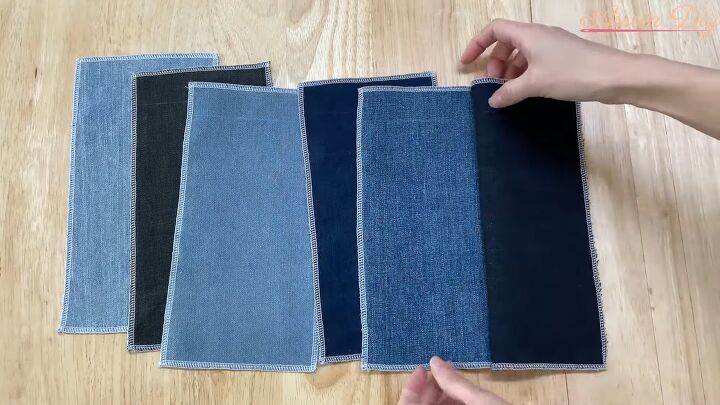
When you open it, it’ll look like this.
Repeat with all pieces of fabric.
4. Fold and pin
Fold the entire connected fabric in half, right sides facing, and pin the open edge.
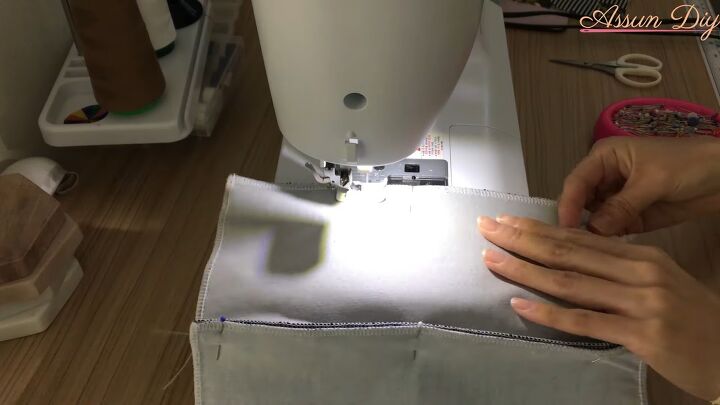
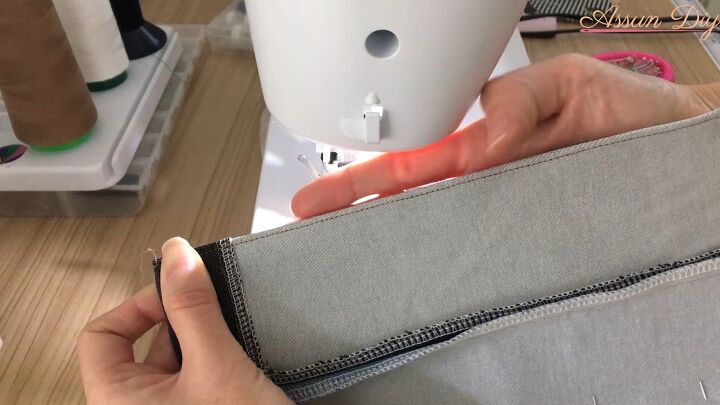
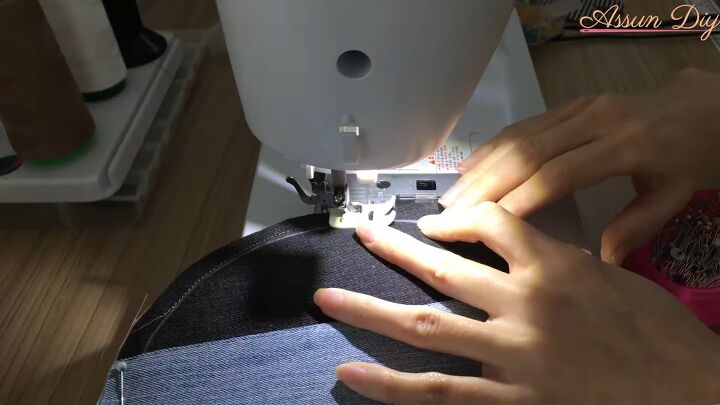
5. Sew together
Sew along each pinned edge all the way around.
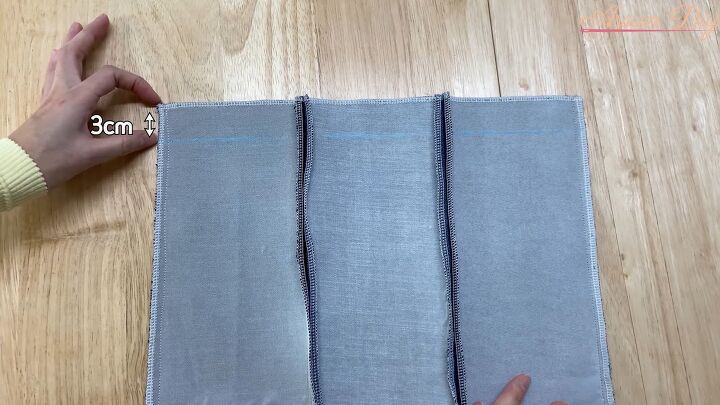
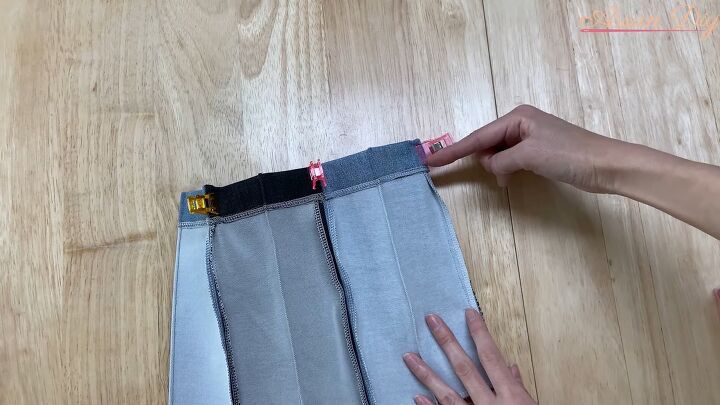
6. Fold down the top one inch
Measure and mark one inch from the top on both the right and wrong sides.
Then fold down the top to that 1-inch line all around.

7. Sew
Sew along the open fold.
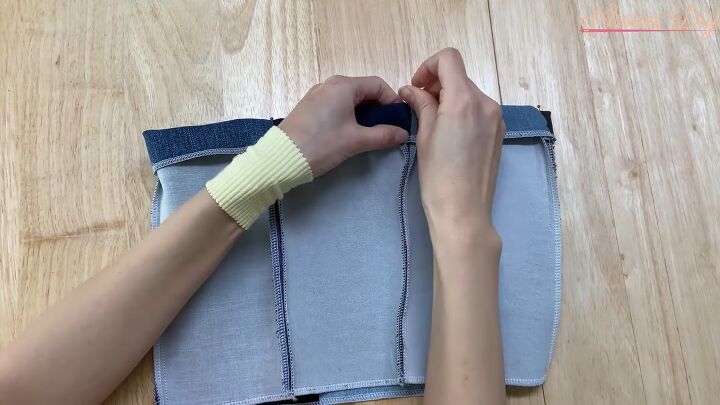
8. Fold and pin each panel in half and sew
Fold each panel in half, matching up the end and pinning in the middle.
Sew where pinned.
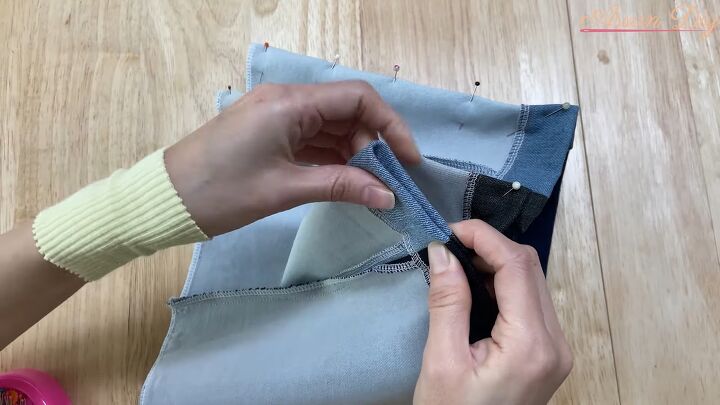
8. V-fold and sew the panels
Create a V-fold where each panel ends and clip together.
Sew only on the V-fold.
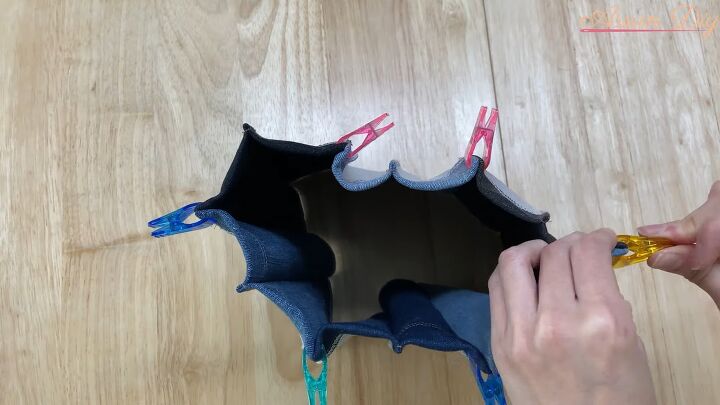
9. Fold each half-panel in half and sew
Turn the fabric right side out. Fold each half of the panel in half and sew. Each panel should now have four sides.
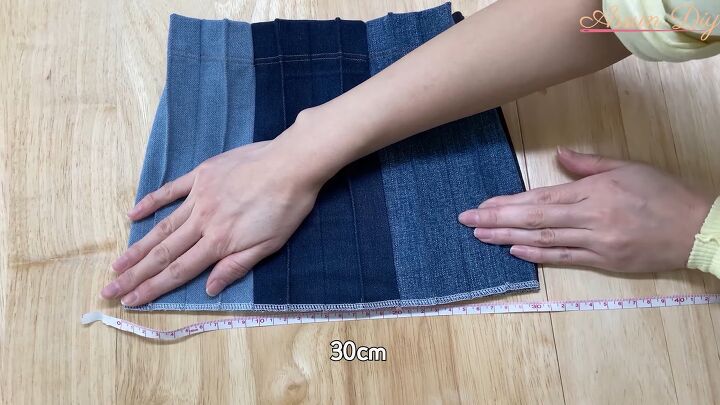
The bag should be around 12 inches unfolded.
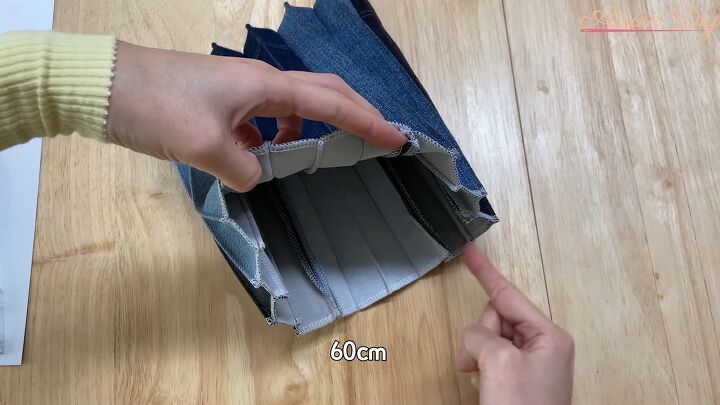
It should also have a circumference of around 24 inches.
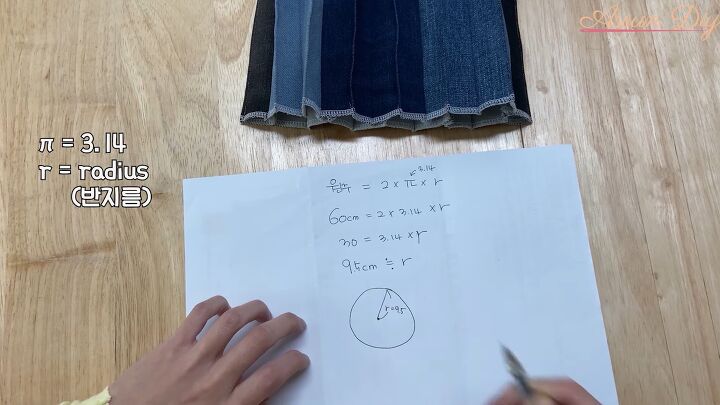
10. Calculate the radius of the bag
To make the bottom of the bag, we have to start by figuring out the radius.
We know our circumference, so we can use the formula Circumference = 2 x 3.14 (or pi) x Radius.
My radius ended up being around 4 inches.
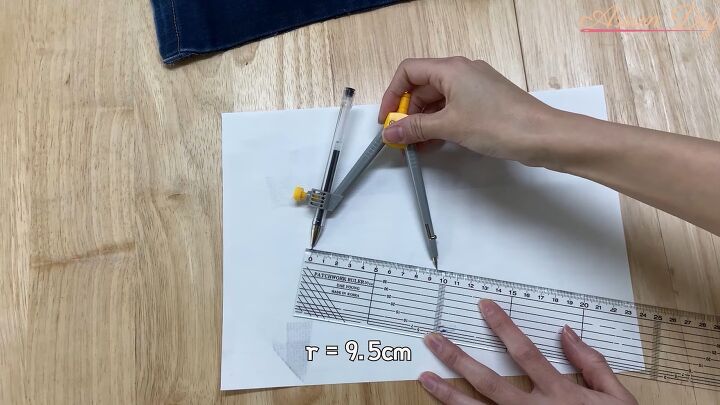
11. Draw the bottom of the bag
Using a protractor and the radius you just calculated, draw out the circle that will be the bottom of the bag.
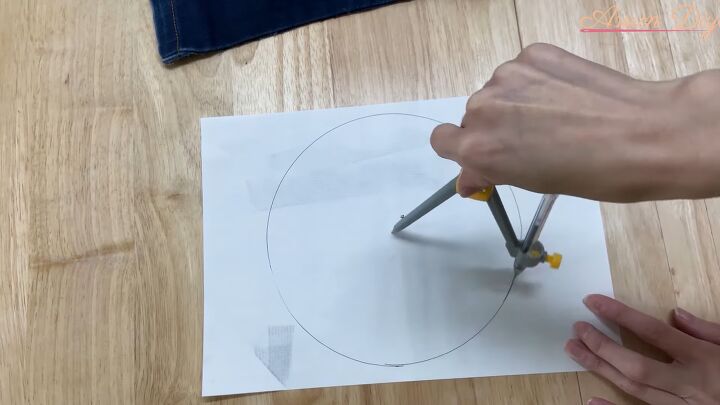
Here’s what that looks like.

12. Cut out the circle from the jean fabric
Layer two pieces of fabric, wrong sides together.
Use the circle as a template to mark and cut out the bottom of our bag from jean fabric lined with interfacing.
Leave room for seam allowance.
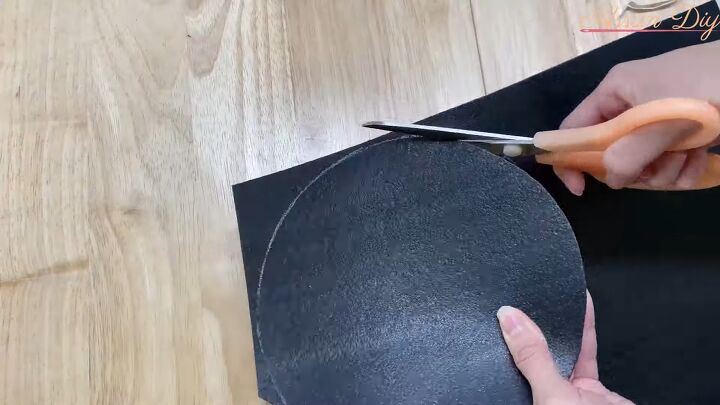
13. Cut out the circle from Eva foam
Use the circle as a template to mark and cut out a circle from a sheet of Eva foam.
14. Sew the two pieces of denim around the foam
Lay the foam between the two denim circles you just cut out and sew along the line. Sew again around the edge with a zig-zag stitch.
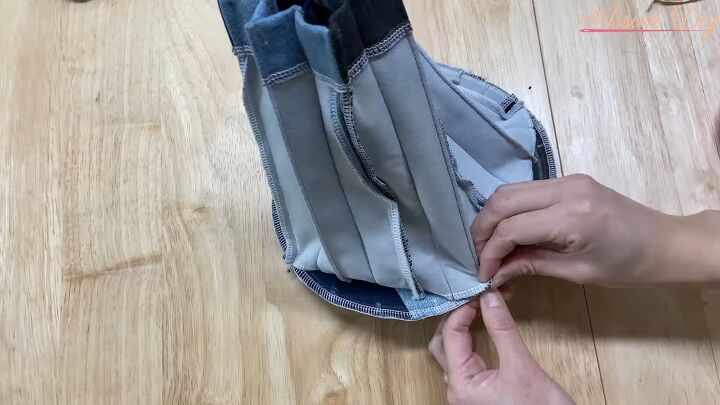
15. Pin and sew the panels to the foam bottom
Turn the panels of denim inside out and pin them to the foam bottom.
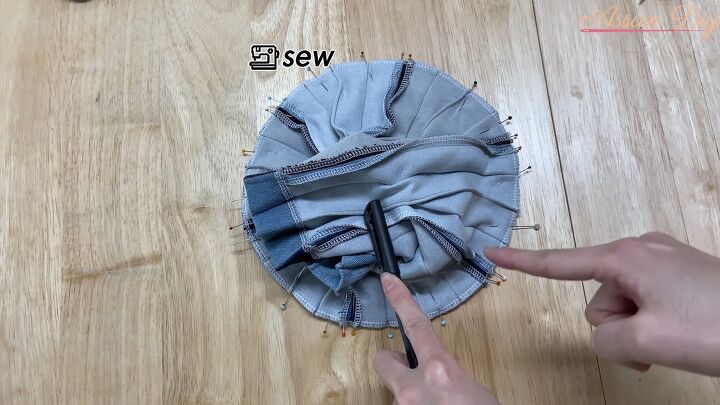
Sew all the way around.
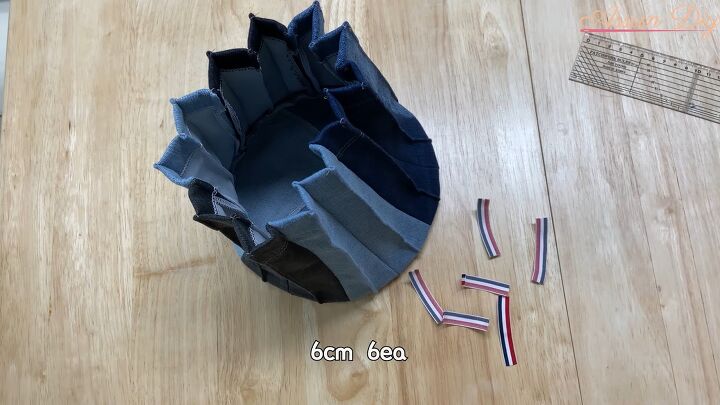
16. Cut a piece of ribbon into 6 pieces
Cut a piece of ribbon into 6 pieces that are 2.5 inches each in length.
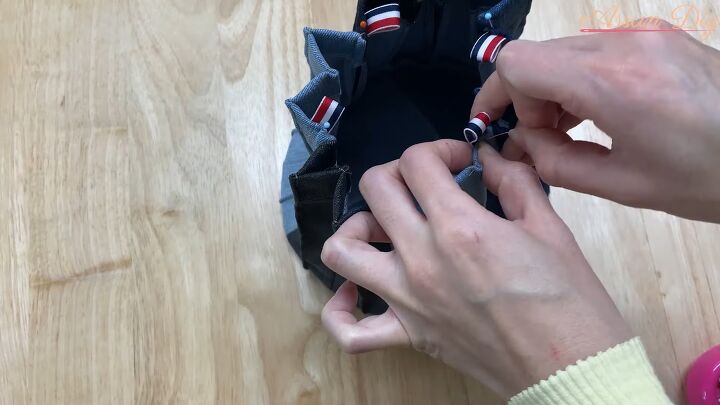
17. Pin and sew the ribbon to the panels
Fold the ribbon in half and pin and sew to the corner of each panel.
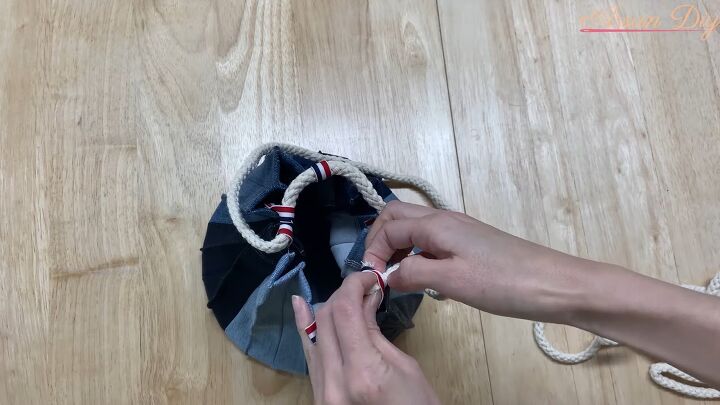
18. String cord through the loops
String a piece of cotton cord that’s 35-47 inches in length through each loop of the bag.
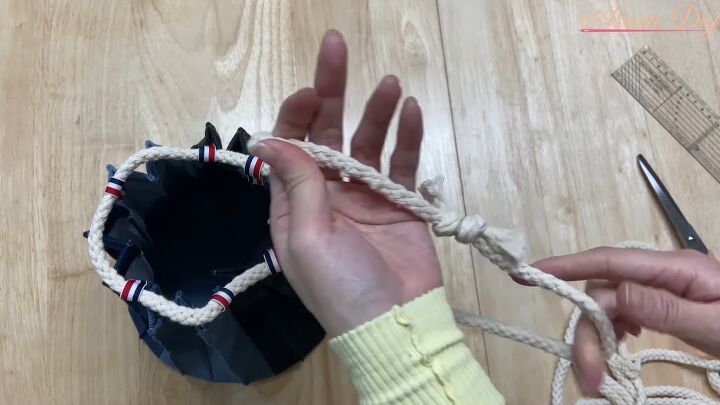
19. Tie the end of the cord
Use a sliding knot to tie the ends of the cord together.
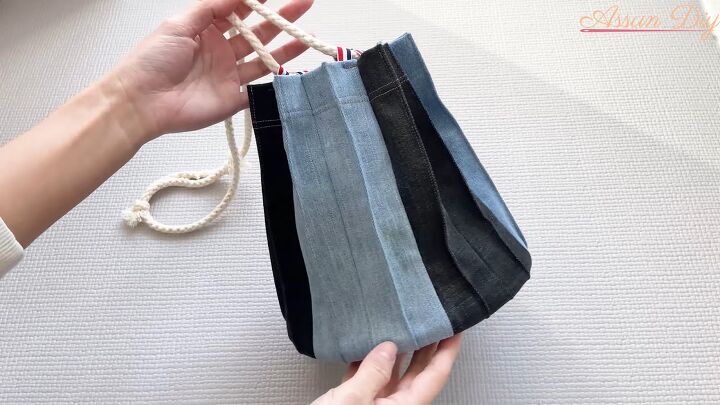
DIY denim bag
Here’s the finished denim patchwork bag!
You can wear this denim bag in so many ways!
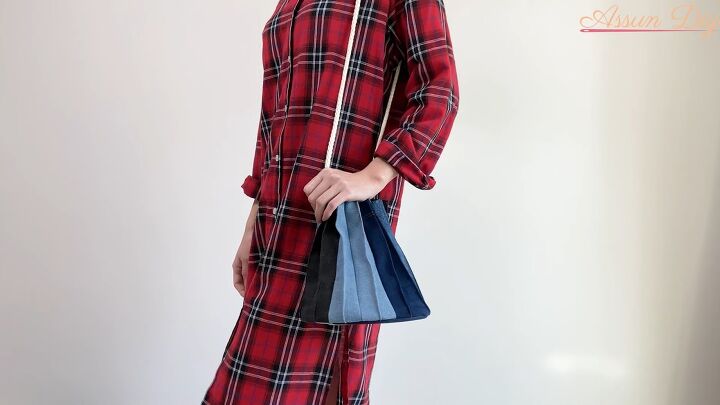
You can wear it over the shoulder.

Or carry it as a tote bag.
Let me know what you think about this simple thrifted transformation down below!
The author may collect a small share of sales from the links on this page.


Comments
Join the conversation