How to Make a Cute DIY Makeup Pouch at Home (Free Sewing Pattern)

This DIY makeup pouch tutorial will teach you how to make a makeup pouch at home. My free makeup pouch sewing pattern, along with this makeup pouch sewing tutorial, can help you learn how to sew a makeup pouch in under 2 hours!
If you know how to sew a zipper, this will be so easy for you. Let’s get started with this beautiful, customizable DIY makeup pouch.
Tools and materials:
- Makeup pouch sewing pattern
- Outer layer
1 piece 7.87 X 8.66 inches (20 X 22 cm)
2 pieces 6.5 X 1.38 inches (16.5 X 3.5 cm)
2 pieces 1.97 X 1.57 inches (5 X 4 cm)
- Lining
1 piece of fabric 7.87 X 8.66 inches (20 X 22 cm)
2 pieces 6.5 X 1.38 inches (16.5 X 3.5 cm)
- Bias strips made of lining: 9.84 X 1.38 inches (25 X 3.5 cm)
- Fusible fleece (interfacing) to match the size of the fabric
- Zipper - 6.5 inches (16.5cm)
- Sewing machine
- Ruler/Measuring tape
- Needle and thread
- Clips/pins
- Pen
- Paper
- Small round object
- Iron
- Leather label (optional)
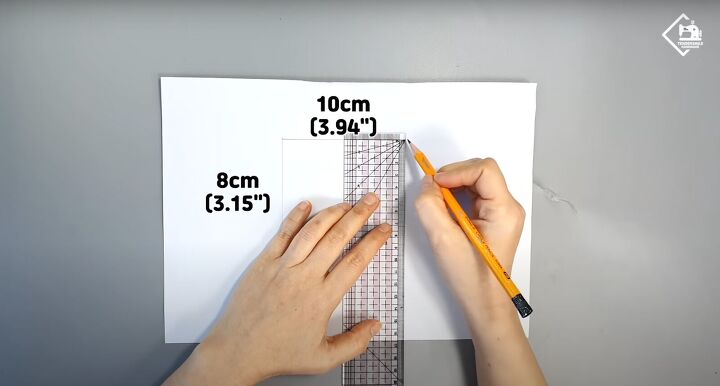
1. Make the pattern
On paper, use the ruler to make a square that is 3.94 X 3.15 inches (10 X 8 cm).

At the bottom, extend your ruler to measure a line that is 7.09 inches (18 cm).
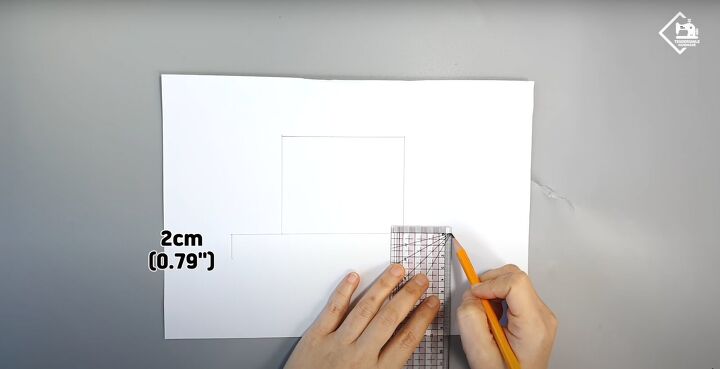
From either end of the longer line, mark down 0.79 inches (2 cm) and draw the bottom to match to make a perfect rectangle.
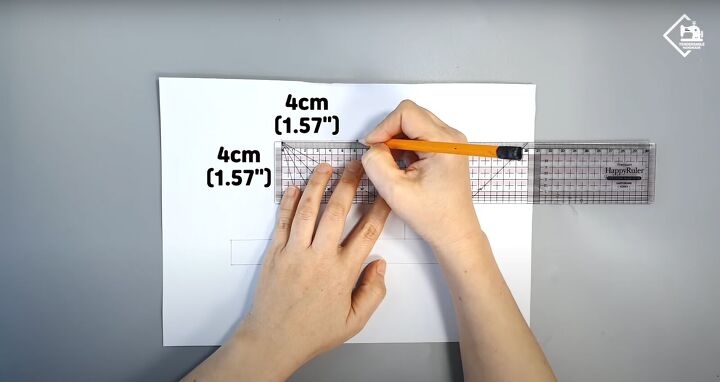
At the top of the square, use your ruler to mark a point in the center and down either side at 1.57 inches (4 cm).
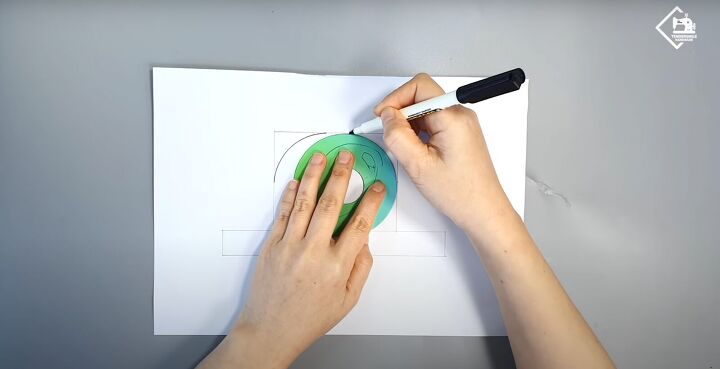
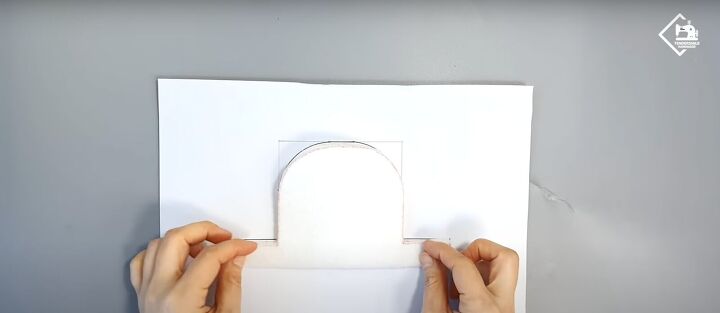
Draw a curve on either side meeting the side points. Use a small round object for symmetry.
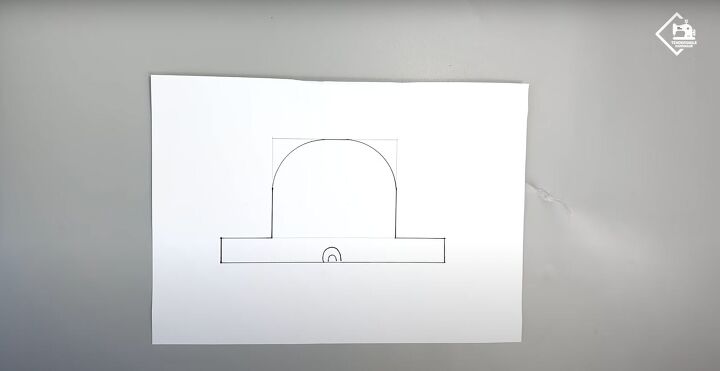
Draw 2 small arches at the bottom of the rectangle.
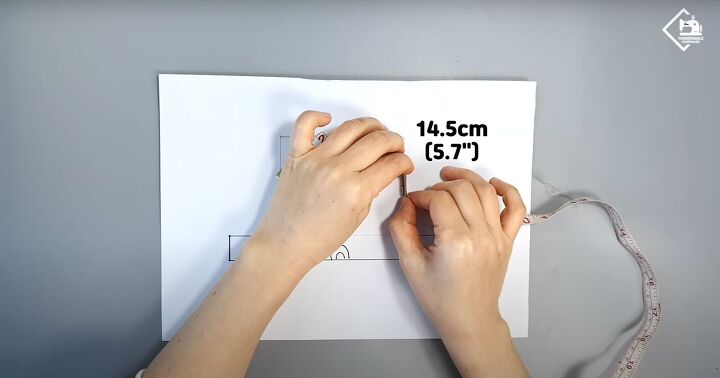
Use the measuring tape to ensure the semi-circle is 5.7 inches (14.5 cm).
2. Attach the fusible fleece (interfacing)
Fold the interfacing in half. Transfer the pattern to the folded interfacing.
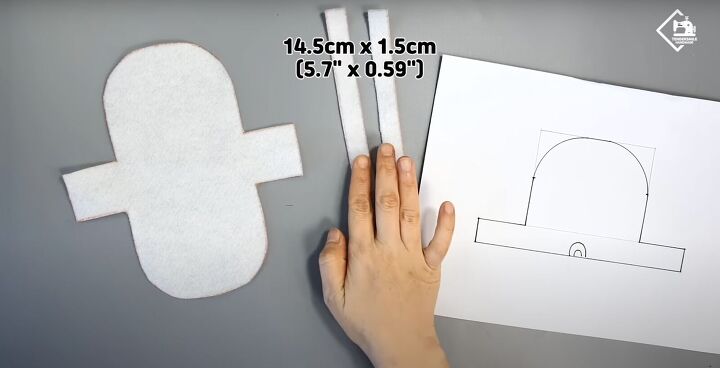
Cut 2 strips of the interfacing to match the semi-circle to be 5.7 X 0.59 inches (14.5 X 1.5 cm).
Place the larger piece of the fleece onto the wrong side of the outer layer of fabric. Place the strips on the 6.5 X 1.38-inch outer fabric pieces on the wrong side. Press to secure with the iron.
Place the lining and the outer fabric right sides together.
Mark a ⅜ inch (1 cm) seam allowance all around and cut out the shape on both fabrics.
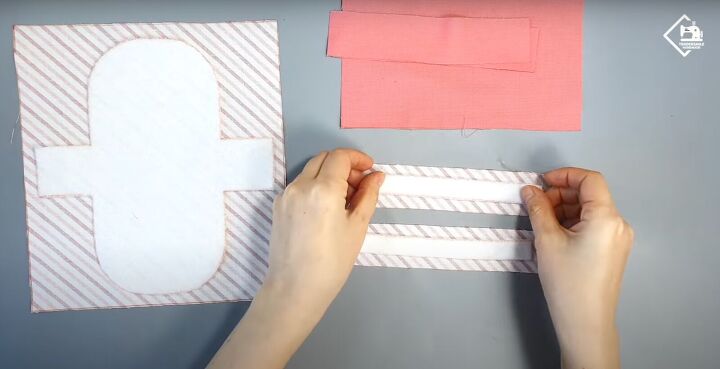
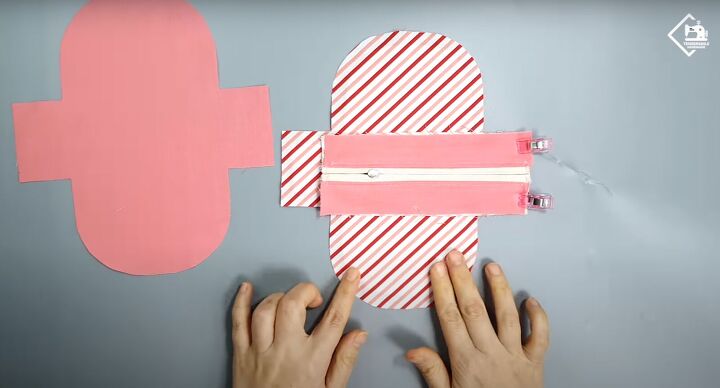
3. Attach the zipper
Place the zipper with the zipper tab right sides together with the outer fabric strip with the interfacing. Align the top edge of the zipper with the top edge of the fabric. Pin in place.
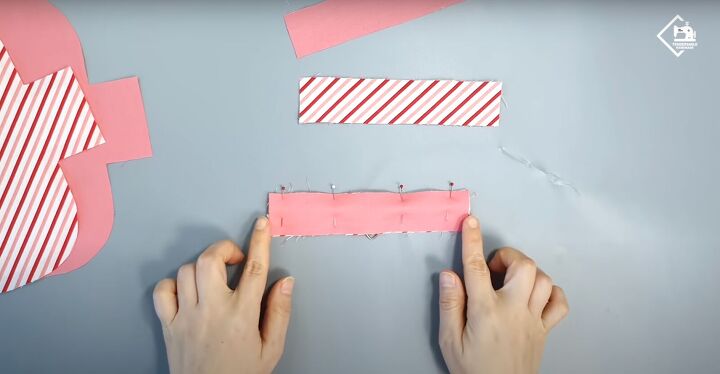
Place the lining on top and repin to secure. Stitch at ⅜ inch (1 cm) at the top.
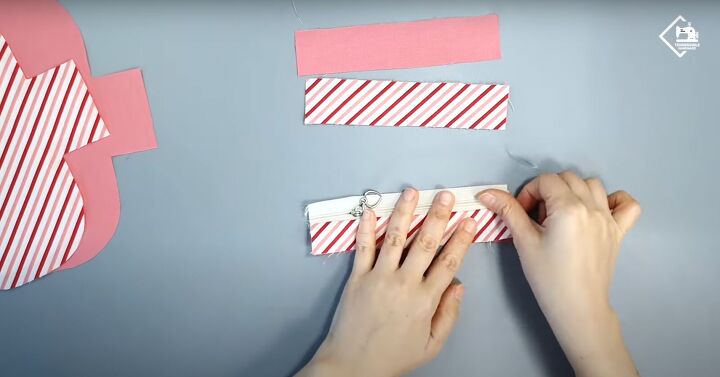
Once sewn, place the zipper flat so the tab faces you.
Then lay the second outer fabric piece, right sides up and flip the zipper piece so their right sides are together. Pin in place.
Then place the second piece of lining on top and repin to secure. Stitch along the top at ⅜ inch (1 cm).
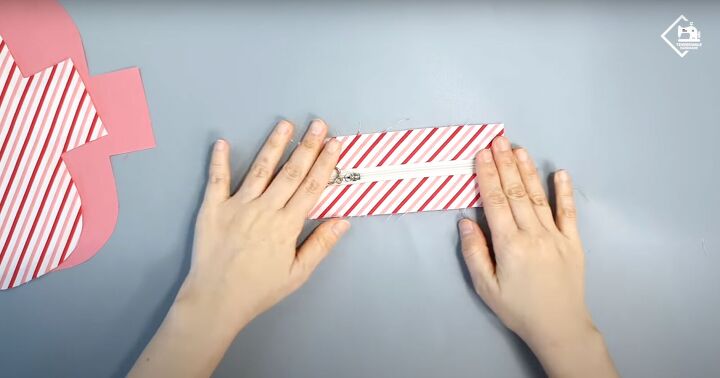
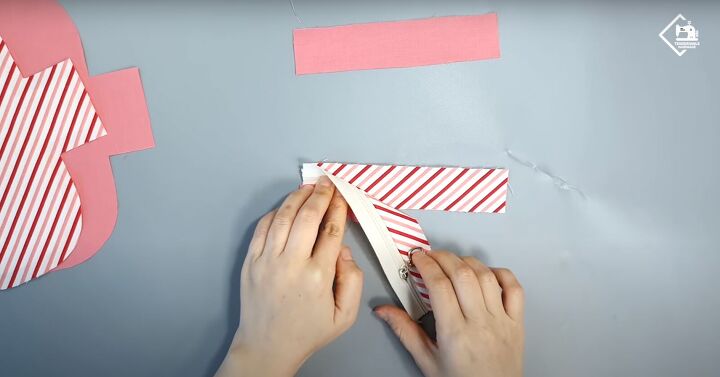
Open up the fabric and topstitch the zipper on both sides at 0.08 inch (0.2 cm) right at the edge.
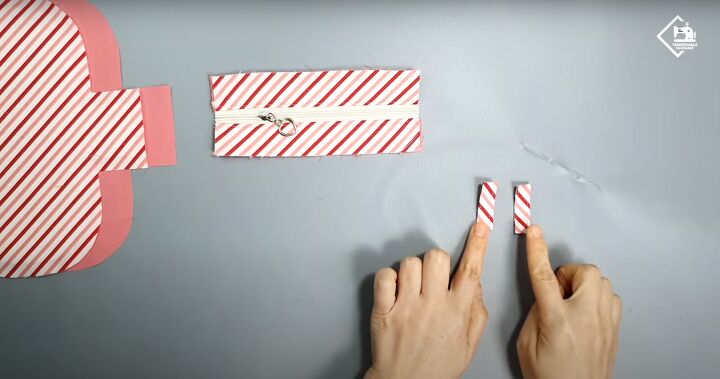
4. Attach the tabs
Fold the small 1.97 X 1.57 inch squares in quarters. Topstitch on both longer sides at 0.08 inch (0.2 cm). Fold them in half.
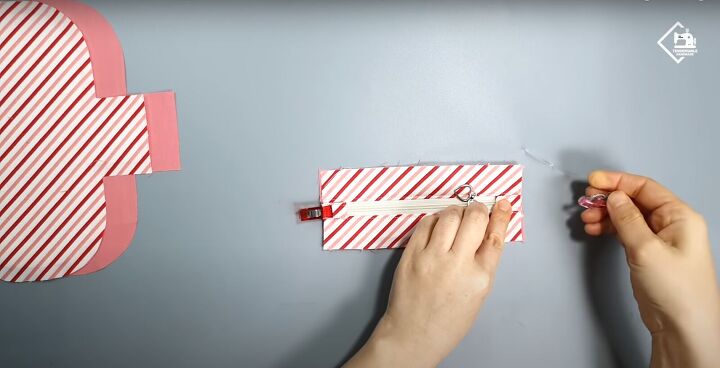
Clip to the zipper with the open edge at the edge of the zipper.
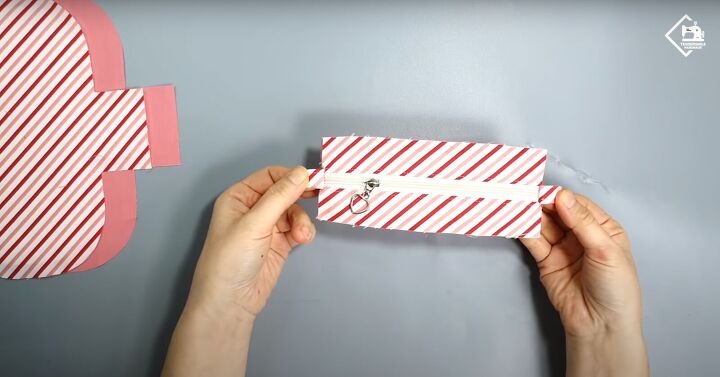
Stitch the tabs down at 0.2 inches (0.5 cm).
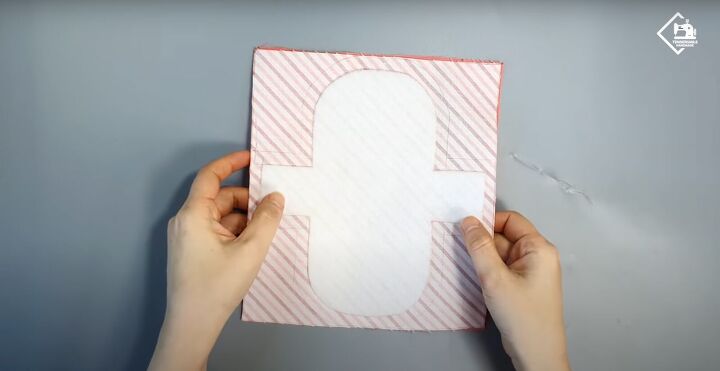
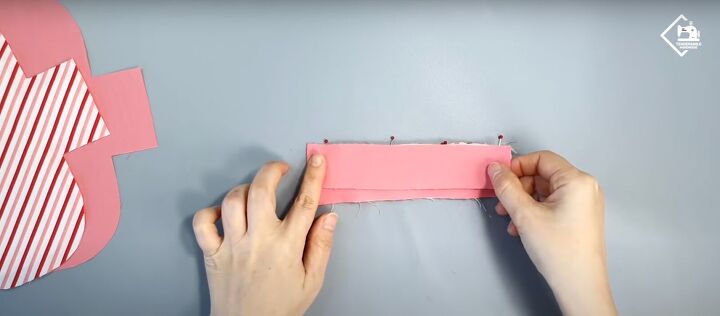
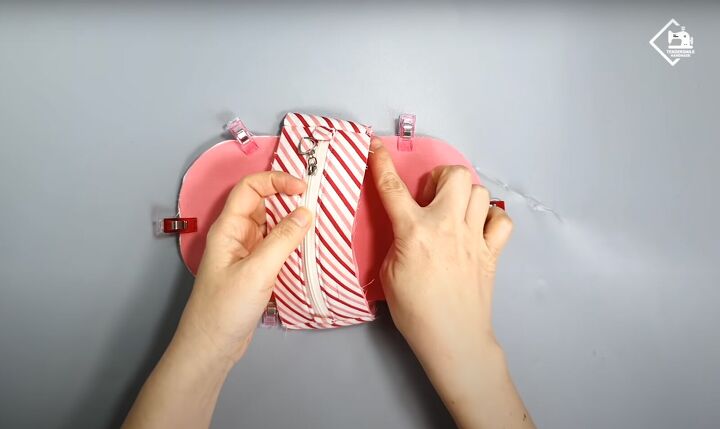
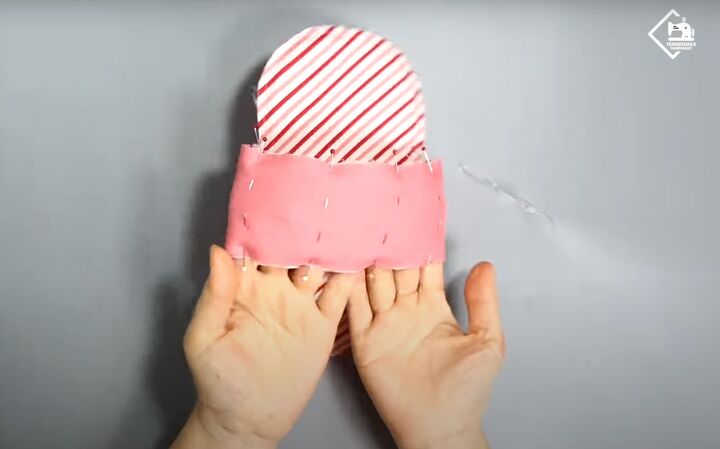
5. Attach the zipper to the body
Place the piece with the zipper right sides together with the larger outer fabric.
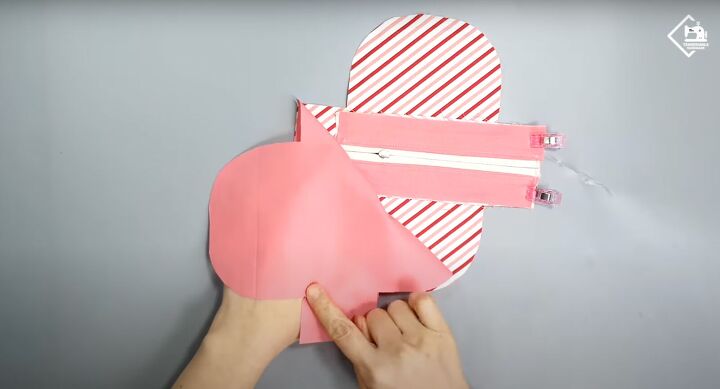
Then place the lining on top.
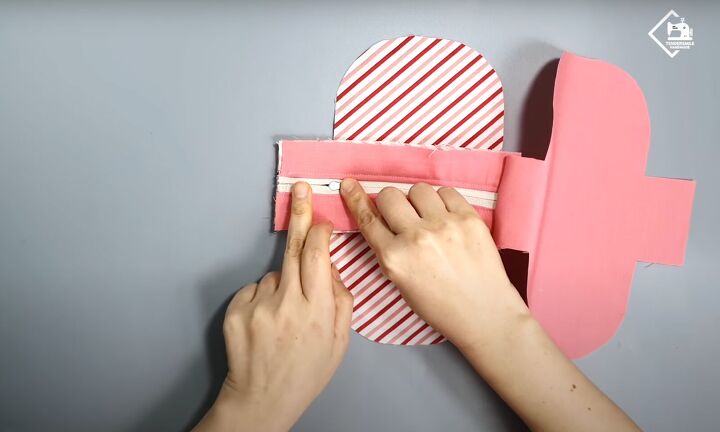
Pull the zipper piece to match the other edge including the lining.
Clip in place. You’ll have some excess in the center. It’s ok as it will flatten out later! Stitch just the short clipped sides at ⅜ inch (1 cm).
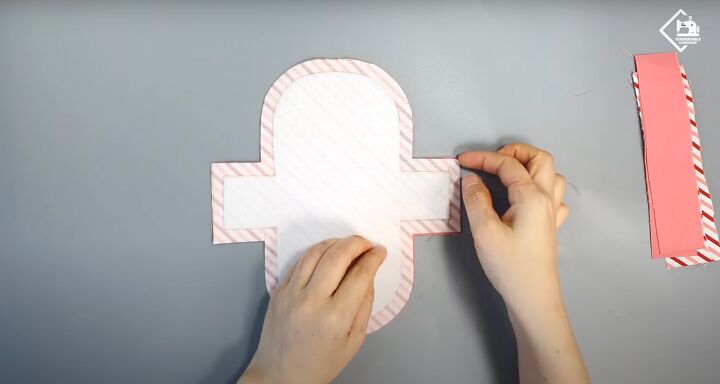
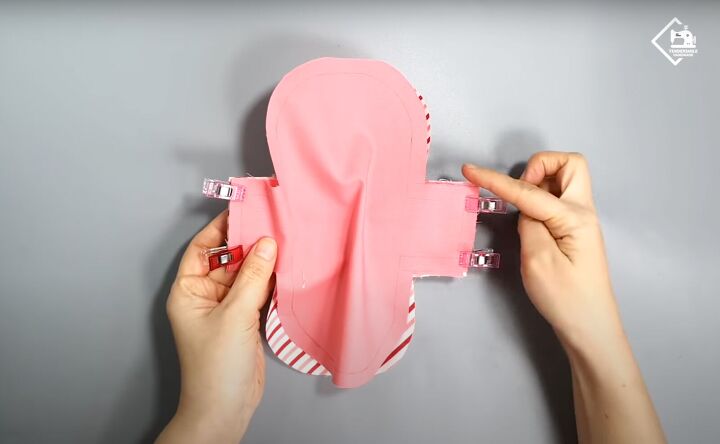
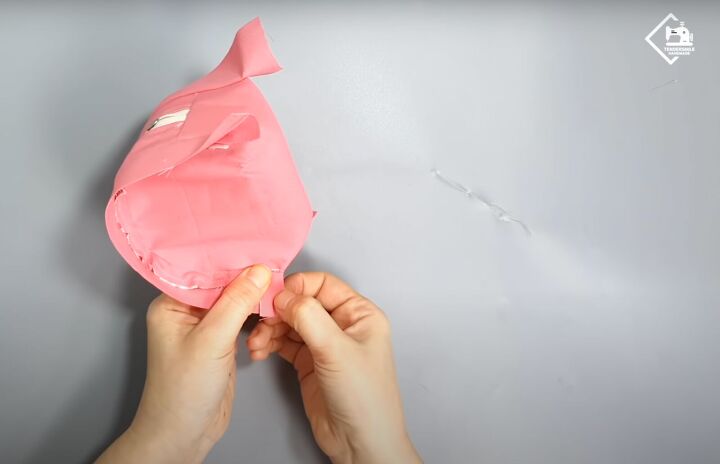
6. Sew the purse
Flip the fabric so the lining is on the inside. Clip the unsewn edges and sew at 0.12 inches (0.3 cm).
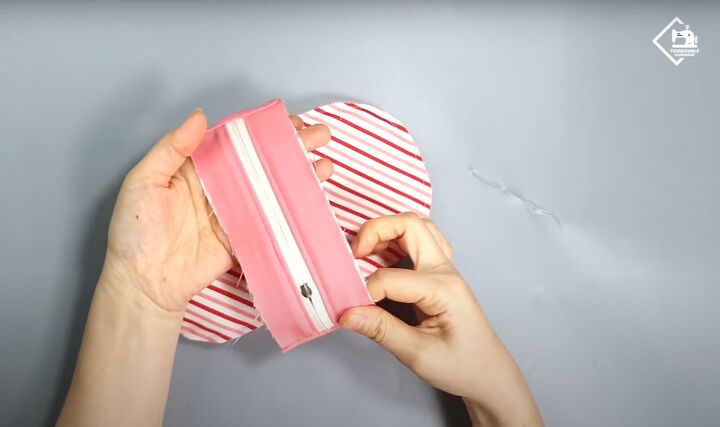
Then flip the fabric again so the lining is on the outside.
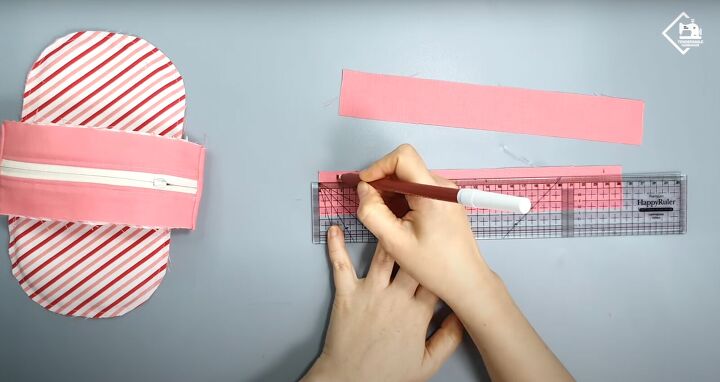
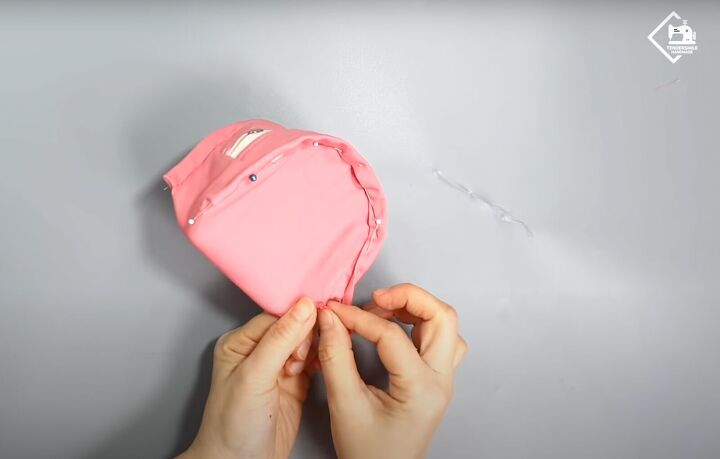
Mark the bias strips about ⅜ inch (1 cm) on either side.
Place the strips along the edge with the mark right at the edge, leaving that ⅜ inch as seam allowance.
Pin in place, securing across the semi-circle on both sides. Stitch right at the edge, sewing at ⅜ inch (1 cm) on both sides.
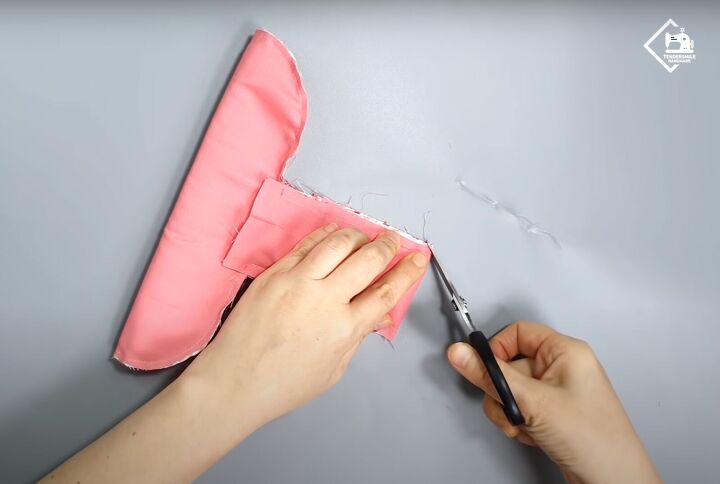
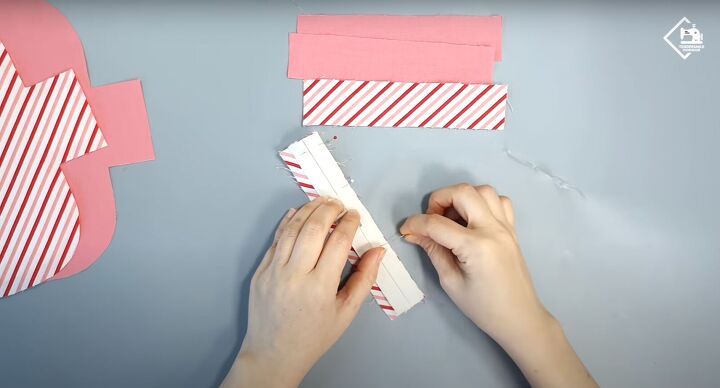
Once sewn, snip off the corners at the zipper piece edges.
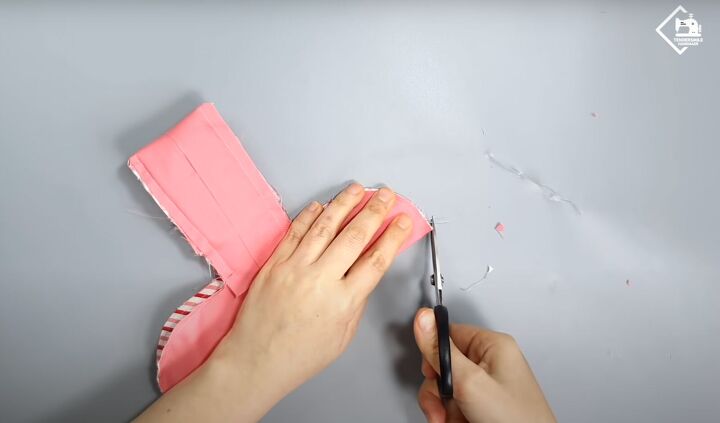
Snip both ends of the body of the purse at the very top and bottom.

Cut small snips in the seam allowance along the zipper edge.
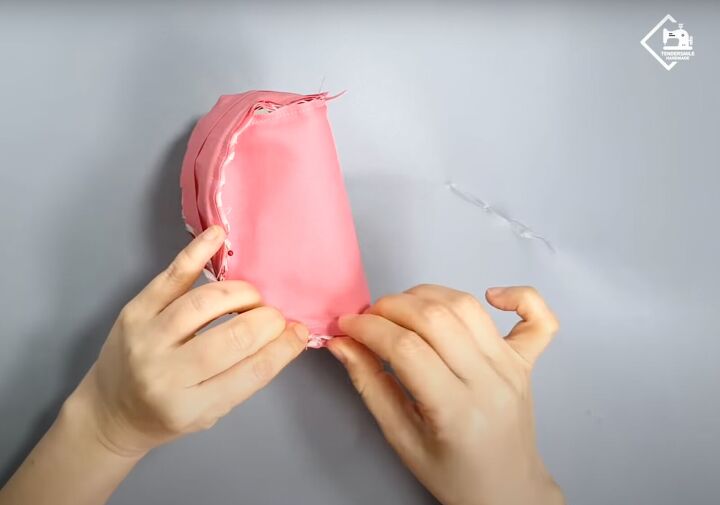
Pin the seam allowances to each other on both sides. Stitch at ⅜ inch (1 cm) on both sides.
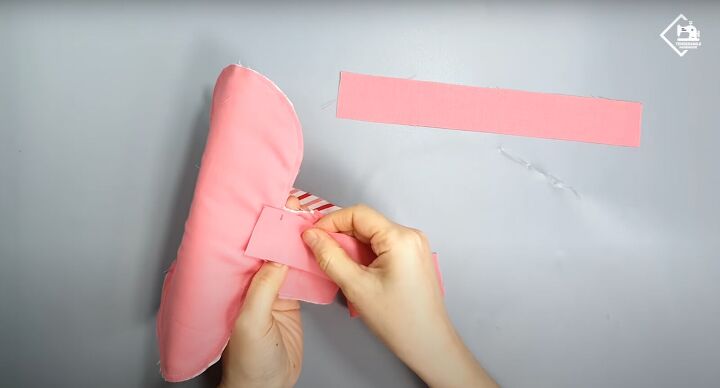
Open the bias strips. Fold in the small seam allowances at the edge.
Then fold in the bias strip. Pin in place.
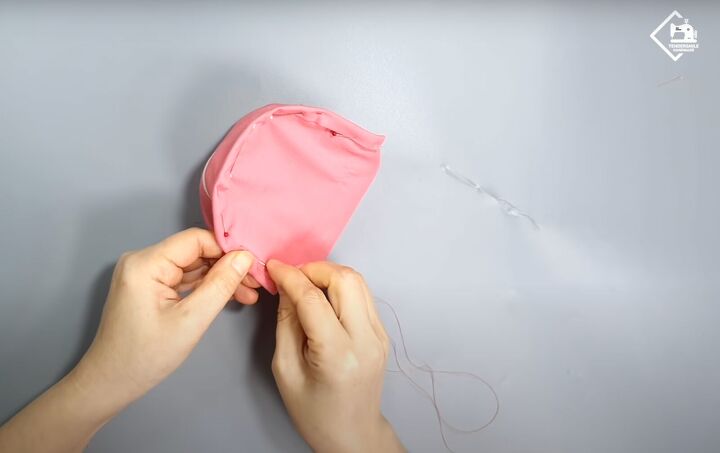
Blind stitch all across.
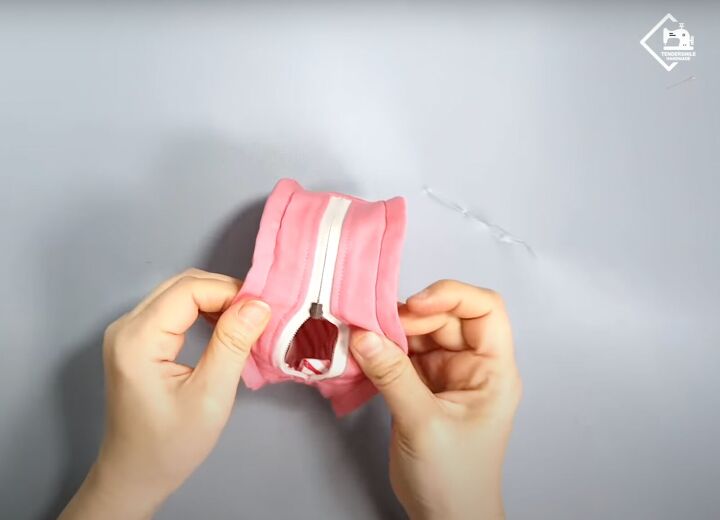
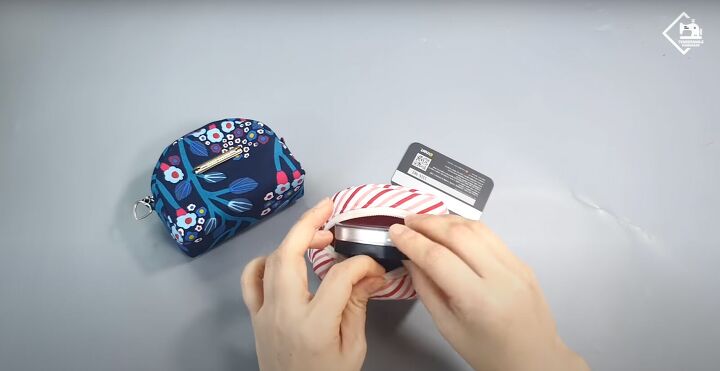
Use the zipper to turn the purse inside out.
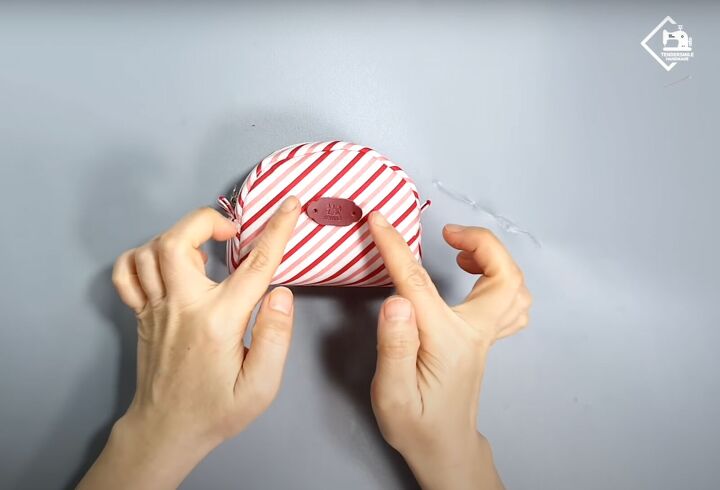
7. Finishing touch (optional
)If you have a small leather label, hand-sew it for that extra special personalized touch!
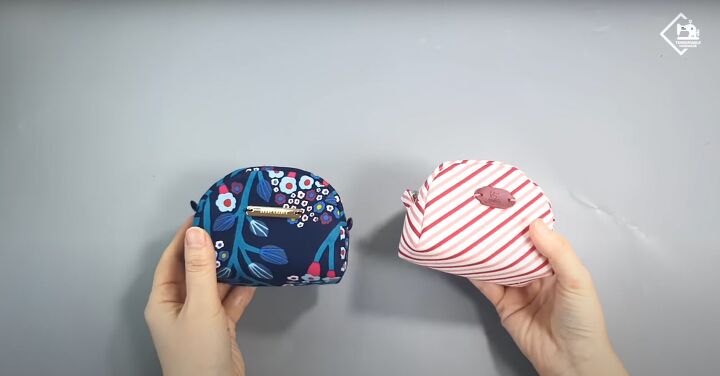
DIY makeup pouch tutorial
I hope this makeup pouch sewing tutorial helped you learn how to sew a makeup pouch! Let me know in the comments if you made this DIY makeup pouch and how easy it was for you. Thanks for joining.
The author may collect a small share of sales from the links on this page.


Comments
Join the conversation