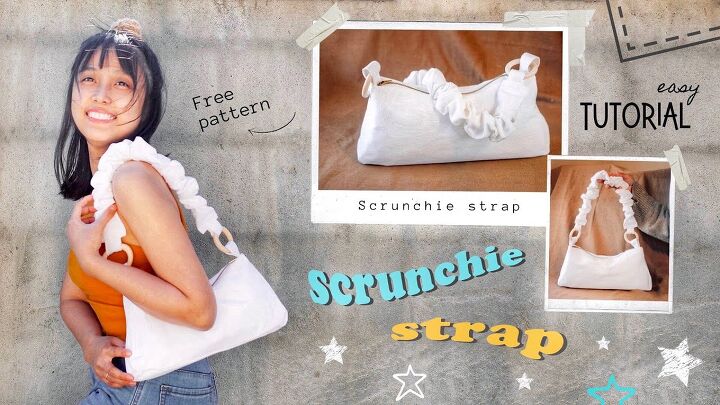
Gorgeous Scrunchie Shoulder Bag Tutorial

Hi there! Today, I'd like to show you how to make a shoulder bag with a scrunchie strap.
Follow this step-by-step tutorial and you can finish this fun DIY within a day. For the printable pattern, sign up for my Youtube channel. Let’s begin!
Tools and materials:
- 1 yard white cotton fabric
- Straight pins or small clips
- Medium weight interfacing fabric
- 10 inch metal zipper
- Wooden rings: 2 pieces
- Fabric scissors
- Embroidery Scissors
- Sewing machine
- Iron
- Ruler
- Pen
- Safety pin

Main body
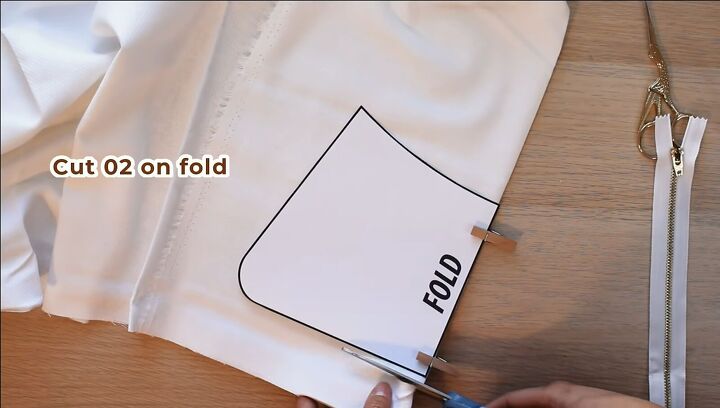
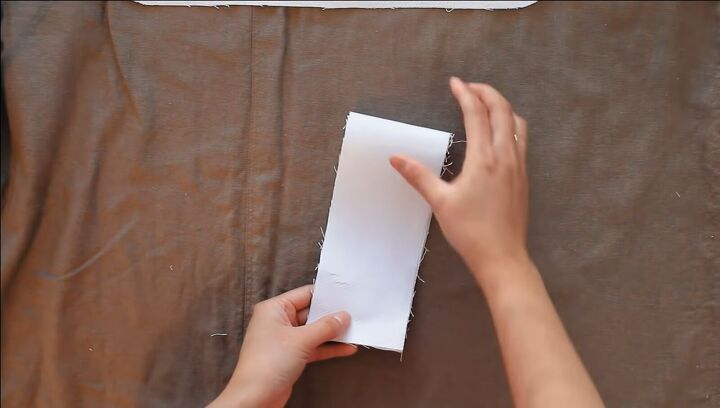
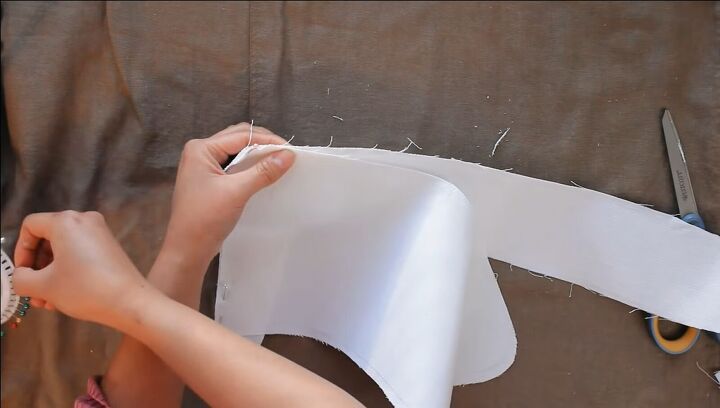
1. Cut the main pieces
After downloading the pattern and cutting out all the pattern pieces, pin the main piece at the fold of the white fabric.
Cut around the pattern piece, leaving a seam allowance of about ¼”.
Here’s what this piece should look like open.
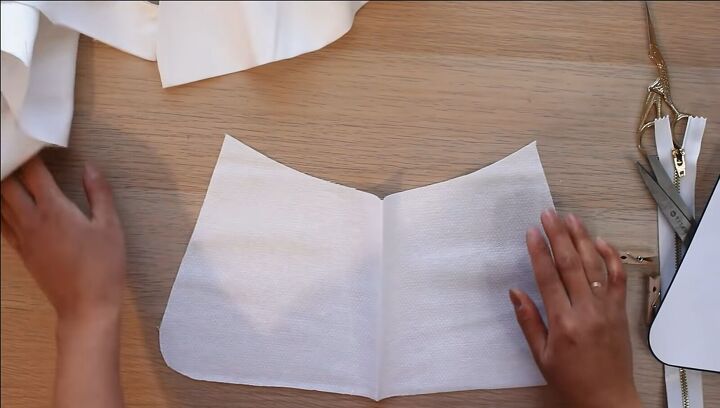
Next, create another identical piece.
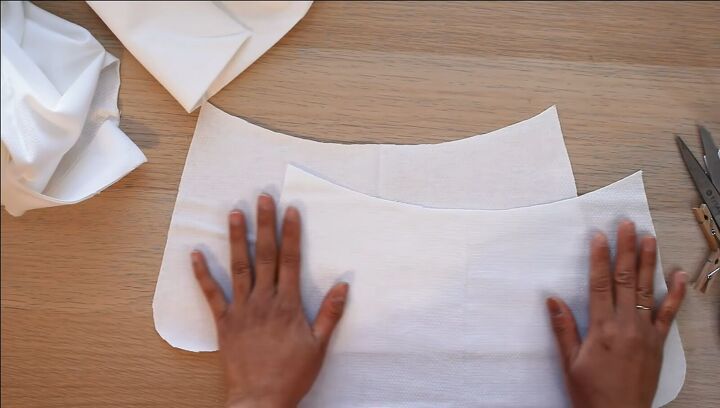
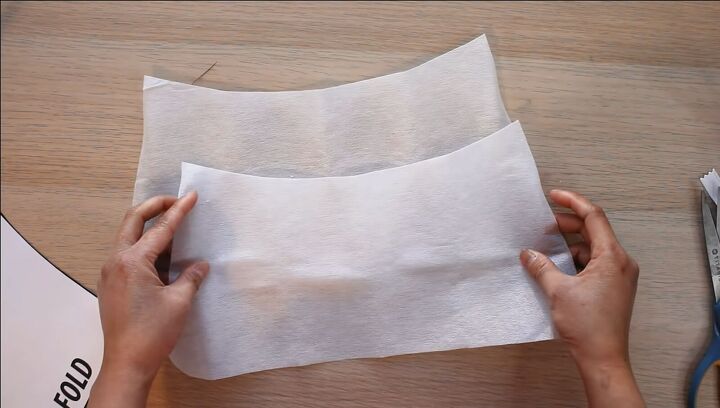
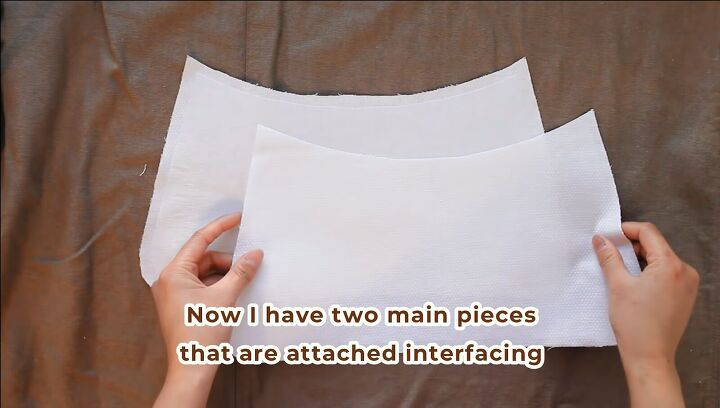
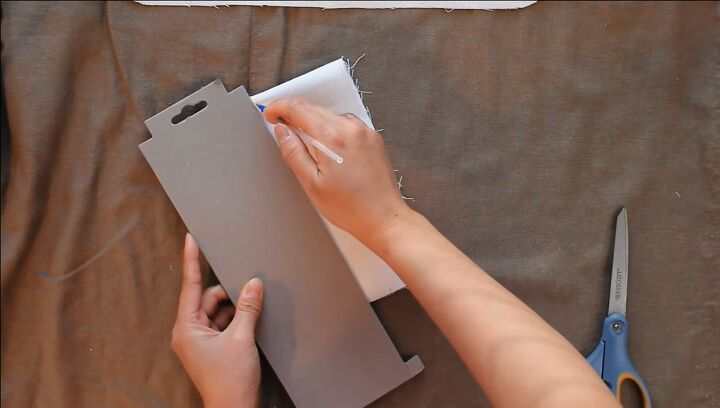
2. Prepare the interfacing main pieces
Do the same process on the interfacing fabric, only this time, you do not need a seam allowance. Remember to cut two pieces in total.

3. Attach interfacing pieces to main pieces
Center one interfacing piece on the wrong side of one main piece and iron it down.
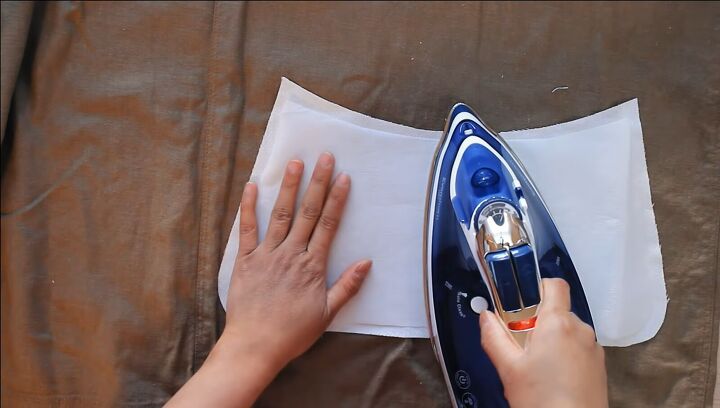
Do the same for the other side.
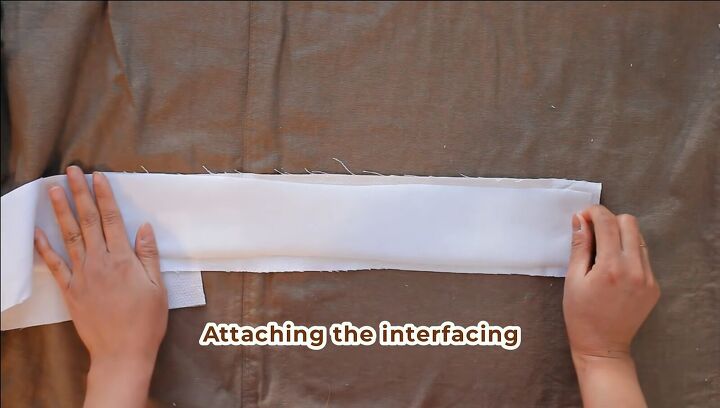
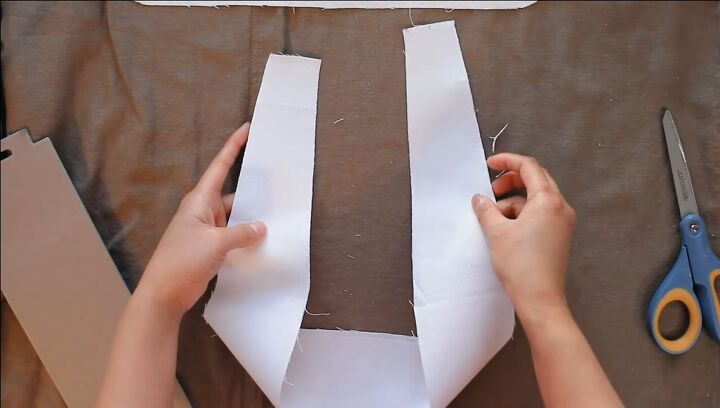
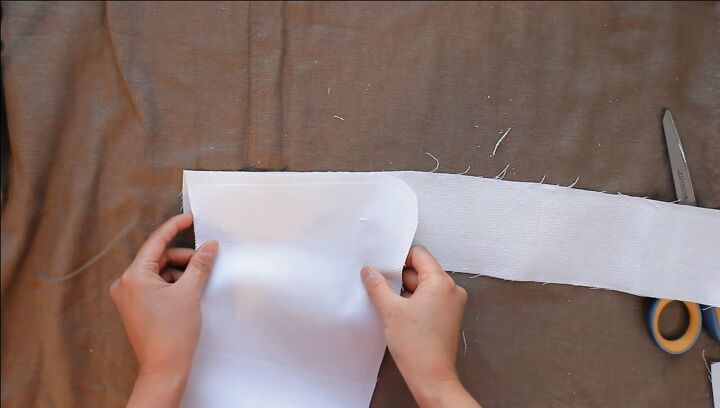
4. Make a rectangular strip
Cut a strip from the fabric that is 3” wide and 27” long. Then, adhere interfacing to the wrong side of the fabric strip with your iron.
Fold it in half, then fold it in half again.
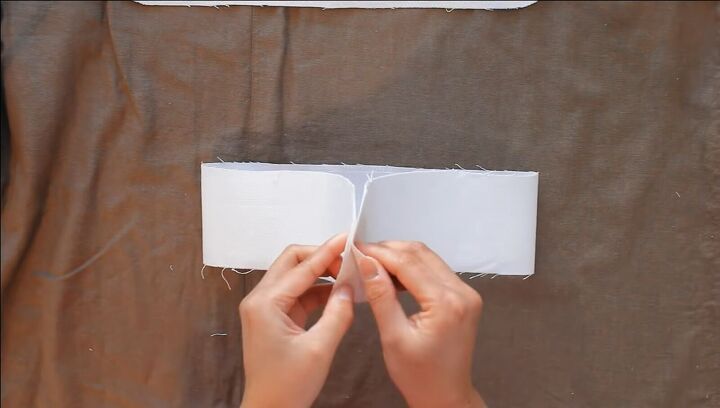
Then, with a pen and ruler, mark a diagonal, like this:

And again, on the other side.
Keeping the fabric folded, cut along those lines and the result looks like this:
5. Construct the bag
Start by pinning one main bag panel onto the fabric strip, like this:
Then bring the strip around and continue pinning it. This will ultimately become the bottom of the shoulder bag pattern.
Now, sew along where you placed the pins.
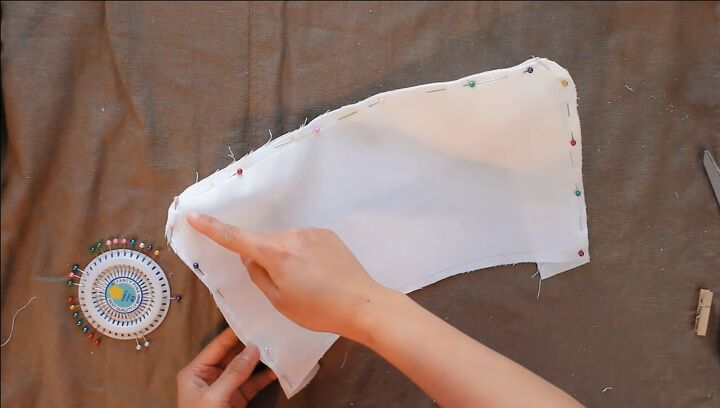
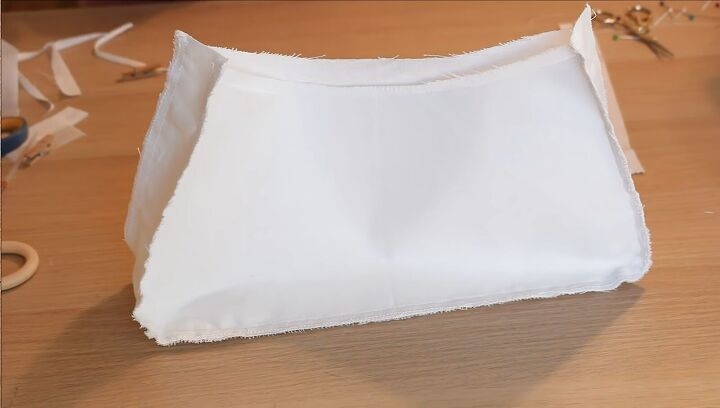
At this point, your bag should look like this:
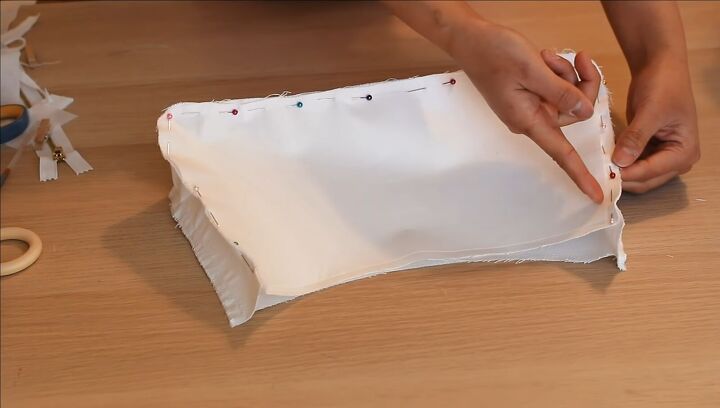
Take the other main panel and pin it to what you have so far, then sew.
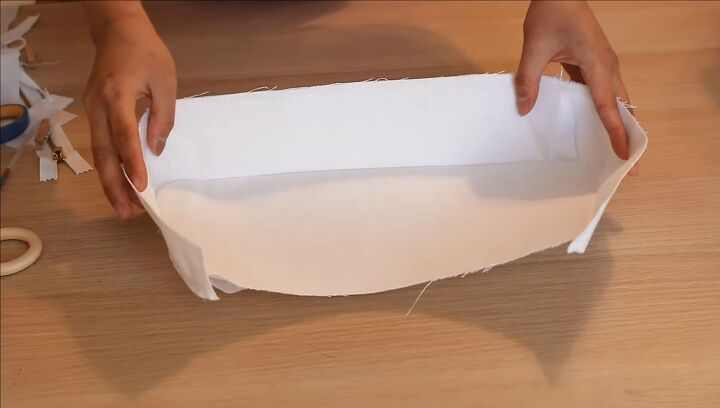
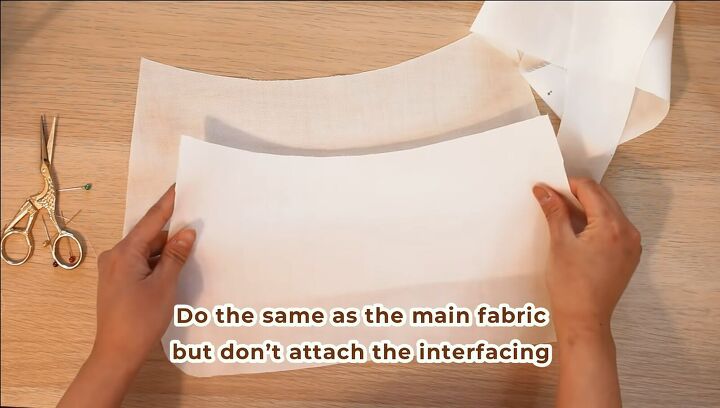
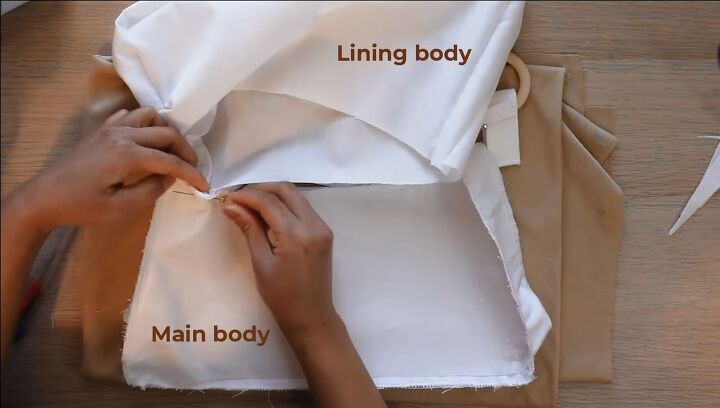
Lining body
1. Follow the steps above for the lining fabric
Essentially, do the same as the main bag fabric, just without attaching interfacing. You will make the same pieces from the pattern and combine them in the same way.
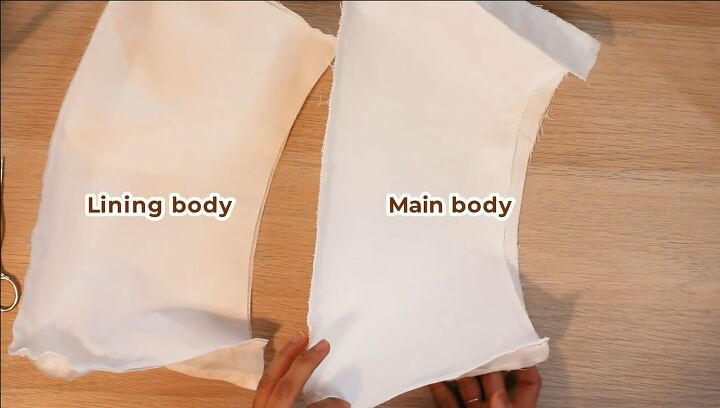
Once you’ve repeated those steps with the lining fabric, this is what you should have:
Bag assembly
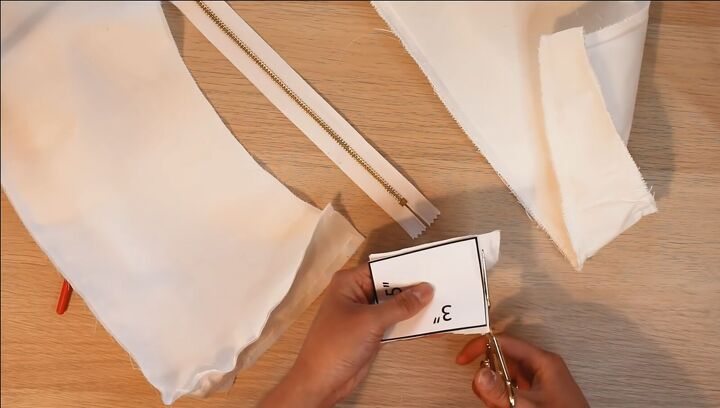
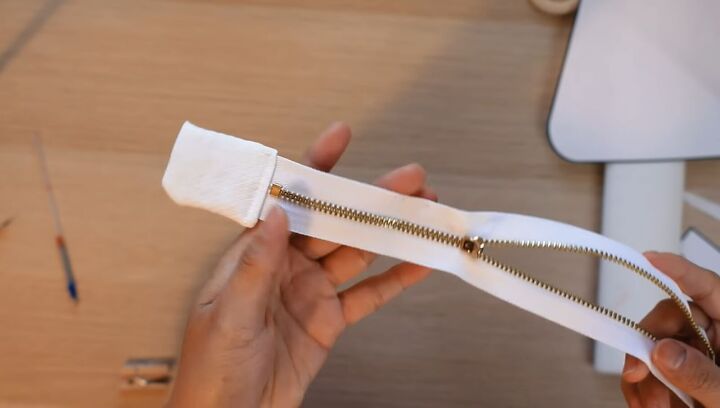
1. Create the zipper base
Cut the 3” x 5” rectangle.
Fold in half, then sew along the long side.
Turn the tube right-side out, then tuck in the raw edges.
Insert the end of the zipper and sew them together.
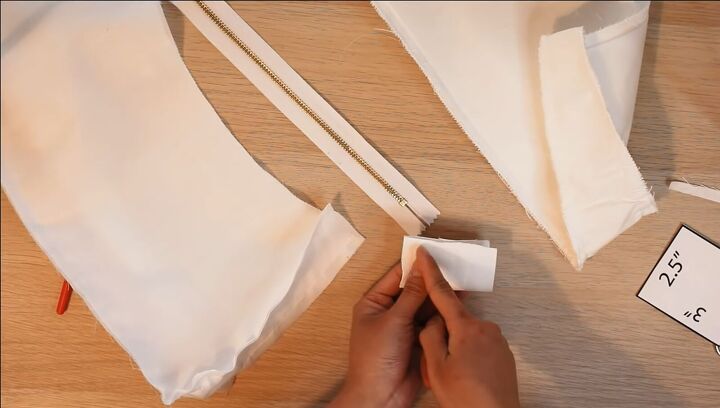
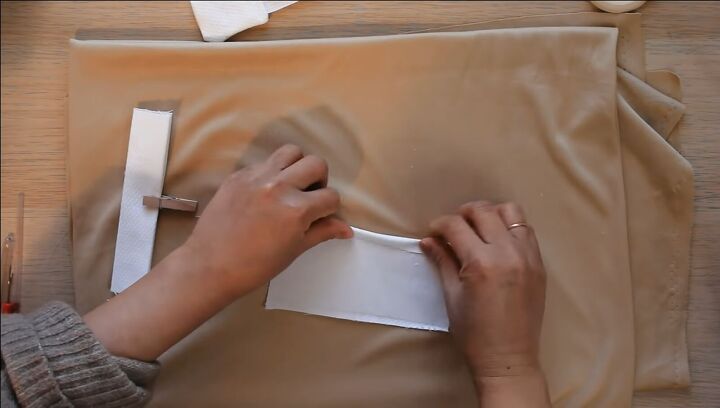
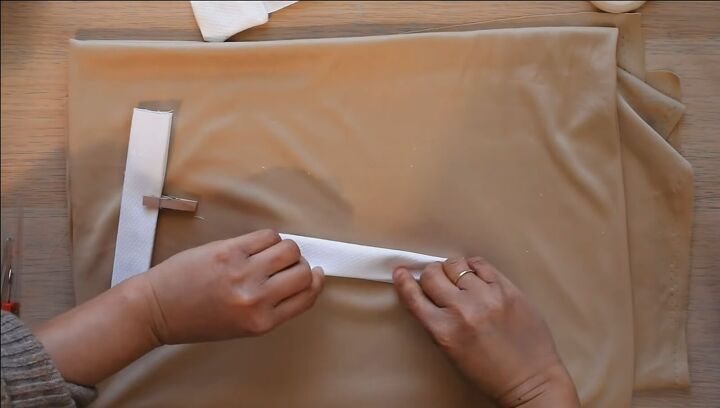
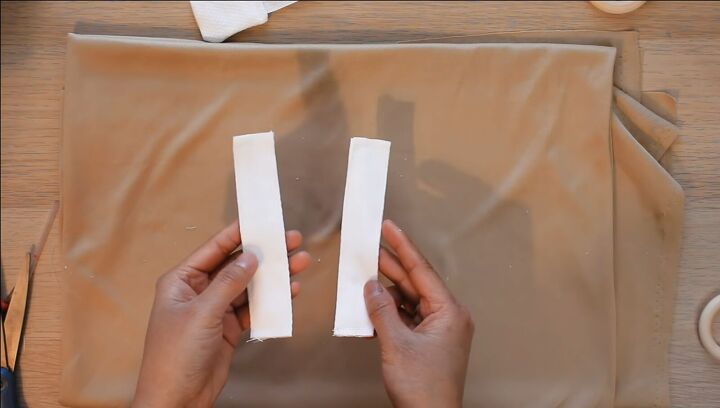
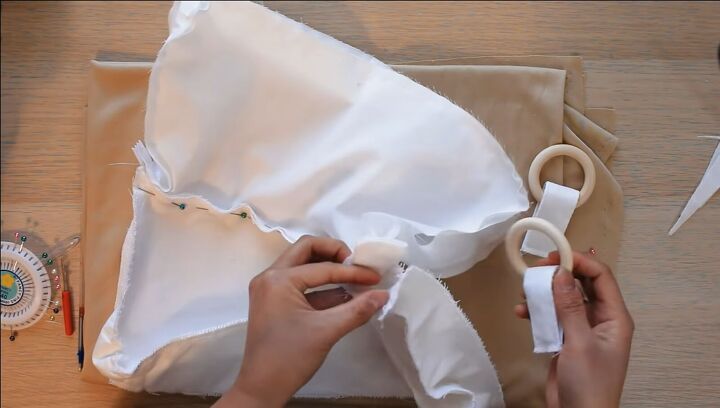
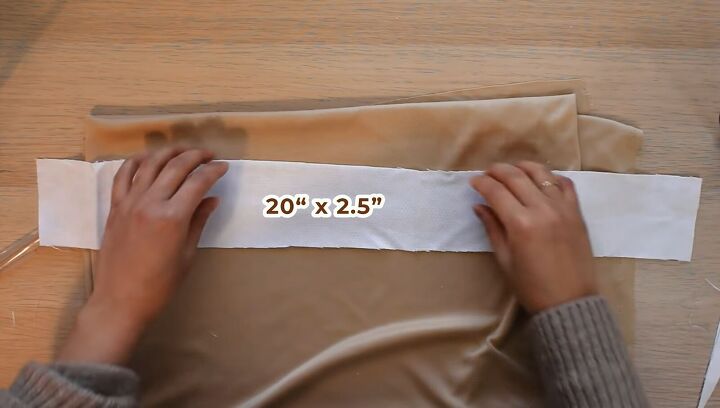
2. Create the strap connections
Cut two 5” x 2.5” rectangles from the main fabric.

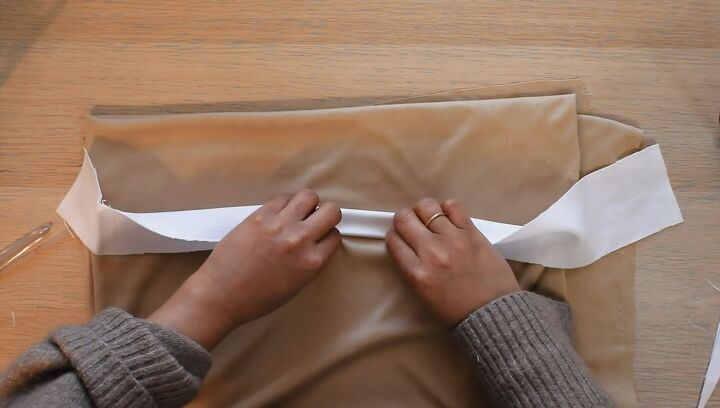
Fold back the raw edges.
Then fold the whole rectangle in half lengthwise and iron it flat, securing in the end with a clip or pin.
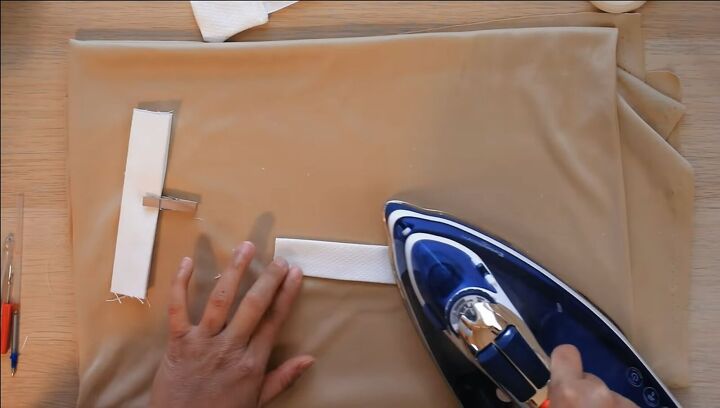
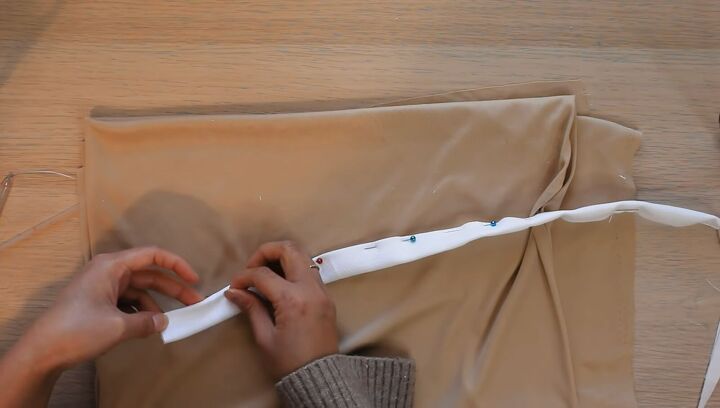
Sew the rectangles all around.
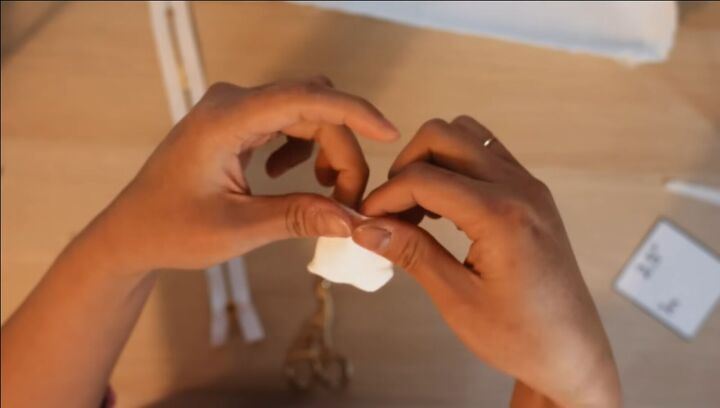
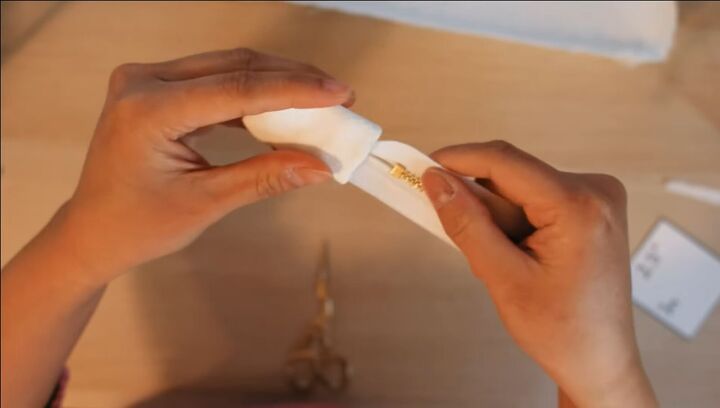
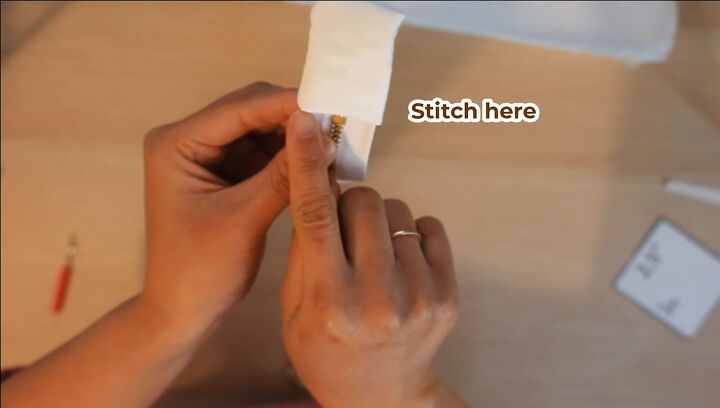
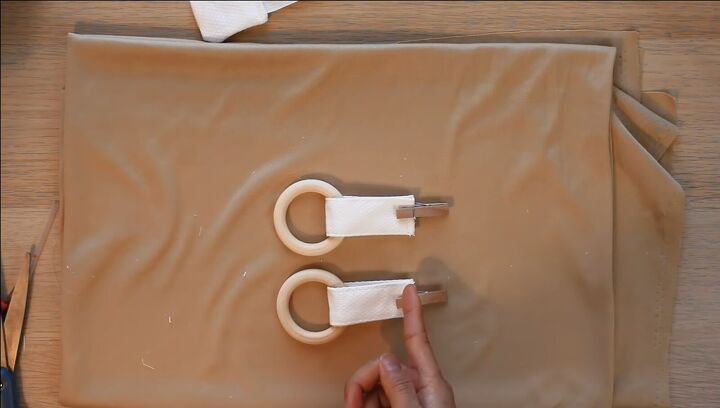
Insert each strip into a wooden ring, secure with a clip/pin, then sew the strips closed.
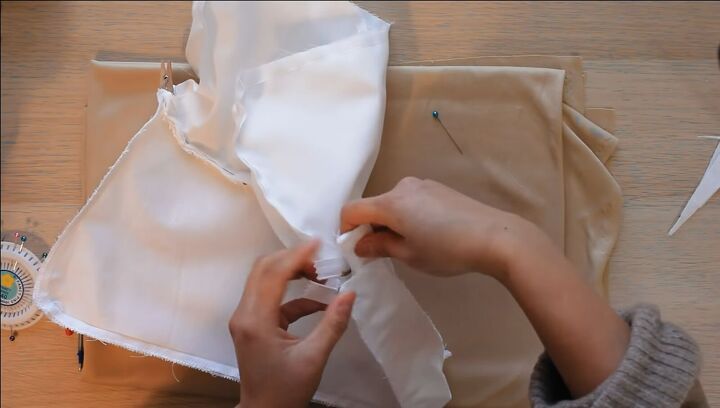
3. Attach the accessories and sew
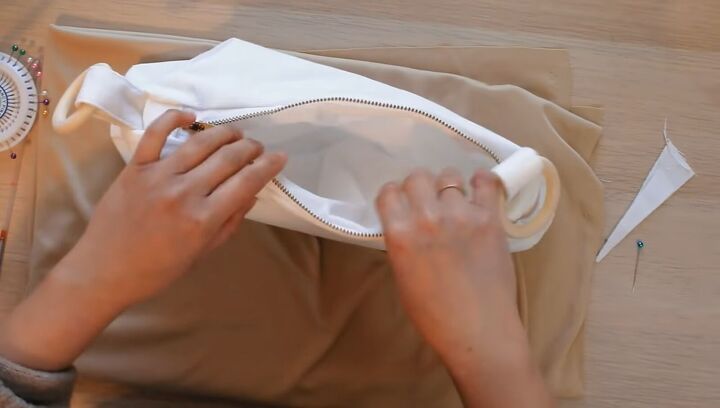
Start by pinning the zipper to the main and lining body, from above and below.
From below, it looks like this:
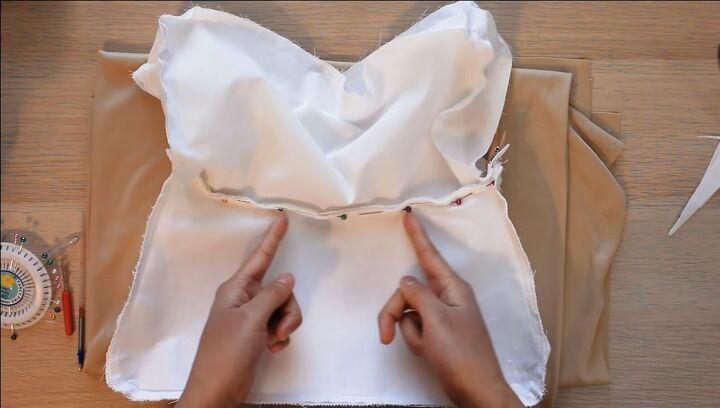
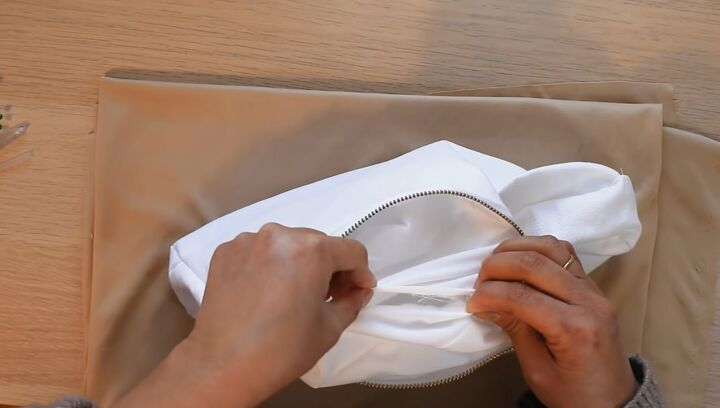
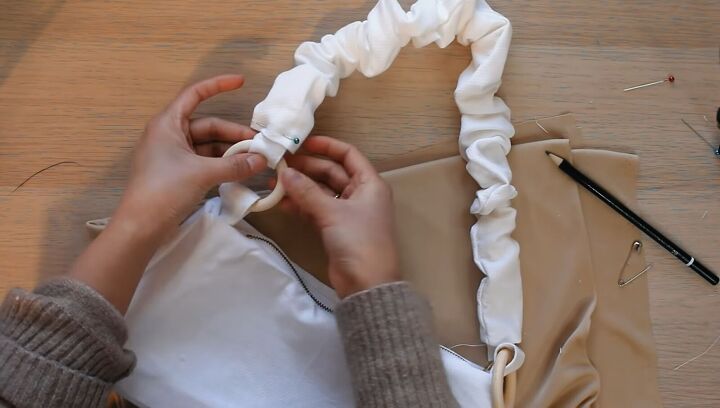
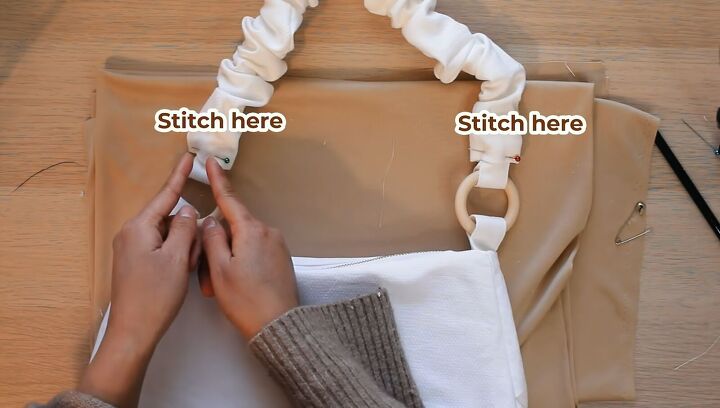
4. Attach the ring pieces
Next, push the ring piece through the side, removing any pins that are in the way.
Then, pin the flat end of the ring piece to the end of the inner and outer body. (See video 6:15-6:47)
Repeat on the other side.
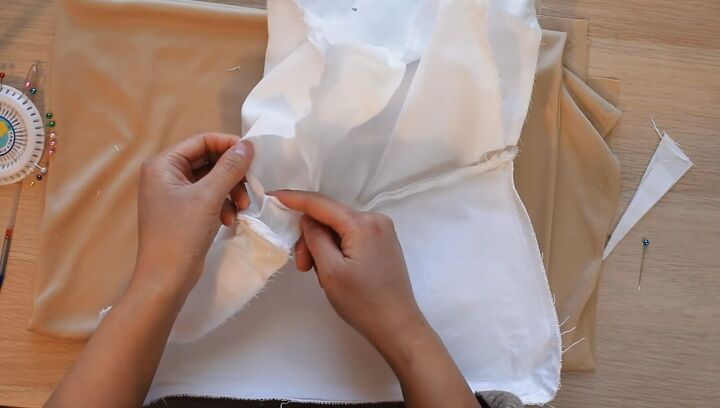
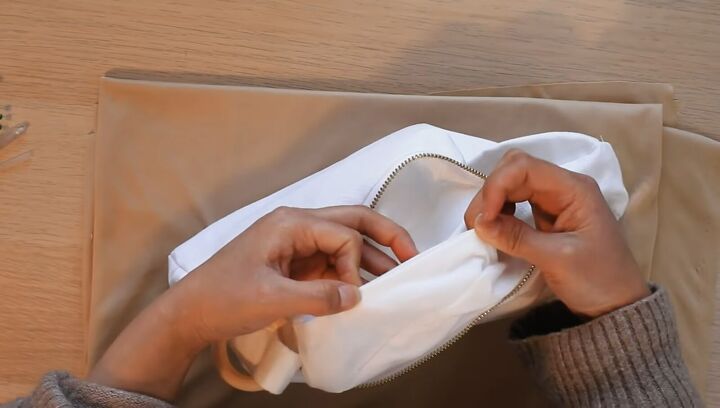
5. Sew the zipper to the bag
Now, sew along where you pinned the zipper in place, on both sides.
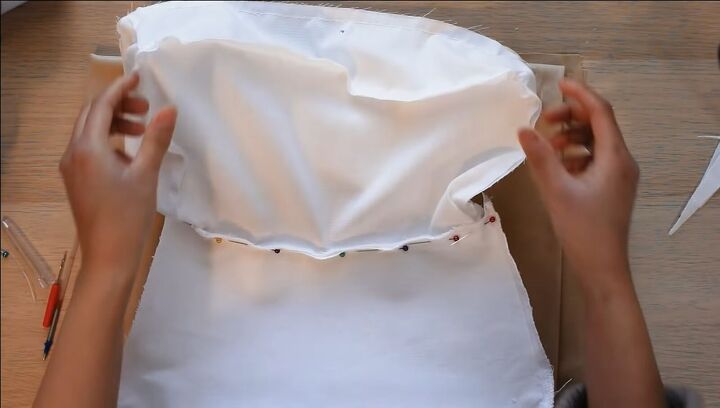
6. Finish up the main bag
Reverse the bag so that it is right-side out. Use the opening in the lining for this. (See video 7:10-7:26)
Find the opening at the bottom of the lining, fold back the raw edges and pin.
Then sew it closed.
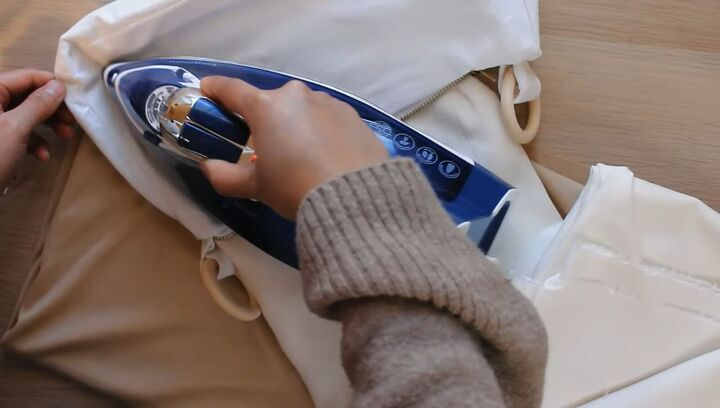
Iron the main body for a crisper finish.
Scrunchie strap
1. Prepare the inner strap
Cut a 2” x 2.5” strip.
Fold down the raw edges, then fold the entire piece in half horizontally.
Pin the folds in place, then sew along the line of the pins.
This is the skinny, inner strap.
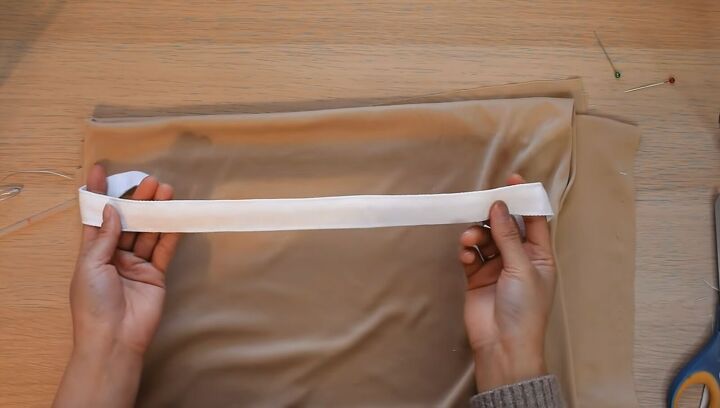
2. Prepare the outer strap
Cut another piece that is 3” x 36”, then fold it in half horizontally.
Sew it closed, except for one of the short sides, then reverse the tube so that it is right-side out.
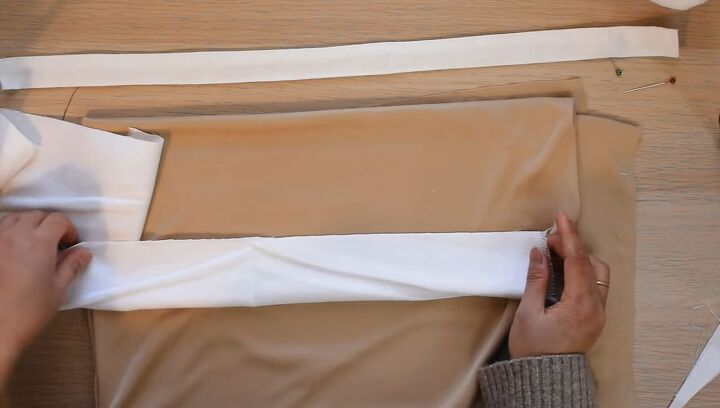
3. Insert the inner strap into the outer strap
(See video 8:47-9:45)
Attach a safety pin to the end of the skinny, inner strap.
Then, feed it through the tube (outer strap) that you just made. Then, fold the raw edge of the tube inward.
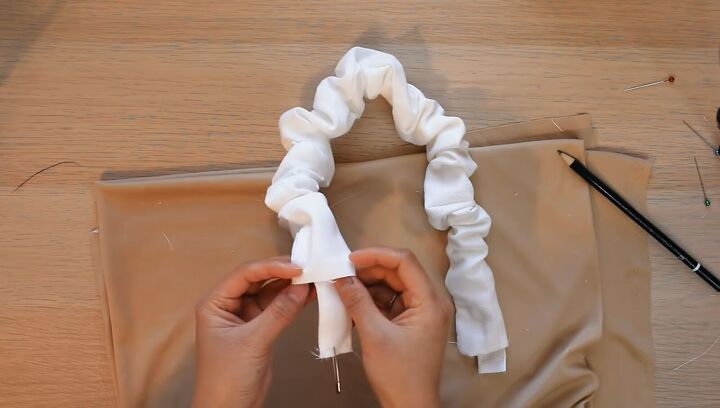
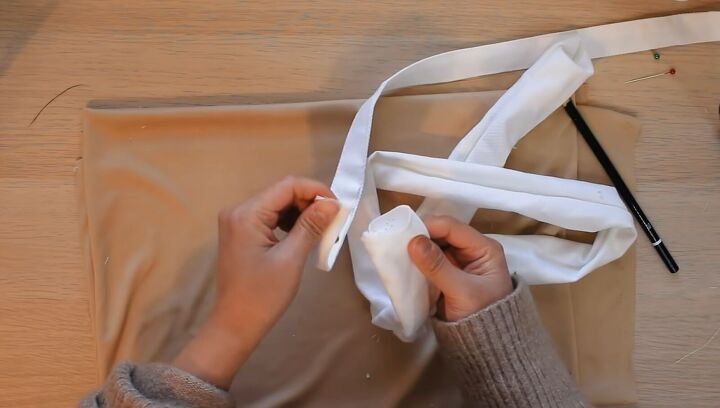
Wrap the skinny strap around the first loop on the purse, remove the safety pin, then secure it in place with a straight pin. Attach the other end in the same way.
Then, sew them closed.
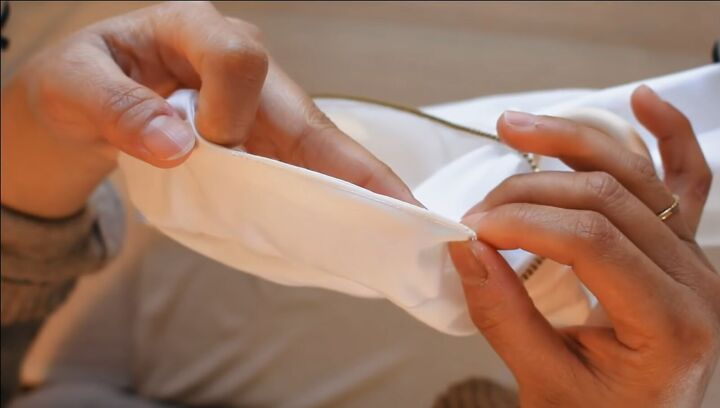
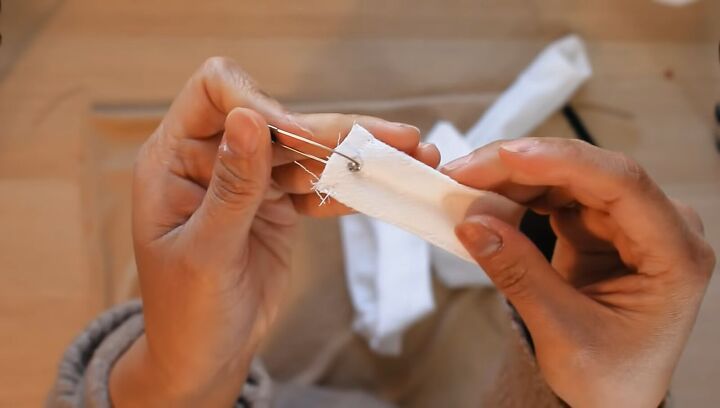
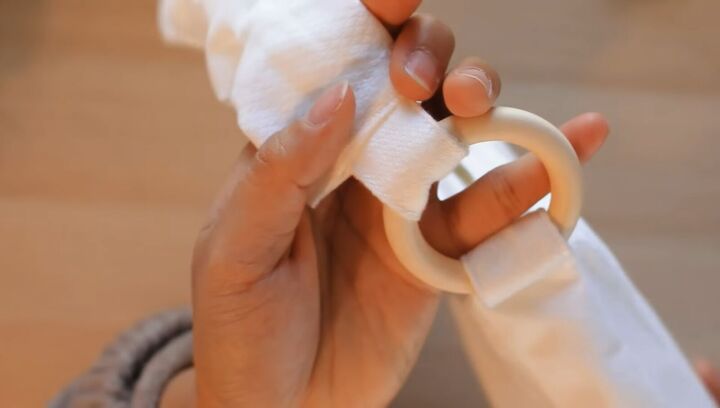
Here’s a closeup of the connection:
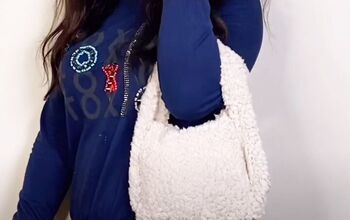
Scrunchie shoulder bag DIY
Here’s the final scrunchie shoulder bag! I hope you enjoyed this fun sewing tutorial. Show us your own scrunchie bag in the comments below.
The author may collect a small share of sales from the links on this page.


Comments
Join the conversation