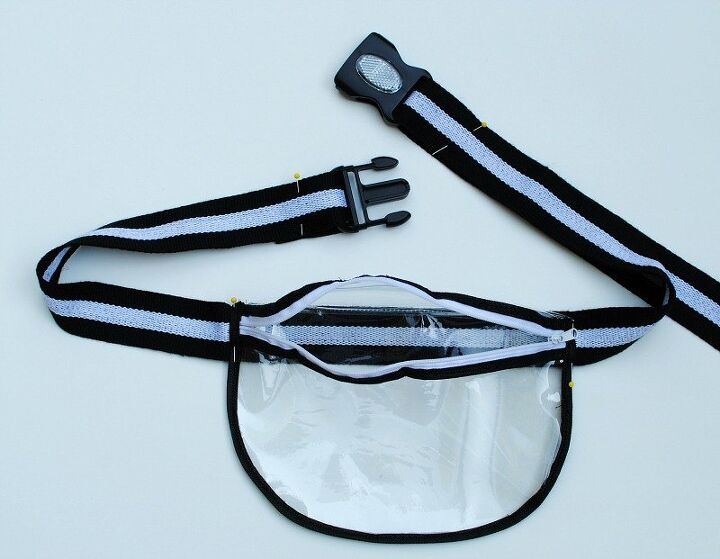
DIY Transparent Fanny Pack

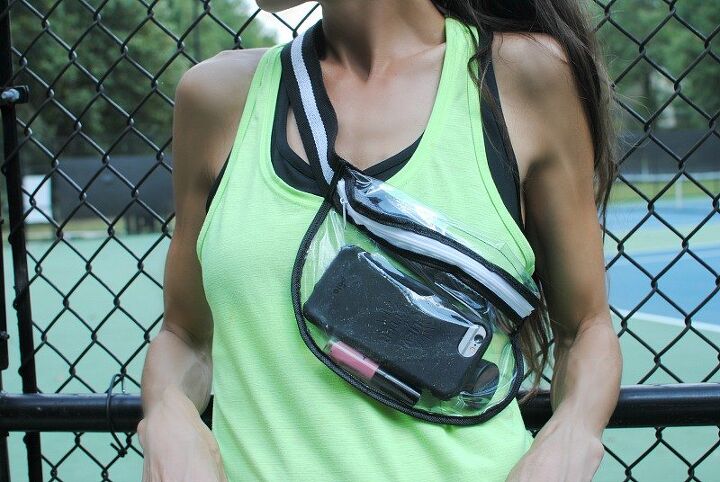

The little girl in me is loving the return of the 90's trend right now. If you grew up in this era as well then you know one of the the must have accessories was the fanny pack. Not only is "the fanny" a blast from the past but so is transparent (gauge) vinyl. Yes, it's not just for your grandma's furniture anymore! This textile is typically used for accessories like makeup pouches but its now being used to create handbags and even clothing (other than rain gear). So why not combine these 2 trends into a tutorial! Plus it's a good opportunity for me to work with the new striped belting from Dritz. I love the striped design and colors they have to offer and so many projects to be done with this.
Get the details below on how to make your own fanny pack:
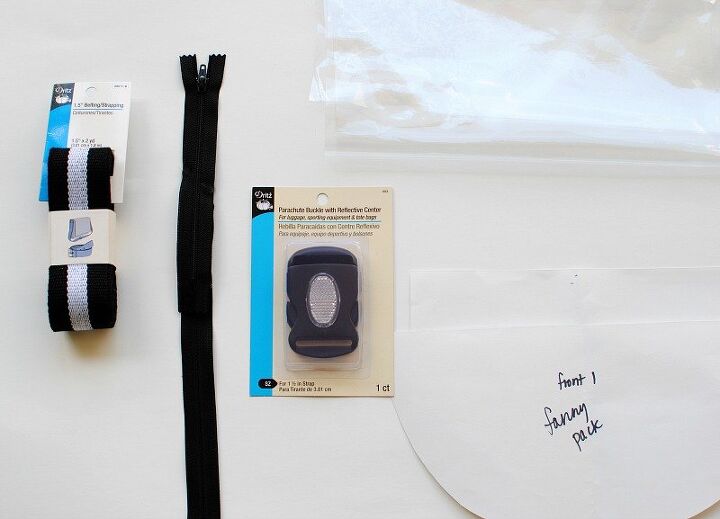
Supplies:
- 1.5" Belt Strapping
- Parachute Buckle
- 5/8" Fold-Over Elastic
- 13" + zipper
- 1/2 yd. Gauge Vinyl Material
- pattern
- rotary cutter
- mat
- pattern weights
- Getta Clips
- Invisible Thread
- optional (1.5" adjustable slide)
- Brother Sewing Machine
DIY instructions:
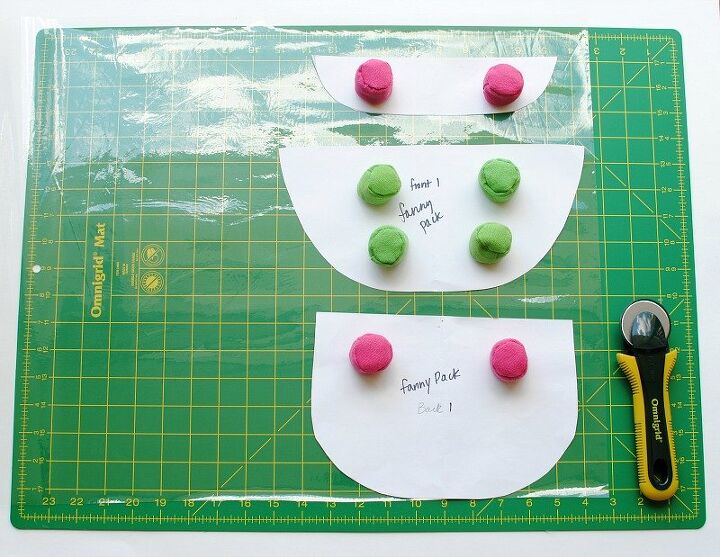
Cut out the pattern or use your own pattern. This was a simple pattern I drafted. It's ideal to cut this material with rotary cutters and pattern weights. The pins will not go through and will poke holes in the vinyl.
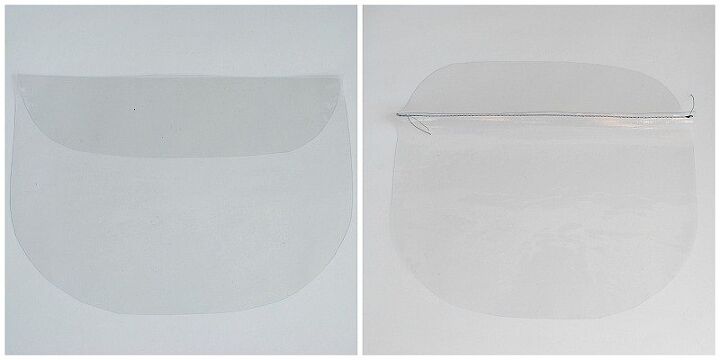
Everything is sewn with a 1/4" seam allowance unless stated otherwise.
Sew the front flap to the back right sides facing. You can use invisible thread for this as well.
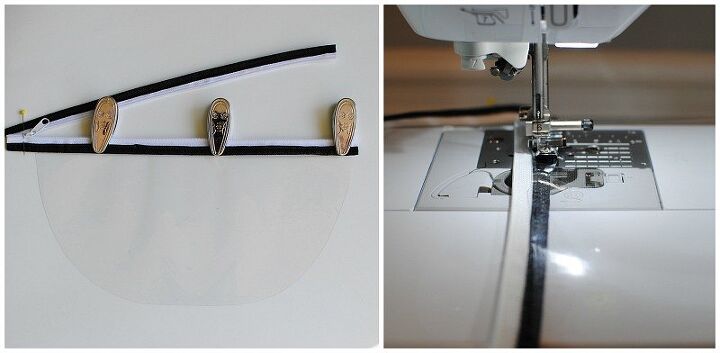
Place the wrong side of the zipper to the right side of the vinyl on the front piece. I used Getta Clips. You will basically be doing topstitching from this point on. The zipper I am using was a Coat's Closed End Zipper 13" with black binding on the edges. I intentionally used a longer zipper so I could trim it down after sewing.
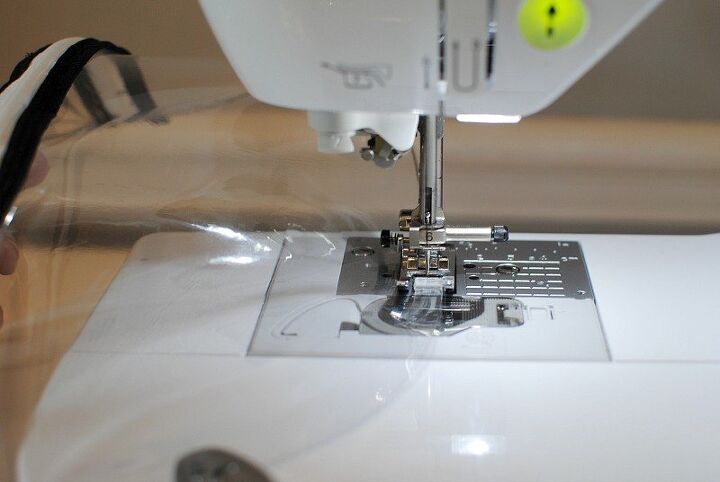
When sewing it's a good idea to sew with the vinyl on top cause it can get stuck in the feed dogs. If this happens just lift your pressure foot and adjust as necessary.
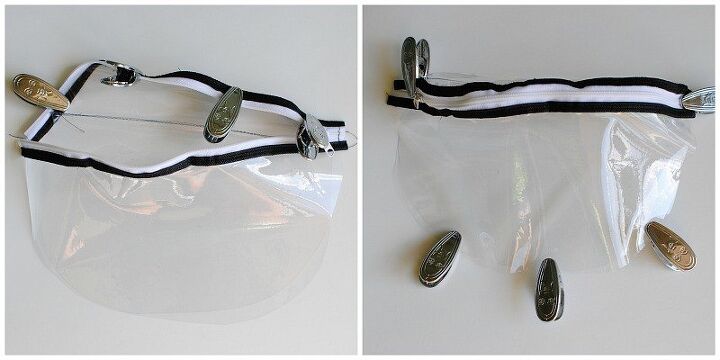
Clip the top part of the zipper to the front flap and sew. Trim the zipper down if need be and secure zipper end with a zigzag stitch.
Clip the front and back pieces together and sew with a 1/4" seam allowance.

Trim down the seam allowance and attach 5/8" binding or 5/8" FOE around the edge. Sew the binding on around the edge.
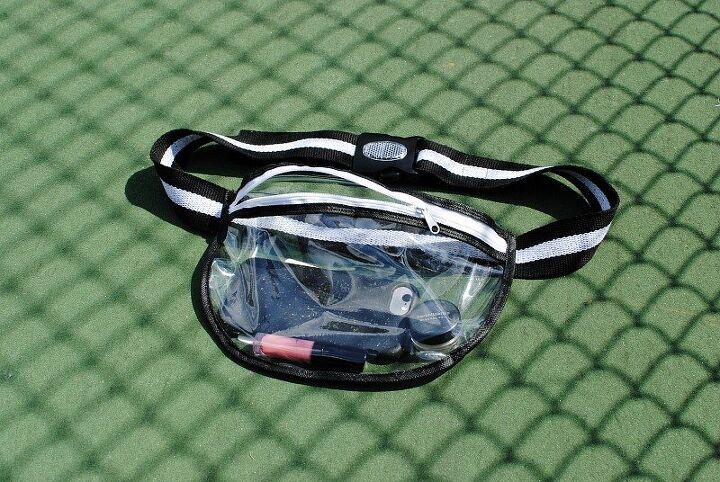
Measure the belt strapping to fit your waist plus an additional 4-6". Adjust if you plan to add a slide adjuster. Find the center of the fanny pack and belt strapping and place together. Pin the sides along the strapping and sew with a zigzag stitch a couple times to secure. At the ends of the strap place the parachute buckle pieces and pin.
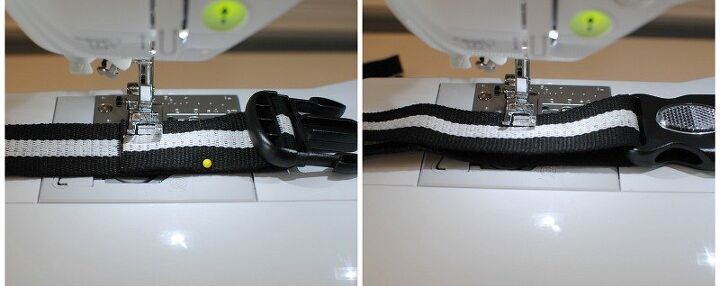
Sew the parachute buckle pieces into place. I sewed a box and then an x in the middle. If you want to add a slide adjuster make sure you add first before securing the parachute buckle.
Now you have a cool fanny pack! What do you think of the transparent vinyl trend? Are you a "fanny" or not?
The author may collect a small share of sales from the links on this page.


Comments
Join the conversation
Very cute! And if you don't have pattern weights (adorable as they are) just use bits of clear scotch tape to hold down the pattern :)