DIY Vaccination Card Holder
The pandemic has changed our lives considerably, and now that the end is hopefully near, it’s clear that some things will need to stay different a while longer for our sake. Like traveling. To travel safely, you’ll need a vaccination card by your side.
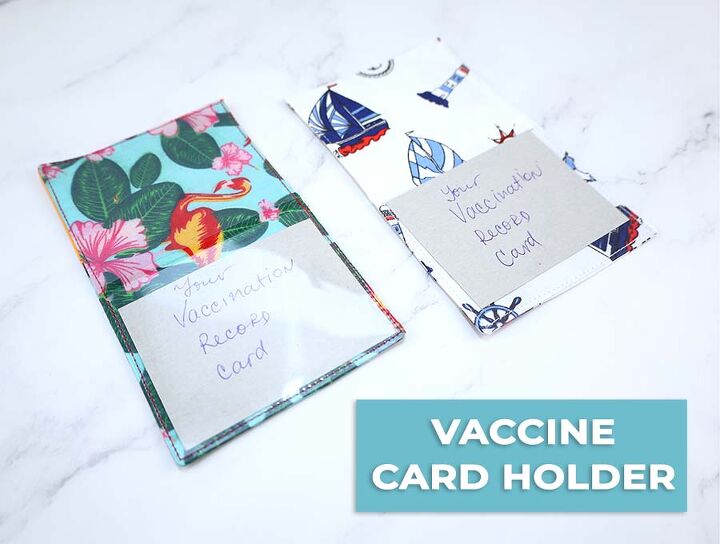
Since your vaccination card is important for traveling, you’ll need to make sure it doesn’t get damaged. The best way to do that is to put it in a card holder. A card holder you can make in less than half an hour, with the help of this tutorial!
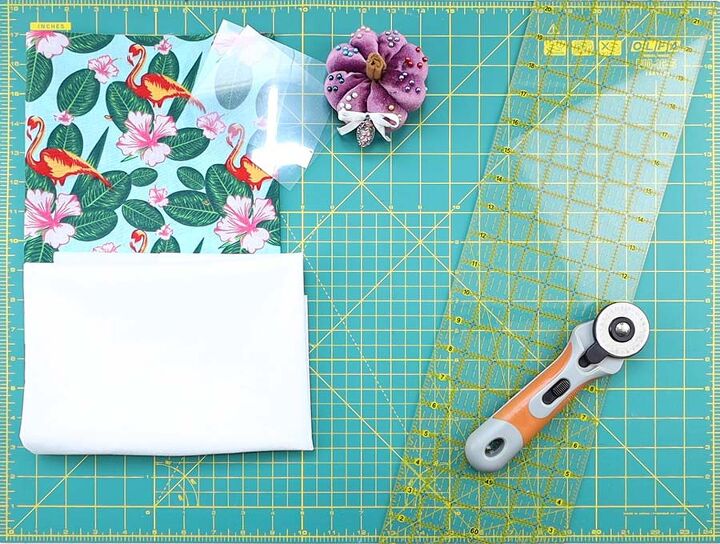
Cut the fabric
Cut out the main and lining fabrics into two rectangles, one from each fabric, measuring 8 x 5 inches in size.
Then cut out a rectangle measuring 4.5 x 3.5 inches from the transparent plastic.
The last piece you’ll need to cut is the interfacing. Cut it out into a rectangle 7.5 x 4.5 inches big.
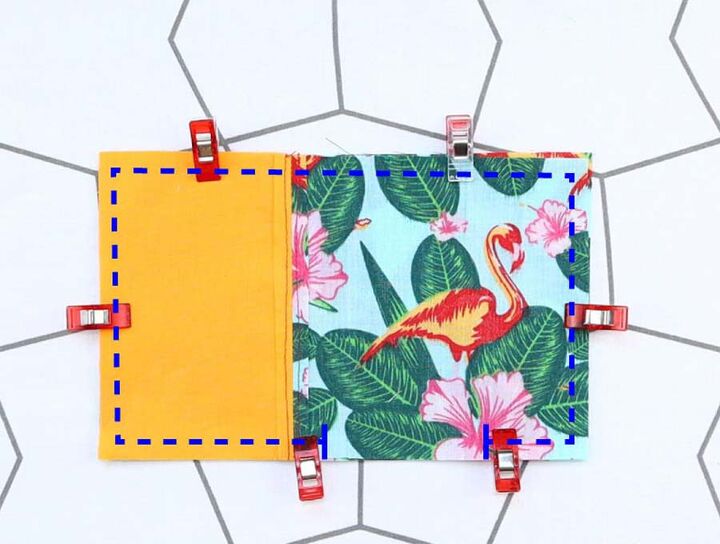
Stack the layers
Place the interfacing’s bumpy side over the lining fabric piece wrong side and center it. Fuse the interfacing with the iron according to the instructions provided with it.
Set the main fabric piece over the lining’s right side with its wrong side facing up. Align the edges and pin the two together.
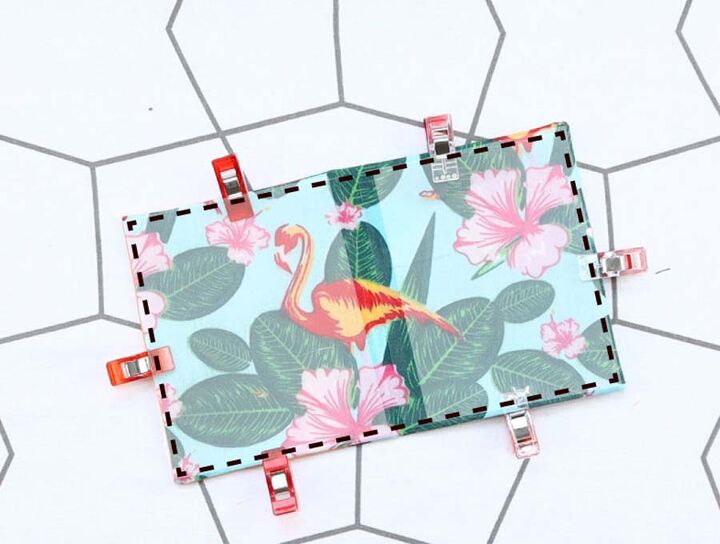
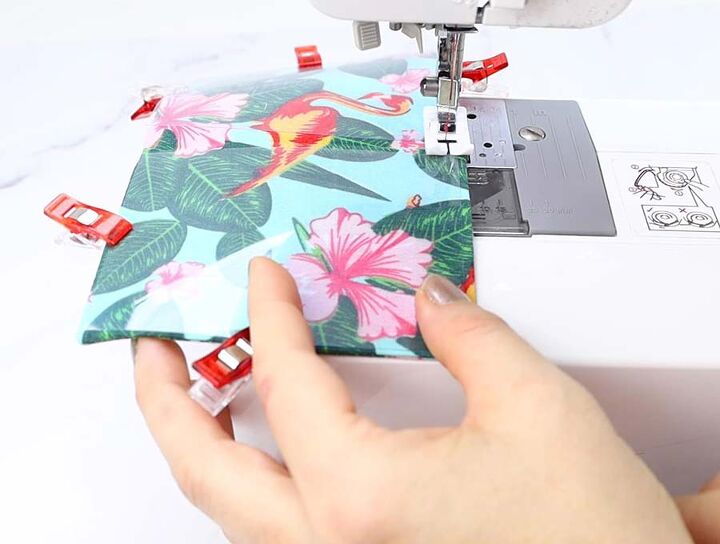
Sew the vaccination card holder
Sew all around the fabric but leave a gap unstitched for turning. Clip the corners and turn the holder inside out.
Press the whole thing flat with your iron.
Make the transparent window
Fold the card holder in half so that the short edges meet and press it flat with your iron.
Unfold it and set the holder onto your workspace with the lining side up.
Place the transparent plastic on one half of the holder and align the three edges of the plastic with the three edges of the half of the holder. If you want a holder for two vaccination cards, place a second transparent plastic piece on the second half of the holder as well.
Secure the plastic in place with binding clips or painter tape.
Finish the vaccination card holder
Topstitch all around the holder. To keep your stitches smooth over the plastic, either use a Teflon presser foot or set a bit of painter tape on the bottom of your usual presser foot.
You don’t want to break the plastic edges with your stitch, so use a long stitch setting with some distance between each needle hole.
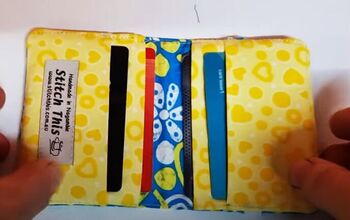
And just like that, you’re ready for travels with your new vaccination card holder! Be sure to take a look at our other projects and check back regularly for new ones to come!
Did you like the tutorial? If so, subscribe to my Youtube channel for more videos like these!
The author may collect a small share of sales from the links on this page.


Comments
Join the conversation