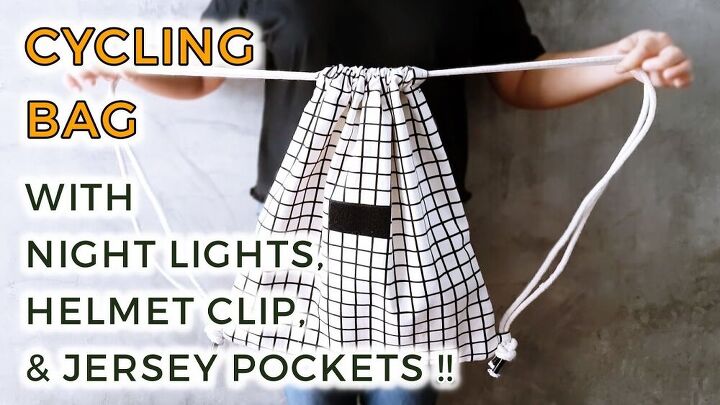
Make a Super Simple Drawstring Cycling Backpack With Night Lights

Don't you just hate it when you need a backpack, but you can't find one that's the perfect size? Not too small but big enough to store extra items? The answer to such a dilemma is a drawstring backpack. It's simpler than you think, and I'm going to show you how to make a drawstring backpack in no time. Also, it's perfect for cycling enthusiasts as I'm also going to show you how to put a clip for your helmet or a cap! And if that's not all, You'll learn how to attach a velcro strip to add reflective lights. Let's start this tutorial!
Tools and materials:
- Printed cotton canvas
- Night light
- Reflective lights
- Sewing machine
- Thread
- Measuring tape
- Clip
- Drawstring
- Tape
- Velcro (both sides)
- Webbing
- Scissors
Organize the pieces
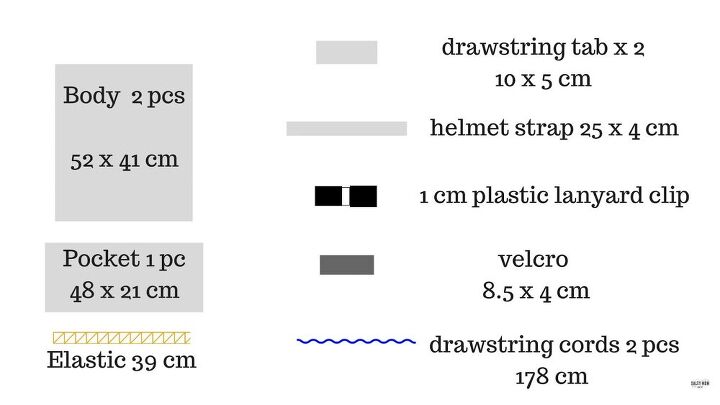
So before you assemble the bag, take a look at this drawstring backpack pattern in the image above. Make sure you have all the pieces cut according to size. If you need to convert the metics, simply click here.
Prepare the pocket and clip piece
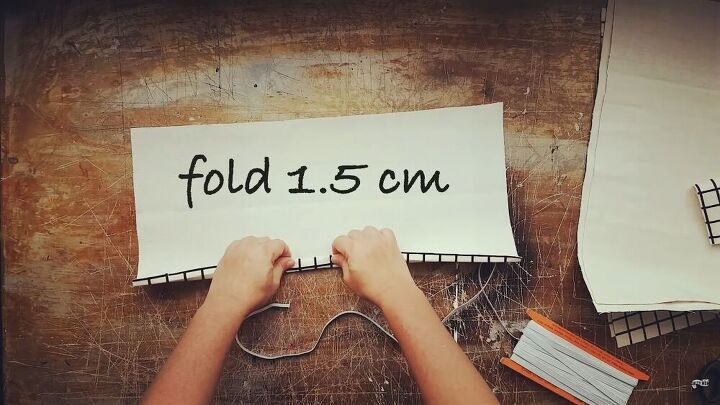
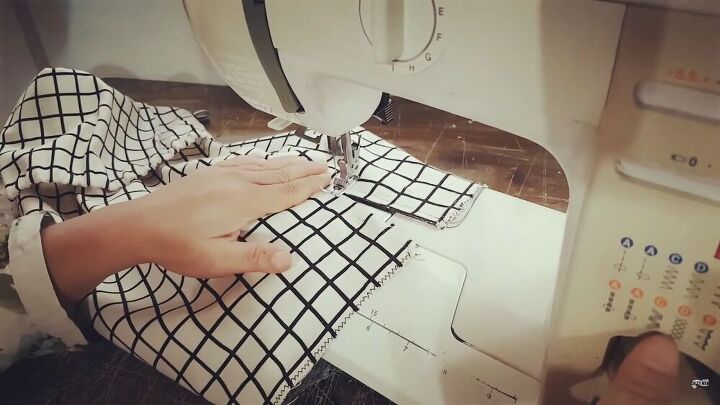
Fold the long side 0.5cm (0.2 inches) and fold again by 1.5cm (0.6 inches). Pin and topstitch across. This is a tunnel for the elastic.
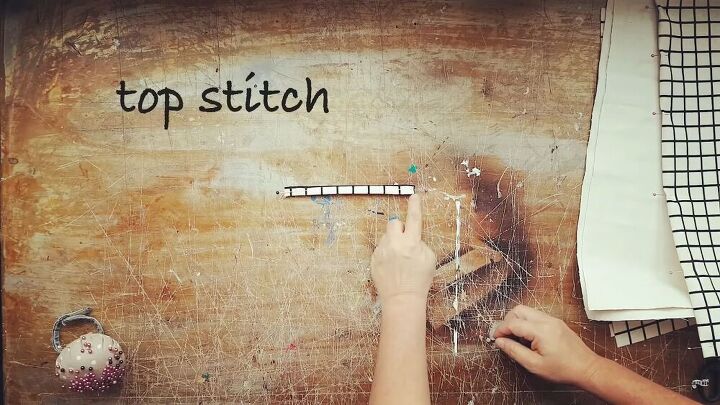
Repeat the same for the clip piece, as shown. Sew until the end of the edges.
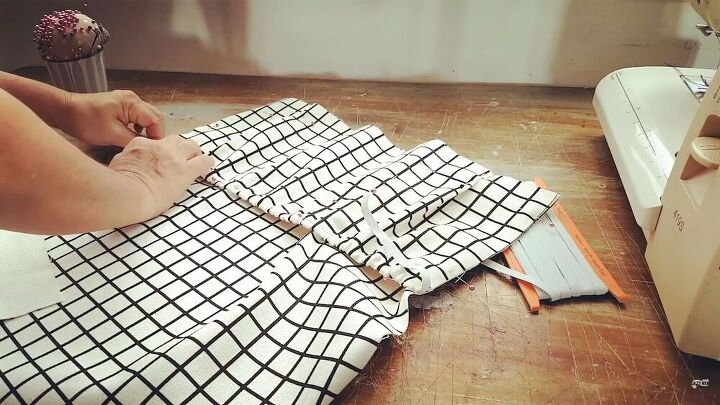
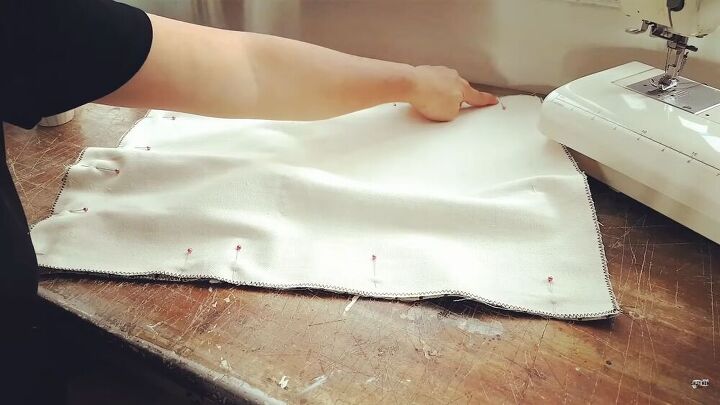
Now, sew the pocket to the back piece of the drawstring bag. You will create three pockets, so halve the fabric accordingly to make three even pockets. When pinning the pocket piece to the back piece, be sure to match the lines. Then pin the pockets in the middle and outer edge.
TIP-
You'll notice the outer pockets have more fabric. To pin them evenly, create pleats in the middle of the pocket.
Feed through the elastic but don't cut it to size just yet. Then, pin the elastic in place and cut the excess.
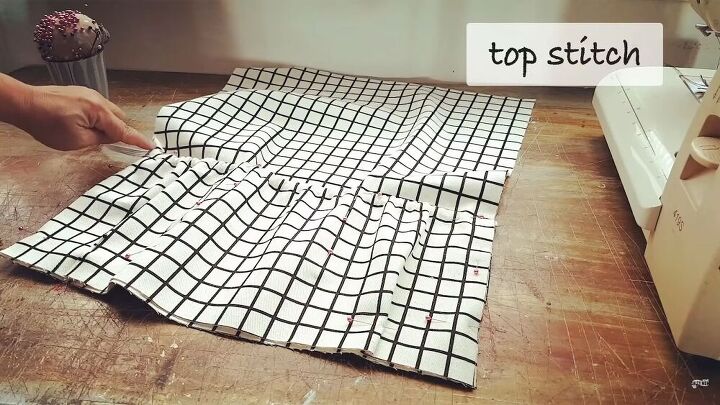
Topstitch all around the rim of the pocket piece. Also, sew along the two middle lines to create the pockets.
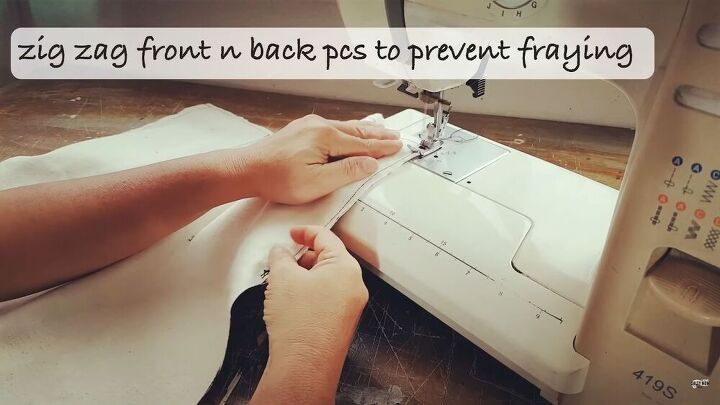
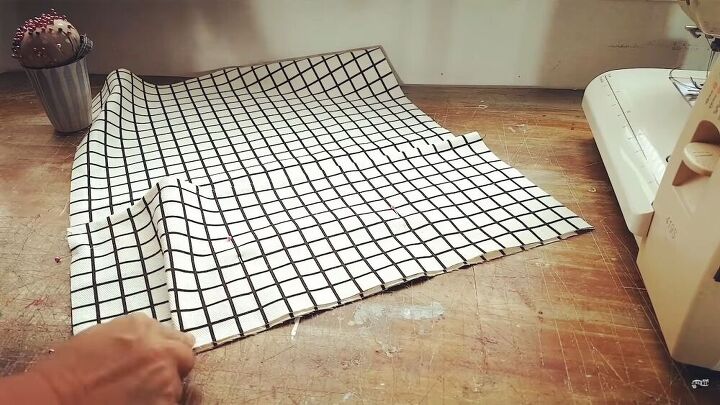
Zigzag the front and back pieces to prevent the fabric from fraying.
Create the tabs for the drawstring
Now, create the tabs so that you can attach the drawstring. Skip to 3:46 minutes on my video tutorial to see how I make them and attach them to either side of the bottom piece.
Attach the front piece and clip strap
Lay the front piece on top of the back piece, right sides facing. Pin all around, but start sewing 11cm (4.3 inches) from the top.
Then, topstitch the drawstring slits on either side of the bag.
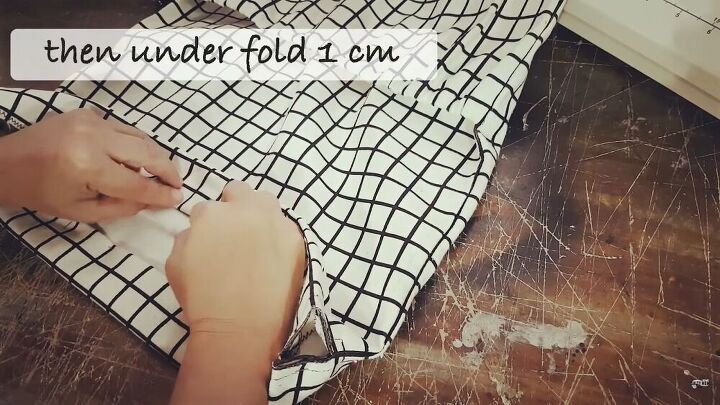
Fold the top edge down by 6cm (2.4 inches). Then create an under- fold of about 1cm (0.4 inches). Stitch the fold in place- this will be the tunnel for the drawstrings.
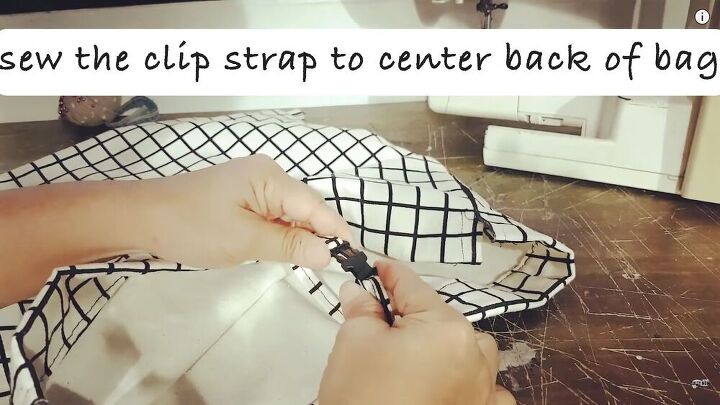
Next, sew the clip strap to the centerfold of the front piece.
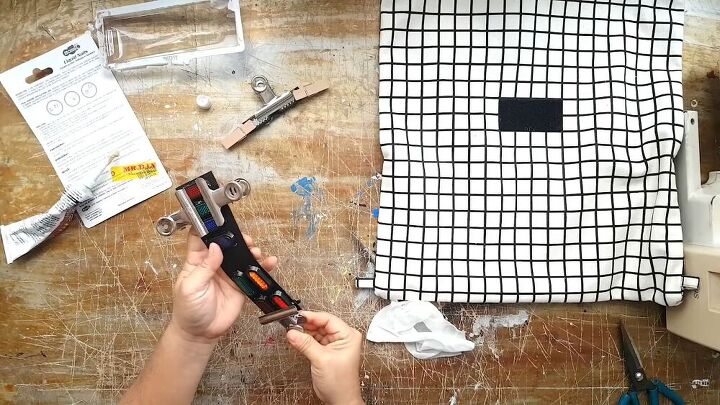
Attach the velcro
You have two choices for this step; either attach a reflective light to your basic drawstring bag, or you can opt for stick-on reflectives. I'll show you how to install both. For the reflective light, start by measuring and cutting the fuzzy side of the velcro.
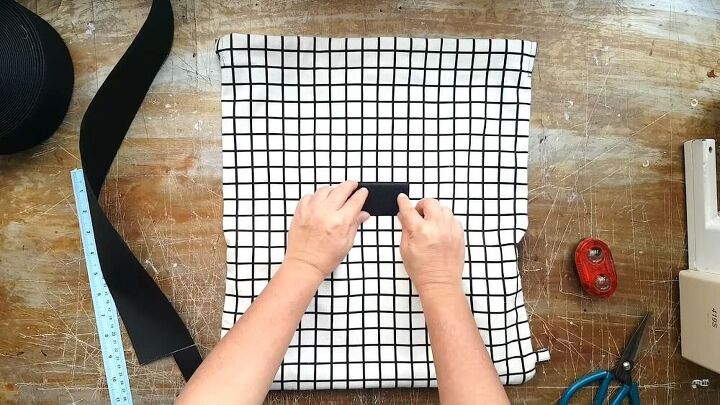
Center the velcro piece and sew it in place.
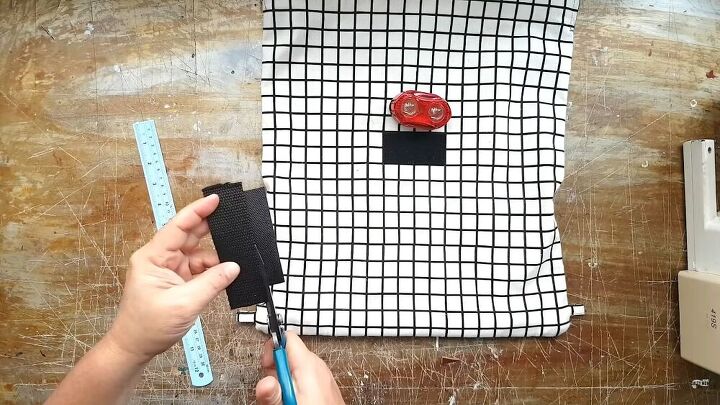
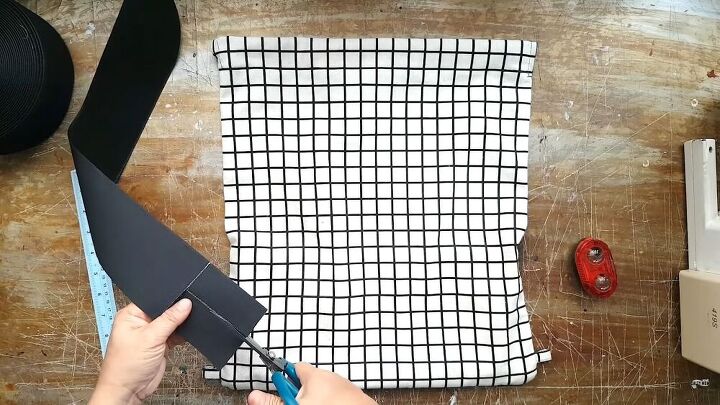
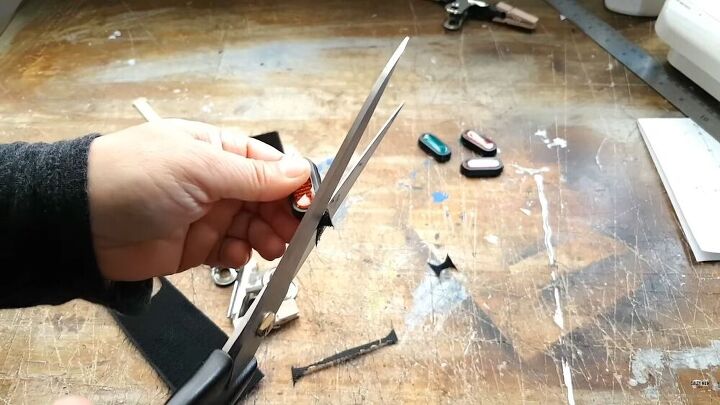
For the webbing, cut it 2cm (0.8 inches) longer than the velcro tab. Then, take the spiky side of the velcro and cut it to size; it should be the same size as the webbing.

Fold 1cm (0.4 inches) on either side of the webbing and lay the spiky velcro side on top. Then, sew in place.
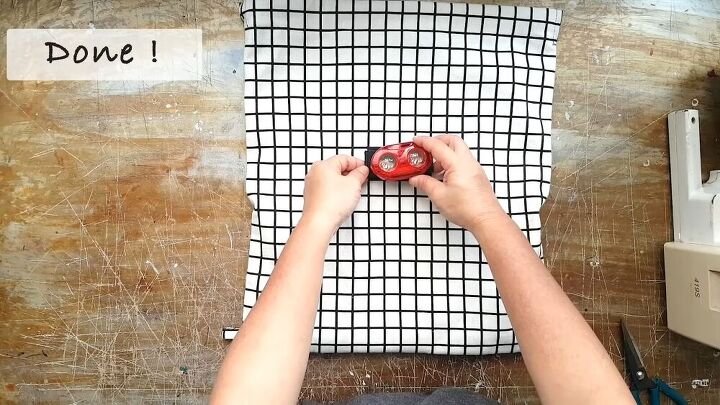
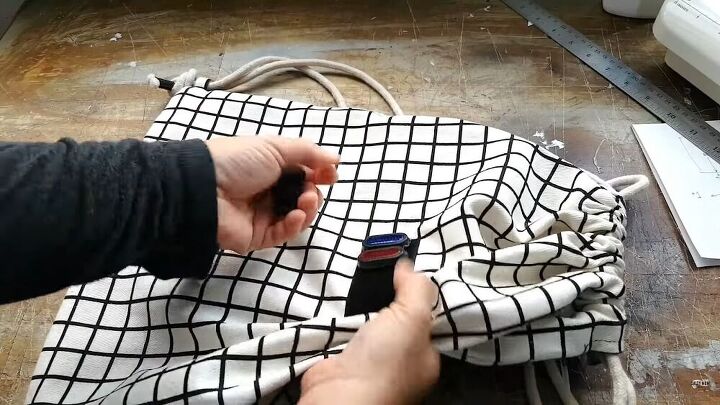
Slide the velcro piece under the reflective light's attachment, and you're done!
If you'd rather have reflectives, then simply get a pack from your local store. Using a liquid nail type of glue, stick on the reflectives to the velcro strap and clip them down with a heavy clip until they are dry.
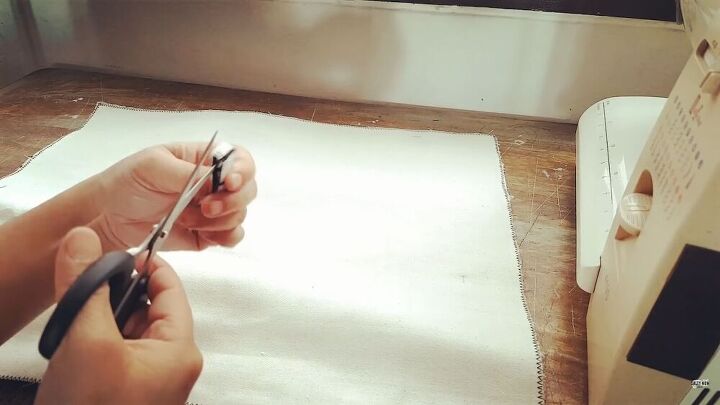
Once they're dry, cut around each reflective.
You can now attach them individually to your DIY drawstring bag!
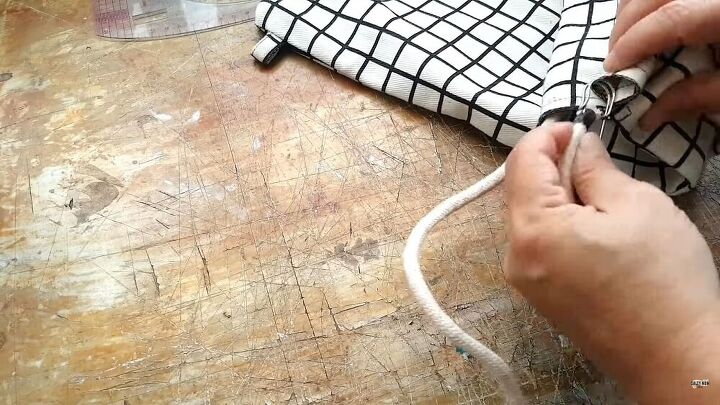
Add the drawstrings
With the help of a safety pin, feed the drawstrings through the tunnel on top, and insert the remaining drawstrings through the bottom tab.
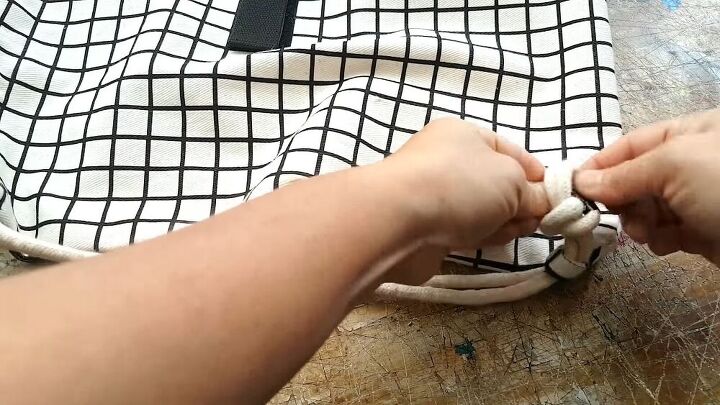
Also, tie a knot to finish it off. Watch exactly how I do this from 9:03 minutes.
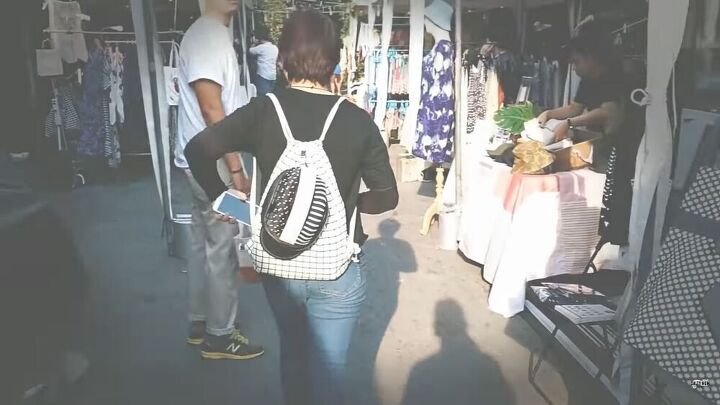
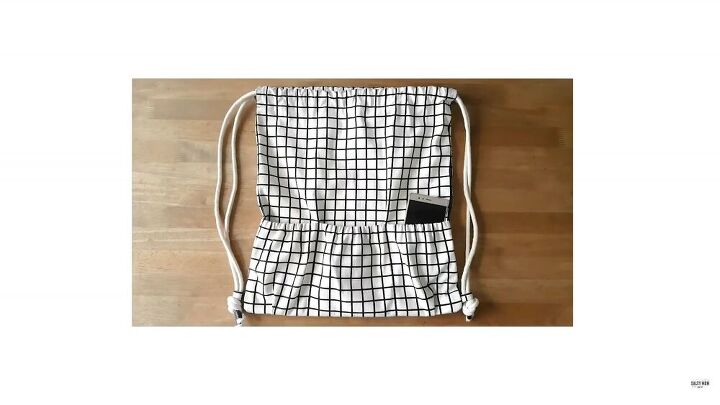
Woohoo, we're done! That was pretty simple, wasn't it? Now you have a cool, lightweight drawstring bag that also functions like a helmet or cap holder. I hope you enjoyed this drawstring backpack tutorial as much as I did. Thanks for tuning in!
The author may collect a small share of sales from the links on this page.


Comments
Join the conversation
A very nice looking and practical bag for sure.
Very clever! Good job!