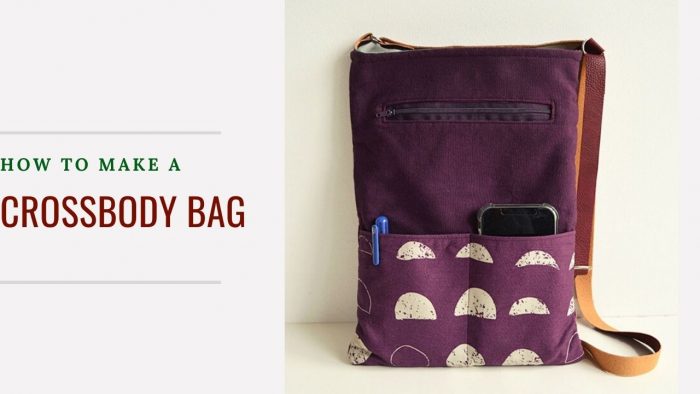
Free Crossbody Bag Pattern
This new crossbody bag is designed around my day job. Throughout the pandemic, I have continued to visit older and/or people with disabilities in their homes. To reduce risk I have just been taking a mobile phone on a visit but now we are all vaccinated I am taking a tablet and a small notebook. I have missed the ability to write something down, my memory is not reliable!
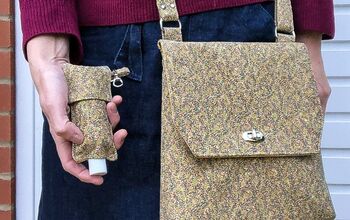
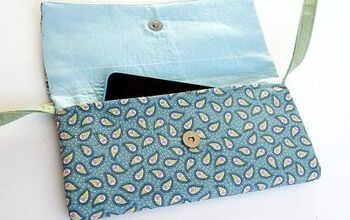
This sewing pattern is designed to hold my tablet plus two mobile, a notebook and pen, my current essentials!
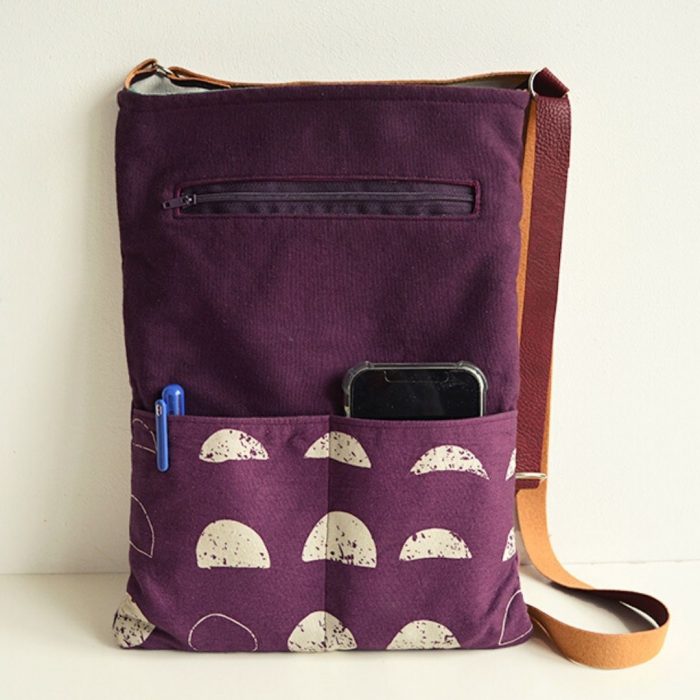
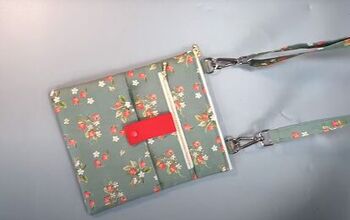
This purse sewing pattern has a feature external zip pocket plus two easy-access front phone pockets. The purse pattern includes an adjustable shoulder strap and the bag closes with a magnetic snap.
The free sewing cross body bag sewing pattern comes with an accompanying video tutorial.
The finished size of the bag is 13″ by 9 3/4″ (approx 33cm by 25cm)
I must admit I am finding this comfortable crossbody purse incredibly useful – I find myself using it all the time!!
Crossbody Purse Pattern
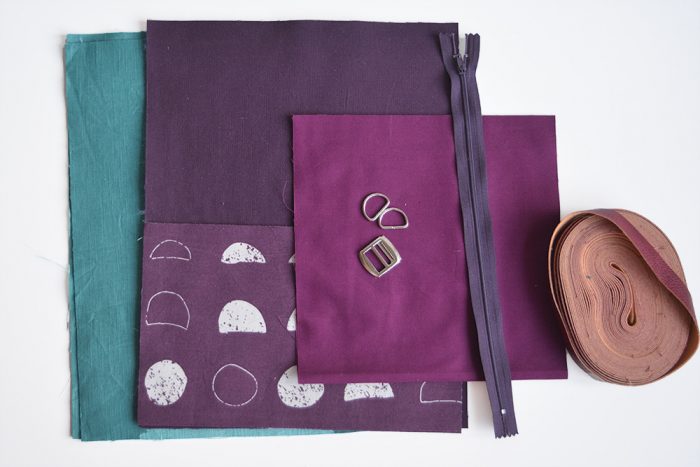
Bag Supplies
- ½ yard of main fabric
- One fat quarter of contrast fabric for the front slip pocket – I have used quilt weight cotton
- ½ yard of lining fabric
- 1 yard of fusible woven interfacing (FS101) or ½ yard of UK equivalent Vilene G700 (36” wide)
- ½ yard of fusible fleece
- One 7” zipper in coordinating or contrasting colors
- One piece of leather strap ¾” wide by 58” for the adjustable crossbody strap
- One 16 or 18mm (¾ inch) magnetic snap closure
- Two ¾” metal D rings
- Two ¾” metal swivel clasps
- One 1¾” metal strap slide
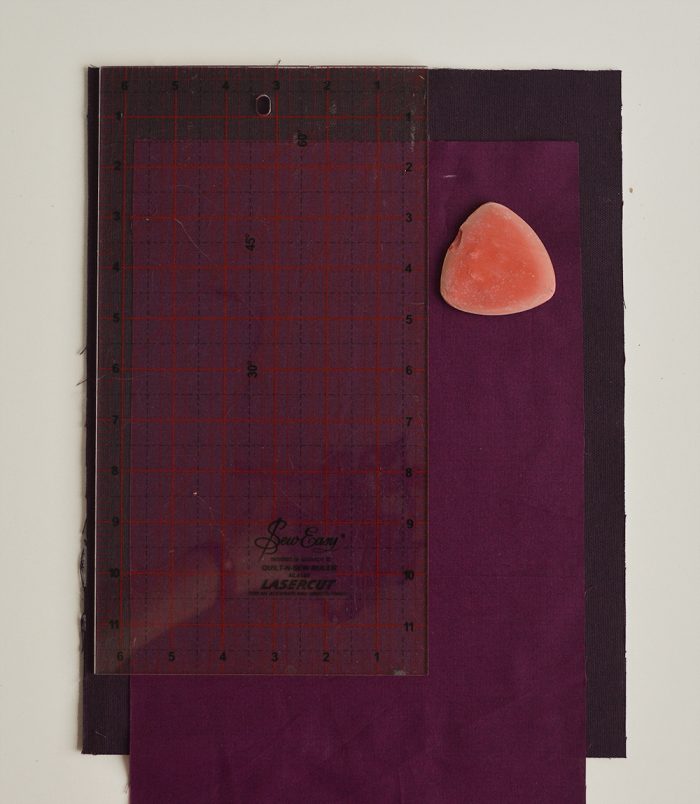
Pattern Pieces
Start by cutting your pattern pieces, I find a quilters ruler and rotary cutter very useful for accurate cutting.
- Two pieces of external fabric measuring 13 1/2″ by 10 1/4″ (35cm by 27cm)
- Two pieces of lining fabric measuring 13 1/2″ by 10 1/4″ (35cm by 27cm)
- Zip pocket lining fabric measuring 8 by 14″ (21 by 36cm)
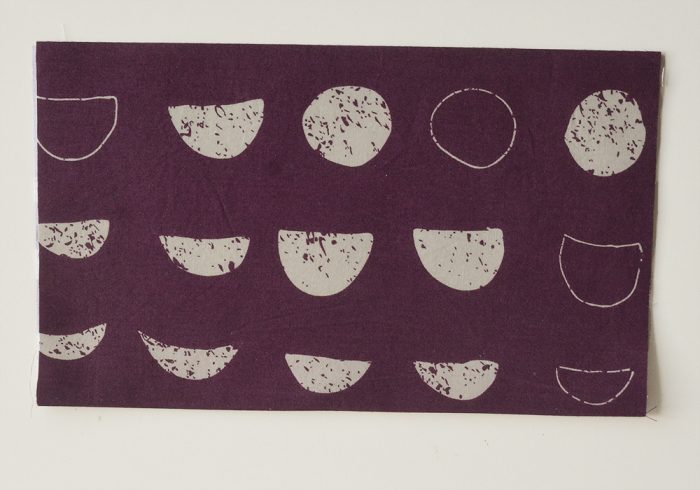
- External contrasting fabric for slip pockets, two pieces measuring 10 1/4″ by 7″ (35cm by 18cm)
The seam allowance is 1/4 ” (1cm )
Adhere fusible fleece to the two external bag pieces and a medium weight fusible interfacing to the bag lining.
Exterior Zip Pocket
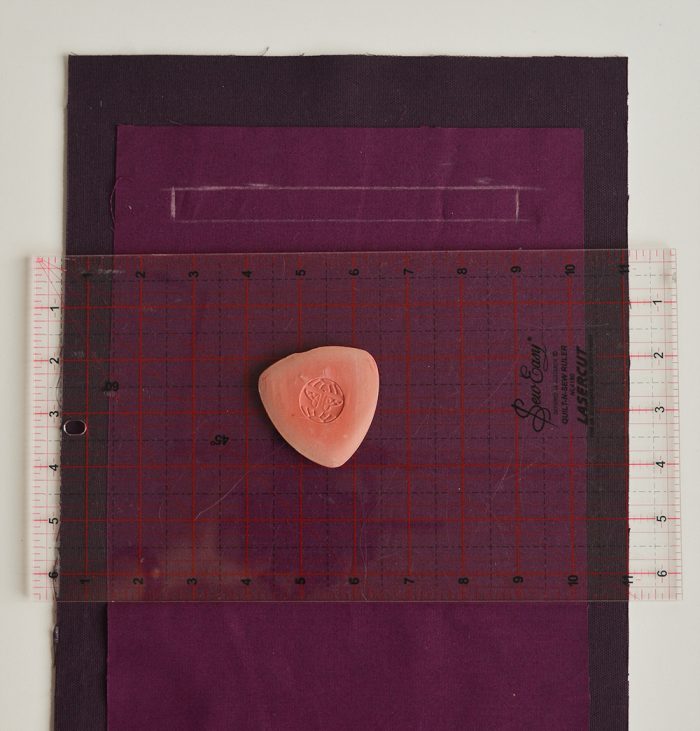
This is positioned 3 3/4 inches (10cm) down from the top of the bag, centrally, on the front top outer bag panel.
To construct the zipper pocket place your pocket lining so the right side is facing the right side of the eternal fabric. This needs to be positioned 2 inches (5cm) from the top.
Mark a rectangle for your zip using a fabric pen or similar. The rectangle measures 6 1/2 by 1/2″ (17 by, 1.3cm) this represents your stitch line. Sew along the marked edges of the rectangle. Cut down the center of the rectangle and diagonally into each corner (taking care not to cut your stitches) then pull the lining fabric to the inside of the bag and press.
If need be shorted your zipper. Place your zipper behind this opening, you will need to temporarily hold this in place so you can stitch to secure it. There are various methods for doing this, today I have used fabric glue but you can easily use pins or tack in place.
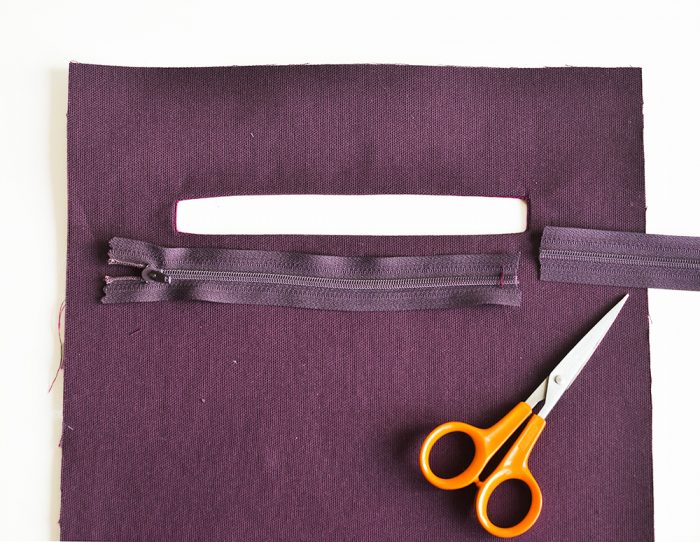
Topstitch around the opening, securing the zip in place.
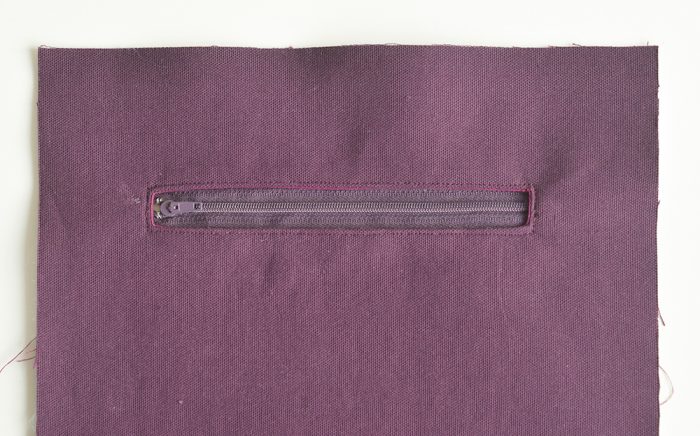
Turn the fabric over, then fold the zip pocket lining so the bottom edge comes up to meet the top edge. Pin then stitch around your three open edges, being careful not to accidentally catch the bag exterior fabric as you stitch.’
Exterior Slip Pockets
To sew the easy-access front phone pocket fold over your pocket piece in half, wrong sides facing each other. Press and topstitch this fold.
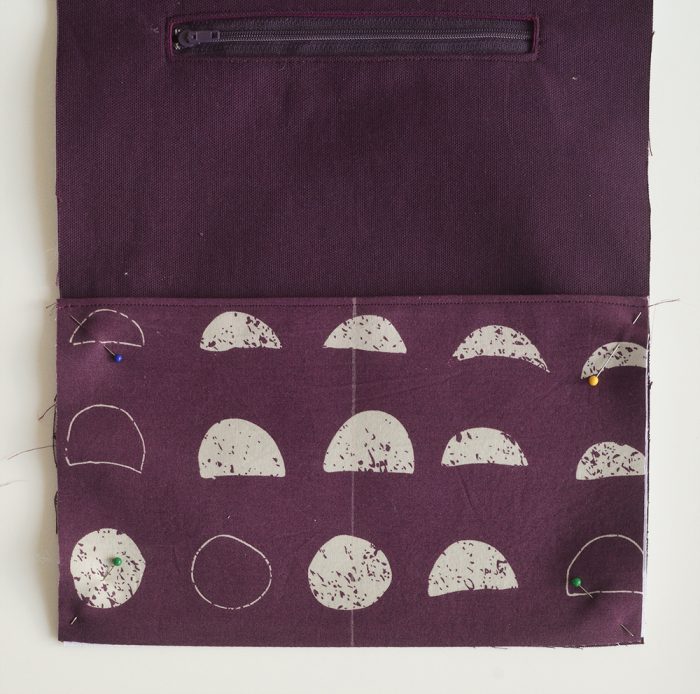
Place the pocket piece onto the bottom piece of the front outer bag fabric, baste in place around the edge of the pocket, the left side, right side and bottom. Using a quilters ruler and taylors chalk mark a line centrally down this basted pocket, then stitch in place, ensure you backstitch at the top of the pocket.
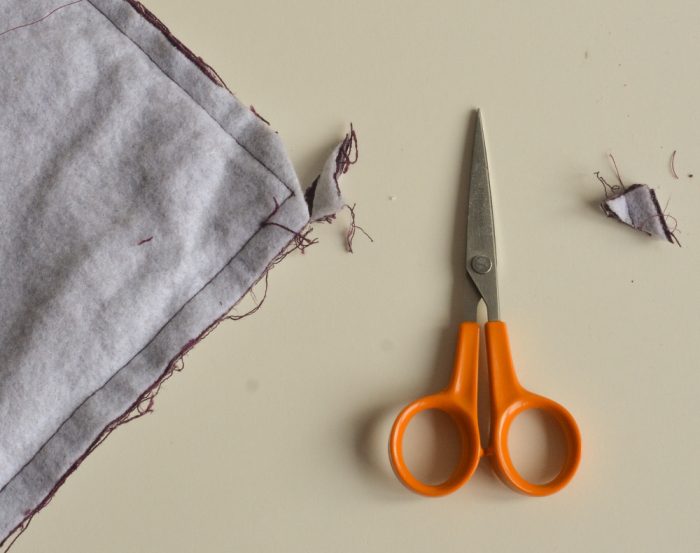
Now let’s complete the external bag. Place the external pieces together right sides facing each other. Stitch the two sides and base of the bag with a seam allowance of . Trim the corners.
Purse Lining
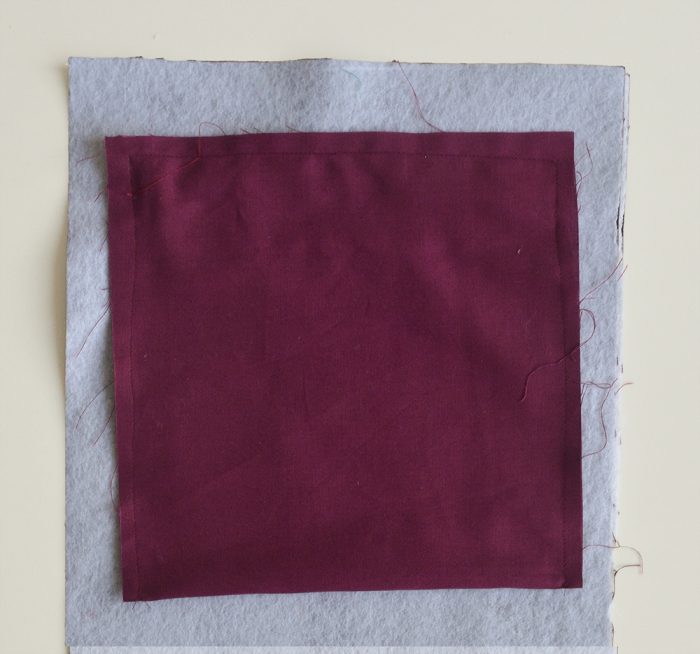
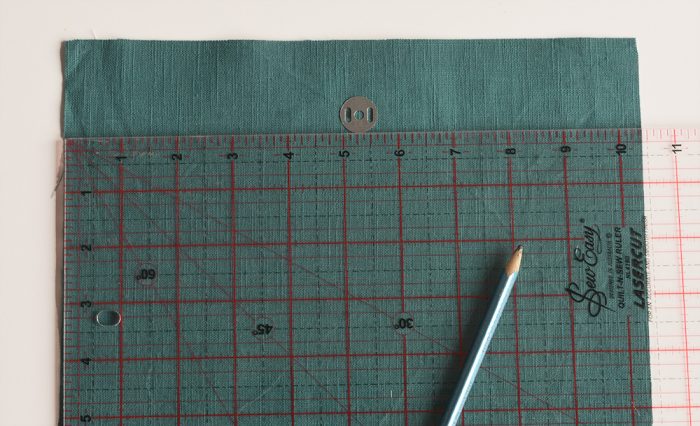
Before we sew the purse lining together we need to insert the magnetic snaps. Adhere a piece of fusible fleece to the wrong side of your lining fabric, centrally half an inch from the top edge. A two inch square is a good size to use but it doesn’t matter if it’s a little larger or smaller.
With your quilters ruler measure the position of the center of the magnetic snap, ” from the top, centrally position. Mark this position with a pencil, through the washer.
Cut along your marked slits – I find an unpicker very useful for this. Place the magnetic snaps into the front of the lining piece, with the prongs going through to the back. Place your washer over these prongs then open them out to the edges of the lining piece.
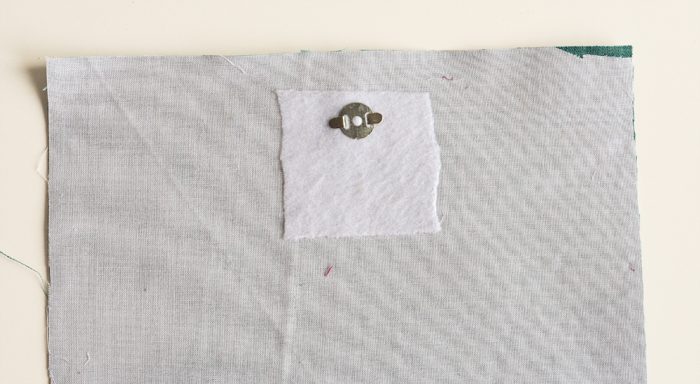
To fully secure the magnetic snap in place I like to add a piece of fusible interfacing over the top, but this is totally optional.
Now let’s sew up the purse lining. At the top of your side seams using the same seam allowance of but as you stitch towards the base of the bag widen your seam allowance just a fraction – doing this prevents your lining from being a little baggy. For the bottom seam only stitch an inch in from each corner to allow a large turning gap for when we assemble the bag.
Assemble the crossbody bag
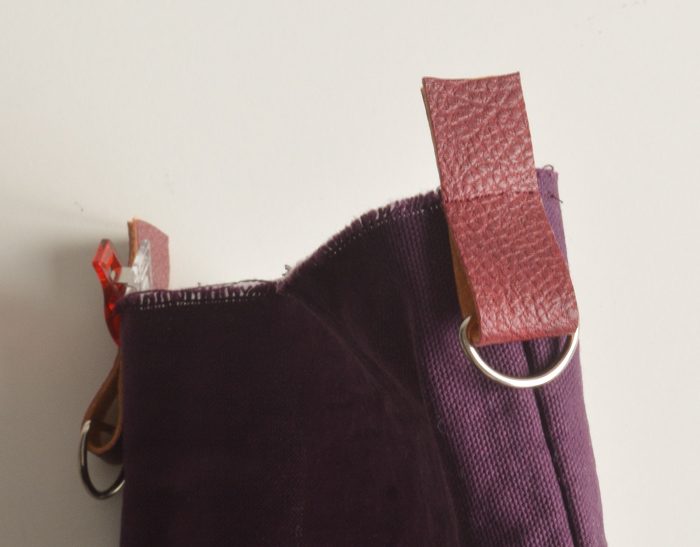
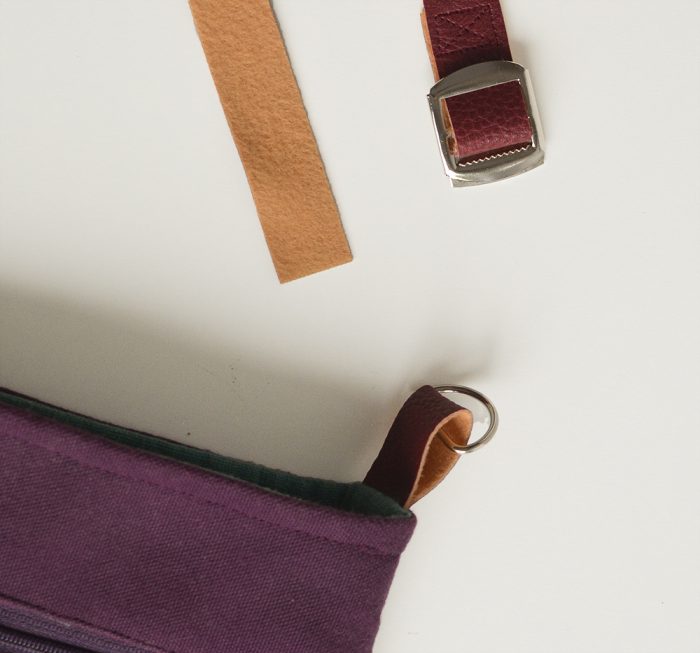
Before we assemble the bag we need to create two loops with D rings ready for the shoulder strap.
Cut two pieces of strapping 3″ (7cm) long, thread a D Ring onto each, and fold so the rights sides of the strap are facing outwards.
Place each loop on the sides of the external bag, so that the raw edge of the strapping meets the raw edge of the bag top (loops facing towards the base of the bag, and placed across the side seams). Baste in place.
Now place your lining over the exterior bag so the top edges align with the right sides of the external bag and lining are facing each other.
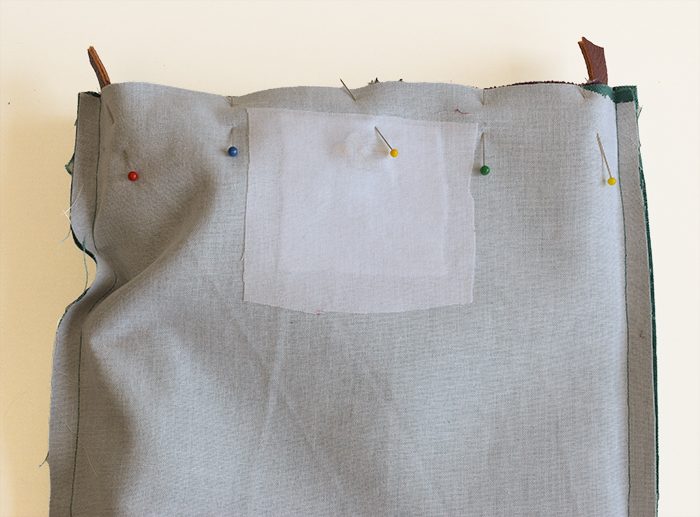
Stitch along this top edge. Pull the lining out and iron this seam, then place the lining inside the bag. Fold the fabric so you have a neat edge along the top, pin then topstitch to finish this edge.
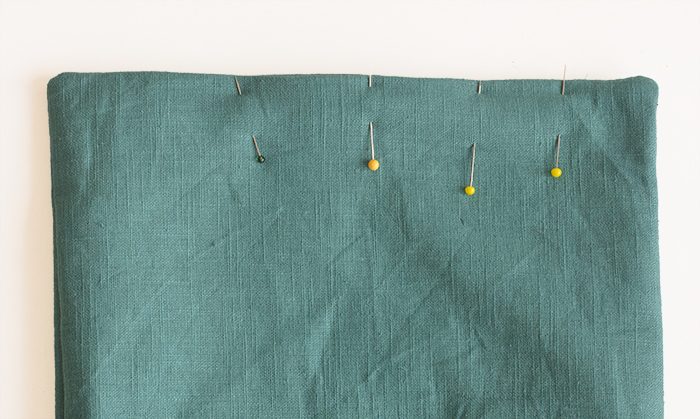
To finish the lining pull it back out and fold the two raw edges (from the inside bottom of the bag) inwards. Either ladder stitch to close or topstitch this seam. Fold the lining back inside the bag.
Adjustable Strap
Cut a piece of bag strap 54″ (138cm) long. Place through the slider and fold the edge back on itself so the wrong sides of the strap are facing each other and overlapping by about an inch. Stitch to secure. Stitch a rectangle with two lines across diagonally for additional strength.
Place the other edge of the strap handle through one D ring, then back through the slider, round to the other D ring. Thread through the D ring and fold the edge to meet the strap. Stitch to secure. If need be check out my detailed adjustable shoulder strap tutorial.

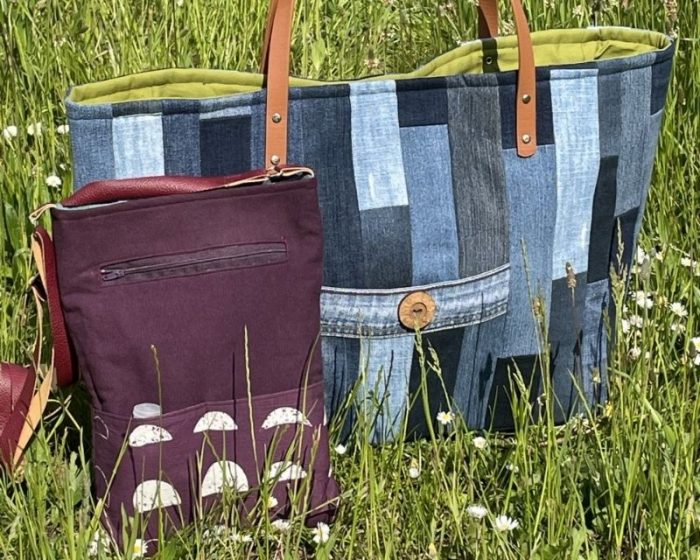
Having followed this free crossbody bag pattern to the end I hope you love your adjustable crossbody purse as much as I love mine!! I am already thinking of the many different medium weight fabric combinations I could use to make several versions. At the same time as making my new crossbody bag I’ve also made myself an oversized large denim tote – you can find the tutorial for this denim tote over at The Sewing Directory.
If you are new to bag making I have a free bag making course just waiting for you, plus many more free bag patterns.
If you love free sewing tutorials sign up to my newsletter.
The author may collect a small share of sales from the links on this page.


Comments
Join the conversation
Great work - so happy you shared!
Love this especially the side zipper pocket! Will definitely try this!