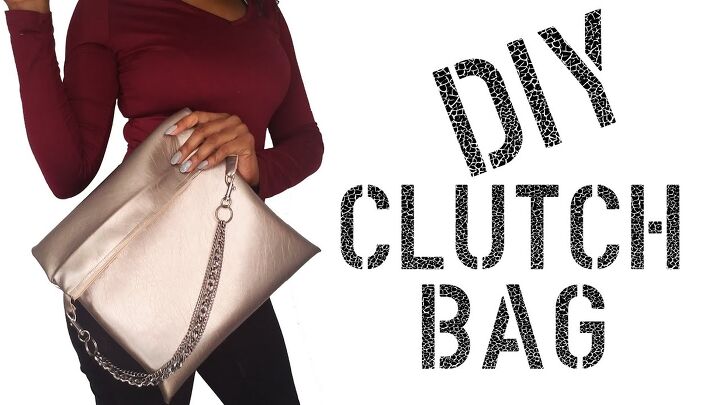
How to Make a Super Glam Clutch Bag in 8 Easy Steps

Hello again everyone! Today, I’m going to show you how to make a clutch bag. It’s an awesome DIY purse made from faux leather. Let’s get started.
Tools and materials:
- ½ yard faux leather
- Measuring tape
- Fabric scissors
- 19-22” zipper
- Lining fabric (optional)
- Straight pins
- Sewing machine
- Needle and thread
- Chain and clasp pieces
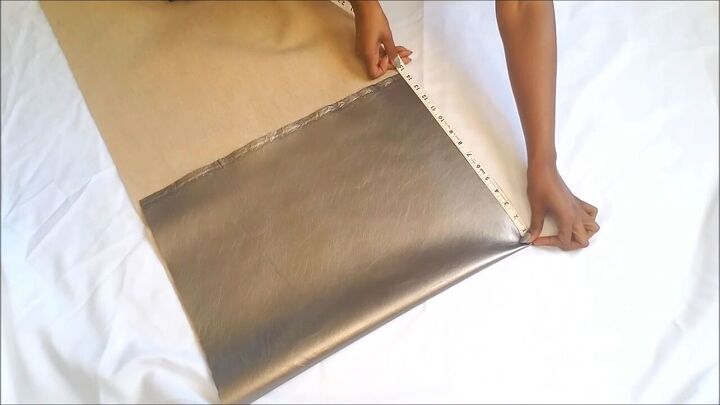
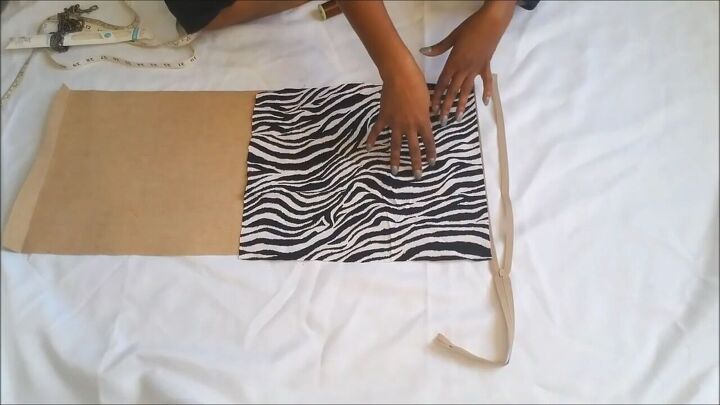
1. Measure your fabric
Measure out a piece that is 15” x 12”, making a fold for the bottom part. That way, we can avoid sewing the bottom!
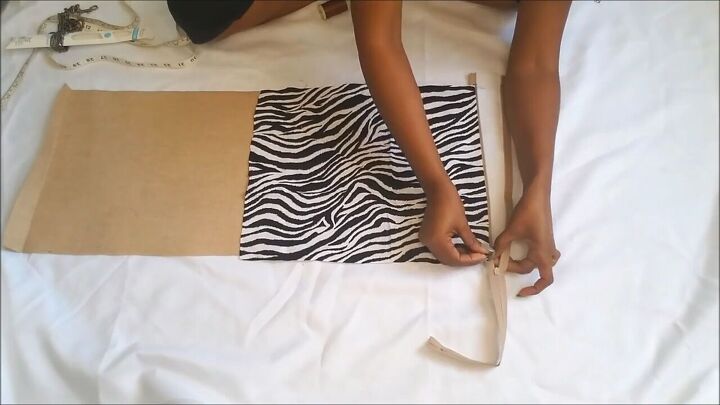
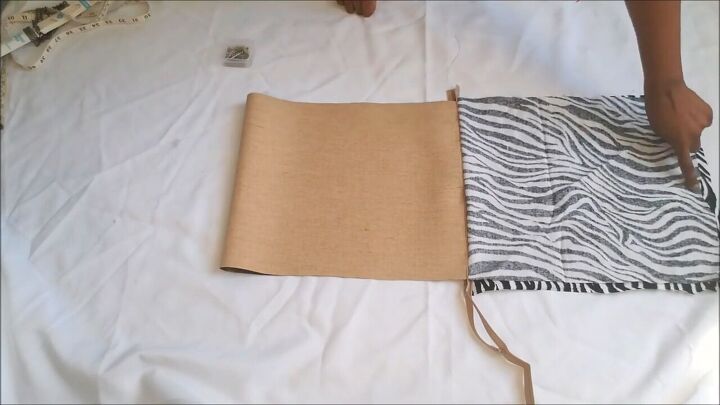
2. Cut out your lining
Line up your inner and outer fabric and cut an identical piece from the inner (lining) fabric.
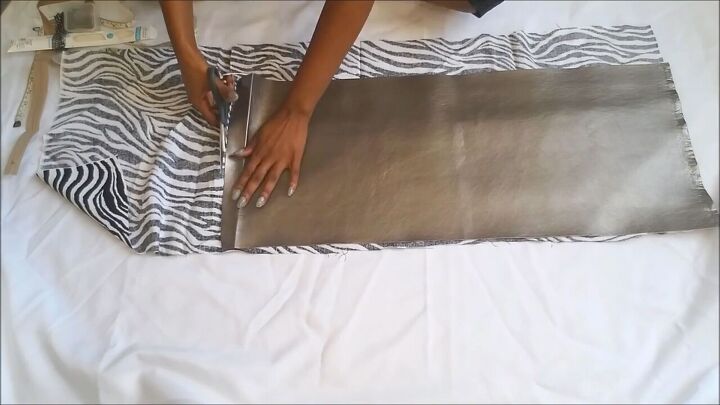
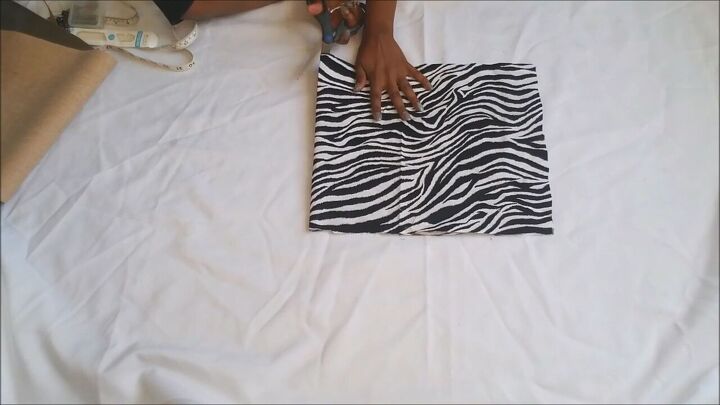
Next, fold the lining piece in half and cut it in half to create two separate lining pieces.
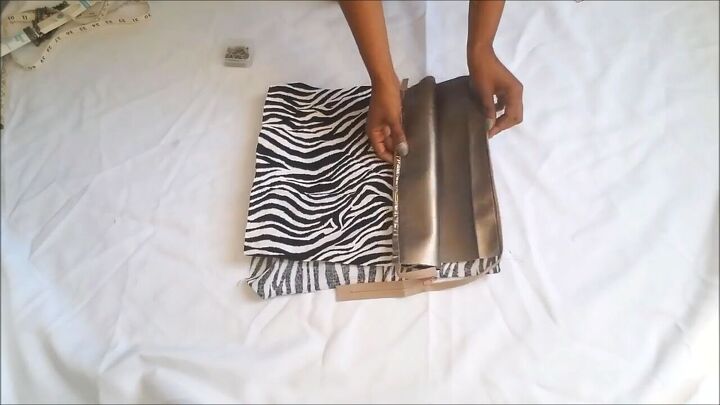
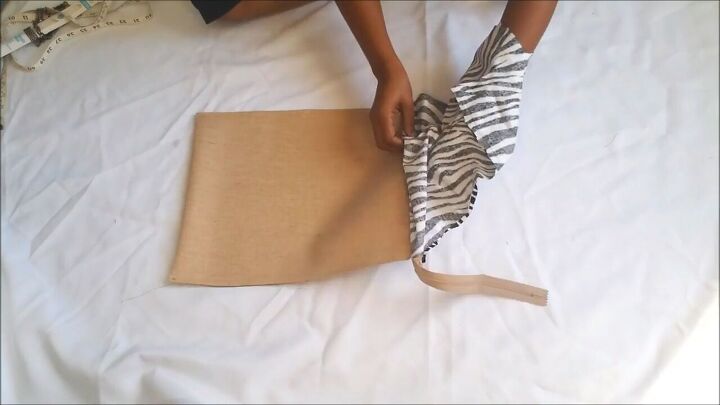
3. Affix the zipper
Lay your faux leather face down, then lay your zipper face down on the edge.
Next, lay one of the pieces of your lining fabric on top, along the zipper, facing upward.
Now pin it all the way down to hold the 3 pieces in place.
Then sew along the line, removing the pins as you go.

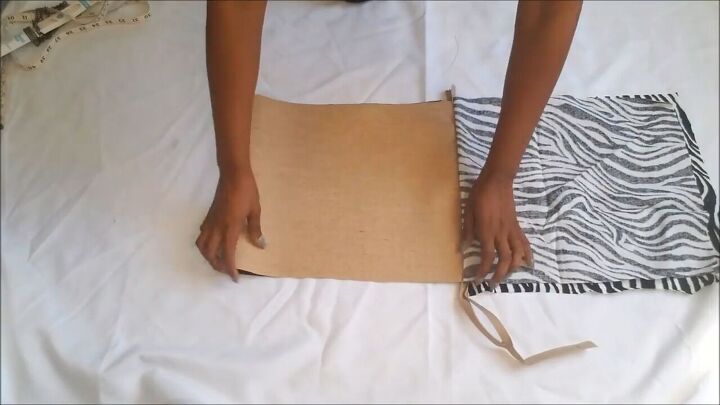
4. Repeat on the other side
Now, flip the fabrics over and repeat the same process on the other side, with the second lining piece.
Make sure everything stays in place, pin and sew.
5. Sew the bag closed
Now that all fabrics are attached to the zipper, flip your lining to one side and your faux leather to the other side.
Sew along the outside of the fabric (leaving the bottom unsewn).
Do the same for the lining side but leave a few inches of the bottom of the lining unsewn.
The opening must be wide enough for your hand to fit through, for the next step.
6. Reverse the purse
Now that everything is sewn, put your hand through the opening that you left at the bottom of the lining and reverse so that your DIY clutch is right-side out.
Be sure to push out the corners with your fingers.
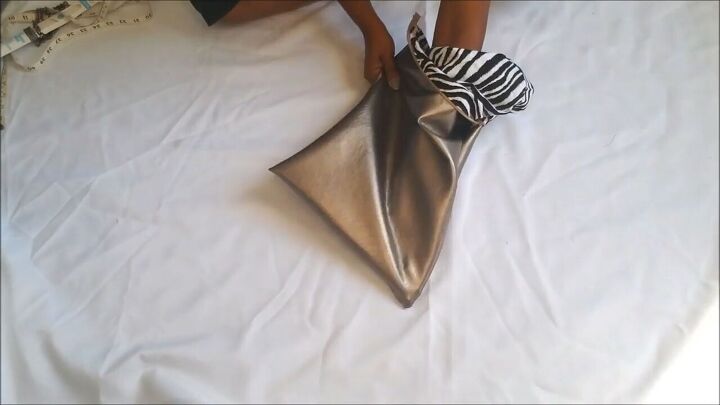
Make sure that the corners on the top are also popped out.
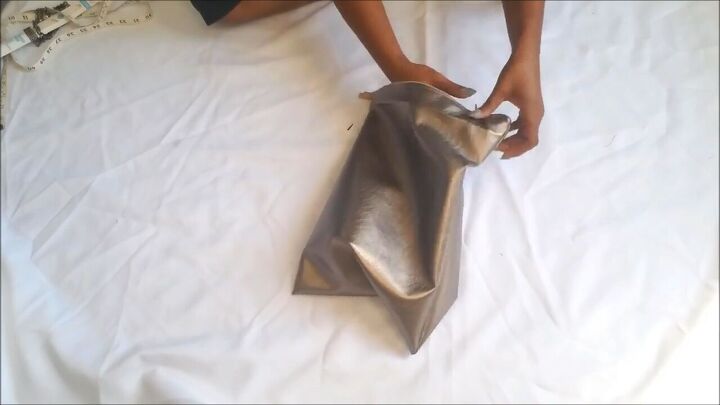
7. Sew the opening on the lining
Next, pull the inner lining back out of the main fabric and sew the opening at the bottom.
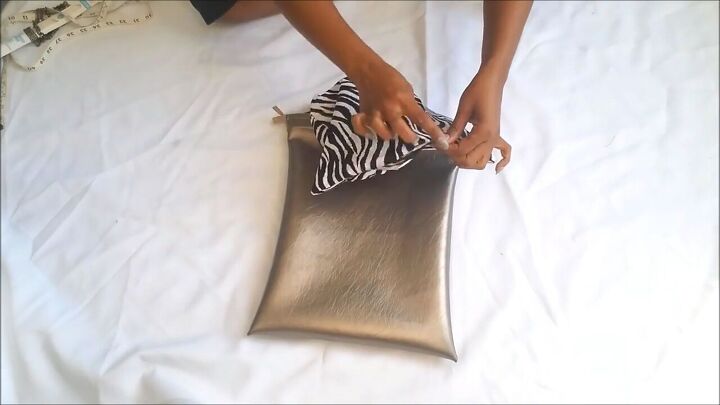
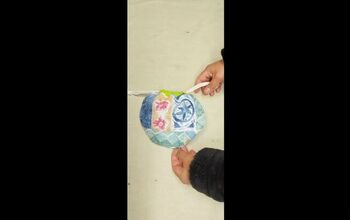
8. Add loop details
(See video 3:50 -4:38)
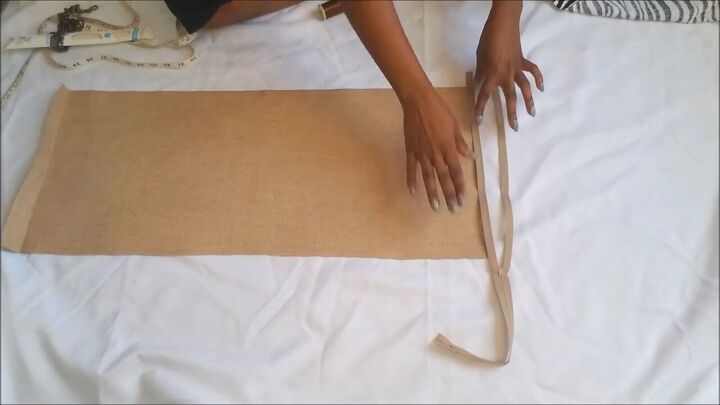
Now that the bag is all sewn, you could stop here. Or, add one final detail. From the extra, faux leather fabric, cut a strip that’s about ½ and inch wide.

The idea is to make two loops for the sides of the DIY bag on which to attach a strap.
After cutting two pieces like that, tuck them into the inner, top corners of the bag, pin them in place.
Then, turn it inside out and hand sew them.
Finally, attach your chain pieces.
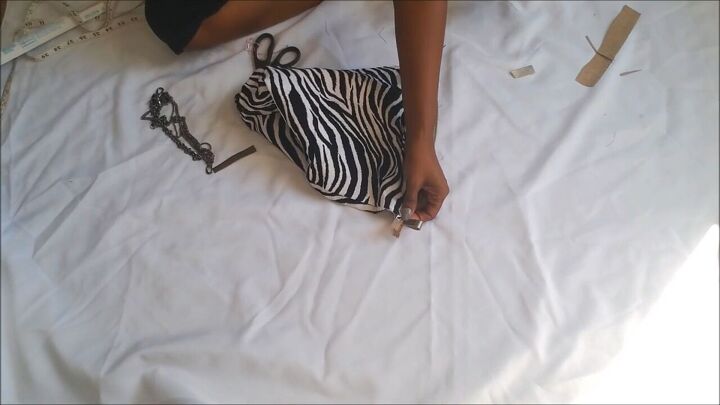
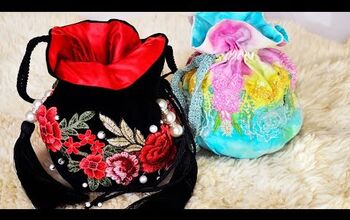
And that’s it! Take a look at the finished, DIY clutch:
How to make a clutch bag
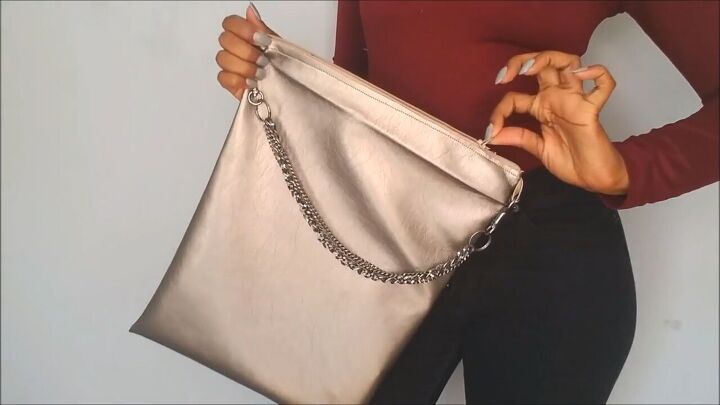
Here you can see the gorgeous lining:

Now that you’ve seen how simple it can be to make a clutch bag, gather the materials and make one for yourself! Show me how yours comes out in the comments down below.
For another glam, DIY tutorial, check out my post on How to Make an Easy DIY Rhinestone Fringe Jacket.
The author may collect a small share of sales from the links on this page.


Comments
Join the conversation
Well done. Love it!!