How to Make a Snap Purse Pouch in 8 Simple Steps

This DIY snap pouch is so darling! Perfect for holding small precious items, this snap pouch sewing pattern will have you making these DIY pouches for your friends and family as gifts! You can customize the fabrics so each one is different. Let me show you how to make a snap purse in about an hour!
Tools and materials:
- 1 piece of fabric 5¾" × 2¾" (14.5cm x 7cm) for the flap
- 1 piece of fabric 5¾" × 9⅛" (14.5cm x 23cm) for the body
- 1 piece of fabric 3¼" × 6" (4cm x 15cm) for the strap
- Lining 5¾" × 11⅛" (14.5cm x 28cm)
- Fusible fleece 1 piece 5″ × 10⅜″ (12.5cm x 26cm)
- Ruler
- Sewing machine
- Pins and clips
- Scissors
- Iron
- Awl
- Plastic snap buttons
- Snap button kit or tool
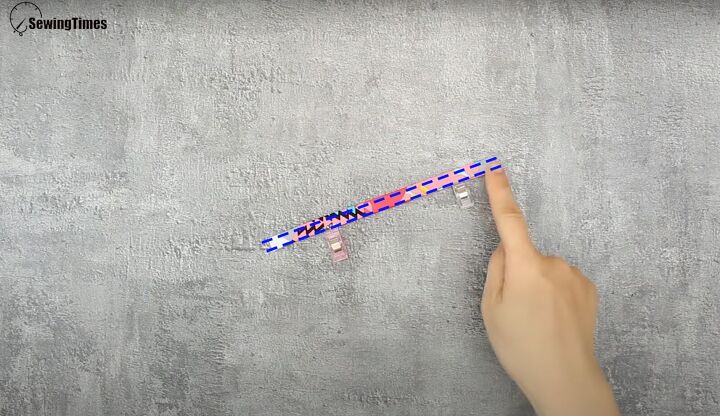
1. Make the strap
Fold the 3¼ x 6-inch strap piece in thirds and then in half to make a sturdy strap. Clip in place. Stitch along the length ⅛ of an inch from the edge.
2. Attach the strap
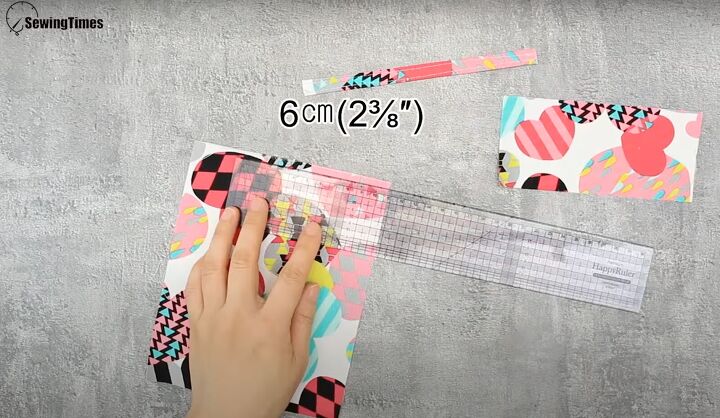
Measure the center at the top of the 5¾ x 9⅛-inch piece to be 2⅜ inches (6cm).
Place the strap at these marks. Clip in place. Sew across to secure.
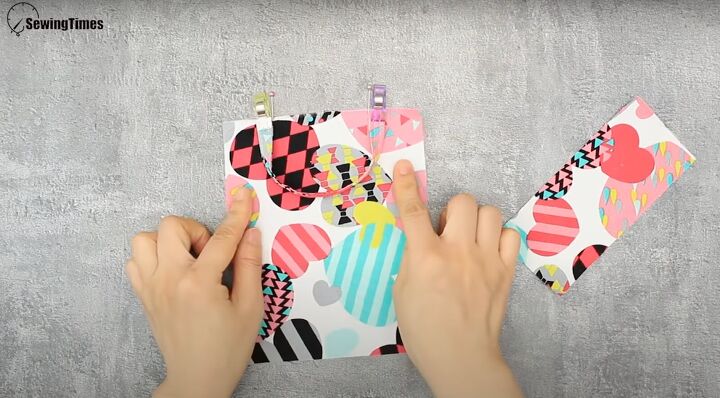
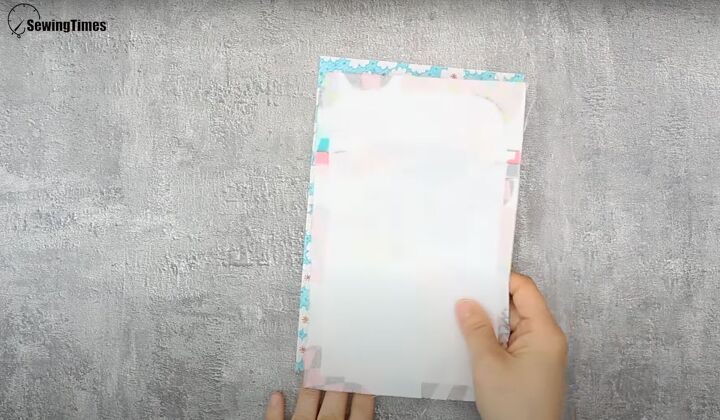
3. Attach the flap
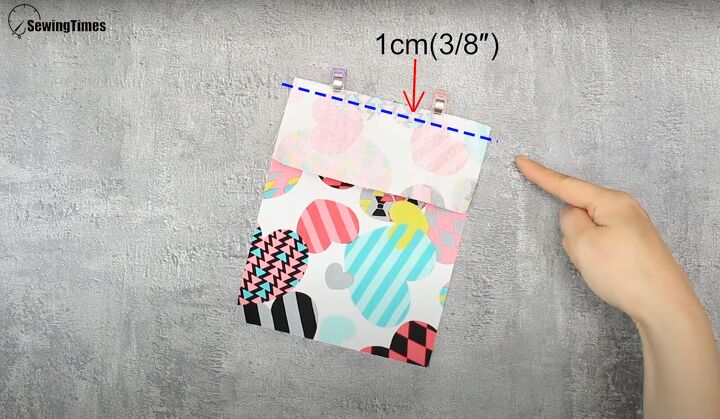
Take the 5¾ x 2¾ piece and clip it right sides together at the top where the strap is sewn. Sew across at ⅜ inch (1cm).
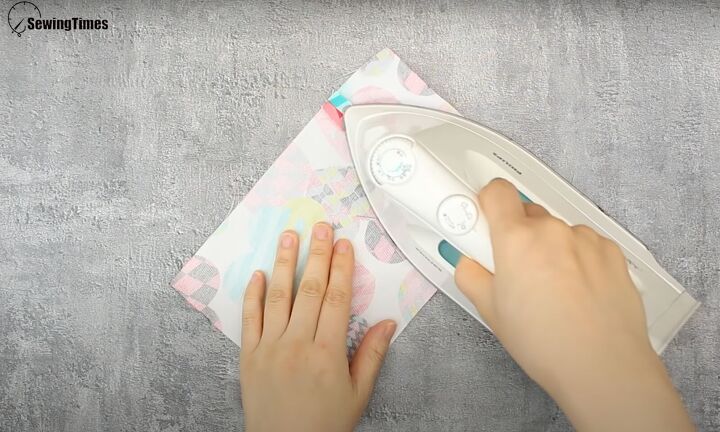
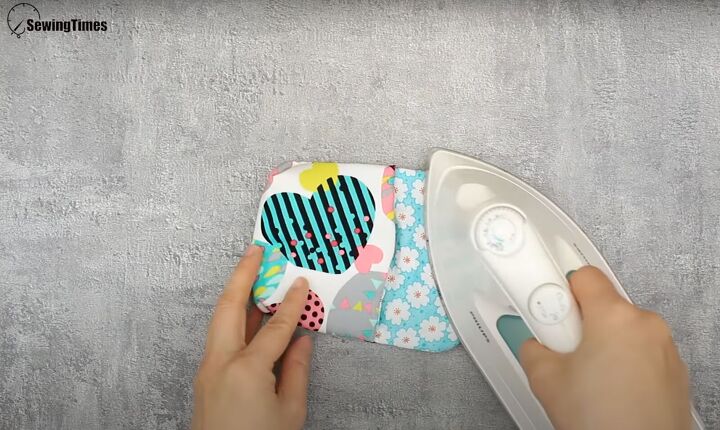
Flatten the seam and press with an iron.
4. Attach the fusible fleece
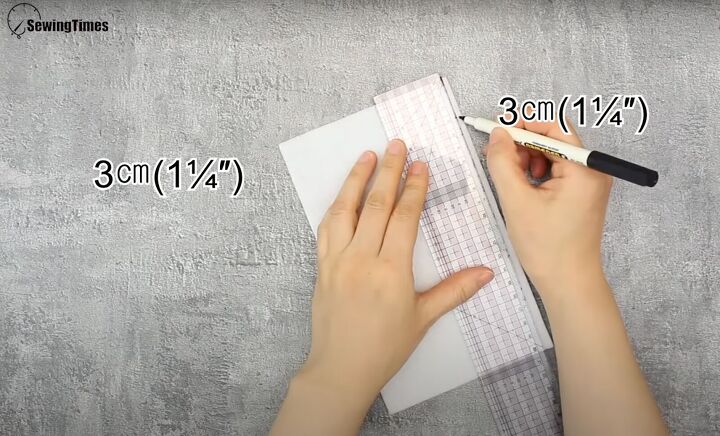
Mark the fusible fleece 1¼ inches (3 cm) from the top on either side.
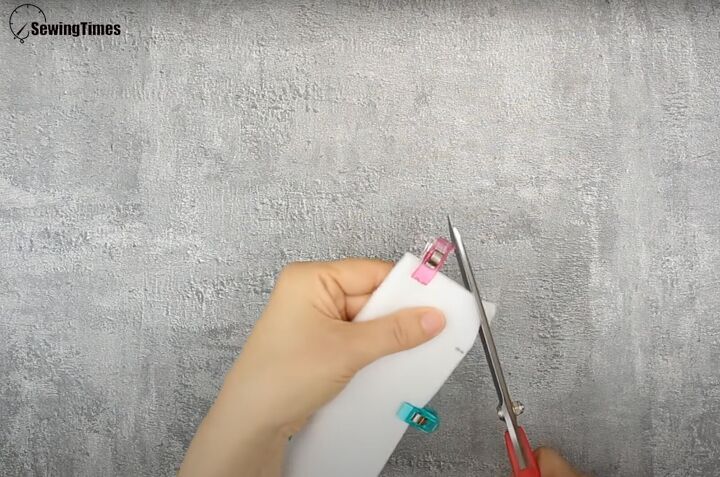
Fold the fleece in half lengthwise, clip together, and trim the top to have a curved edge.
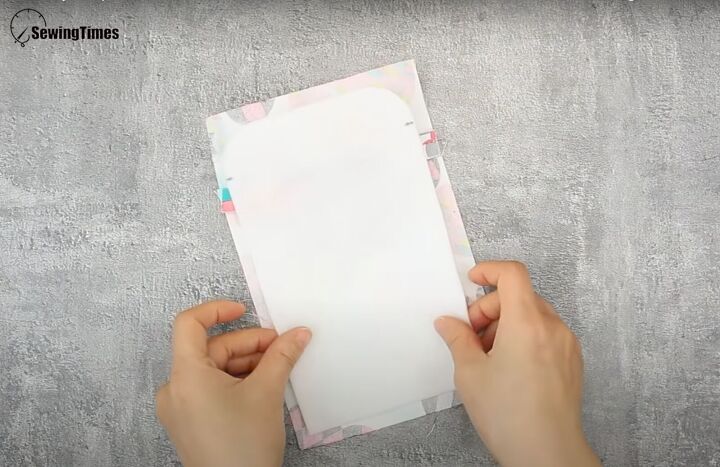
Lay the outer fabric piece wrong side up. Place the fusible fleece with the curved edges at the top. Press firmly with the iron to secure.
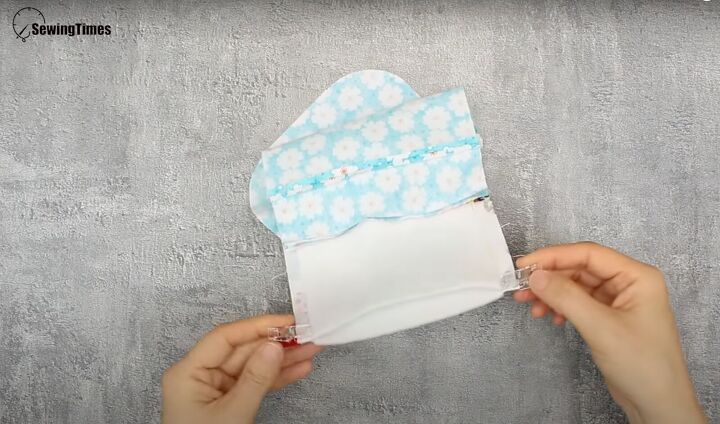
5. Attach the lining
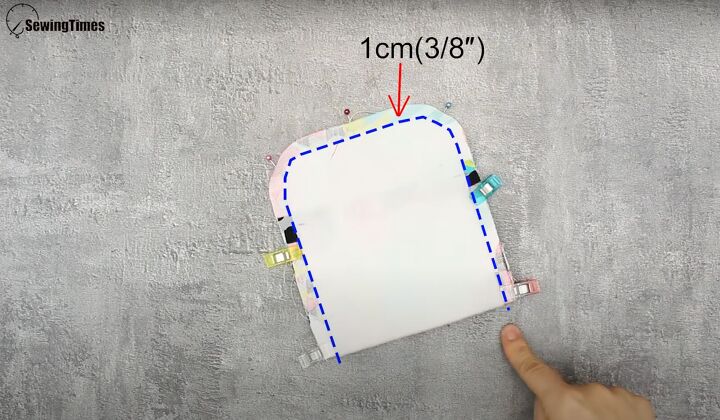
Lay the lining fabric right side facing up. Place the outer fabric so the fabric pieces are right sides together with the fusible fleece facing you. Clip together.
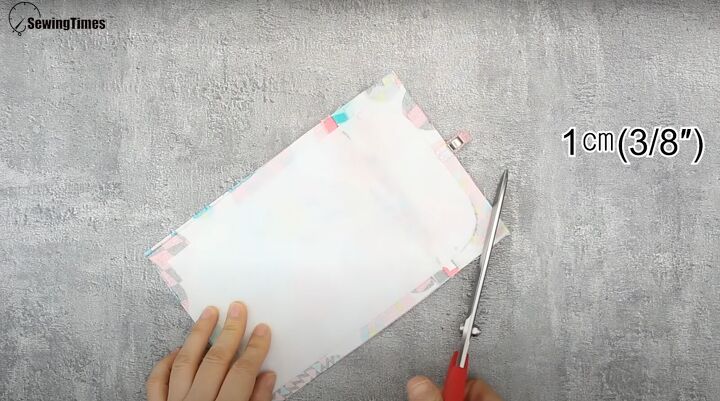
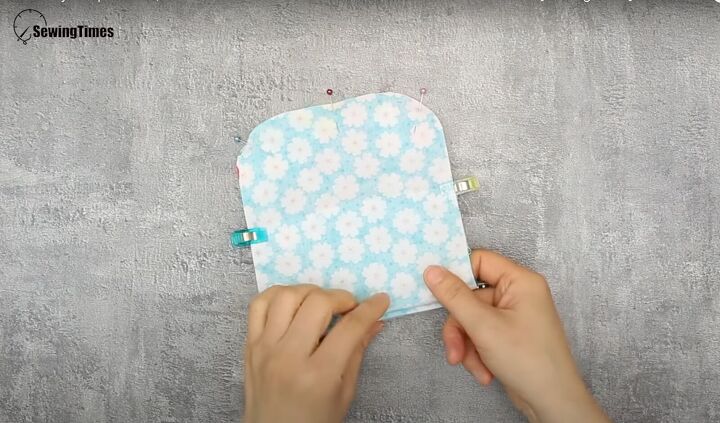
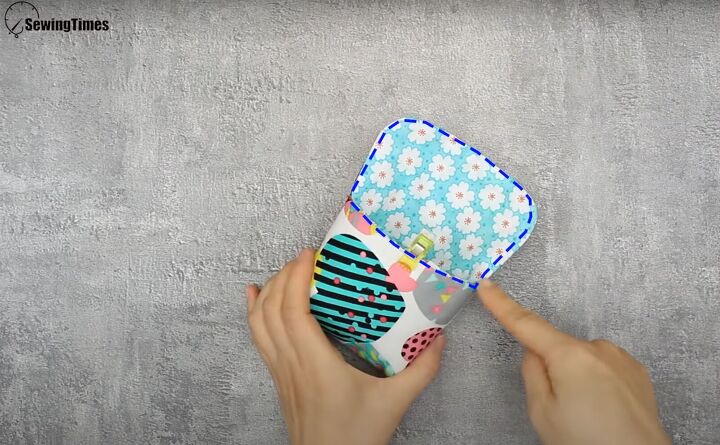
Trim the edges of both the lining and outer fabric at ⅜ inches (1cm) into a curve.
Mark the bottom with a 2-inch space. Sew across at the bottom to attach the lining, leaving the 2-inch space unsewn.
Press to flatten.
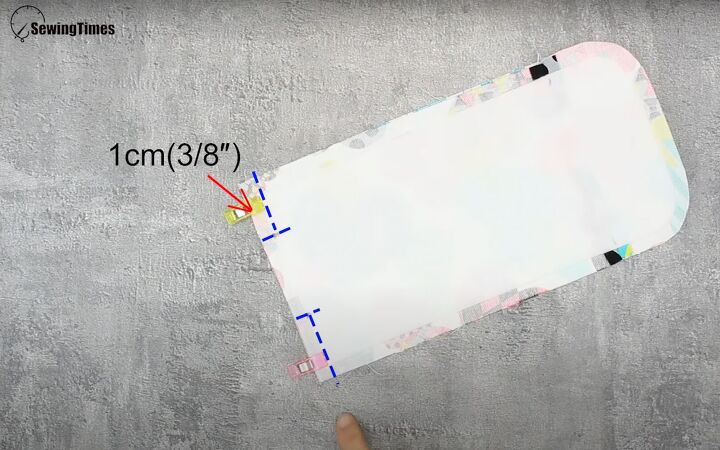
6. Make the flat bottom
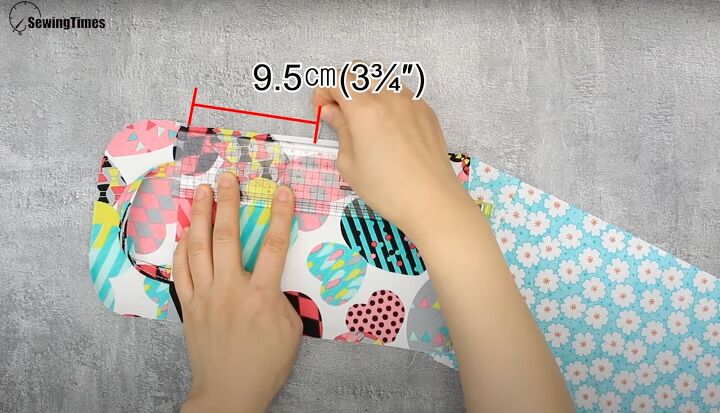
Measure on the outer fabric from the flap attachment seam at the top down 3¾ inches (9.5cm) on both sides. Mark with a pin.

Measure 1¼ inches (3cm) below that marking. Mark with a second pin on both sides.
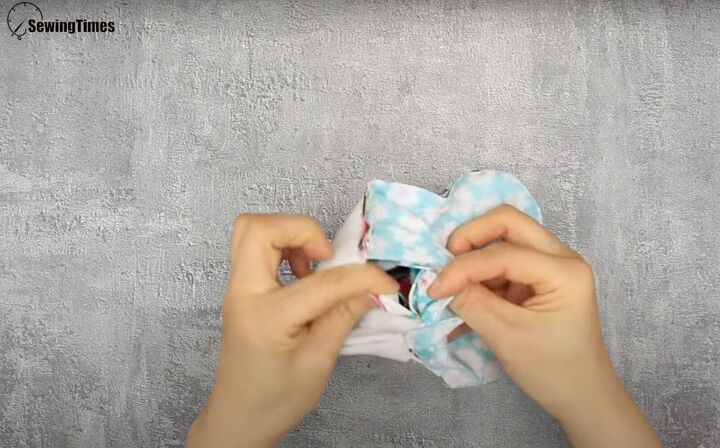
Fold the outer fabric right sides together and clip the marked areas to create a tuck. If you need help, watch the video from 4:10 to 5:05.
Tuck the strap in. Clip the lining in place so the outer fabric and lining are right sides together.
The lining will be longer than the outer fabric, so fold and tuck the lining at the bottom to mirror the outer fabric portion. Clip in place.
You should have 2 separate tucks!
Sew across at ⅜ inch (1cm) on all the unfolded edges.
7. Finish the sewing
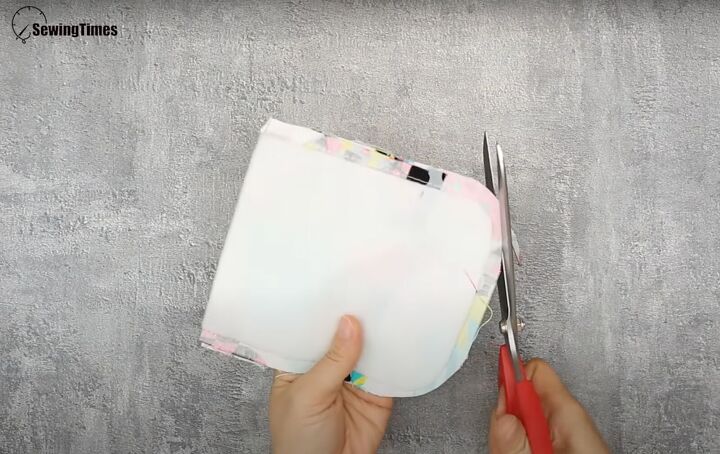
Trim the seam allowances on the curved edges.
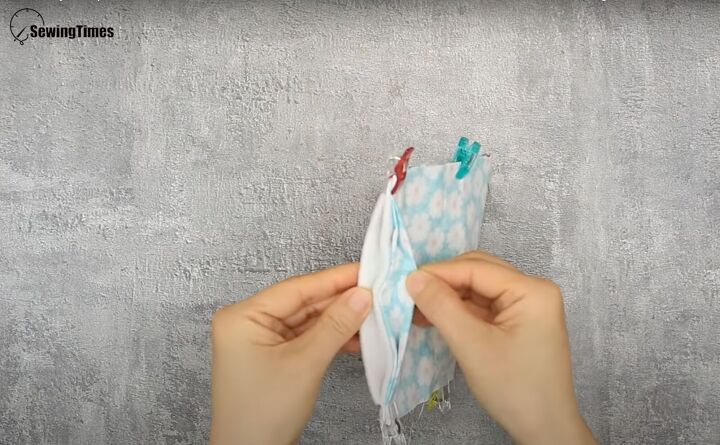
Find the 2-inch open space you left at the bottom of the lining and pull the purse inside out.
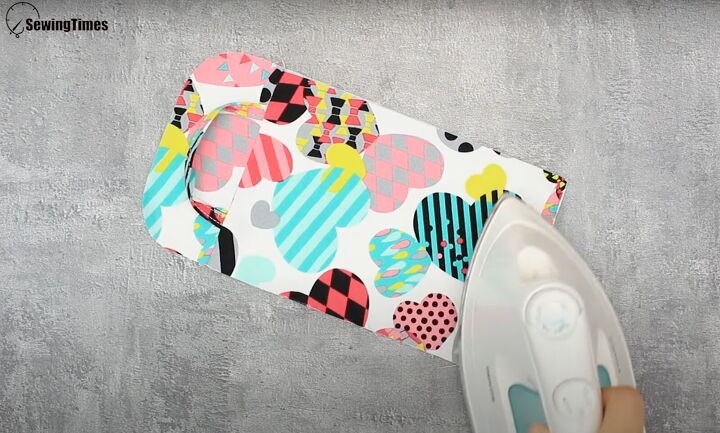
Press for a nice, smooth, professional finish.

You’ll need to sew up the 2-inch space!
Topstitch around the entire top.
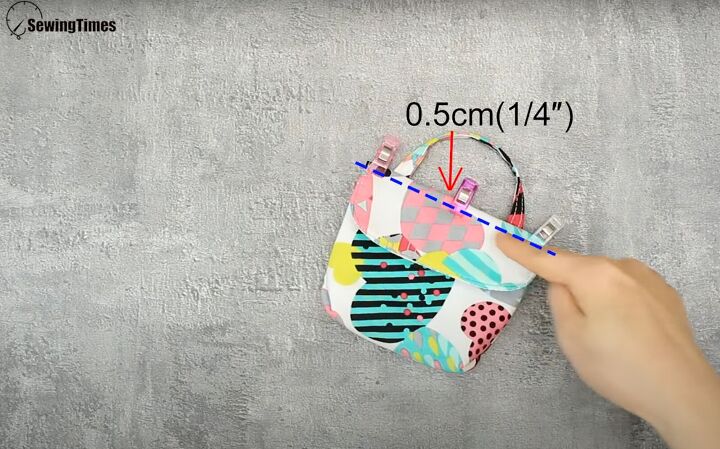
Then topstitch the top of the flap at ¼ inch (0.5cm).
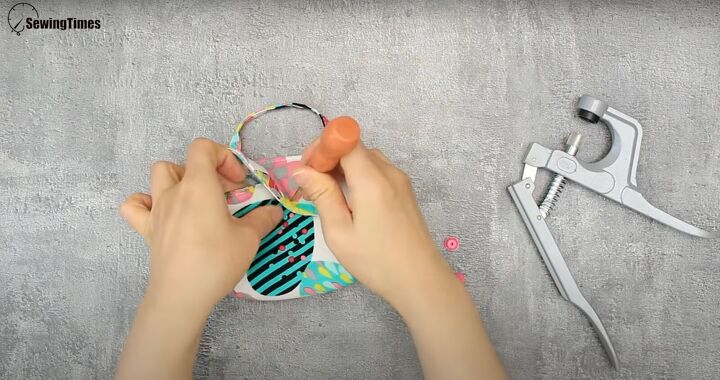
8. Install the snaps
Use an awl to create a hole on both the flap and inside top of the purse so they are even.
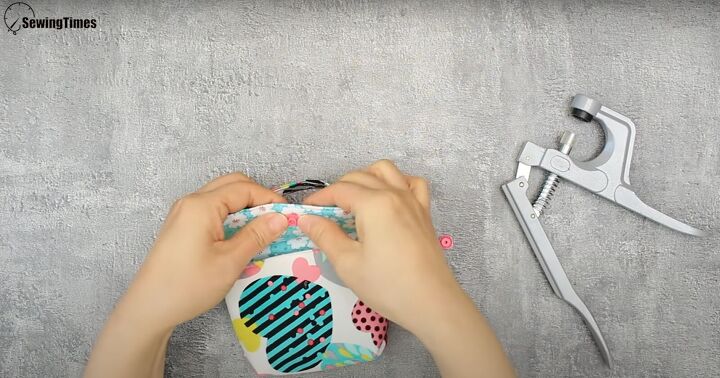
Insert the snap into both holes, using your snap installation tools.
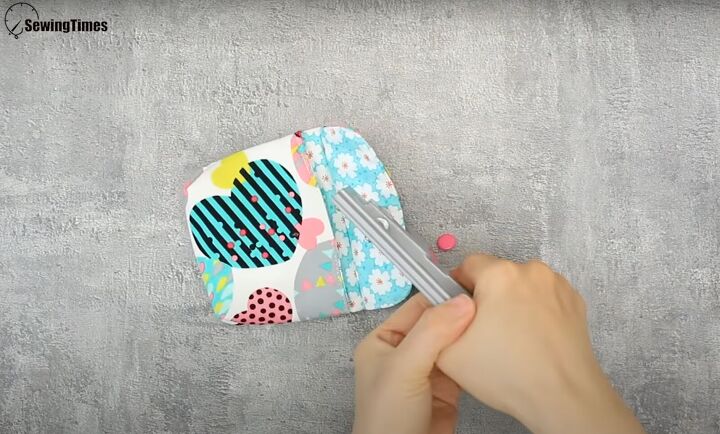
Snap the purse shut!
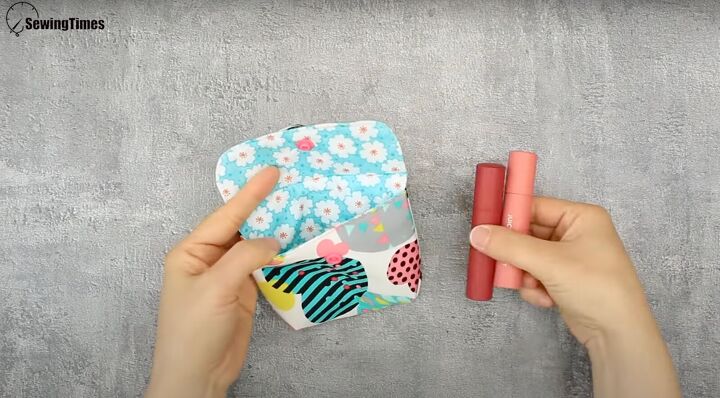
Perfect for putting small things inside!
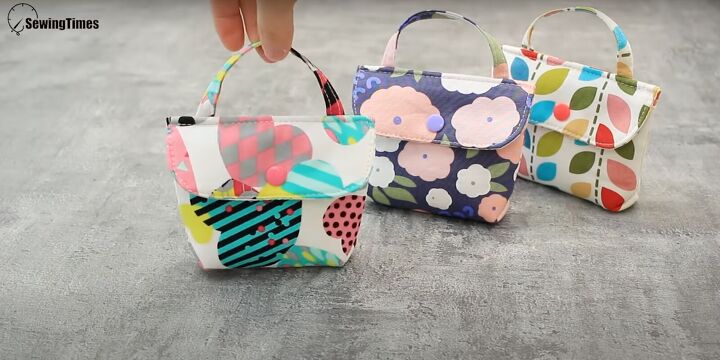
How to make a snap purse
There you have how to sew a snap coin purse. Please let me know in the comments if you plan to try out this tutorial yourself. Thanks for joining!
The author may collect a small share of sales from the links on this page.


Comments
Join the conversation