How to Sew a Folding Grocery Bag Pattern
Hi Creative Mamas! Welcome to this post in which I will share yet another way to make a tote bag. This time I want to show you how to sew a folding grocery bag pattern.
This foldable bag pattern was designed to create a grocery shopping bag but it can also be used as a knitting, crochet or sewing bag. I love it and I keep it in the car ready to be used anytime I go grocery shopping.
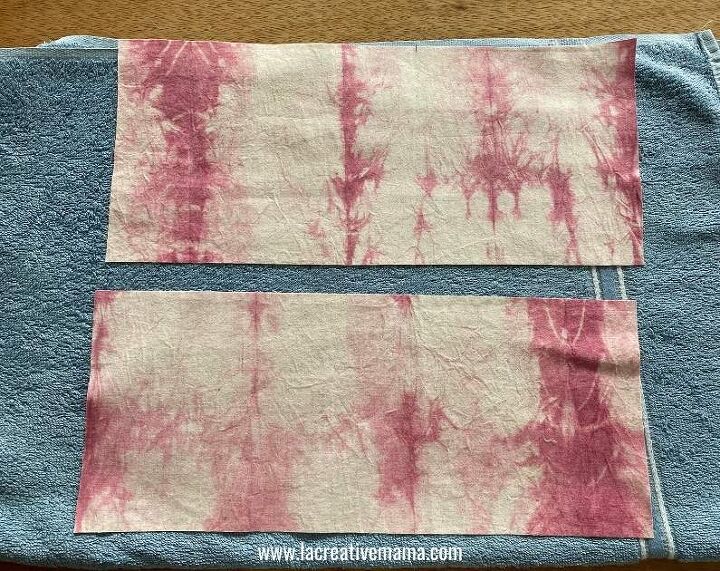
The best thing about this tutorial is that this bag is all made by using fabric scraps from previous projects and from my natural dyeing experiments using natural dyes.
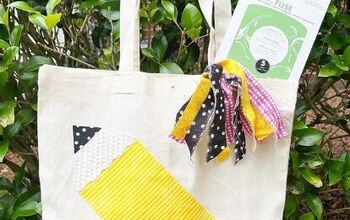
DIY folding grocery bag patternI loved making this reusable foldable grocery bag but I also have two other ways to make beautiful tote bags. Check out the tutorials on how to transform old jeans into a tote bag and how to make a reversible tote bag. These are great articles and they come with easy to follow instructions as well as FREE Patterns :).
In this tutorial I will show you how to make a grocery bag which is easy to fold away and totally reusable.
I have designed an easy pattern which makes a sturdy and solid grocery shopping bag with pockets. So, lets get started!
Foldable grocery bag pattern Tutorial
This post contains affiliate links, which means I receive a small commission, at no extra cost to you, if you make a purchase using this link. Please see my disclosure for more details.
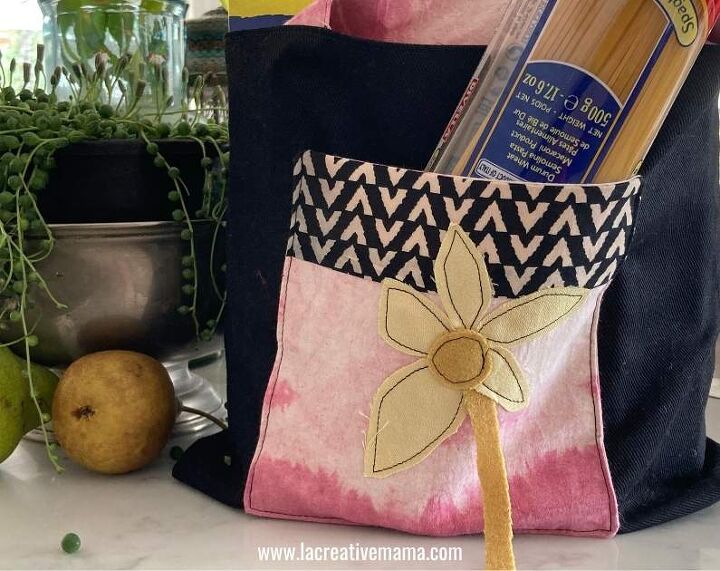
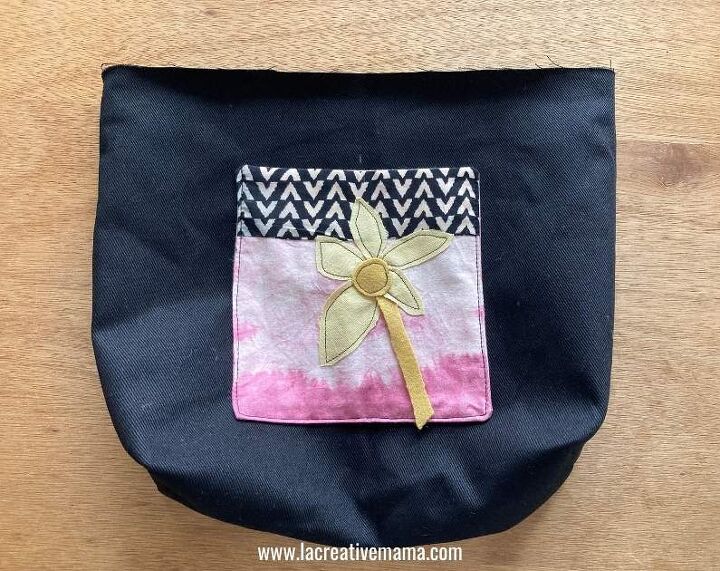
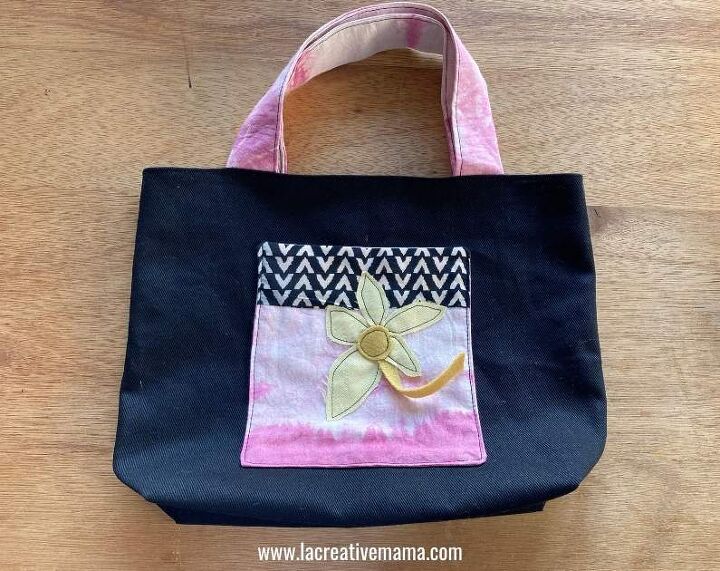
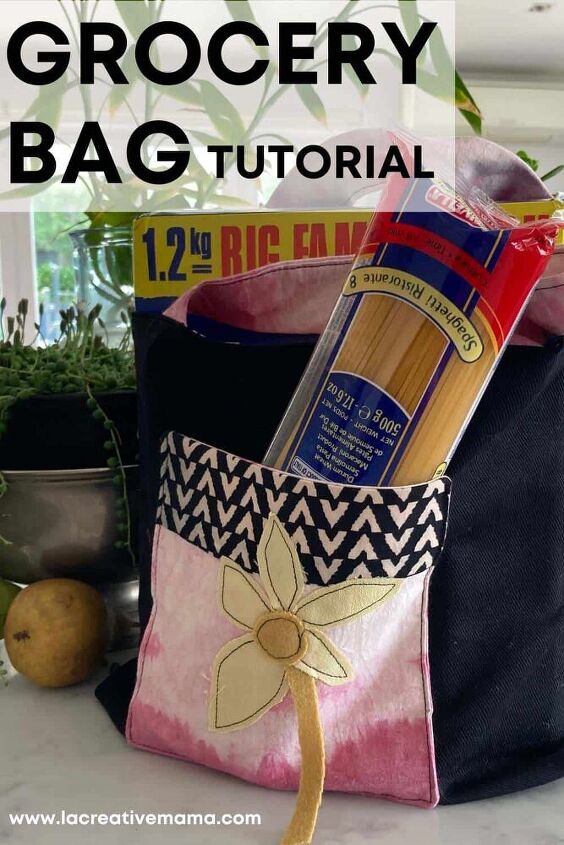
Here is my gorgeous super useful foldable grocery bag after my Wednesday evening shop. As you can see it’s pretty full 🙂
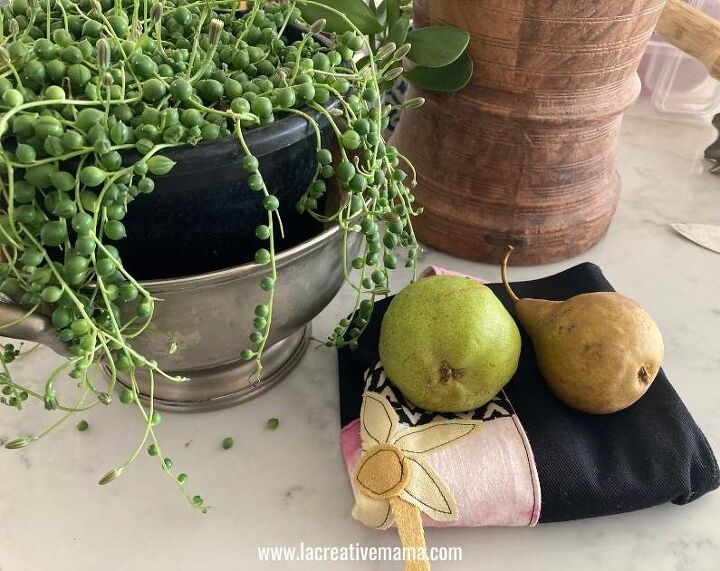
And here it is all folded up ready to go back in the car or inside my handbag.
- Folding grocery bag pattern Pattern (available in my FREE RESOURCE LIBRARY— get the password for free by filling out the form below)
- Fabric scissors or rotary cutter & cutting mat
- Black canvas
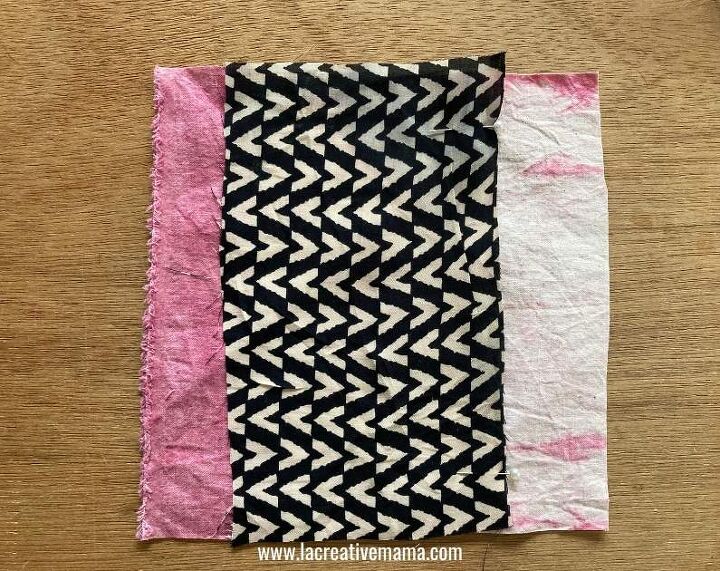
- Fabric scraps for lining and pocket (I used tie dyed cotton and hand dyed silk )
- Sewing machine
- Iron
- Tailor’s Chalk
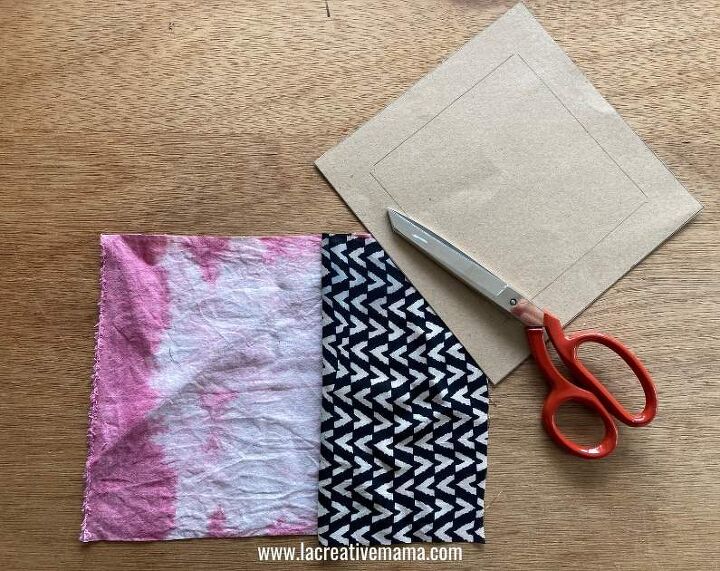
Gather all your materials and print out the pattern instructions. Create the pattern in craft paper (‘its much easier than measuring straight onto the fabric).
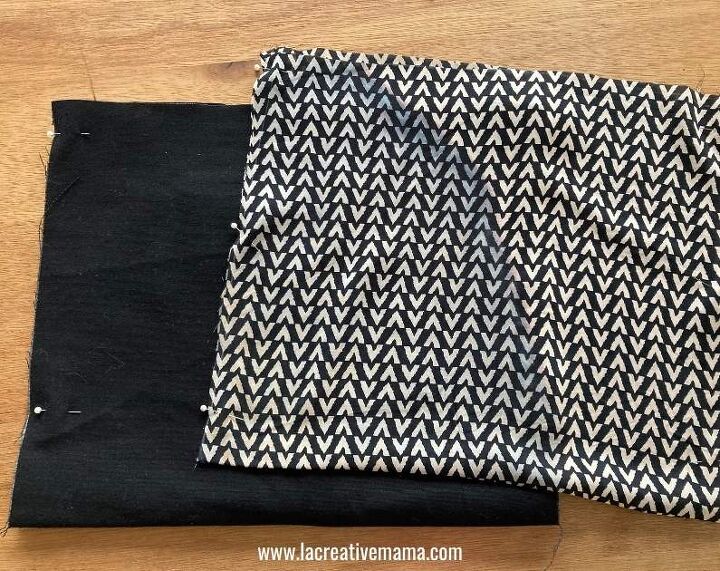
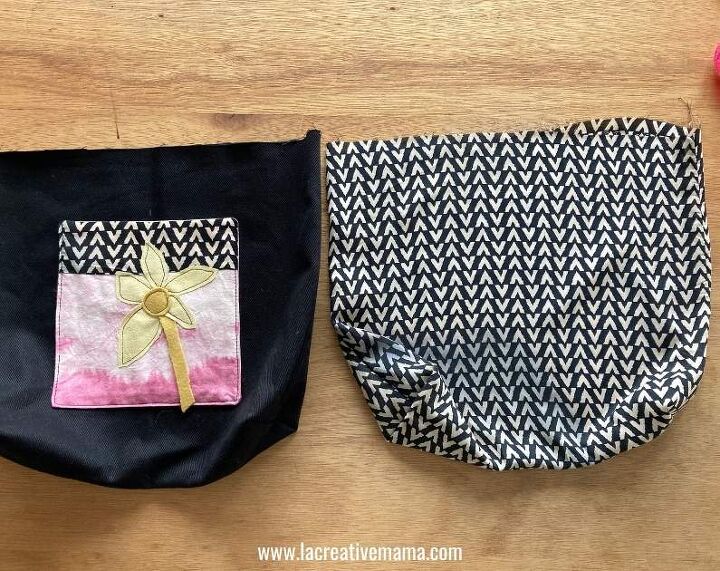
Cut the grocery bag pieces. You will cut the outside of the bag, the lining, the handles and the pocket.
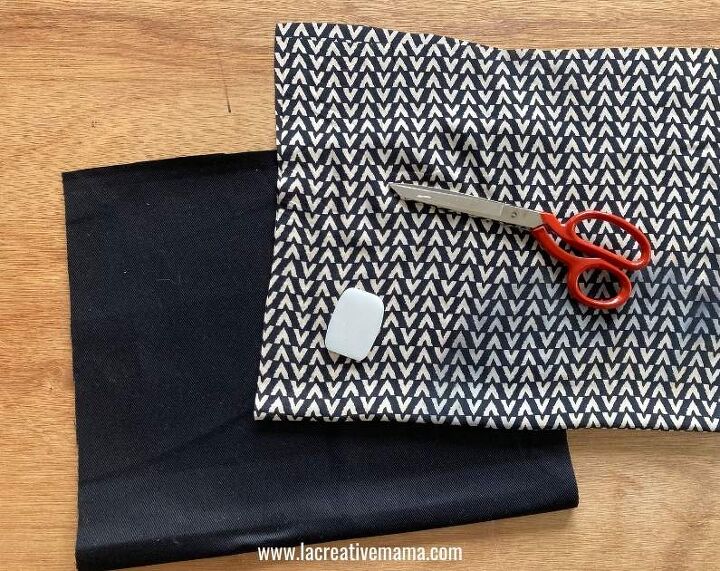
For this reusable grocery bag I am using black canvas, 100% viscose for the lining and tie dyed cotton for the handles and for the pocket.

I wanted to embellish the pocket to add some creative flair to the bag. This tote bag will be fully lined which means that you can also add an inside pocket.
If you wish to add an inside pocket simply repeat the same process as the outside pocket and then attach it to the lining.
For now let me show you how I decorated the outside pocket.
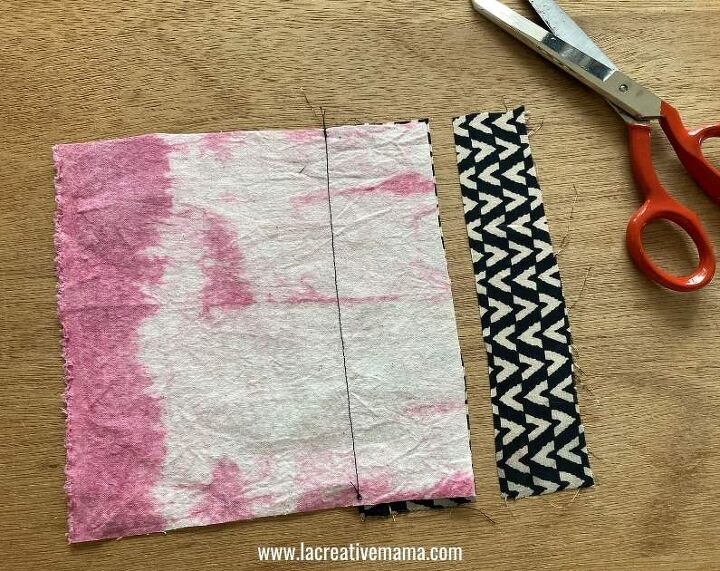
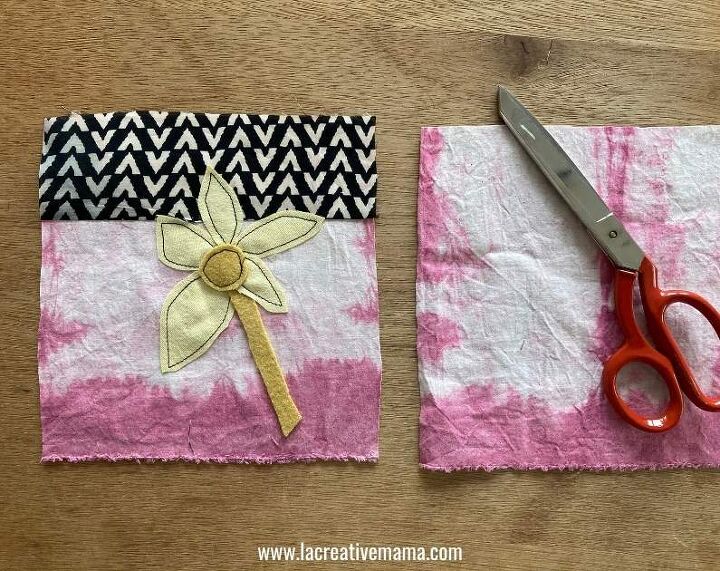
Cut 2 pockets (one will be the pocket lining). I am using the pink tie dyed cotton fabric for both the outside and the lining of my pocket.
Using a little scrap of fabric, line it up on the same grain as the pocket. Position it in the middle, right sides touching.
Sew a straight line on one of the sides as shown in the photo below. Cut the excess fabric.
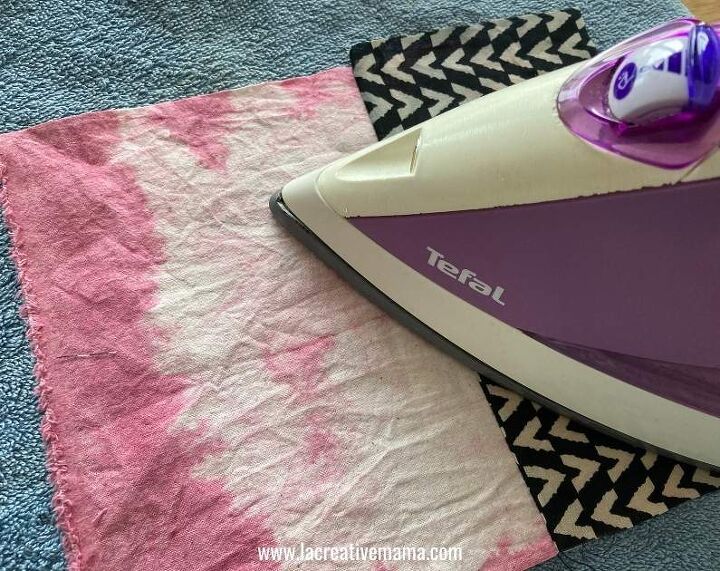
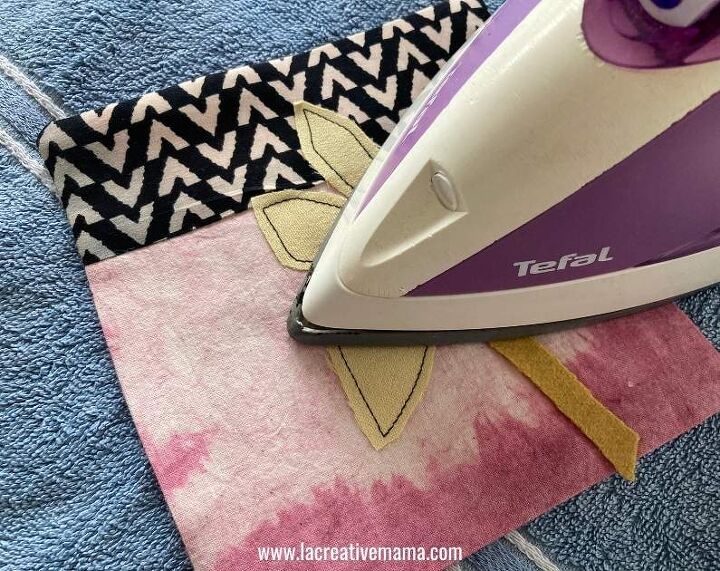
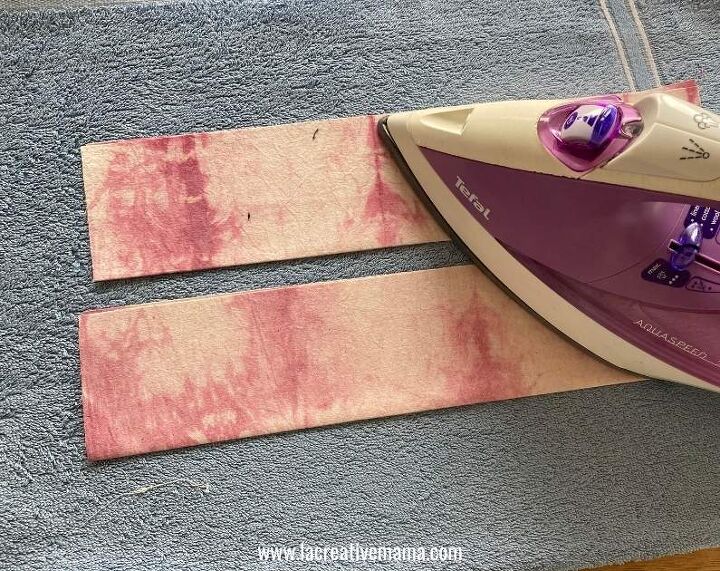
Turn the pocket to the right side and press it. Now the pocket will have 2 different fabrics.
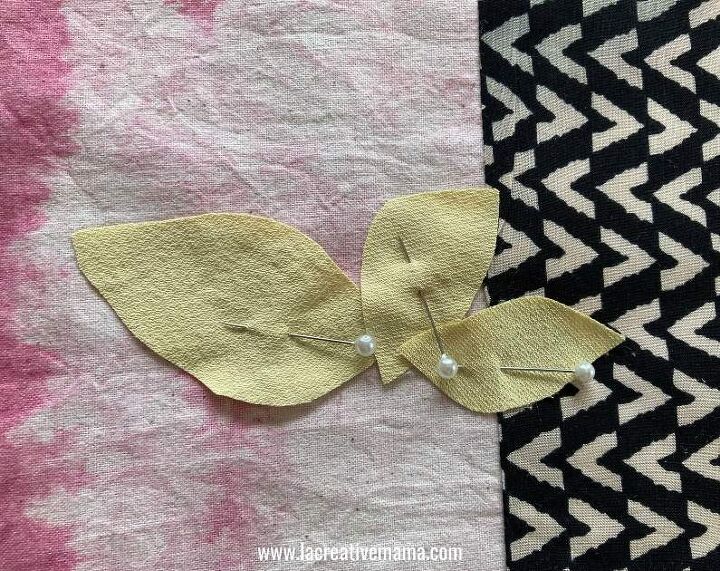
Using little fabric scraps (I am using hand dyed old blanket and scraps of silk), draw flower petals using a pencil or a transfer pen.
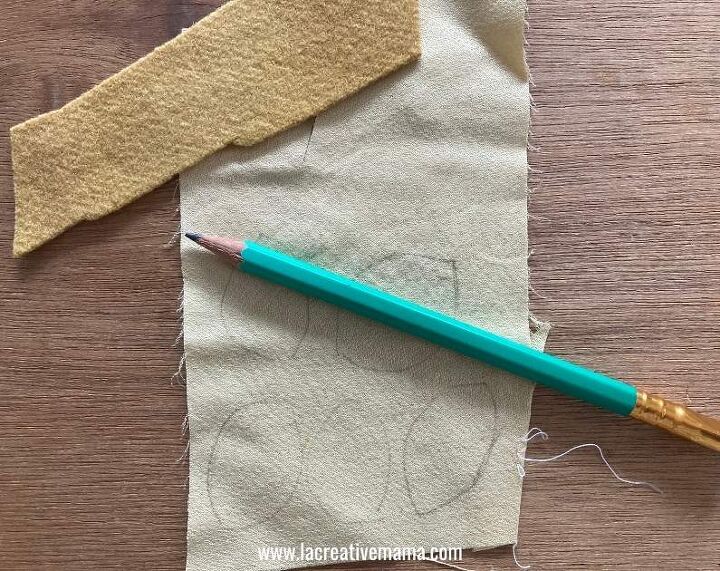
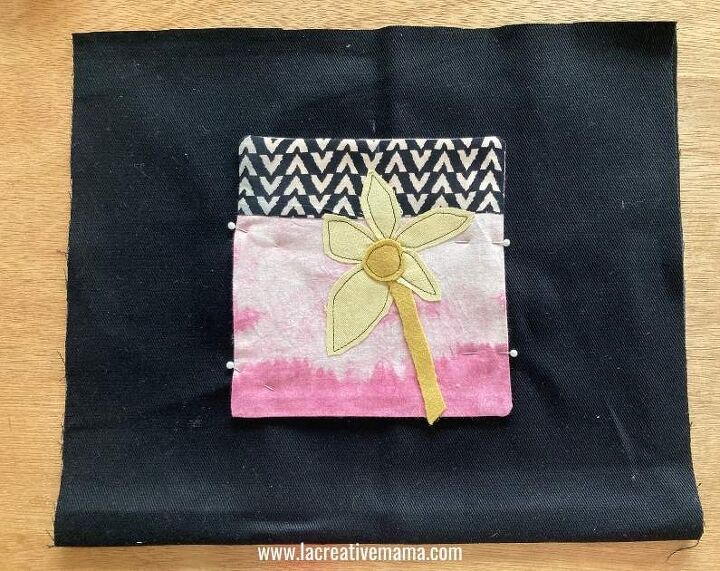
Cut around the petals and pin them to the pocket base.
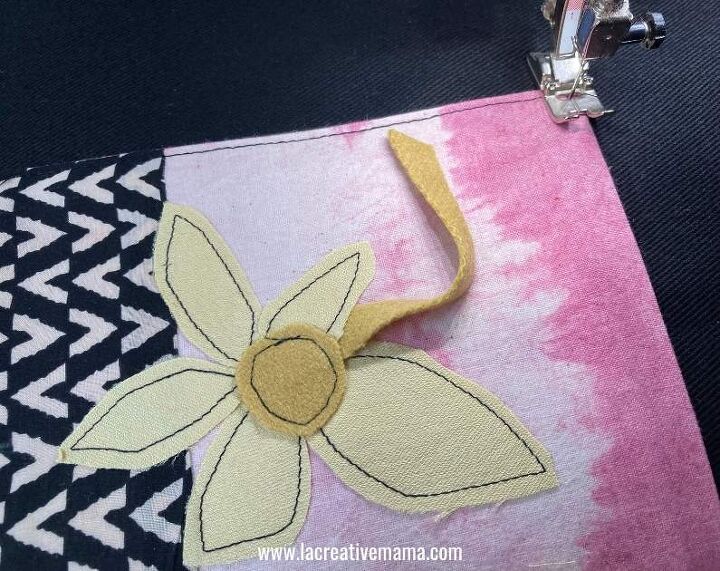
Sew around the applique flower using a regular stitch in a contrasting thread.
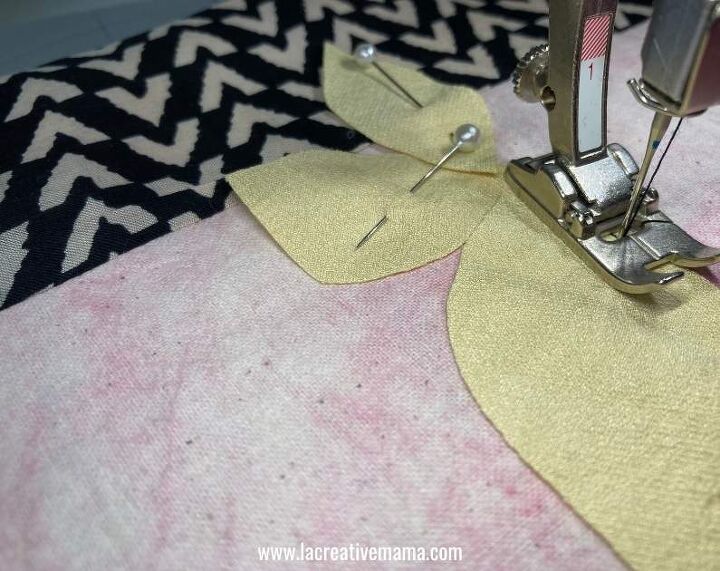
Play around with the applique placement, it can be centered in the middle of the pocket or placed to one side.
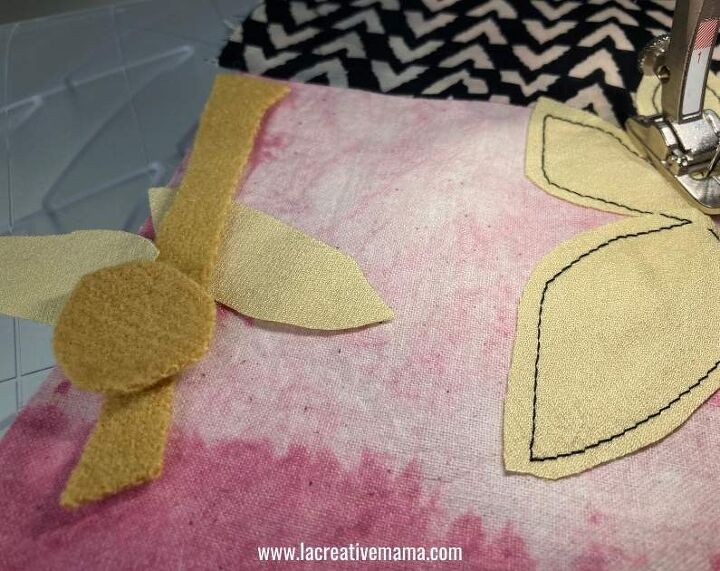
Make sure you sew the petals in layers by placing each applique piece over the previous and sewing around as you go.
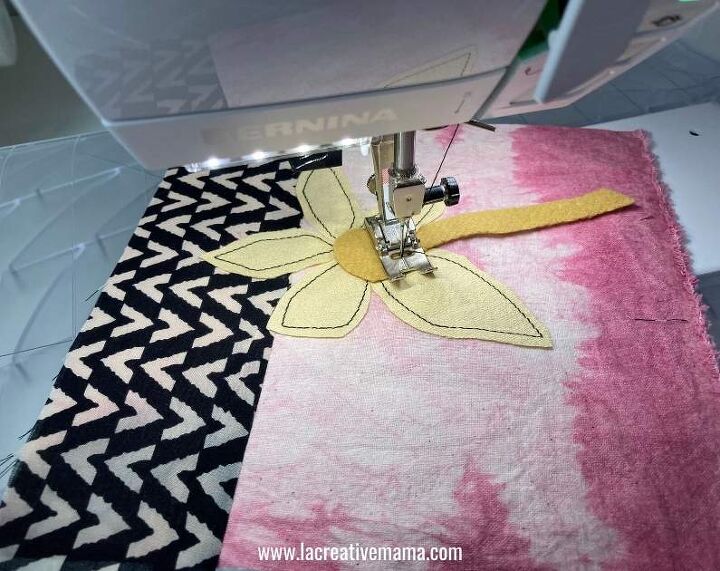
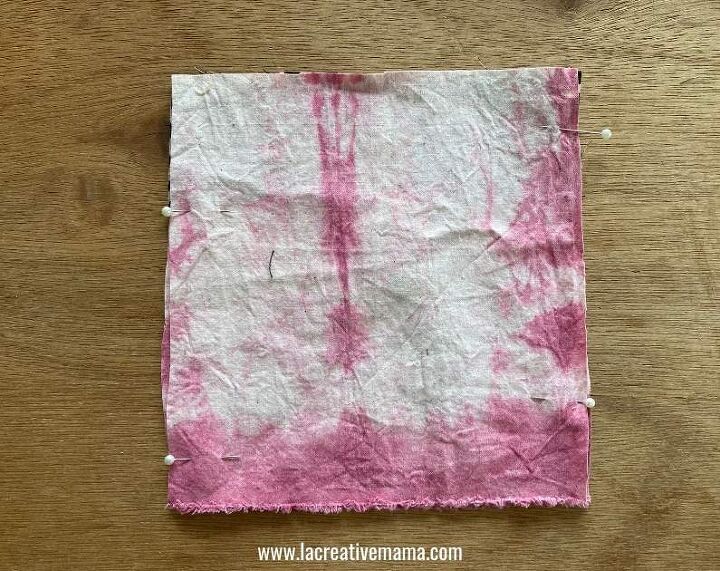
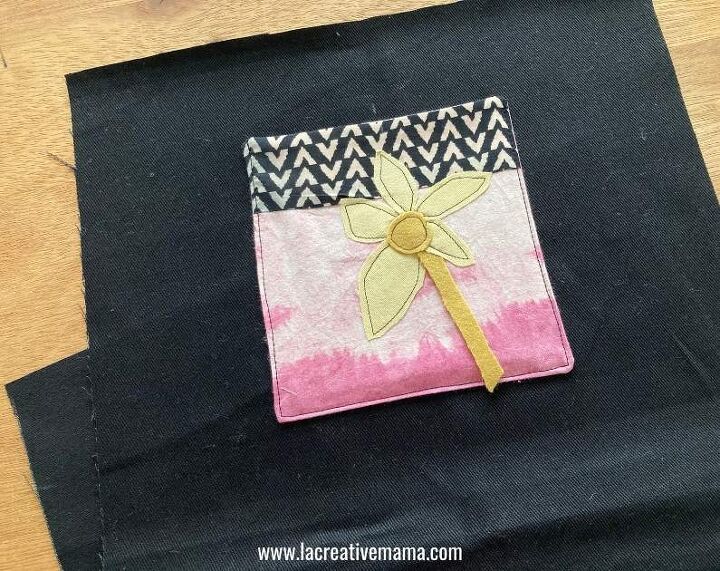
Once the pocket applique is completed you need to sew the lining to it.
Place the 2 pocket pieces right sides touching and pin in place.
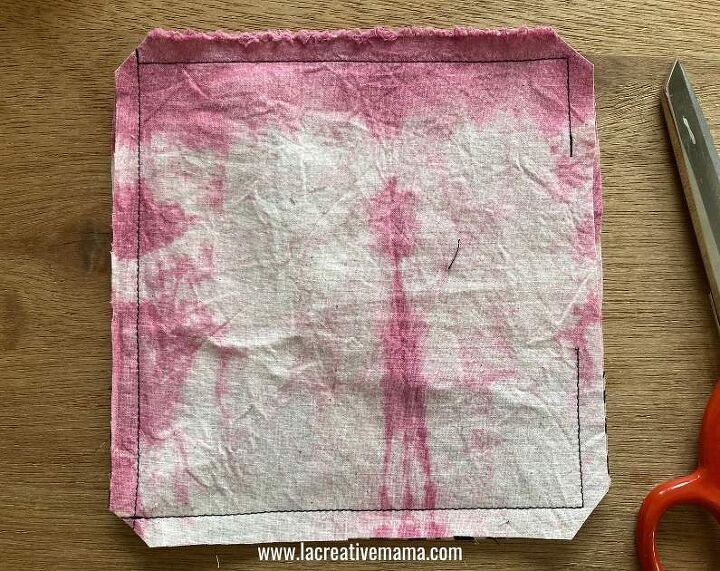
Sew a line around the pocket buy make sure that you leave an opening on one side. You will need this opening to turn the pocket inside out.
Trim the pocket’s corners.
Turn the pocket inside out 🙂
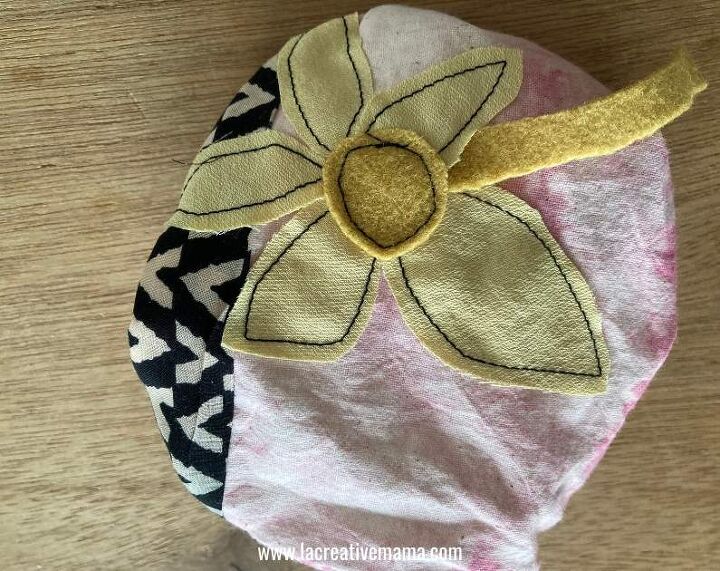
Press it with a hot steamy iron.
Pin it onto the front of the grocery bag
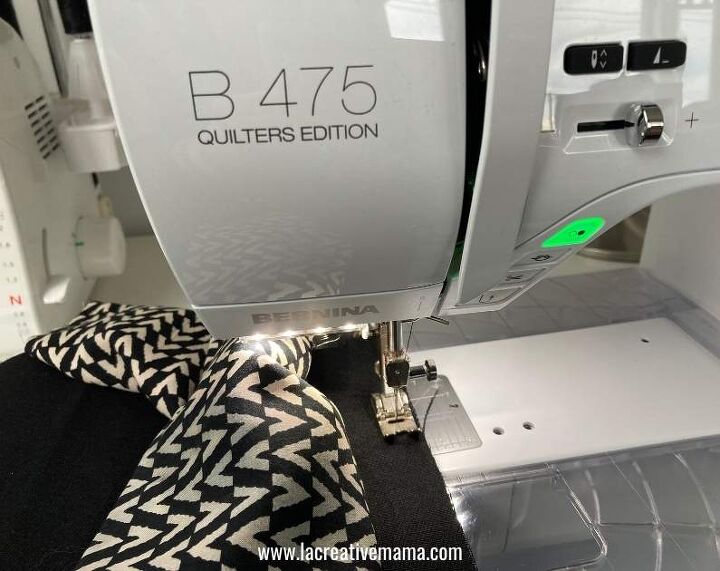
Sew around the sides and the bottom edges. The pocket will get closed in this step as you sew around it.
You may want to use a slight wider stitch for this step.
This is how the reusable grocery bag should look at this stage.
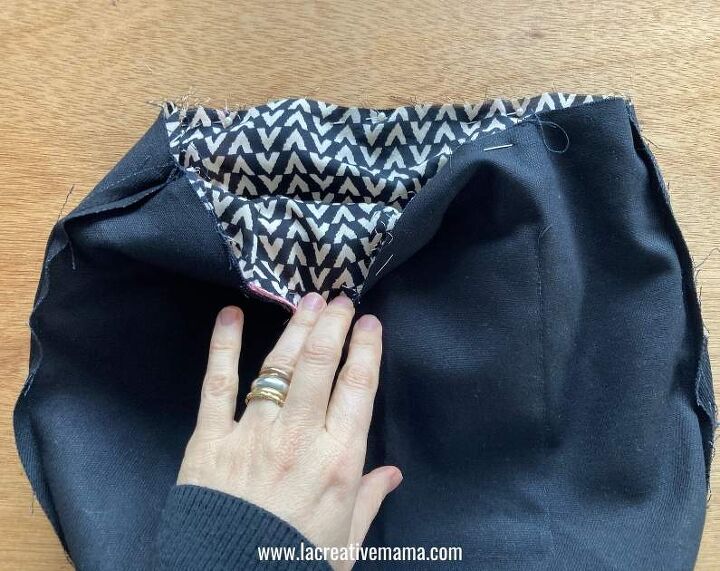
Fold the outside of the tote bag as well as the lining (right sides touching) and pin.
Sew the sides using a regular stitch.
Press the side seams flat. Fold the bag so that the side seam is centered and measure 2 inches on each side of the seam.
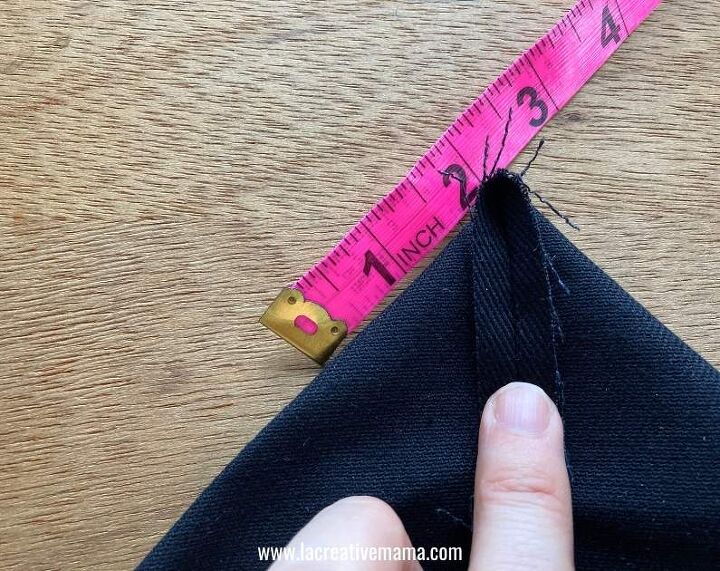
Draw a a line using your tailors chalk or pencil. Sew over the line.
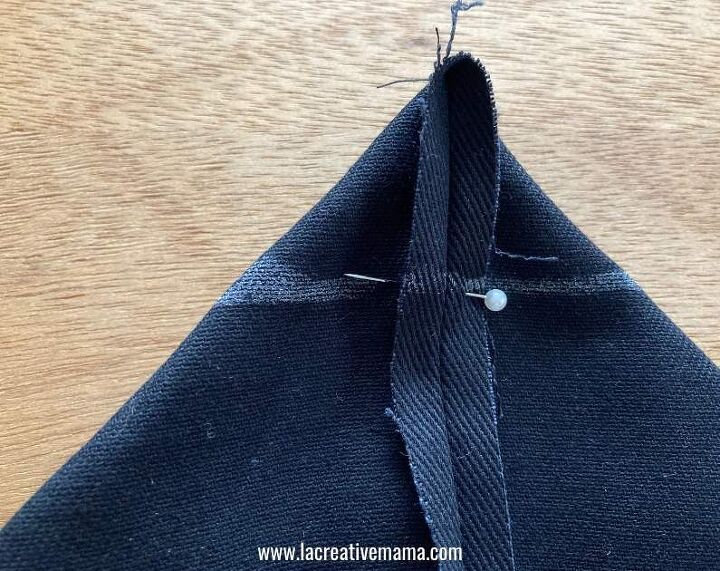
This is how the flat bottom tote bag should look at this stage.
Repeat this process to make the flat bottom lining.
And this is how both outside and lining tote bags should look like.
Cut the handles using the pattern instructions. Make sure that both handle pieces are exactly the same size.
Fold the straps in half and press.
Fold them in half again and press once more.
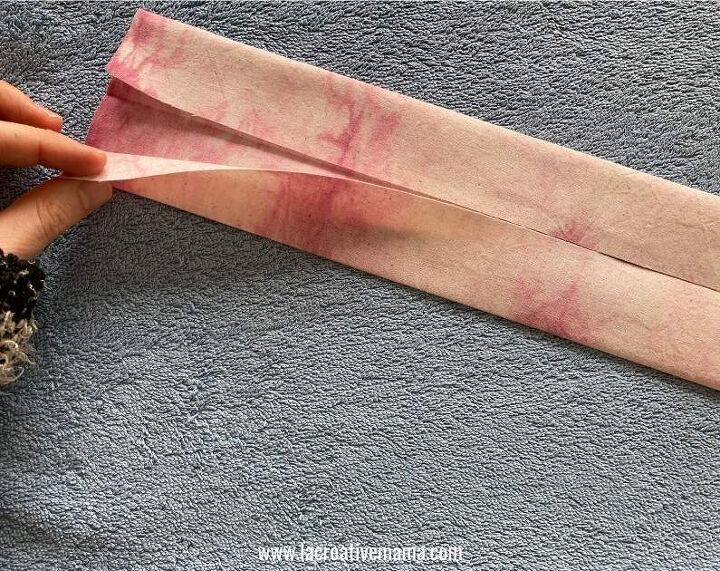
You will end up with no raw edges showing.
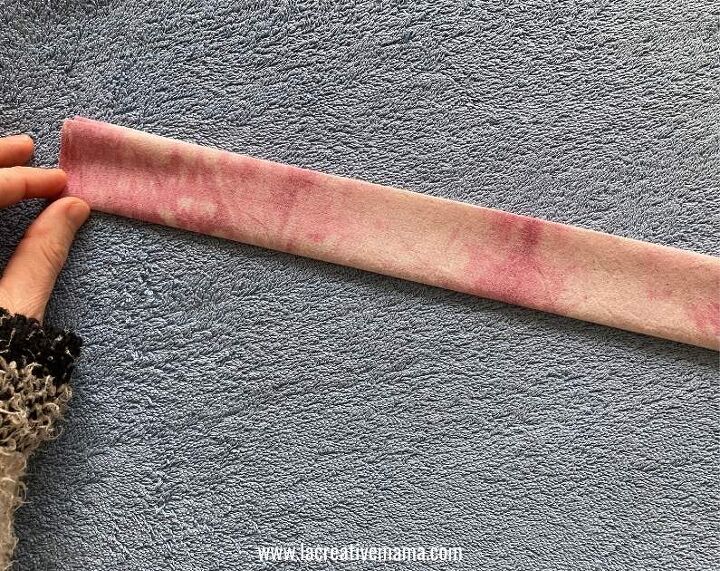
This is how your tote bag handles should look like at this stage.

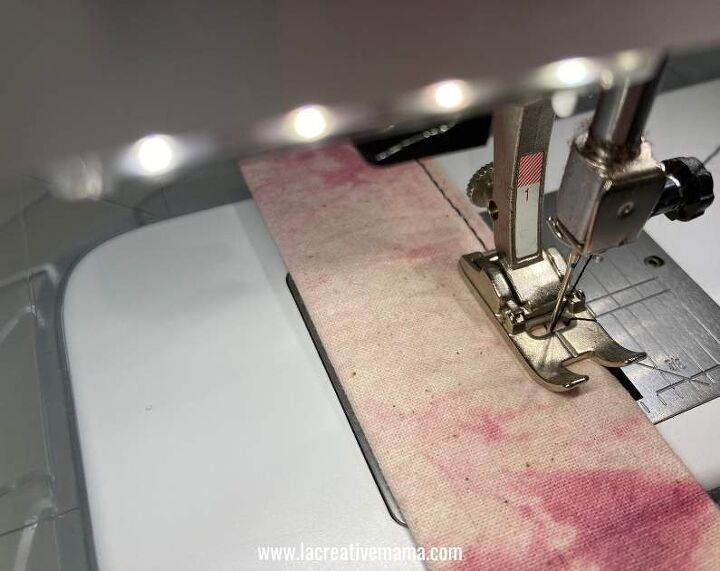
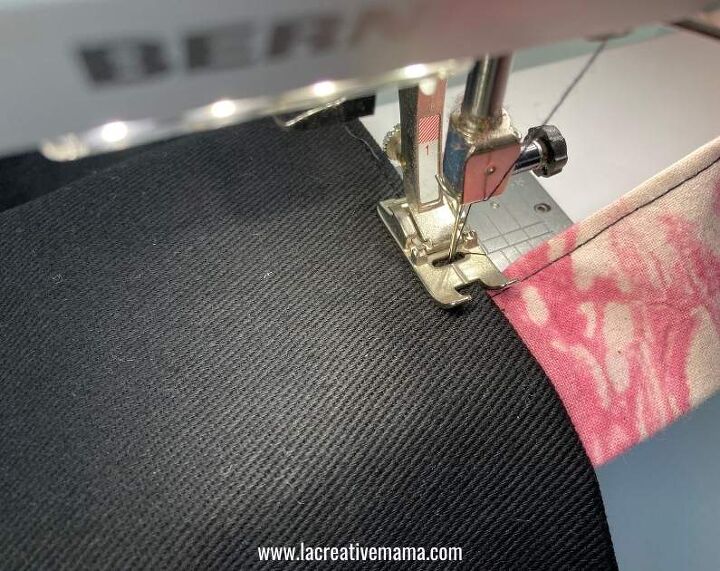
Sew along the edge to close the straps.
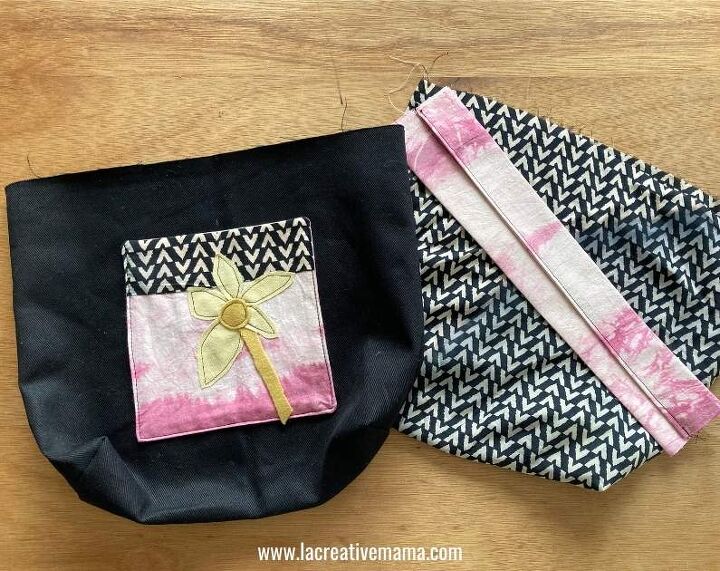
You now have all the pieces ready to be sewn together and create this amazing lined tote bag.
Place the handles 3 inches away from the side seams. Pin in place and make sure that both sides of the bag handles are evenly pined before sewing them.
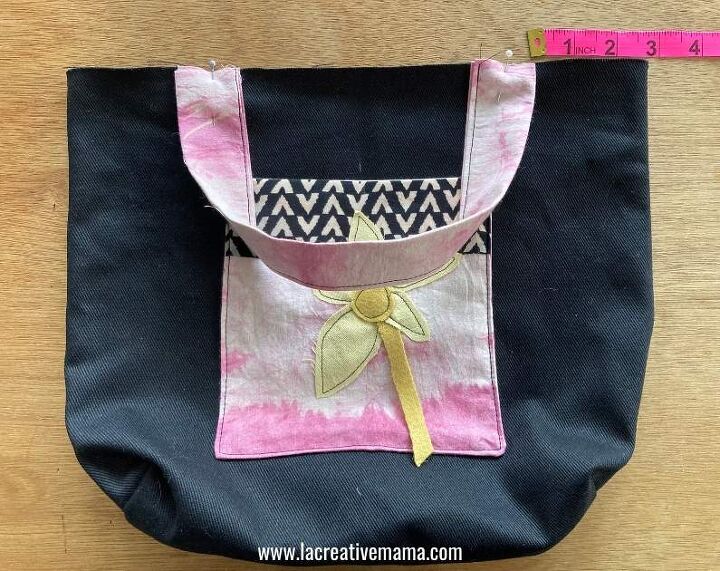
Sew them with a 1/8 inch seam allowance to secure them in place before sewing the lining to it.
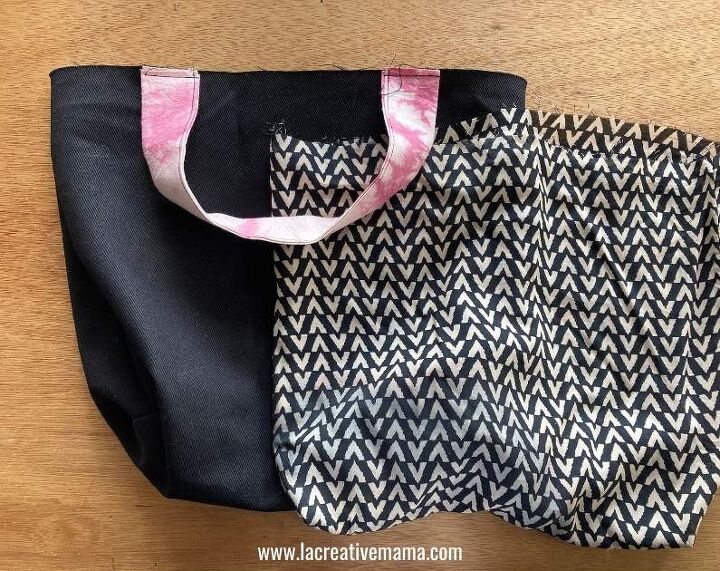
Place the ling inside the bag right sides touching. Make sure than the handles are sandwiched in between the two layers of the tote bag.
Sew around the edge leaving a 5 inch opening to turn the bag inside out.
Turn the bag inside out.

Top stitch around edge. You will be closing the bag in this step as well.
And voila! The lined tote bag is completed 🙂

The author may collect a small share of sales from the links on this page.


Comments
Join the conversation
GORGEOUS!!