How to Sew a Hobo Bag + Make Hobo Bag Pattern From Scratch
A hobo bag is like a jack of all trades when it comes to bags. Need a bag for a casual outing? Hobo bag. Need a bag for a classy occasion? Hobo bag. Need a bag for groceries? Guess what, a DIY hobo bag got you covered again!
Obviously, you need one of those bad boys in your arsenal of bags, but you don’t have to buy it. Make it from scratch! And save a pattern for later so you can make more! This tutorial will show you what you’ll have to do to get there.
Create the pattern
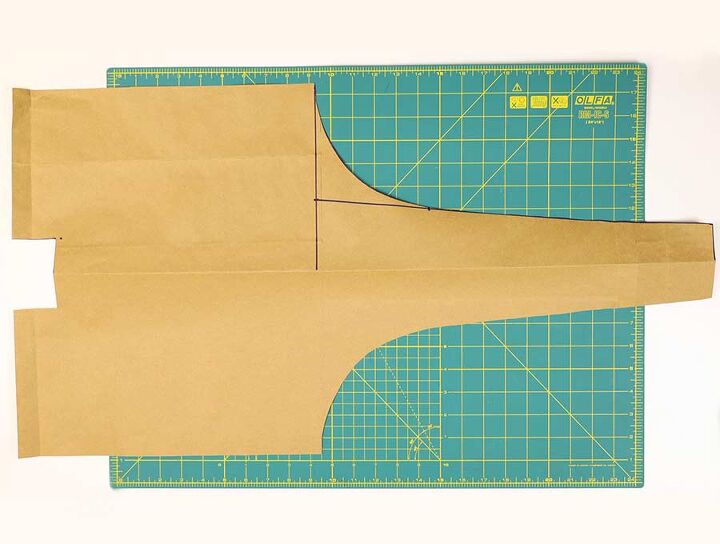
Fold a piece of cardboard 32 x 17 in half so the long edges meet and set it onto your workspace with its fold down. Draw a vertical line 14 inches away from the left edge, and another one 32 inches away from the same edge.
Measure 3 inches from the bottom on the first line and 1.5 inches from the bottom on the second one. Connect the two dots and mark 5.5 inches from the left line on that diagonal line. Draw a curved line going from that point to the corner between the first vertical line and the cardboard top edge.
The last bit of drawing you’ll do will be to draw a 1.5 x 2 inches rectangle on the bottom-left corner of the cardboard.
Cut the rectangle and the section above the curved edge out and you’ll have your pattern.
Go to my website HelloSewing.com if you need even more visuals how to make a pattern
Cut the fabric
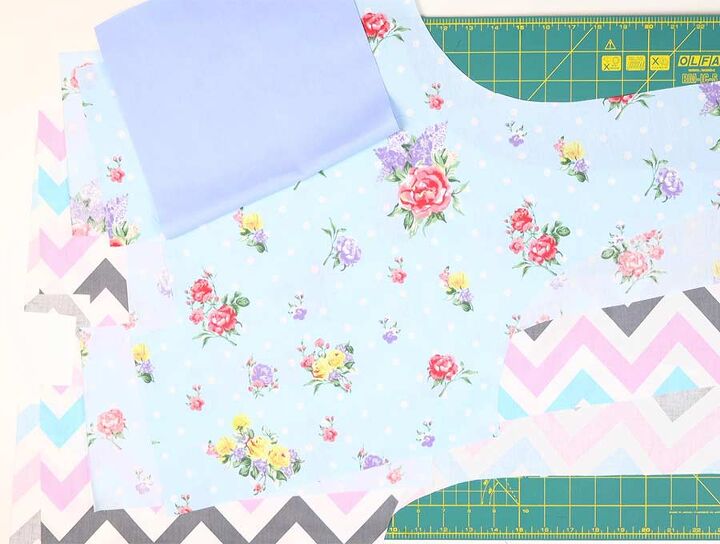
Unfold the pattern and use it as a guide to cut two lining, and two main pieces of fabric.
Cut out a rectangle 32 inches big for the pocket.
Sew the bag
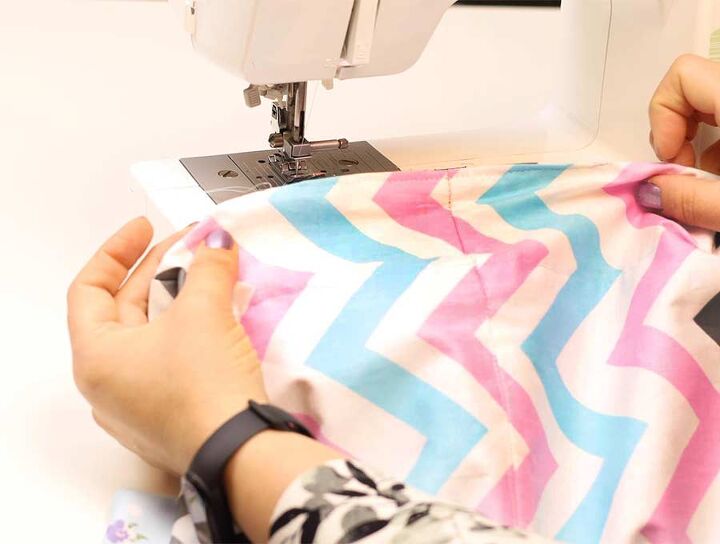
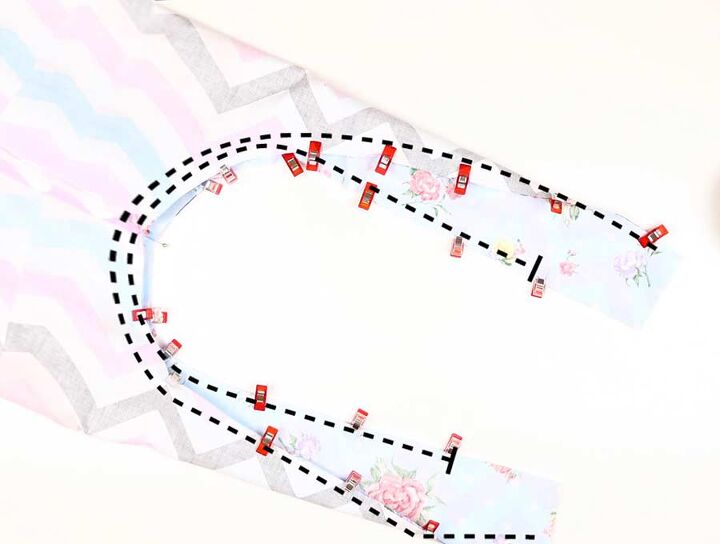
Stack the main fabric pieces with their right sides in and stitch them together at the straight edge that forms a corner with the curve. Repeat with the lining.
Fold one long edge of the pocket fabric for 3/8 of an inch twice. Fold the other edges in the same manner, but only once. Stitch the double-folded edge.
Unfold the lining and center the pocket horizontally onto its seam. Keep the right sides of both pieces facing up. Stitch the two together along the central seam, the bottom, and the side edges of the pocket.
Finish the hobo bag
Fold the main fabric as it was when you stacked its two pieces together. Keep the right sides in and stitch the edge parallel to the one that already has a seam. Repeat with the lining.
Align the seams of the main fabric piece with each other and stitch the short straight edge perpendicular to them. Repeat with the lining, but leave a gap unstitched at the middle.
Align the corner edges so they form a triangle and stitch them together. Do the same on the lining piece.
Turn the main fabric inside-out and insert it into the lining. Align their edges and stitch them around the opening. Leave the top two inches on the interior edges of the handles unstitched.
Pull the main fabric through the gap in the lining. Push the lining into the main fabric.
Stitch together the handles, fold the raw edges in, and stitch them. Topstitch around the opening and the handles.
To finish the bag, sew the opening on the lining shut.
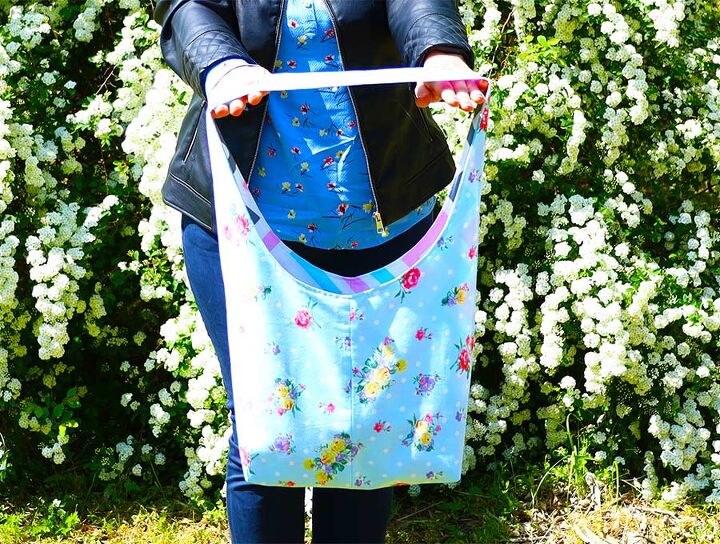
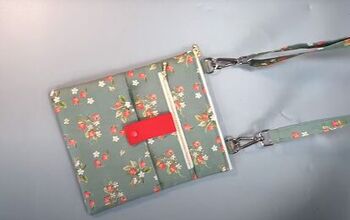
There you have it, a new, stylish addition to your bag collection! Did you like the project? Take a look at our other tutorials as well, you might find more patterns you'd enjoy trying out. Have a fun and productive sewing session!
The author may collect a small share of sales from the links on this page.


Comments
Join the conversation