Make This DIY Messenger Bag W/ Printable Pdf Sewing Pattern
This post may contain affiliate links for products I love and recommend.
With back to school in full swing, I thought it would be the perfect time to release the new DIY Messenger Bag! This may be the best Pdf pattern I’ve released yet. It’s big enough to hold textbooks, your laptop, and everything else you could ever want to carry … with extra room. SHOP THE PATTERN ON MY SISTER-SITE HERE
The design for the bag really began a few weeks ago when my ten year old, Boston was dreading the start of school. He really has never loved the classroom setting and while we were out school shopping, decided he didn’t even want a backpack this year.. but instead a “grown up” messenger bag.
Anything I can do to make his school-year more exciting sounds great. So when we couldn’t find a single messenger bag while we were out, this little project and printable pattern was born.
I can’t blame him. There’s something so sleek about a messenger bag. Especially one that is nicely made. When they are made with quality fabrics, there’s really not much a messenger bag can’t handle. Plus, they last for years even with heavy use.
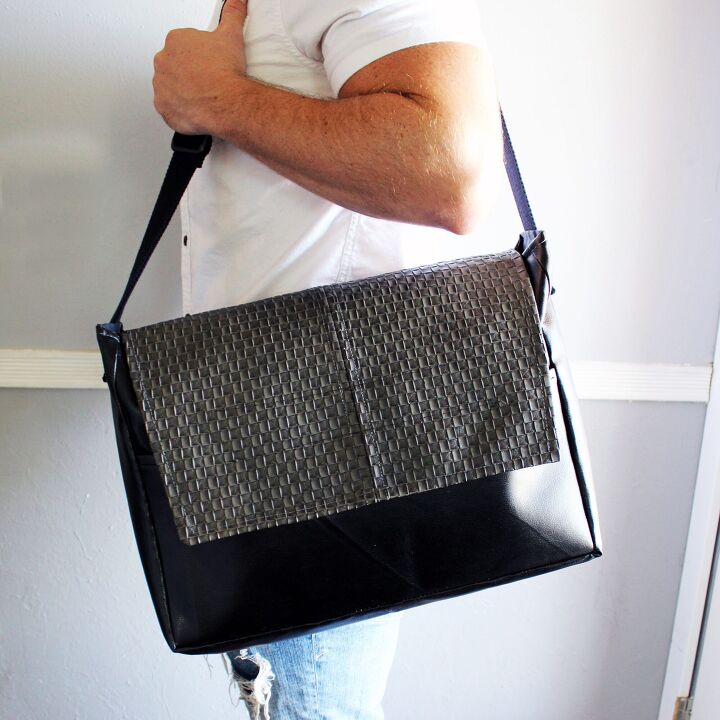
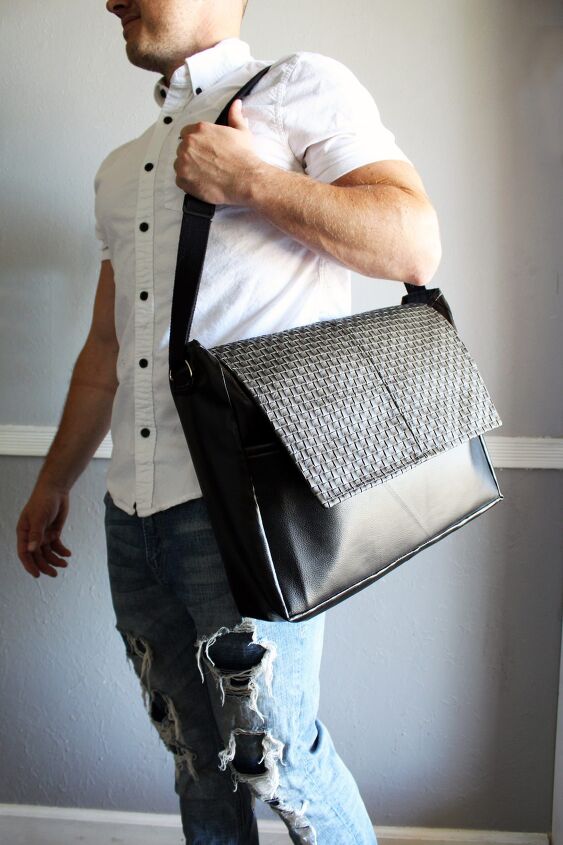
So, while he was out camping with his dad last weekend, I created this to surprise him when he got home:
The Boston Messeger Bag is a versatile, modern DIY messenger bag that is built to handle your day to day and keep you organized along the way. It is easy to sew and even comes with tips and tricks to make complete this project in heavy-duty vinyl, canvas, and even leather. This bag can also be made with or without the front flap, making The Boston Messenger Bag an adjustable-strap tote or a sleek messenger bag.
I wanted to design this bag to be used ya know?
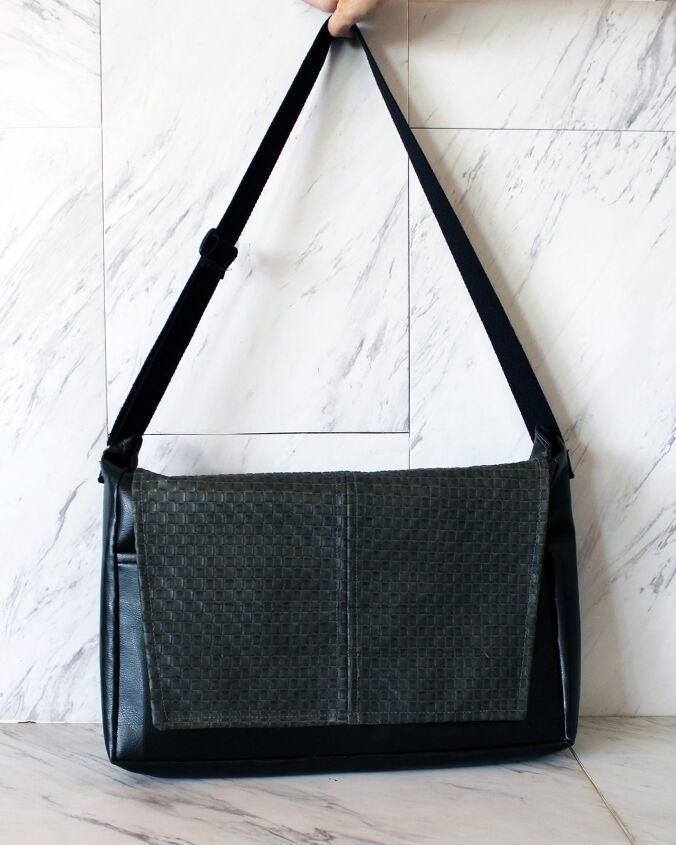
In designing this messenger bag sewing pattern, I wanted to create something heavy duty that could actually carry all your textbooks and get you through those college classes, the long walks to and from school, or even hauling your stuff to and from work if that’s what you need.
The point is, I wanted to create something durable, stylish, and incredibly useful.
Because there’s no sense in spending your time and money to make a flimsy bag.
That’s why the Boston Messenger Bag comes with tips and tricks on working with heavier fabrics so you can make this project from fabrics like leather, thick canvas, or even upholstery vinyl. I’ll show you exactly what to do to make this project possible with a standard, at home sewing machine and the little tweaks you can make to make sewing thick fabrics easier than ever.

Let’s break down the details of the Boston Messenger Bag Sewing Pattern:
- Downloadable PDF includes print at home pattern and instructions with step-by-step photos.
- 1/2″ Seam Allowances Included
- Easy To Sew
- Large Exterior Pocket
- Adjustable Strap
- Roomy Interior Pocket
- Velcro Closure
- Finished Project Measures 4″ Wide x 12″ Tall x 16″ Wide
- Can be made in Vinyl, Canvas, Leather, or Woven Fabrics
3 Quick Tips On Printing Pdf Sewing Patterns
- Be sure to print files in actual size. DO NOT shrink to page.
- Print the first page first and measure the Measurement Test Square to be sure the file is printing at the appropriate size. Then continue printing the rest of the file.
- Cut and tape the pieces together using the square notches and the border provided on each page.
DIY Messenger Bag Supplies:
- Boston Messenger Bag Printable Pdf Sewing Pattern GET IT HERE
- Heavy duty polyester thread
- Leather sewing machine needle
- Walking foot
- 1 yd of 1 1/2” webbing
- One 1 1/2” Plastic Strap Adjuster
- 8” strip of 2” Sew-On Velcro
- One 1 1/2″ D Ring
- 3/4 yd faux leather, canvas, leather, suede, vinyl
- 3/4” yd Lining Fabric
- 3/4” yd Interfacing
How To Make The Boston Messenger Bag
Apply your interfacing to the messenger bag lining and pocket pieces. (If your lining is either vinyl or nylon, be sure to sew your interfacing in using a basting stitch (by
extending your stitch length to 5.0) Do not iron vinyl or nylon on high settings to
prevent damaging your fabric.
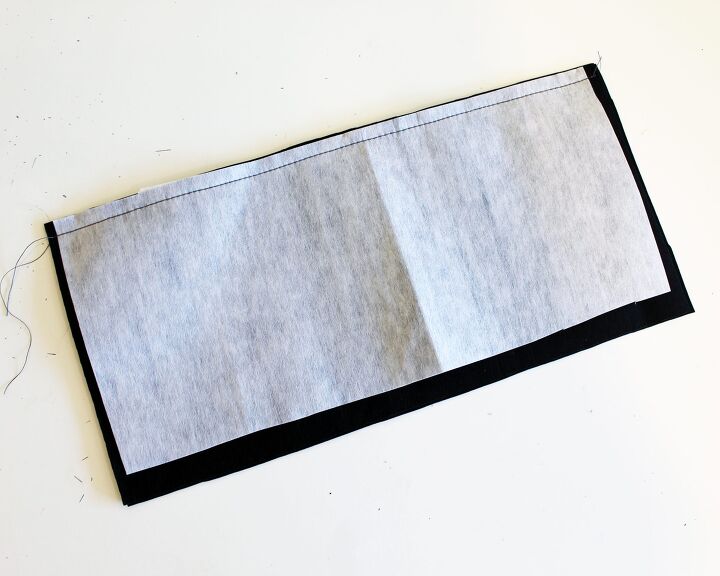
Widen your stitch length to 3.5 and lay your pocket pieces so the “right sides” are facing eachother. Sew along the top edge using a standard straight stitch.
When using vinyl, leather, or canvas fabrics, it can be helpful to use a walking foot or plastic foot so it slides better.
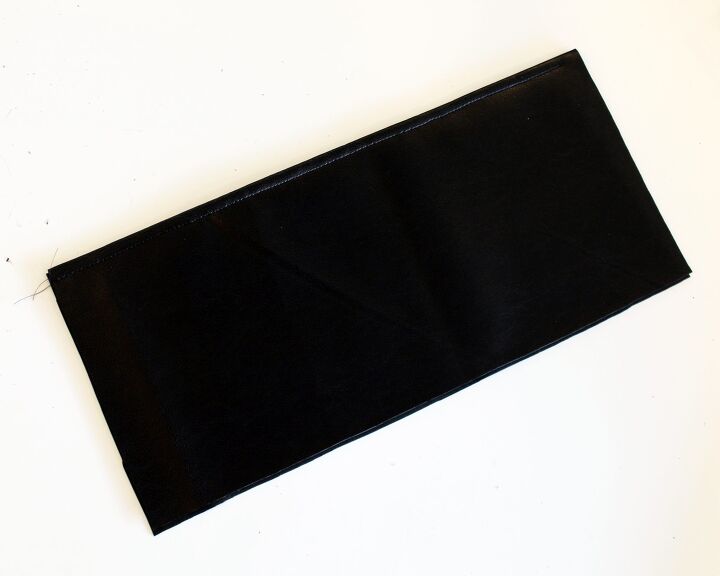
Flip your pocket pattern pieces right side out so the interfacing is sandwiched in the center.
Topstitch 1/2” from the edge so your pocket pieces lay flat.
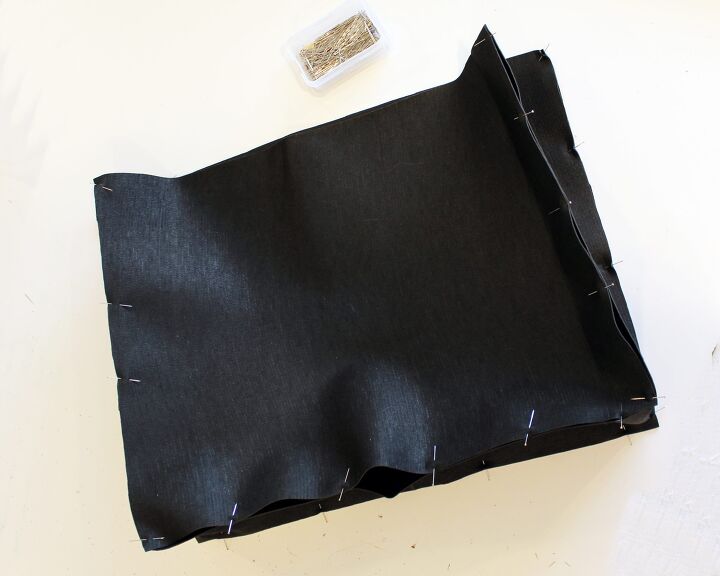
Pin the pocket in place on the front bag body piece so it lines up with the bottom edge and sides. Baste in place using a 5.0 stitch length.
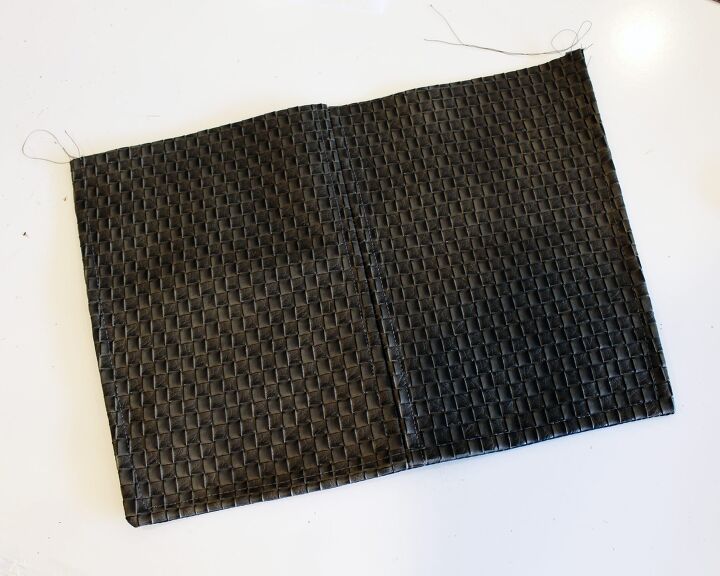
Next, pin the Gusset to the side, bottom, and opposite side of the Body pattern piece. Sew into place using a standard stitch.
Repeat on the oppsite side with the other Body pattern piece.
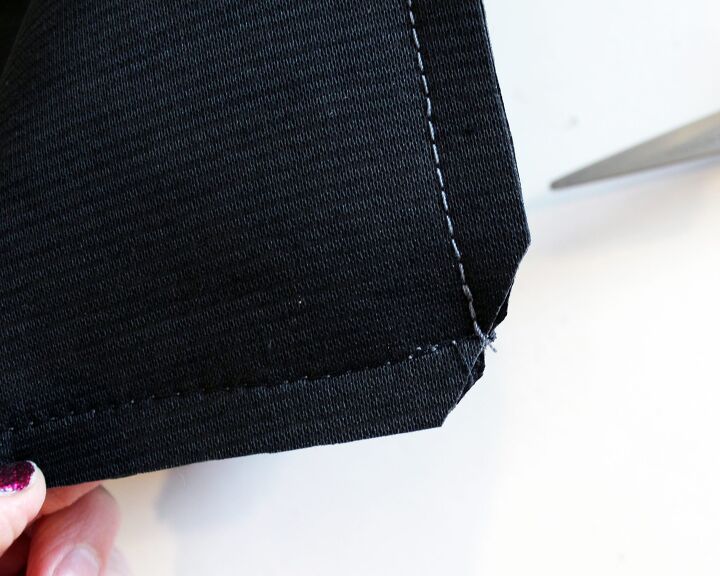
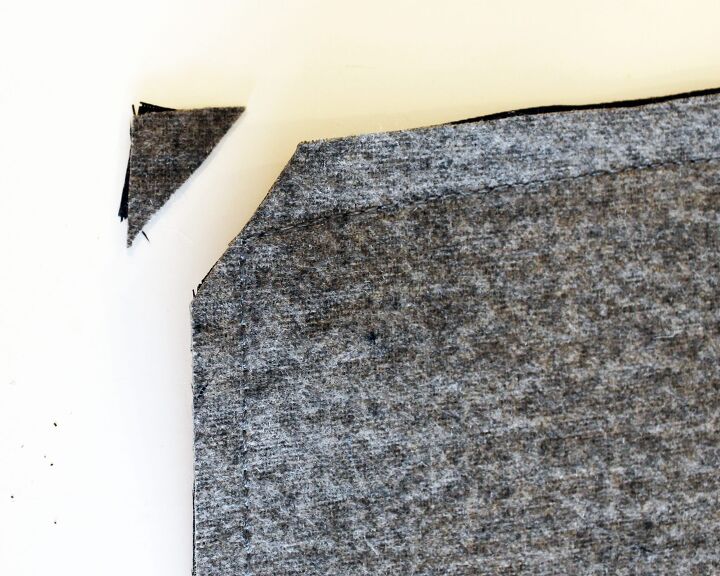
Trim the corners from the bag without cutting into the thread as pictured.
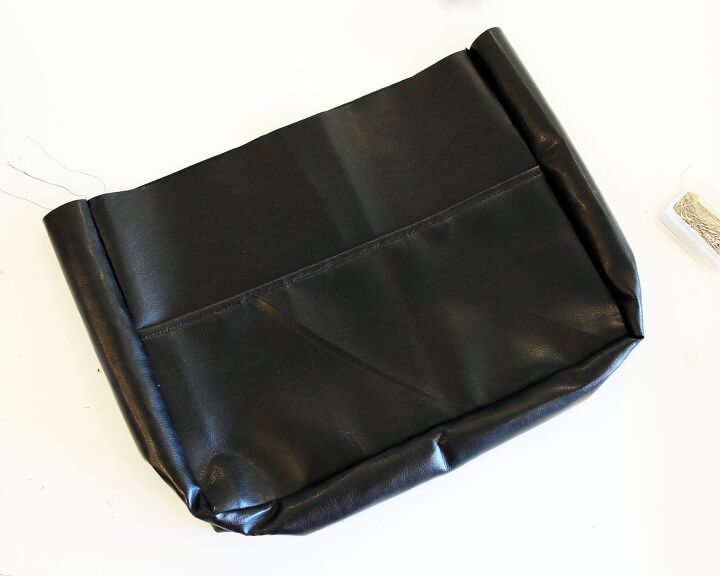
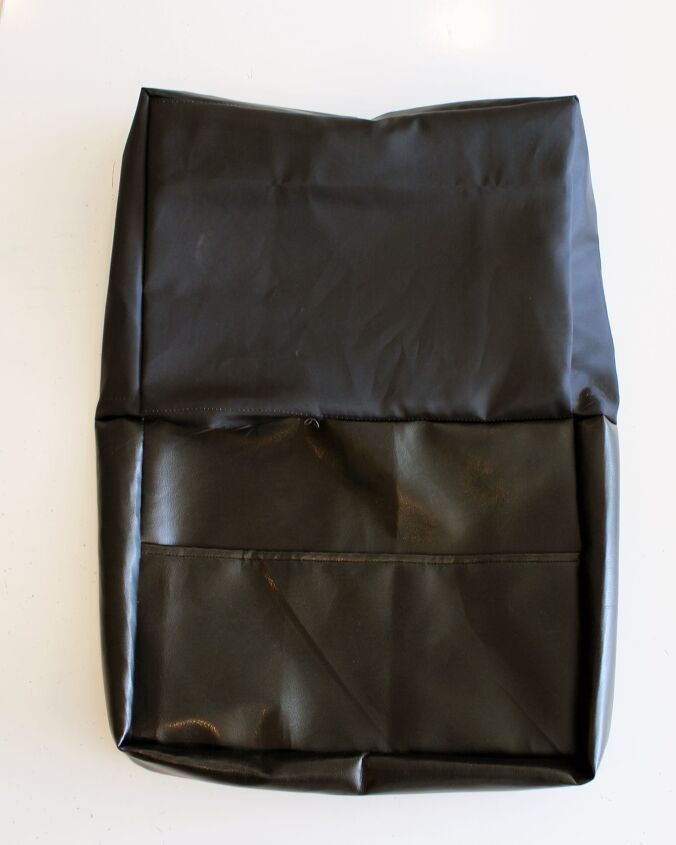
Flip your bag right side out.
Once your bag is flipped right-side out, it should look something like this.
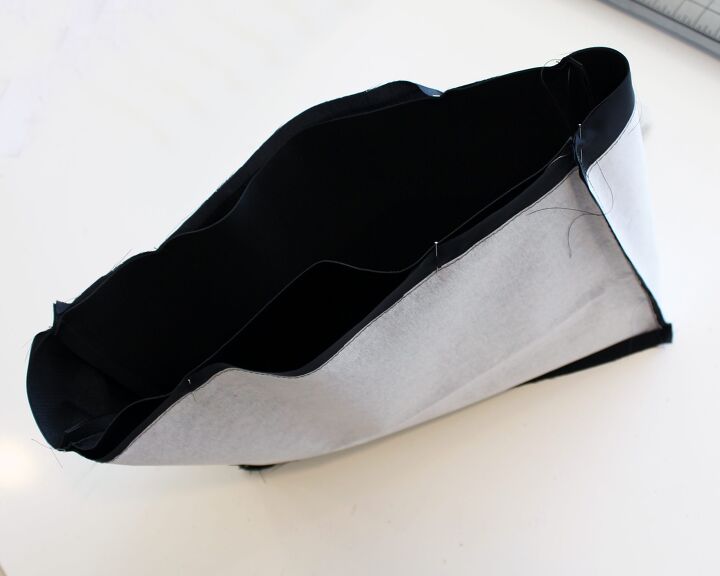
Now repeat with the lining of your bag.

Once your lining and exterior are complete, it’s time to put them together. Do this by placing the
exterior of your bag inside the lining of your bag and pin into place around the opening. You want the “right sides” of your bag facing eachother.
Once it is sewn around the top edge, open the 6” opening and begin to flip your bag right-side-out.
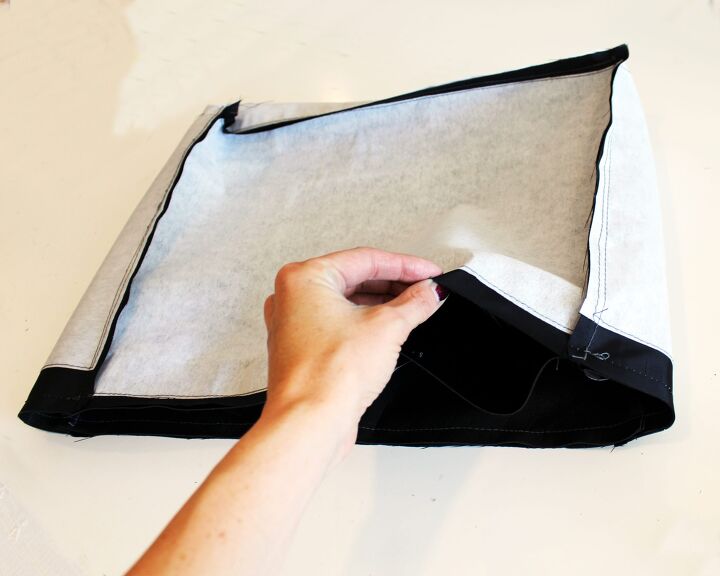
Guide the lining into place so it lays nicely inside the exterior of your bag.
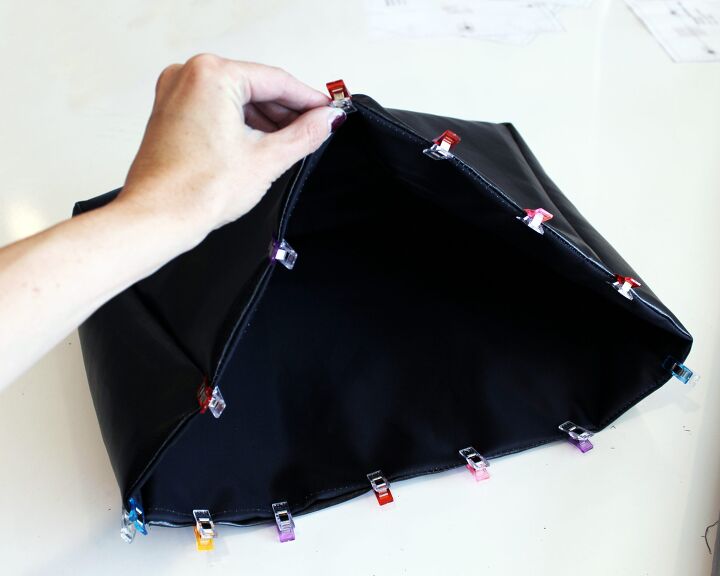
To make the top edge more polished, topstitch along the opening of your bag 1/2” away from the edge. Hold in place with Quilting Clips or sewing pins.

Now it’s time to add the flap to your tote! Place your lining Messenger Bag Flap piece ontop of your exterior piece with the “right sides” together.
Sew around the sides and short edge of the Messenger Bag Flap. Clip the corners before turning inside out.
Topstitch 1/2” around the sides and short edge of your messenger bag flap.
Sew the raw edge of your Messenger Bag Flap to the back of your tote along the opening seam (right sides together.) You may want to topstitch it open so the seams lay flat.
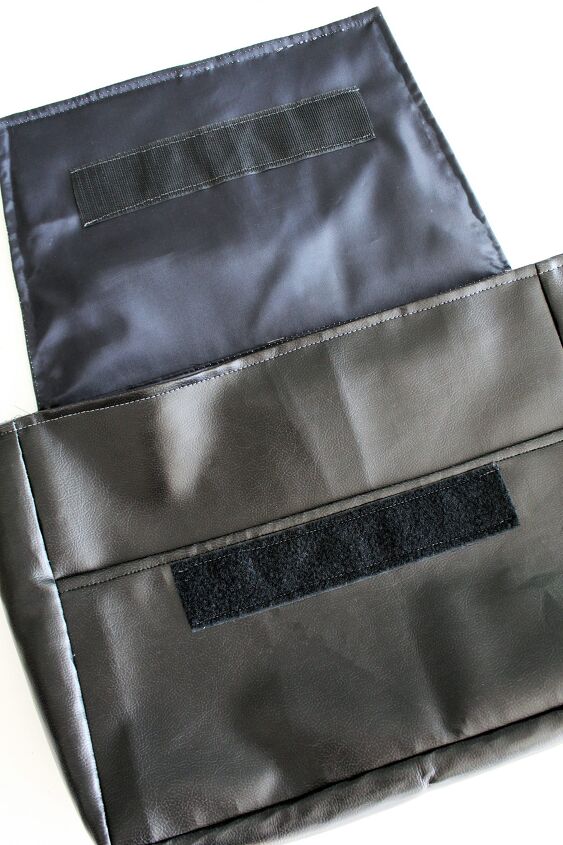
Trim 8” from your 1” sew-on Velcro. Place along the topstitch line of your exterior pocket and secure with quilting clips.
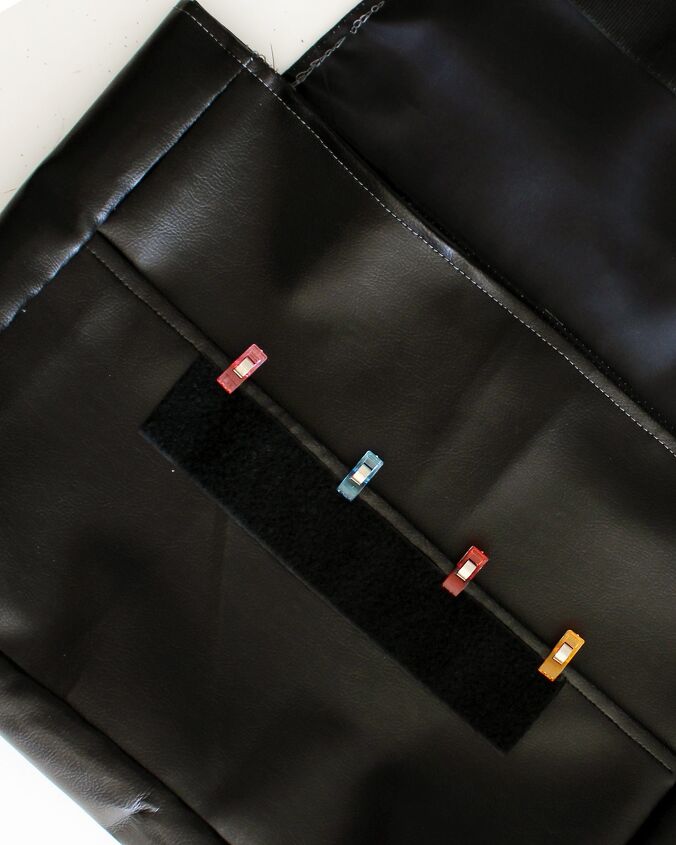
Use sewing pins (or double stick tape if you are attaching the velcro to vinyl.) and place the velcro where you want on the inside of the Messenger Bag flap.
Sew the Velcro to the Messenger Bag Flap and Exterior Pocket with a straight stitch around the perimeter of the Velcro.
Your Messenger Bag is almost done! Now we just have to attach the adjustable straps.
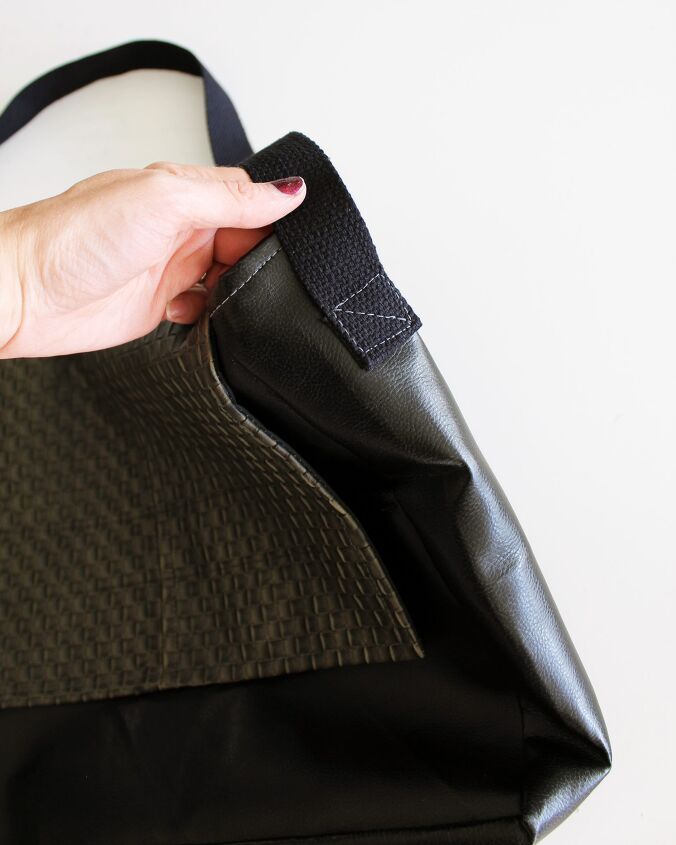
Take your 1 1/2” webbing and trim 3” from the end. Set aside. Fold the raw edge under 1/2”
Sew the folded egde to one Gusset Side using the provided placement marks. Stitch around the edge of your webbing (in a square shape) and then diaginally across the stitched square.
Remove your 1 1/2” Plastc Strap Adjuster from it’s packaging and attach it to the other side of your strap as the instructions specify.
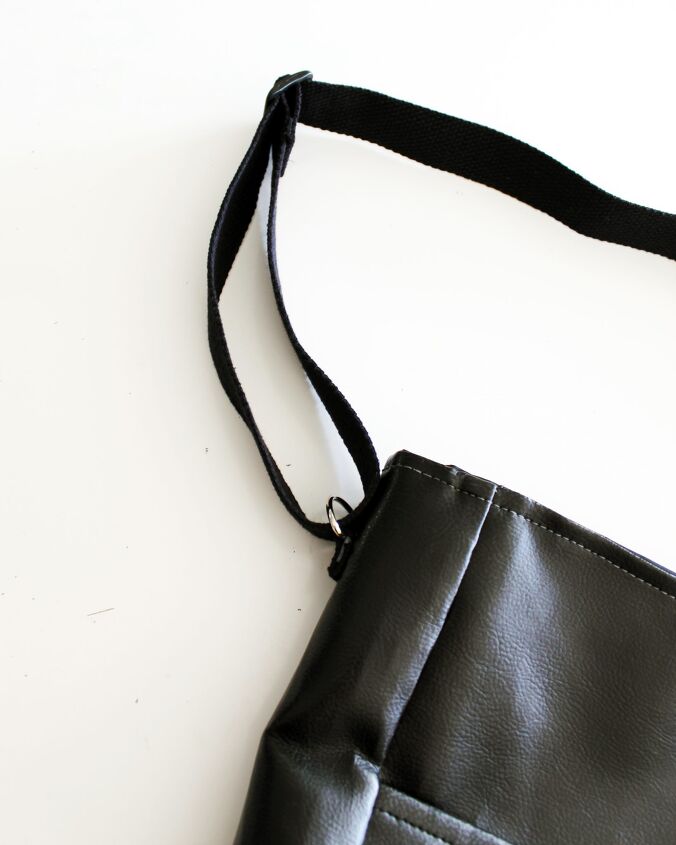
Use the 3” Webbing we trimmed earlier to secure the metal D Ring to the opposite Gusset of your bag along the placement lines.
Now is the fun part! You get to stuff your new Boston Messenger Bag with
everything you need and use it. Making this DIY messenger bag is the perfect way to celebrate back to school, get organized, and create an heirloom that will beused for years to come.
If you haven’t downloaded the DIY Messenger Bag pattern yet, CLICK HERE TO LEARN MORE.
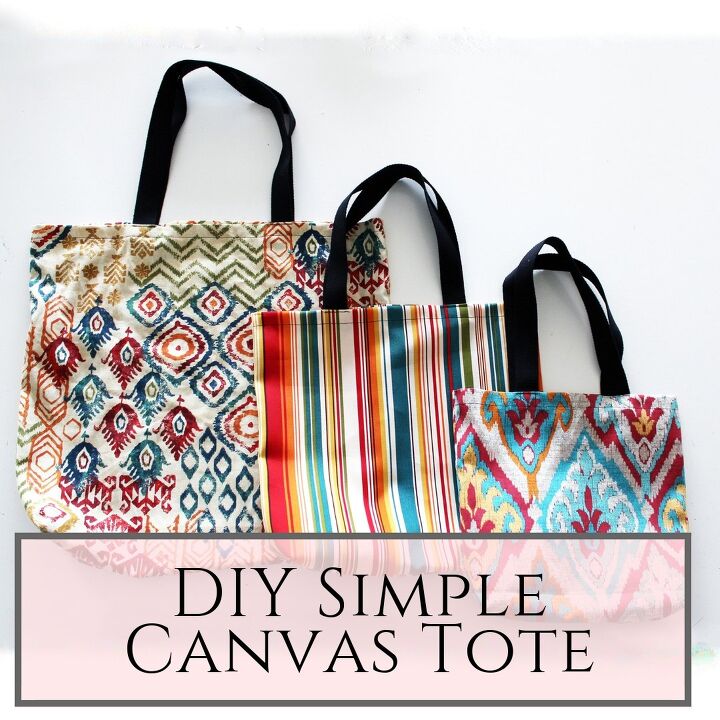
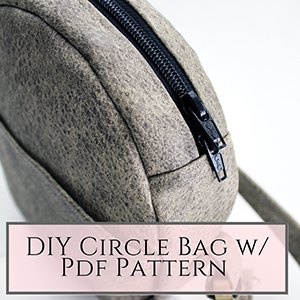
My Other Printable Sewing Patterns


The author may collect a small share of sales from the links on this page.


Comments
Join the conversation