Reversible Tote Bag Pattern With Embroidered Patch
Hi Creative Mamas! I am so keen to share with you this super cool reversible tote bag pattern which I drafted last week.
For this tote bag tutorial I wanted to use upcycled old fabric and I wanted to make an embroidered patch with special little trims that mean something to me.
So I ended up making this reversible tote bag pattern which allows me to use a a variety of fabrics. The pattern is FREE for you to download from the free Resource Library. You can get it by completing the form below.
I also drafted a little patch pocket pattern and I made it as an embroidered patch detail to add something extra special in the reversible tote bag design.
Let’s make a tote which is an awesome reversible bag!
Reversible tote bag tutorialThis post contains affiliate links, which means I receive a small commission, at no extra cost to you, if you make a purchase using this link. Please see my disclosure for more details.
Materials and equipment
- Reversible Tote Bag Pattern (available in my FREE RESOURCE LIBRARY— get the password for free by filling out the form below)
- Fabric scissors or rotary cutter & cutting mat
- Fabric scraps (I used upcycled fabric from old clothes)
- Lining fabric (I used 100% silk)
- Sewing machine
- Iron
- Tailor’s Chalk
Step 1: Upcycled fabric and embroidered patch
Choose your fabrics. As I mentioned before I decided to upcycle old clothes and turn them into this easy reversible tote bag.
You can use any fabric but I suggest that you go with natural fibers such as cotton or a nice durable wool fabric. To make sure your fibers are 100% natural you can try burning then in order to find out their composition.
To learn how to classify fibers check out how to perform a quick fabric burn test.
For the inside of the reversible tote bag I am using 100% silk so that I can use the silk side when I want to dress a bit fancier 🙂
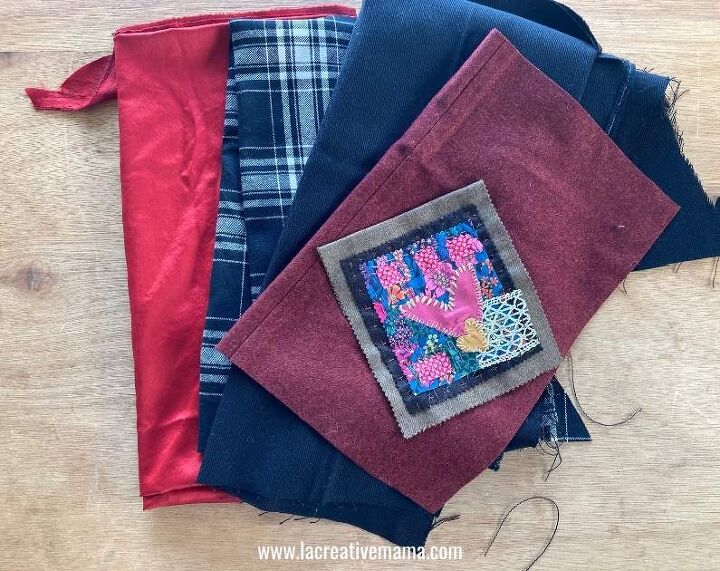
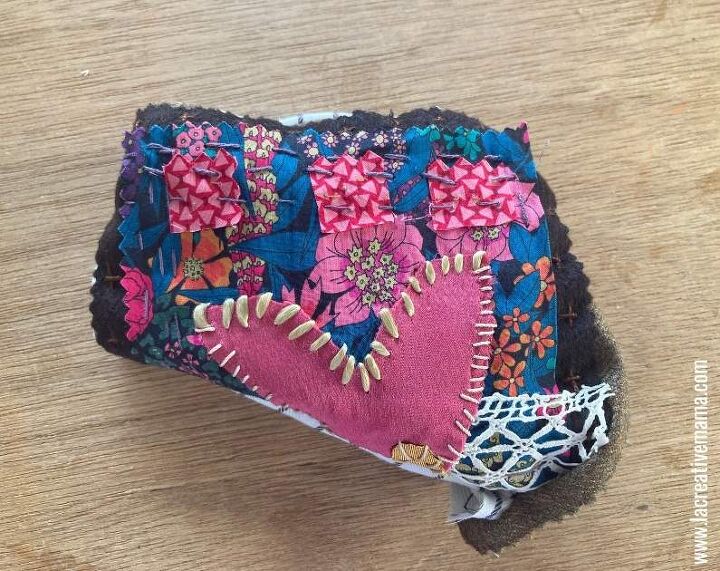
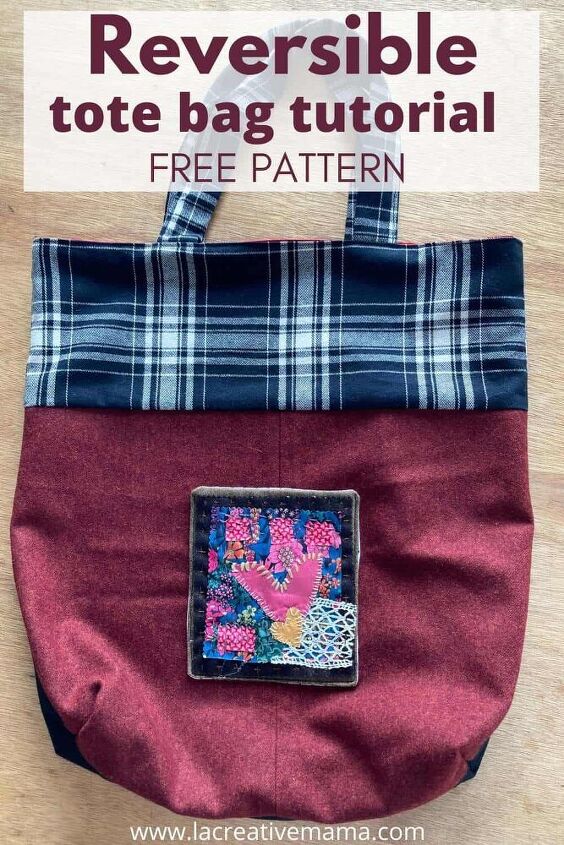
I also chose to use an embroidered patch that I create d a few months ago. I adapted it as the front pocket of the reversible tote bag.
The embroidered patch is made from 100% wool fabric, 100% cotton scraps and hand dyed silk using cochineal. I also added a bit of face which I love and has special meaning to me. I made the patch using easy embroidery stitches.
Step 2: FREE Reversible Tote Bag Pattern
Download the free pattern instructions and make a paper pattern. I am giving you the exact measurements that I have used but this pattern can be adapted to any final size that you may want to make.
Also if you are upcycling fabric as I am you may wan to adapt the pattern to fit your specific fabric scraps sizes.
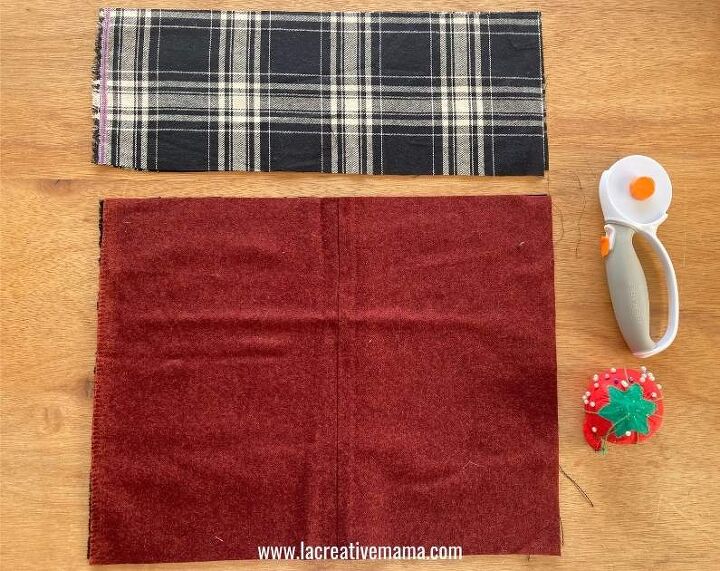
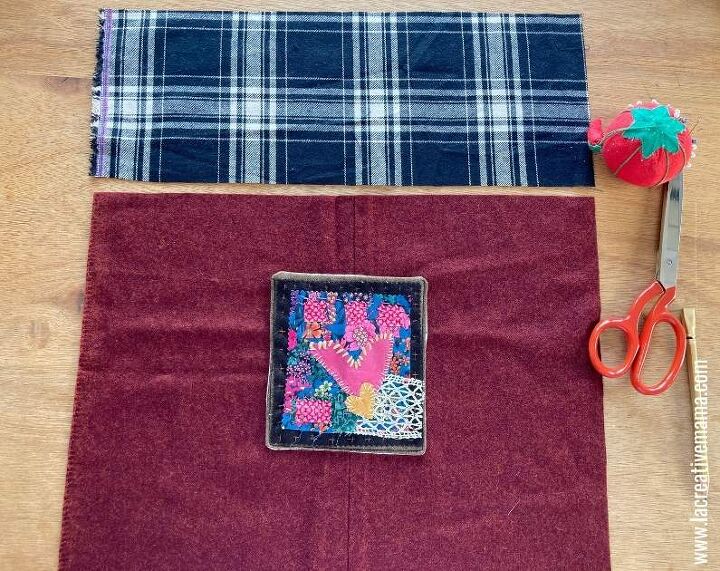
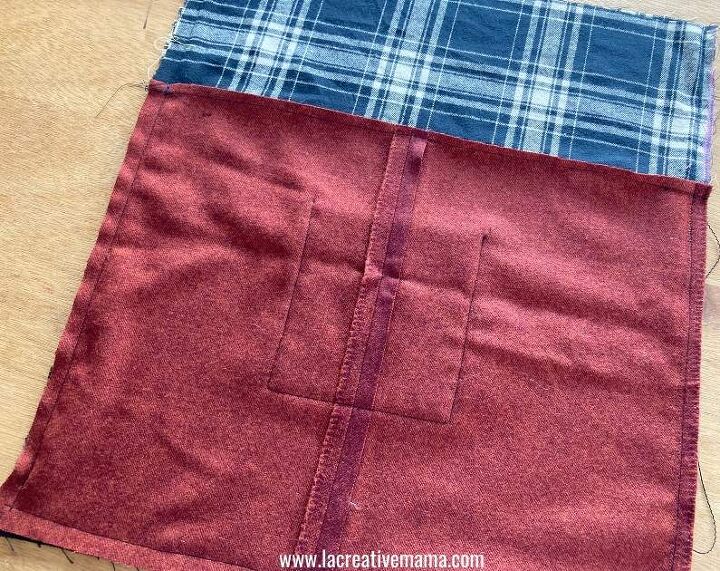
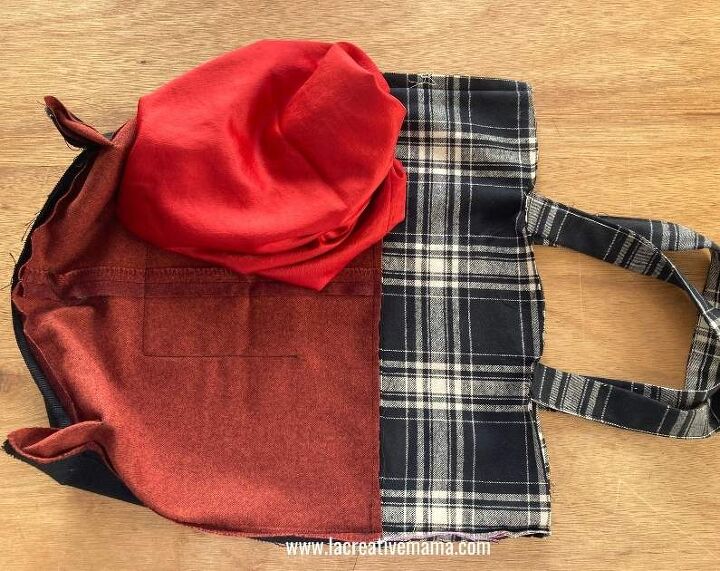
Using your pattern, cut the tote bag pieces. The photo below shows my tote bag front pieces. As you can see I am upcycling wool fabric from an old jacket (red fabric) and have decided to use the seam as my center line in my front piece.
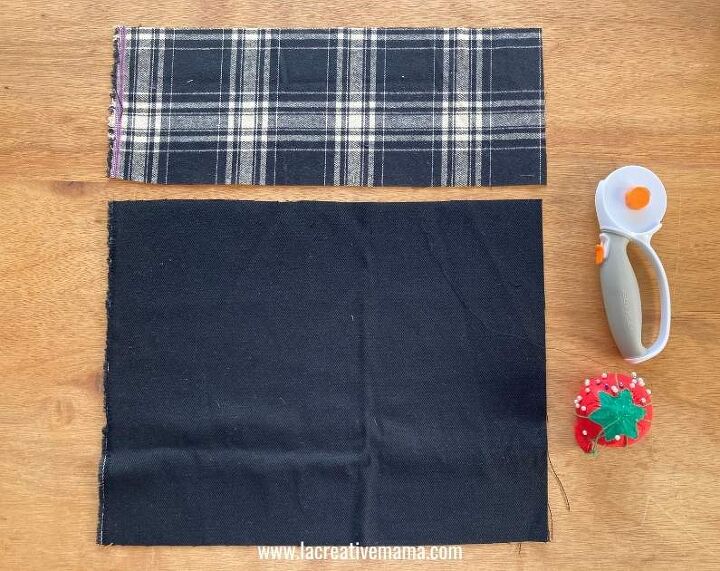
These are my back pieces.
Cut your pocket (pocket and lining) out and the tote bag handles. I am cutting everything using my rotary cutter but this is optional. You can also use good quality fabric scissors.
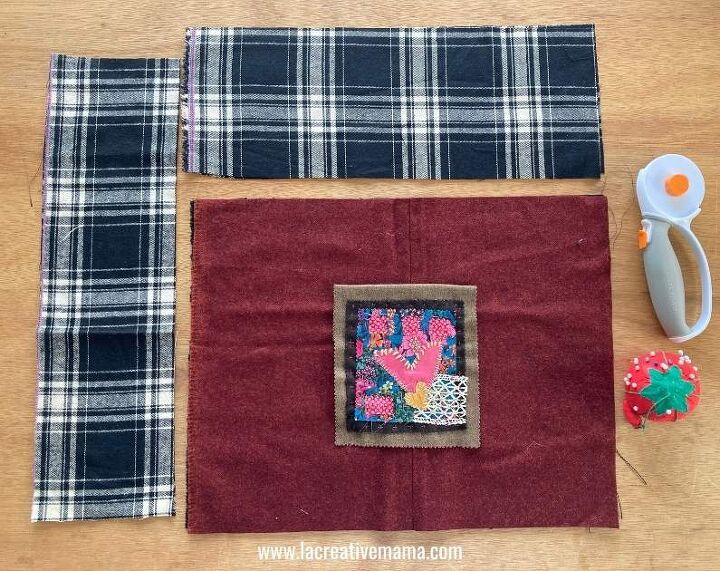
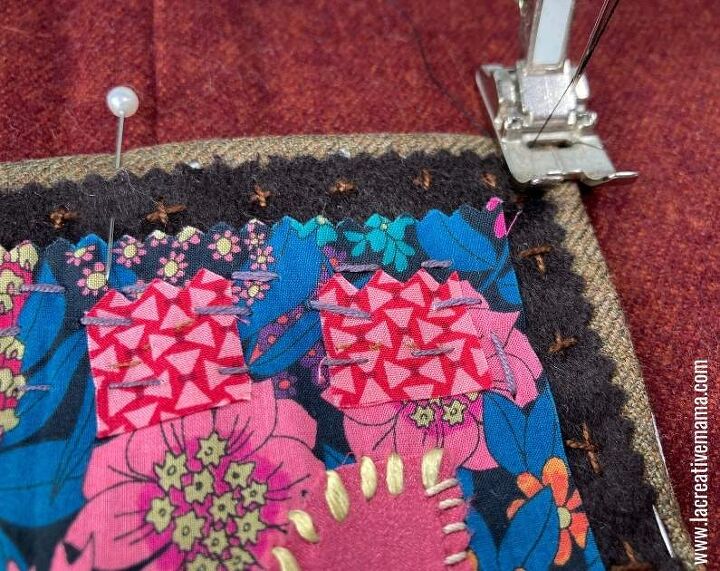
Step 3: Making the embroidered patch pocket
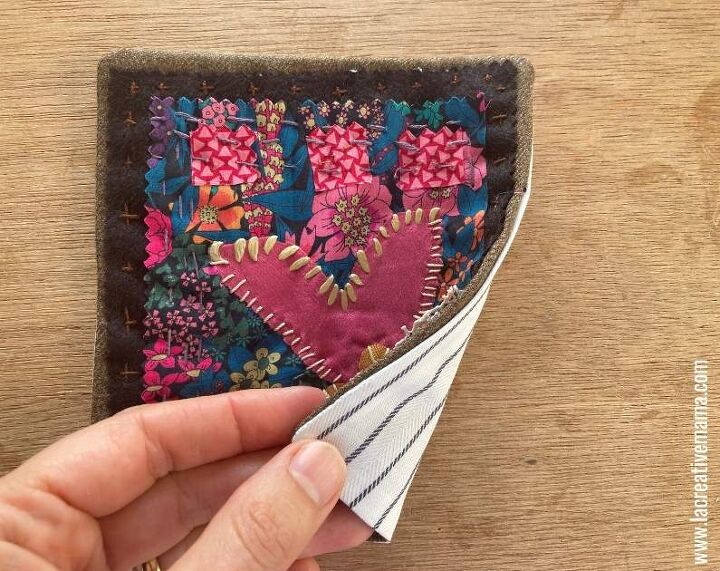
This is my embroidery patch which I am using as my bag pocket.
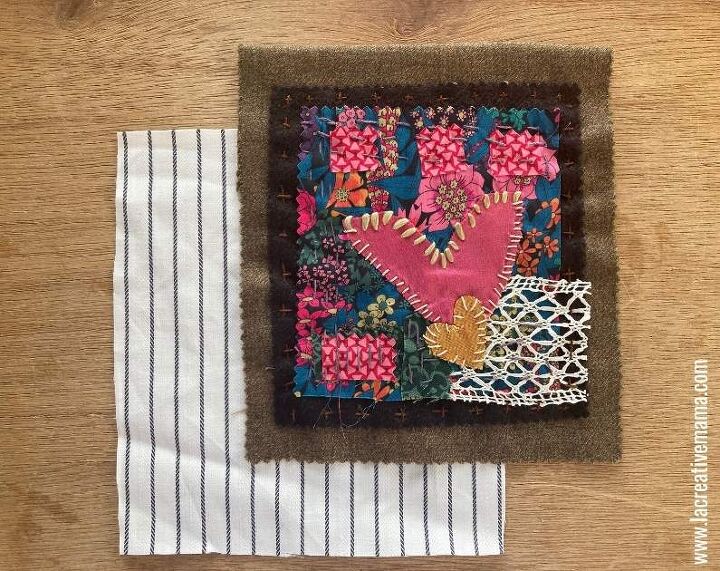
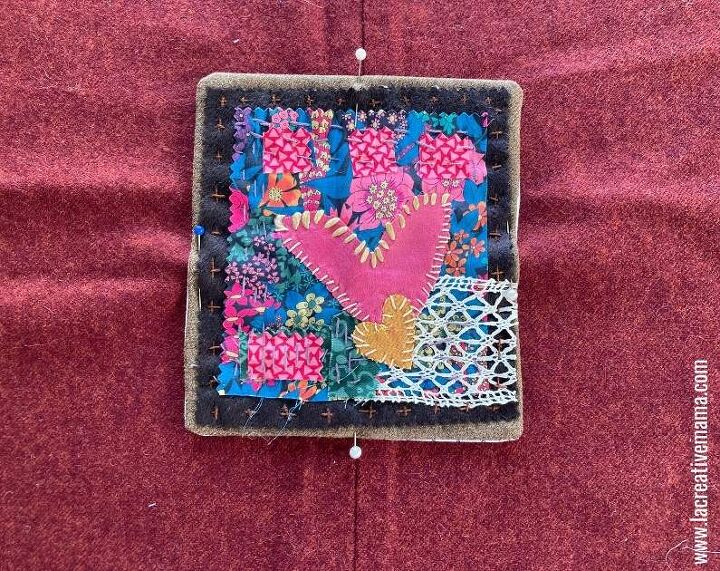
Pin the pocket to the pocket lining right sides touching.
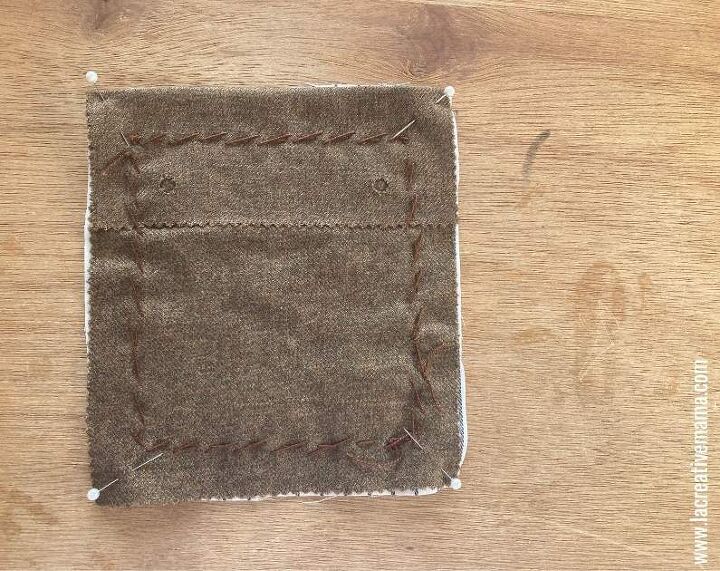
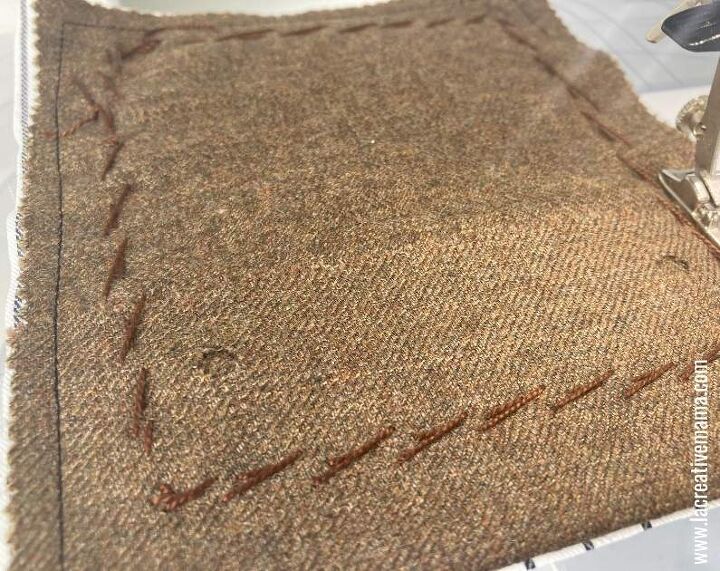
Sew around the pocket making sure to keep a 3 inch gap (7 cm) to turn the pocket inside out.
Clip the pocket corners.
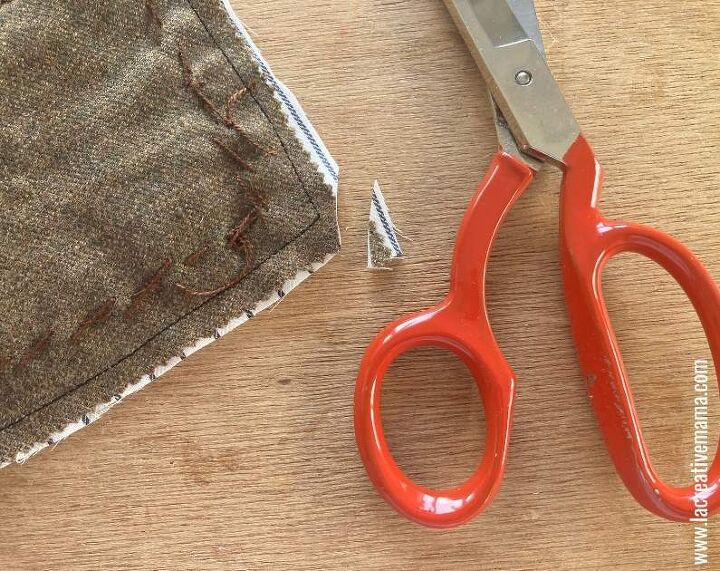
Turn pocket inside out through the opening.
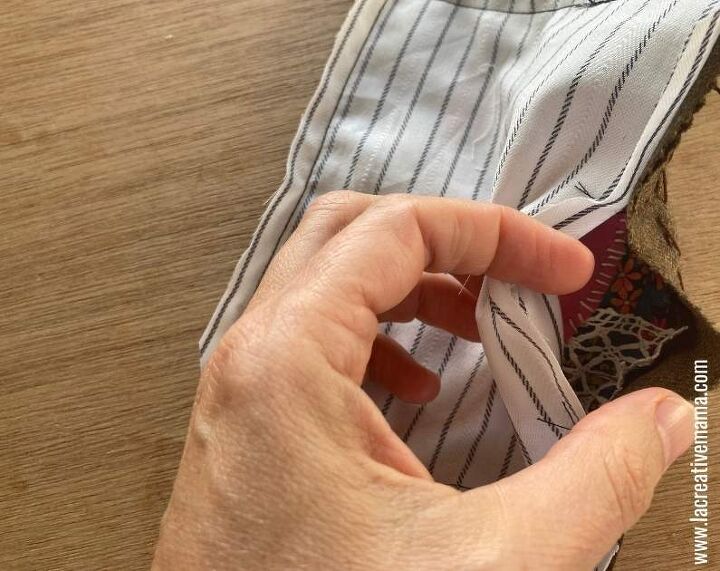
Make sure that the opening gap is not on the top of the pocket. It should ideally be on the left or right side of the pocket.
Press the pocket so that it’s sitting nice and flat. Press the opening and leave it ready to be sewn in the next step.
Step 4: Sewing the pocket to the tote bag
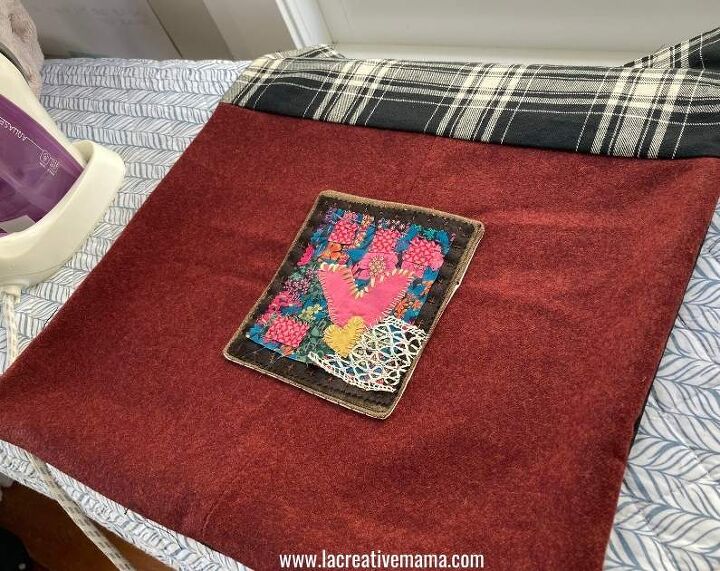
Place the pocket in the center of the bottom front piece. Pin in place.
Sew around the three sides leaving the top open. This will be the pocket opening.
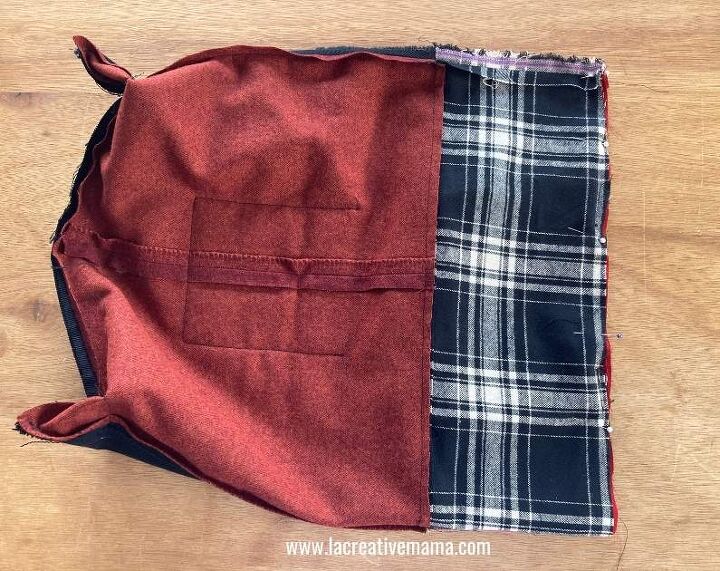
This is how the sewn pocket looks on the front piece of the tote bag.
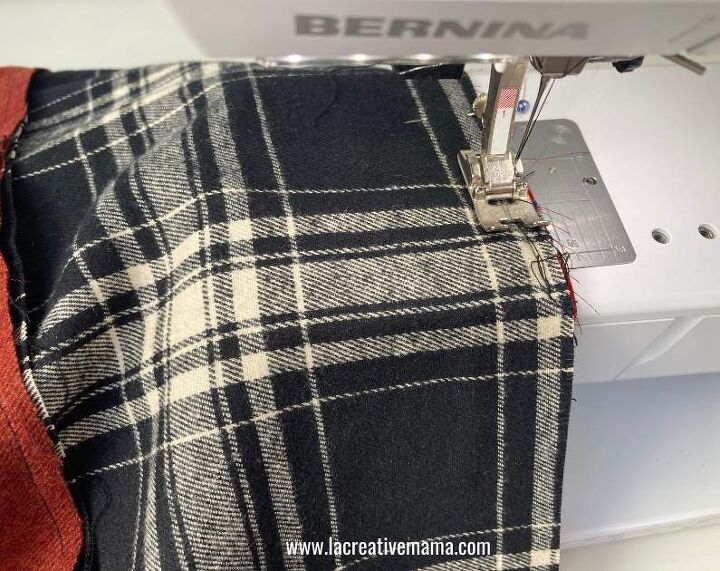
Step 5: Sewing the reversible tote bag
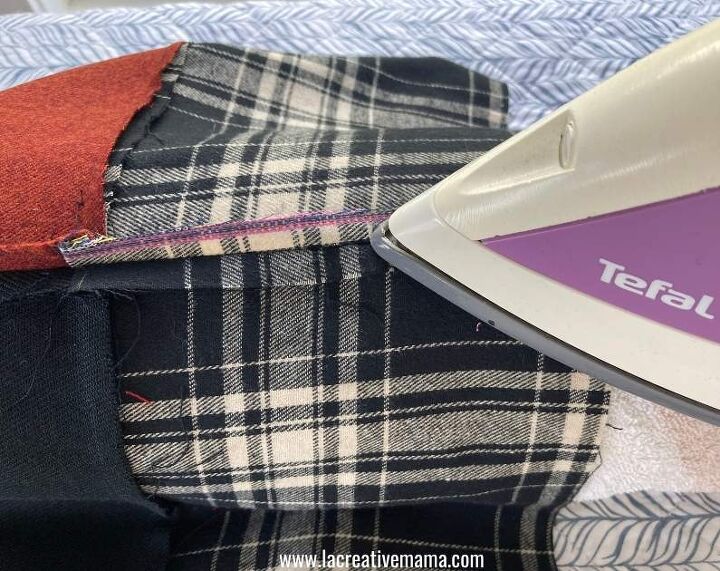
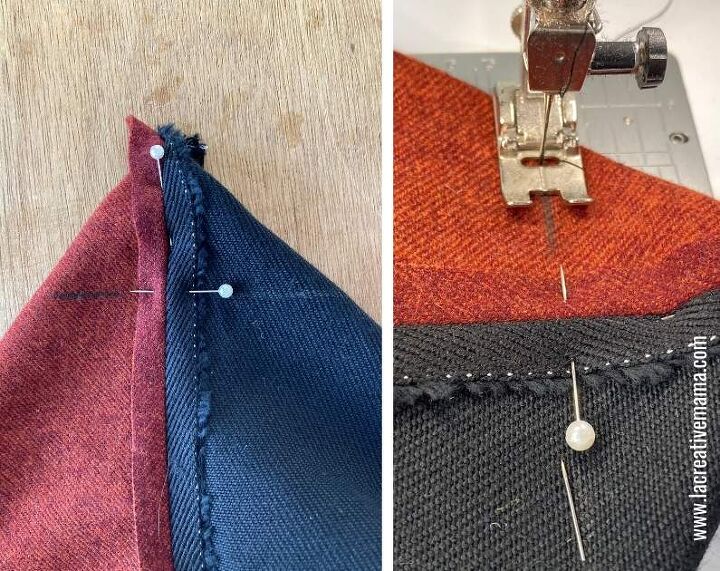
Pin in place the top and bottom pieces together in both front and back pieces.
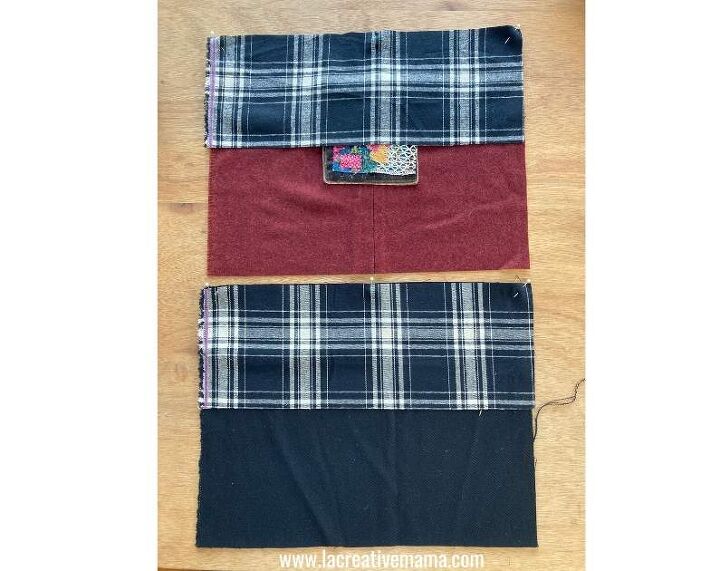
Sew in place. Don’t worry about the seams because they will be fully covered by the lining.
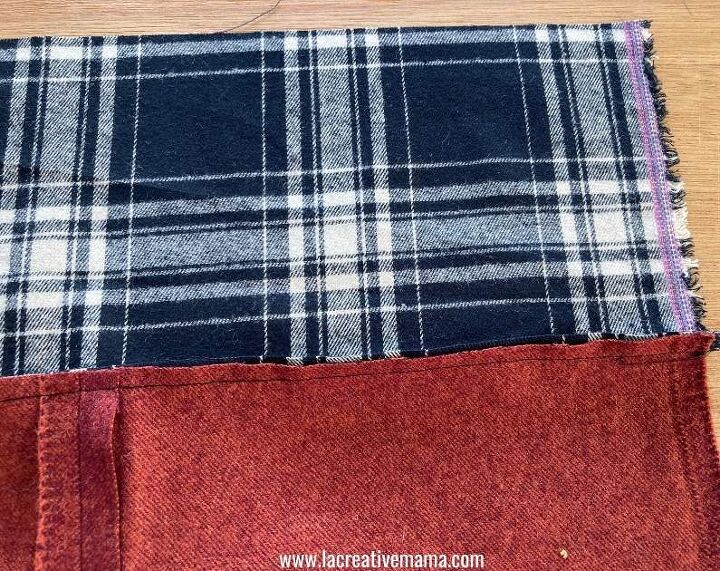
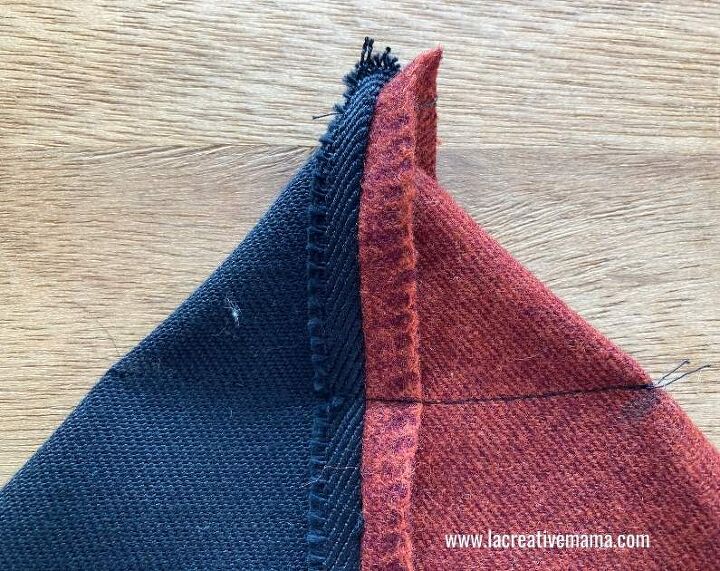
Press seams facing upwards.
Place front and back pieces together and sew around the three edges leaving the top edge open.
Press seams open.
Turn tote bag inside out and press flat.
Making the tote bag straps
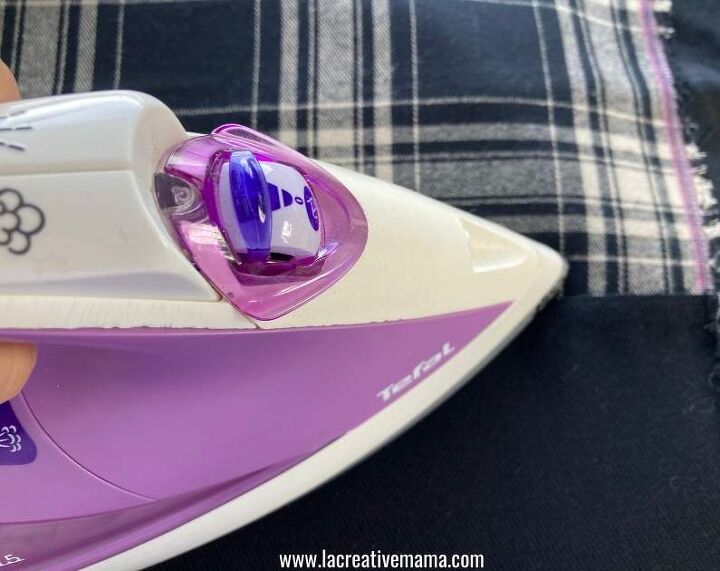
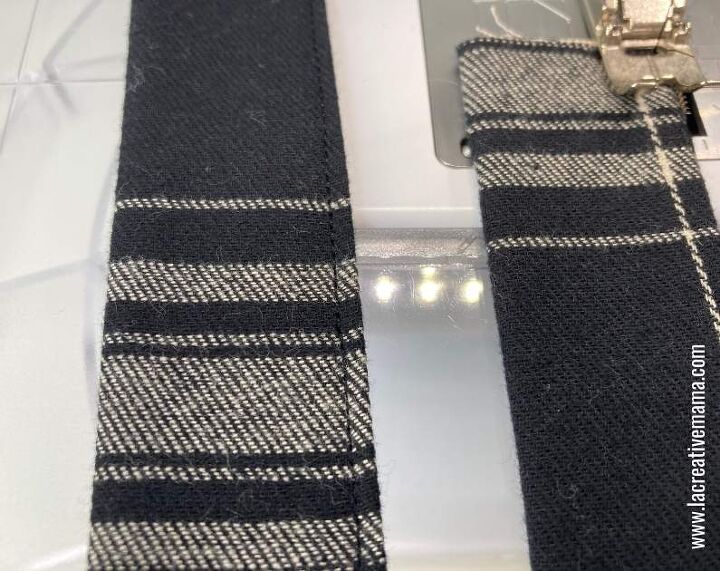
To make the tote handles simply place the fabric on the iron board. Fold in half and press firmly.
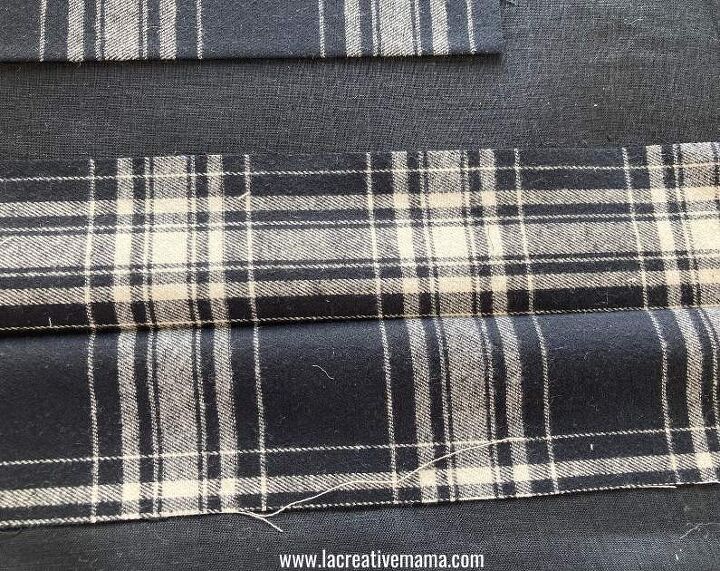
Then fold again in half and press firmly again.
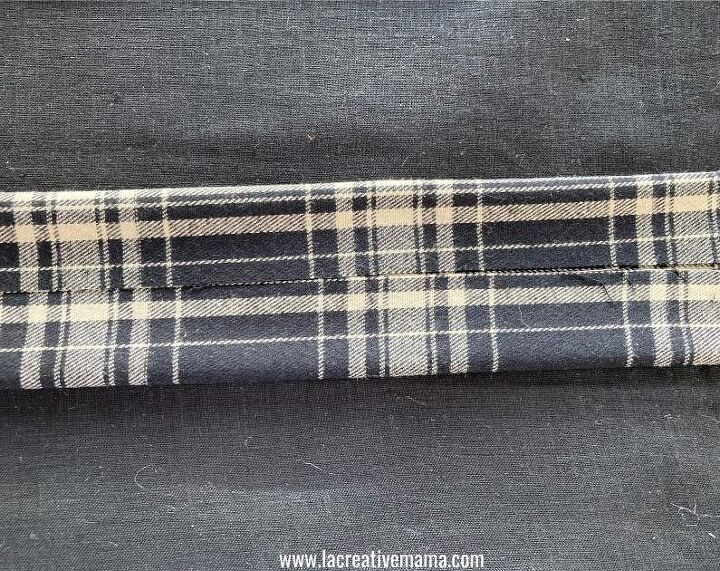
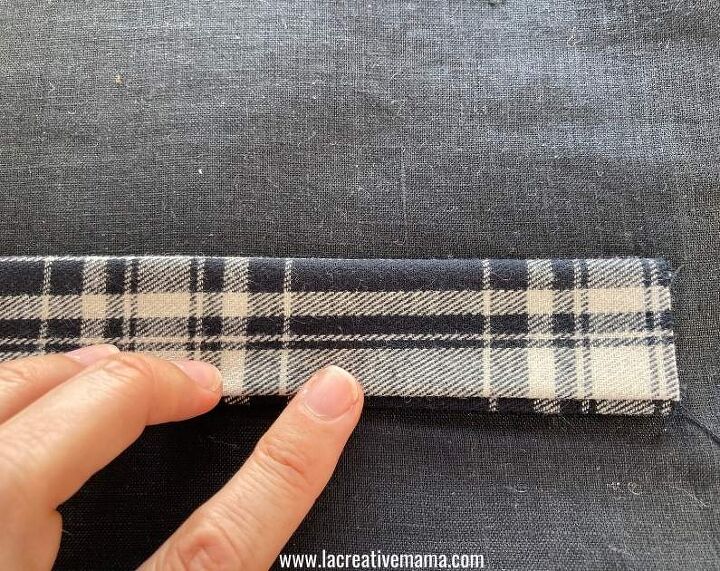
Fold once again so that you end up with a folded strap without any raw edges showing. This is a great way to make straps and handles for bags because you don’t need to add any fusing to them.
Because they have been folded twice they will be sturdy and strong.
Sew along the open edge. You can choose to sew on the other edge but I never actually do it. I only like to see one stitch line.
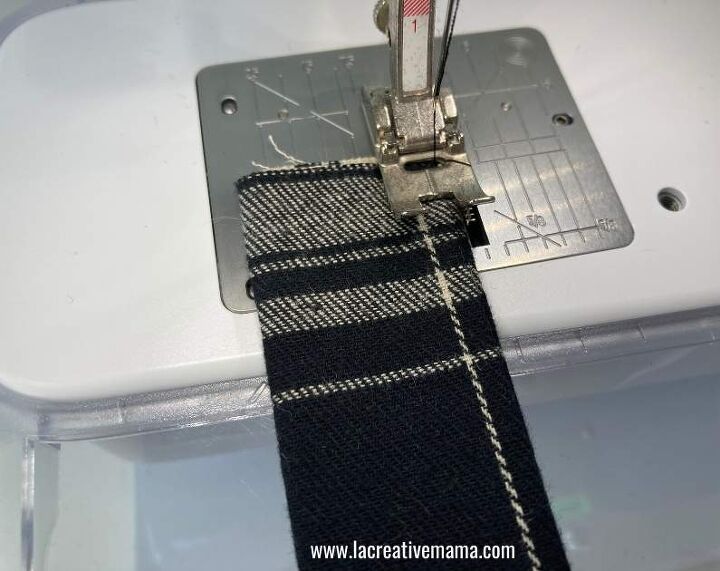
Here are my reversible tote straps all ready to go.
Sewing the tote bag with flat bottom
Before we sew the straps we need to create a flat bottom for our reversible tote bag.
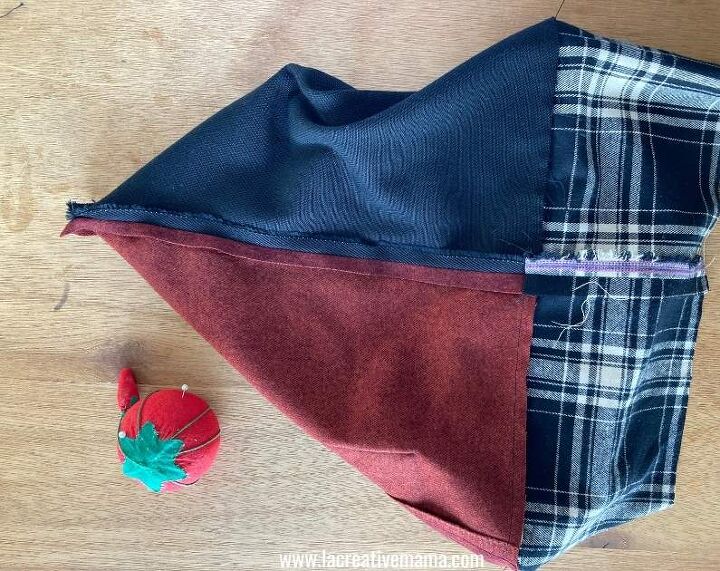
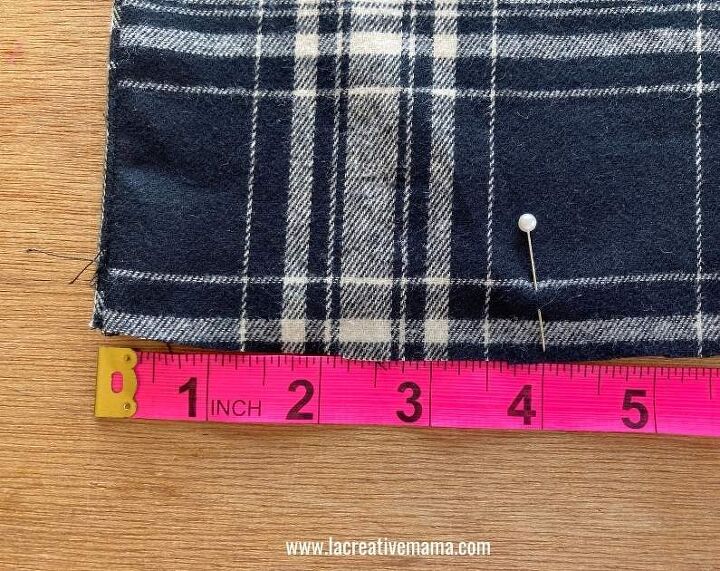
Place the side seam so that it’s touching the bottom seam. Make sure to insert a pin through the seams to ensure that the bag is sitting flat and square.
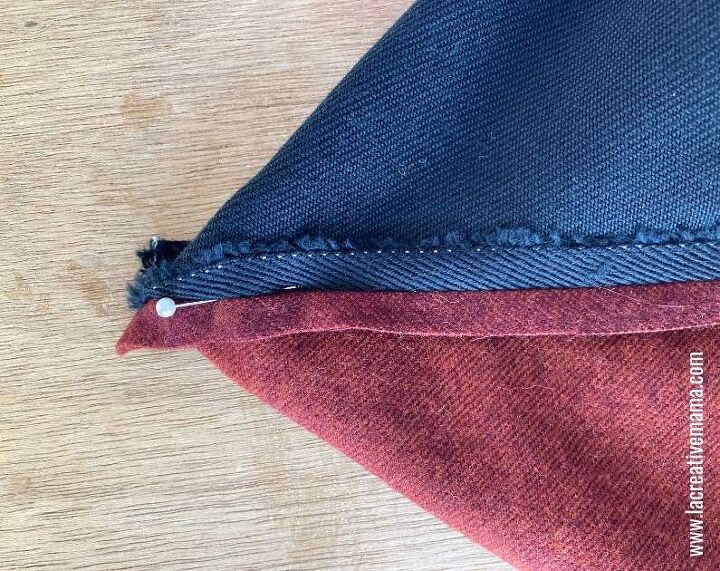
Measure 2 inches and place a pin on the side seam.
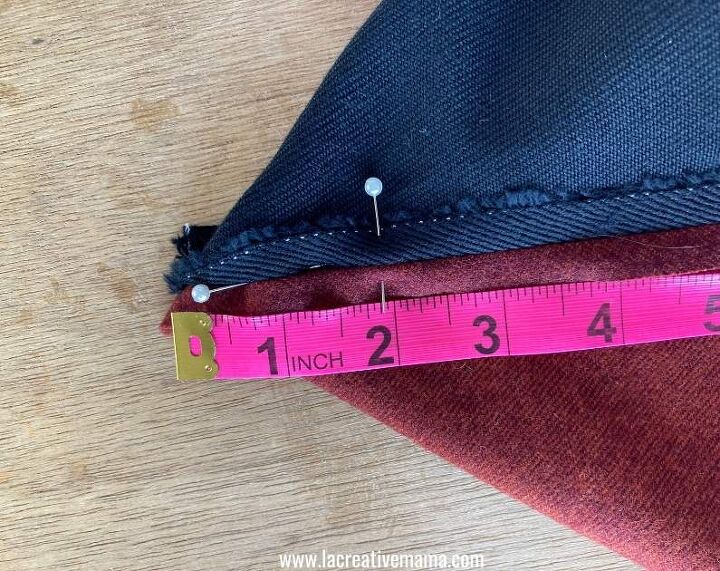
Draw a line and sew on top of it.
This line will create the flat bottom.
Sewing the straps to the tote bag
Now we need to insert the handles in the right place on the tote bag. Measure 4 inches (if you are using this patter, otherwise follow these instructions but adapt to your own tote bag size) away from the side edges on both sides.
Pin the tote handles to the top of the bag.

Sewing the lining fabric to the bag
Cut the lining for the reversible tote bag. As I mentioned before I have used a red silk. Sew front to back pieces and sew the flat bottoms as well. You will have an identical shape as the tote bag with the pocket.
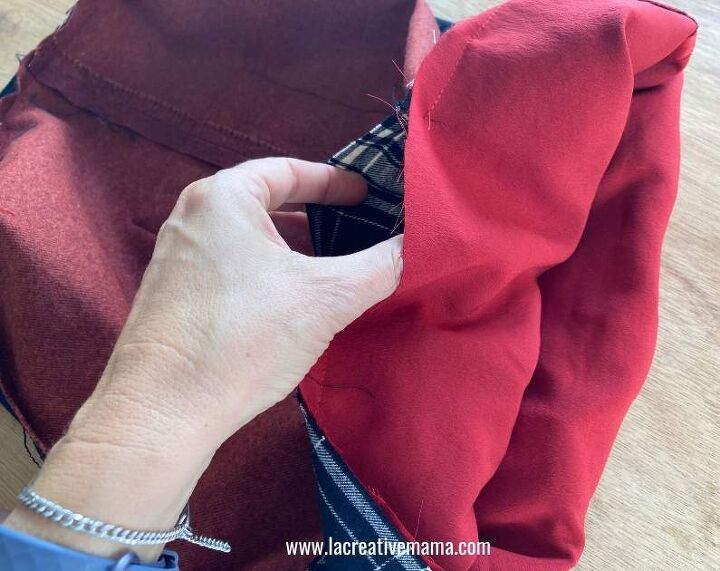
Turn the pocket tote inside out,
Insert he lining inside the inside out tote right sides together.
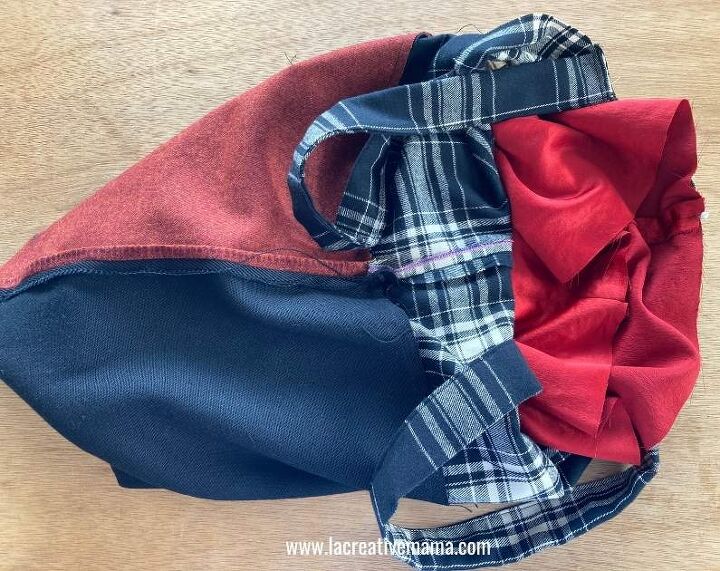
Pin the edges. They should be the exact same size.
This is how the reversible tote should look like ta this stage.
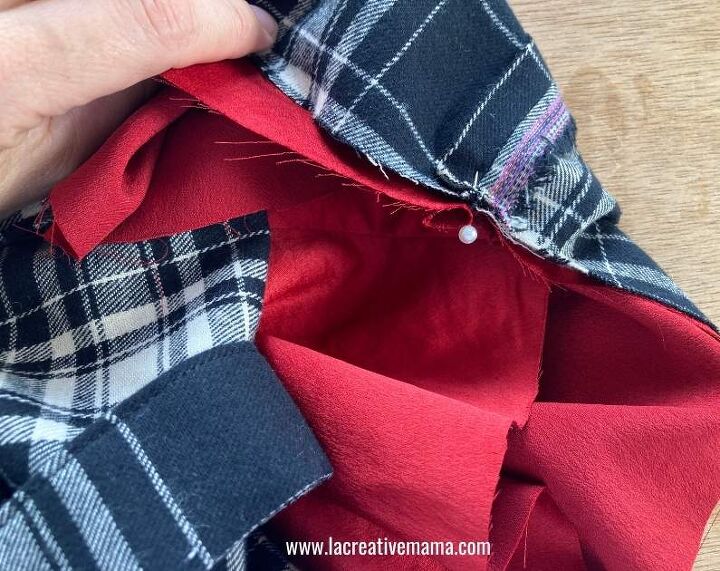
Sew around the edge leaving a 3 inch opening gap.
The handles should be sandwiched in between the tote and the lining.
Turn the tote inside out through the gap.
Sew a topstitch around the edge. This will help the tote sit nicely and will also close the opening.
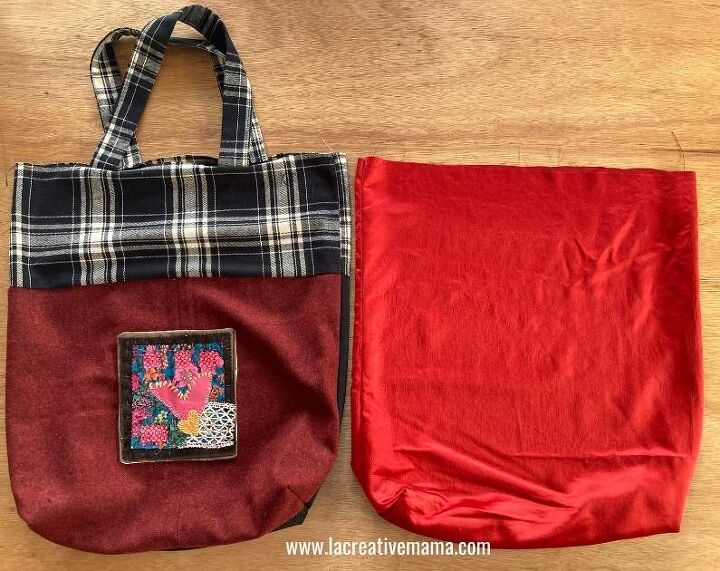
The reversible tote bag is finished.
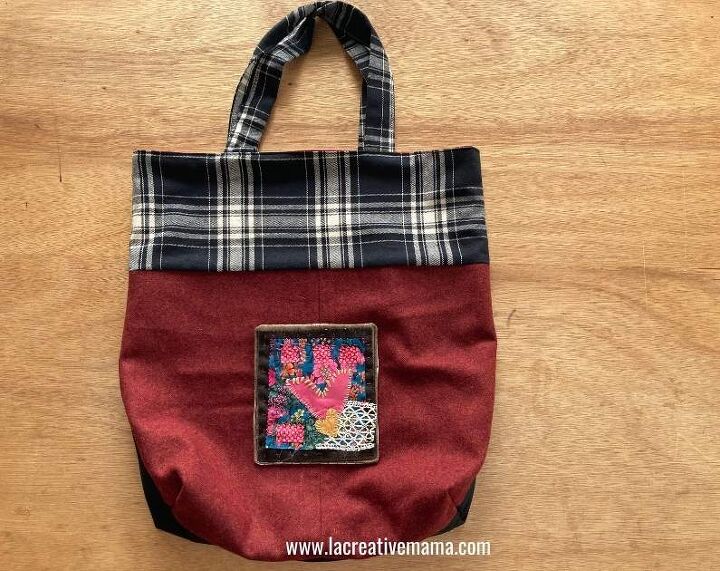
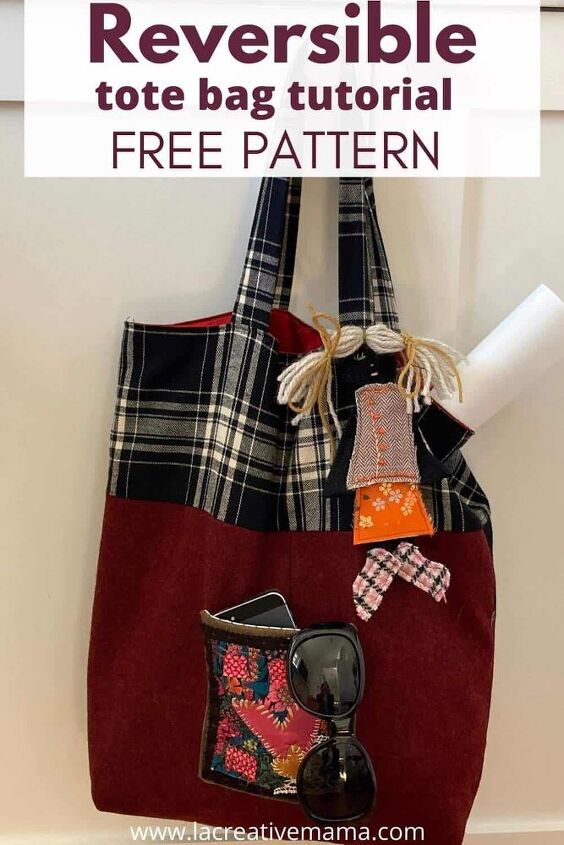
I have been using this reversible tote a lot lately. I have gone grocery shopping with it using the pocket side as the outside side and my daughter loves taking it to her play dates but she likes using the silk side and adding some embroidery patches to it.
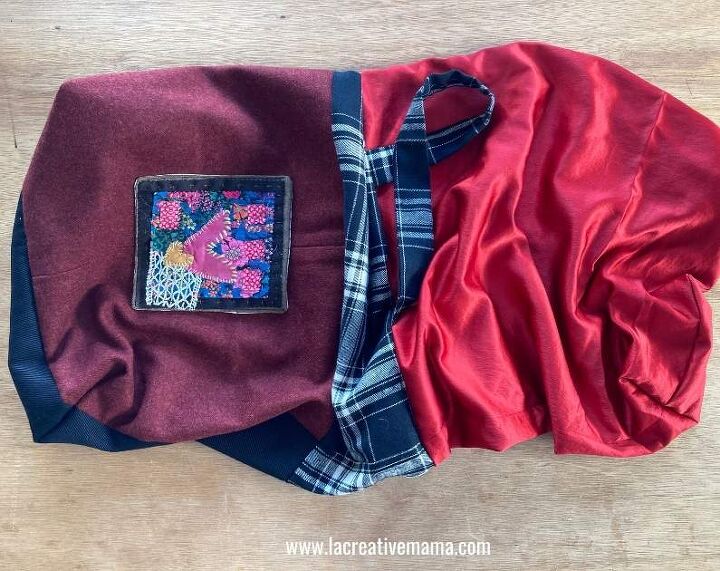
The photo below is how my daughter likes to use it.
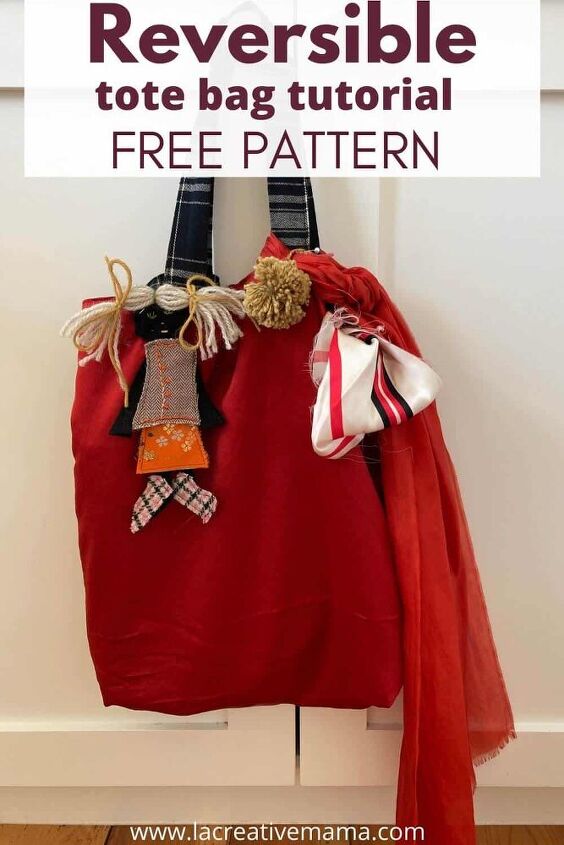
This photo is how I like to use it 🙂 A bit more practical!
I hope you have enjoyed using this reversible tote bag. If you have any questions please reach out.
More Sewing projects
You may also like to check out these super easy creative sewing projects:
Save this tutorial to your favorite Pinterest Board.

The author may collect a small share of sales from the links on this page.


Comments
Join the conversation