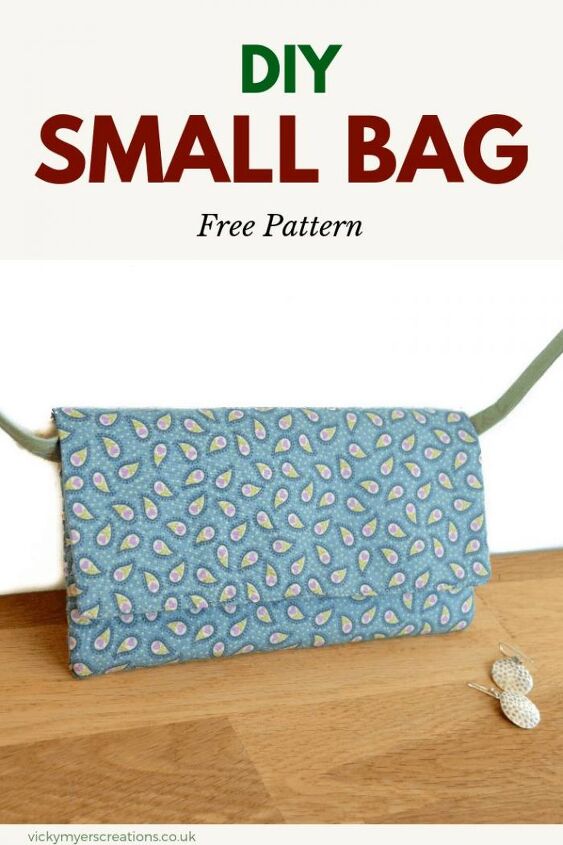
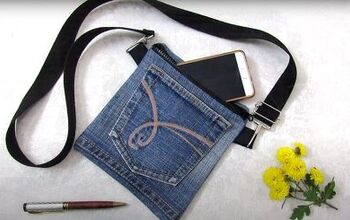
Small Crossbody Bag DIY
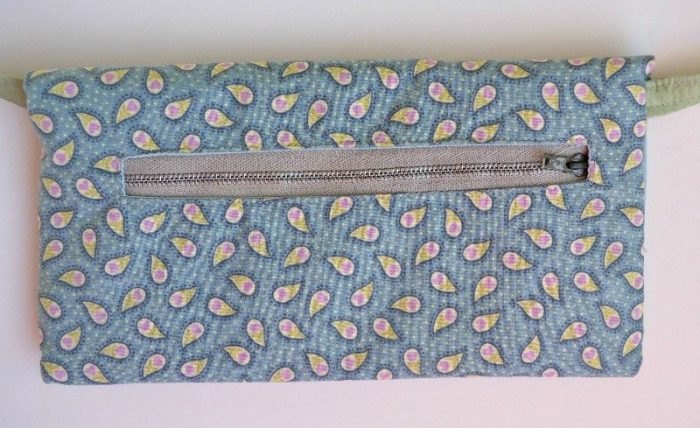
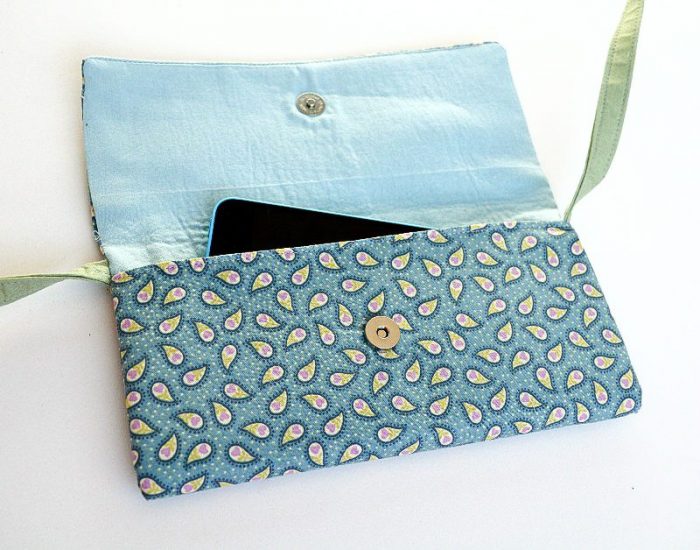
Need a small crossbody bag for your mobile, keys and wallet? This bag is quick to sew, using a fat quarter and an A4 piece of paper. The bag includes a small zip pocket in the back, perfect for your personal items.
If you love bag patterns check out my page full of free bag patterns and tutorials.
I created this bag for our wonderful childminder. Pauline has cared for our tot son wonderfully two days a week for over four years. Sometime back she mentioned the idea of a compact crossbody bag just for keys and mobile. It seemed the perfect time to make her one as a thank you for all she has given us as a family through her care for our son.
Typing this brings a tear to my eye, I miss having a tot running around the house – let’s crack on with the tutorial!!
Personally I am rather passionate about bag making – if you are new to bag making I have the perfect Beginners Bag Making Course for you which covers so many essential skills for bag making, and includes many free bag tutorials.
Newsletter
Signup to receive your free “Sewing Bags like a Pro” ebook. Learn top tips for sewing bags, along with a design sheet checklist.
Plus our fortnightly news and special offers!
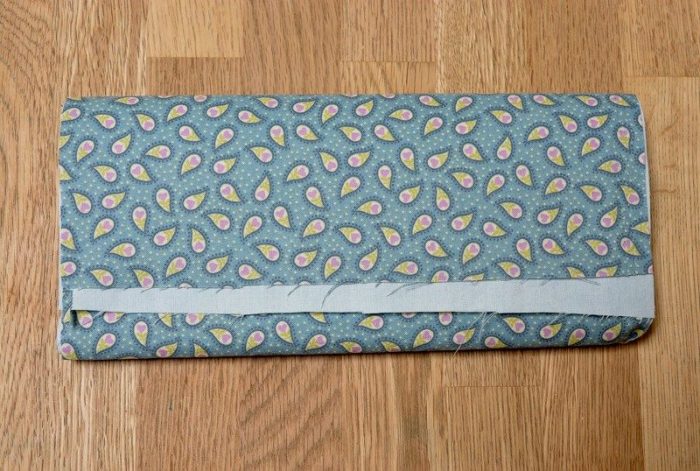
Small Cross Body Bag
This post contains Amazon affiliate links for your convenience. Click here to see my disclosure policy.
RECOMMENDED SUPPLIES:
- A4 piece of paper as a template
- fabric for main bag A4 size plus seam allowance
- Fabric for the lining A4 size plus seam allowance
- Heavy weight iron on interfacing A4 size
- Fusible fleece A4 size
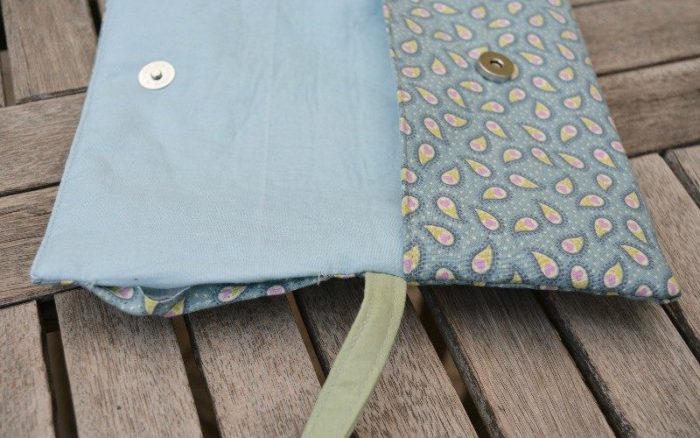
- Magnetic snap
- Zip 7″
- piece of fabric for back pocket 8.6″ by 8.1″
- 2″ by 50″ fabric for the handle, lined with heavy weight interfacing
- Strip of bondaweb
To make:
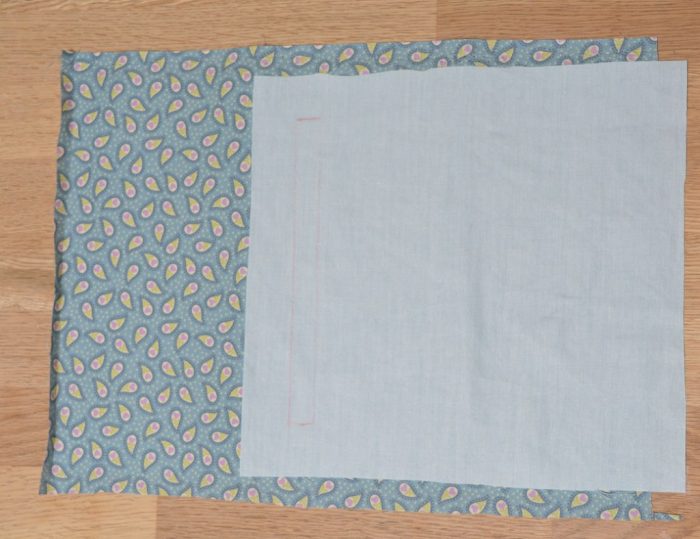
Attach your interfacing to the lining fabric and fusible fleece to your external fabric.
Place your fabric pieces wrong sides together. Fold as per the dimensions of your finished bag – my flap is three and a half inches, with the internal front of the bag three and three quarters. Iron so you have creases marking the different sections of the bag.
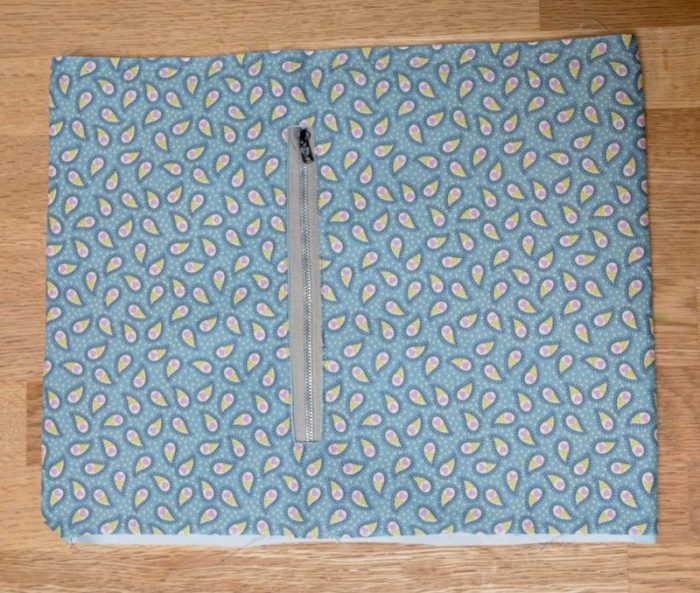
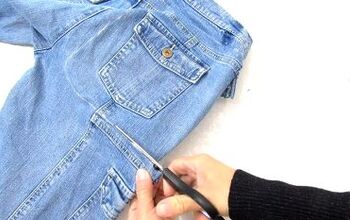
Install zip pocket for the rear back of the bag – mine is sewn 4.7″ from the top of the main fabric. If you would like directions for installing a zip pocket So Sew Easy has a great tutorial here.
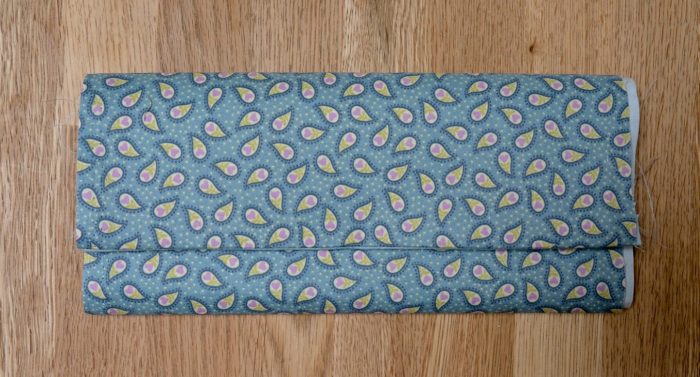
Place fabric right sides together, sew the short sides of your rectangle together.
Turn right side out and press. Fold back into your bag shape showing your fabric creases.
Mark placement of magnetic snap centrally on the inside of the front flap, and insert – be careful to only snip through the lining.
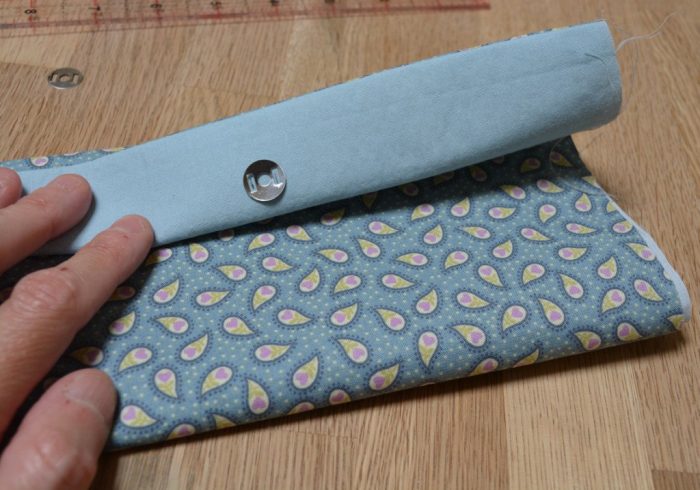
Using this as a guide mark and fit magnetic snap on the front of the bag.
Top stitch these two edges (this gives a little strength).
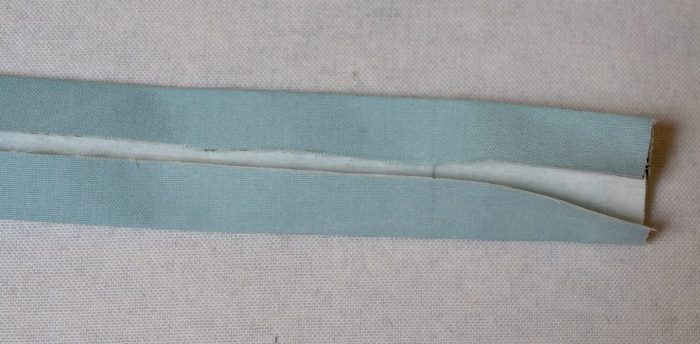
Create your strap. Firstly fold the strap in half and press. Next fold out, turn the sides into the middle and press. Fold the two edges together, press and stitch along both long edges.
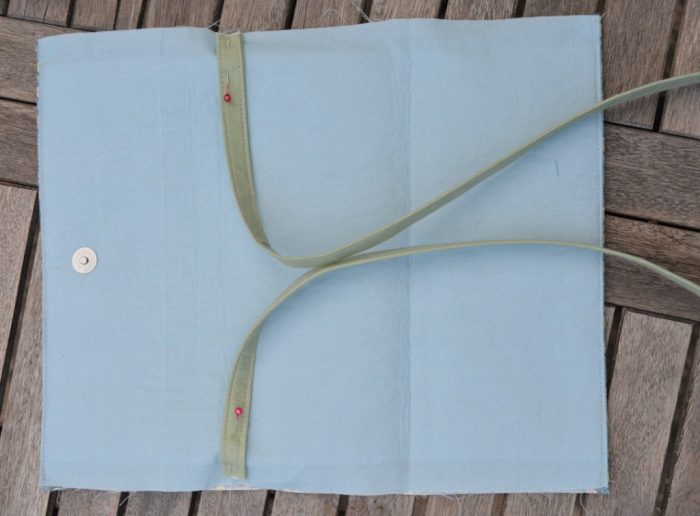
Pin onto the bag, just above the top of your main bag.
Turn the bag out to the wrong side.
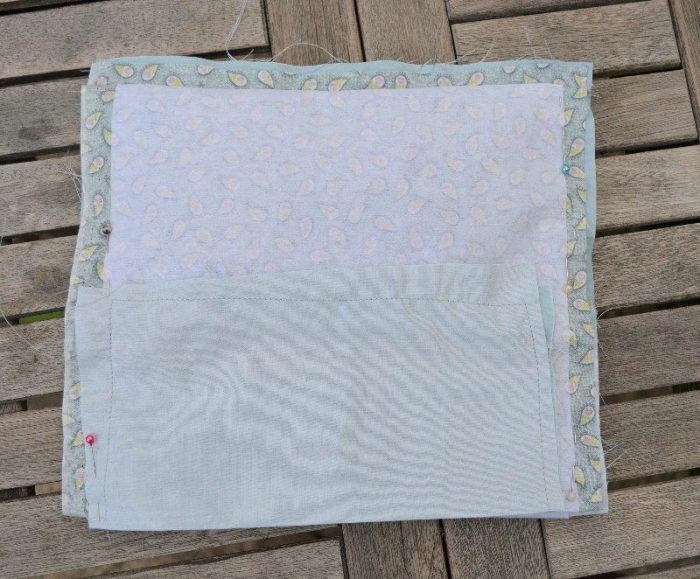
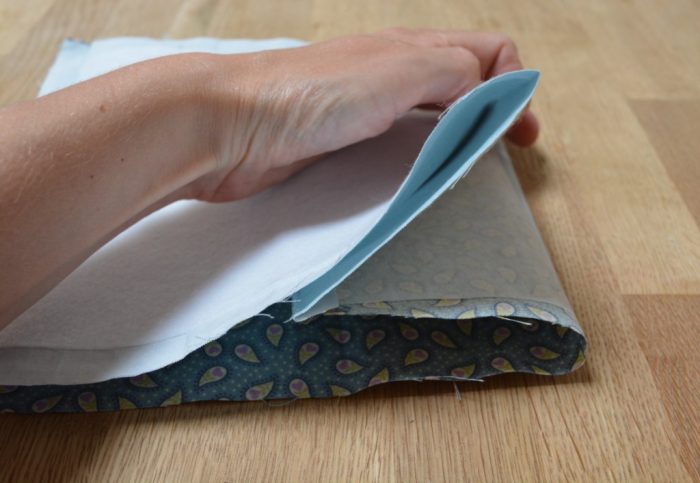
Fold in the fabric which creates the front of the bag (see picture).
Ensure the strap of the bag is folded into the middle so that it does not caught.
Sew the sides together, leaving 3.5″ along the side at the top
Turn right side out. Iron the fabric closed with bondaweb.

You’ve done it:) One finished bag – the only question is what fabric will you use??
If you love bag making sign up to my newsletter for access to my free resource library, the resource library includes Top Tips for Bag Making along with various bag patterns.
This post is linked up with All Free Sewing – do check out their website for lots of inspiring free sewing tutorials, including many other free crossbody bag patterns.
The author may collect a small share of sales from the links on this page.


Comments
Join the conversation