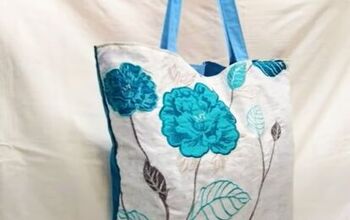
Tote Bag Tutorial
Here’s a tote bag tutorial!
I’m not going to say an awful lot about this, except that I’ve made 2 of these bags for a teacher.
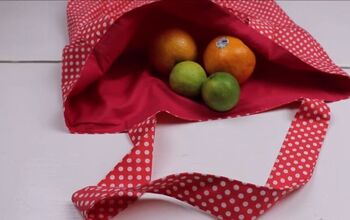
They’re the correct size for carrying A4 exercise books, so they’d also be fine for carrying library books or shopping.
The webbing handles go right underneath the bag, so it’s the webbing that takes the strain, not your sewing!
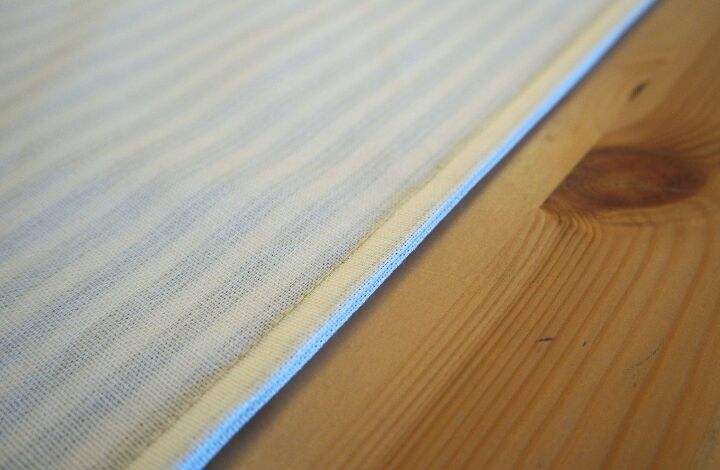
I sewed French seams as the fabric was fraying quite a bit already.
The bags are lined because I wanted to make them as well as I could, but you could skip this step if you just wanted to quickly run up some shopping bags.
This tote bag tutorial includes instructions for making a cover for the handles. If you have a bag already for this kind of thing and the handles hurt your hands, you could make some covers and sew them to the handles.
How To Make a Tote Bag
There’s some tips at the end of this tote bag tutorial, so make sure you read to the end!
You Will Need
- 1 metre of fabric for the bag outer.
- 1 metre of fabric for the lining. I used ticking for the outer and calico for the lining.
- 2.5 metres of webbing 3 cm (1 inch) wide.
- A small amount of quilt batting or foam interfacing
- 15 cm (6 inches) velcro
- Usual sewing supplies
Cutting Out
Cut a rectangle 64 cm x 87 cm (25 inches x 34 inches) from outer fabric, and another the same size from the lining. The grain needs to be running up and down. If you’re using a directional print, you’ll need to cut it half, turn one half round and sew it back together (don’t forget to add a seam allowance!).
Cut a piece of webbing 230 cm long.
Cut 2 rectangles 15 cm x 17 cm from outer fabric, and another the same size from quilt batting or foam interfacing.
Sewing Together
A 2 cm (3/4 inch) seam allowance is included.
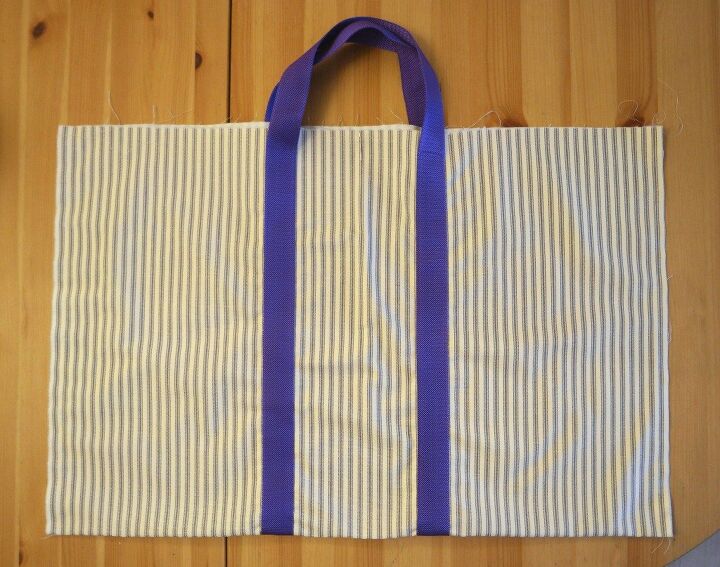
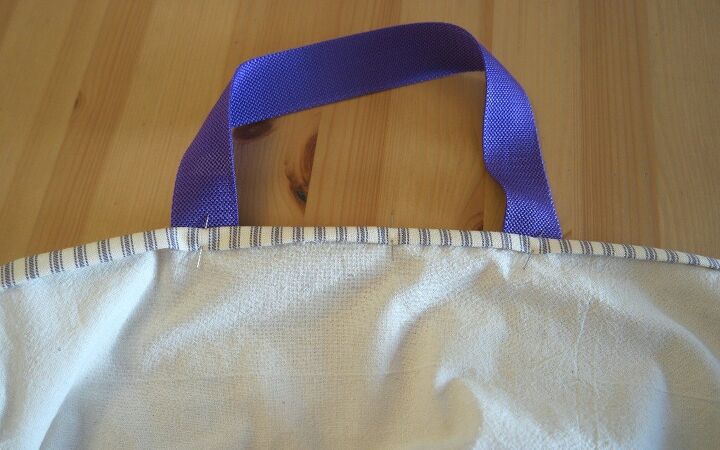
1. Attach the handles.
Cut cm of webbing. Melt the ends over a candle. Don’t hold it too close to the flame! You’re only melting it so that it doesn’t fray, not setting fire to it!
Pin the webbing to the fabric so that the inside edges of the webbing are 12 cm apart and either side of the centre. Overlap the ends a little bit near the centre as this will be the bottom of the bag.
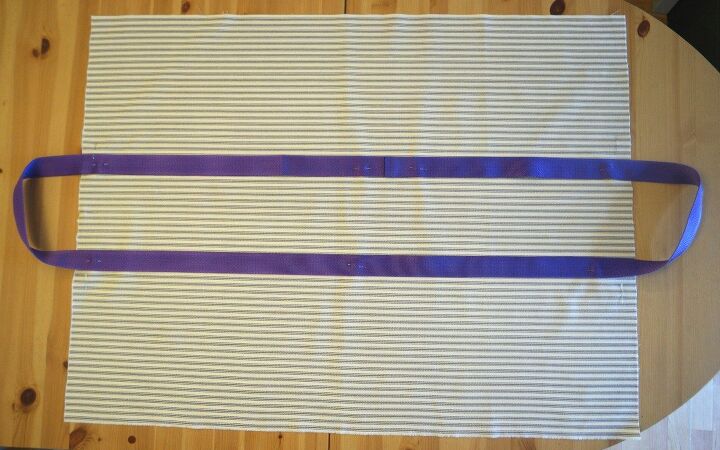
Check that the handles are the same length, then sew the handles to the fabric. Leave a couple of cm (an inch) at the edges of the fabric for folding down the raw edge later.
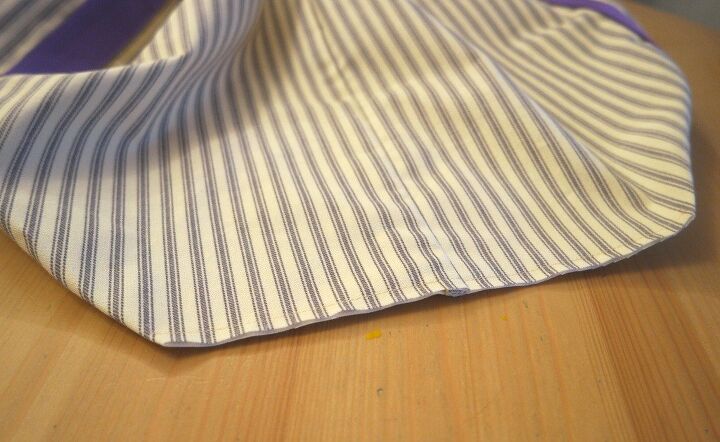
2. Sewing the outer.
Fold the outer in half widthways with the wrong sides together. Sew the side seams a cm away from the raw edge.
Trim the seams in half, then turn the bag outer the wrong way out. Sew the seams again so that the raw edges are enclosed.
To make the boxed corners, press the bottom edge with your finger to make a crease. Squash one corner flat so that the side seam is next to the crease. Measure up 12 cm (4 3/4 inches) from the corner. Pin, then sew across the corner.
Cut the corner off, then turn the bag outer the wrong way out. Sew the corner seam again to enclose the raw edges.
Repeat with the other corner.
3. Making the lining.
The lining is made in the same way as the outer, just without the webbing.
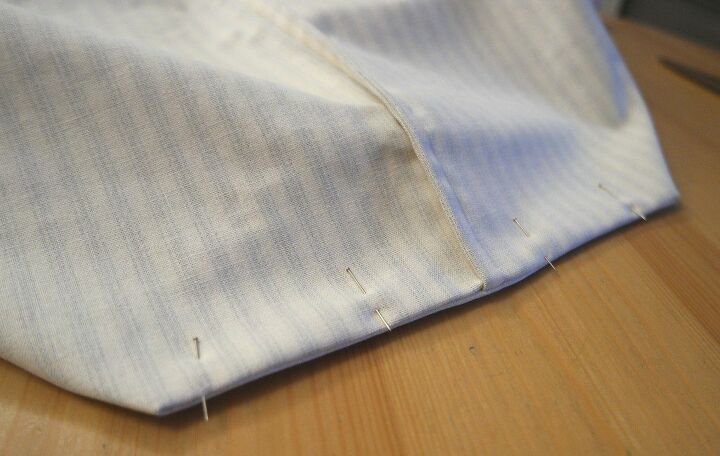
4. Sewing the lining and the outer together.
Pop the lining inside the outer so that the wrong sides are together. You might find it helpful to pin the corners together, and also at the side seams.
Fold the top of the lining inwards by a couple of cm (3/4 inch). The folded edge should be just below the stitching where you sewed the webbing to the top of the outer.

Now fold the edge of the outer under by a cm (1/4 inch), then fold it over again. Pin it so that it covers the folded edge of the lining.
Sew all the way around the top of the bag. When you get to the webbing, you can either sew across it, or miss it out and continue sewing on the other side of the webbing. If you do this, you’ll need to hand stitch the outer to the lining on the bits you miss out.
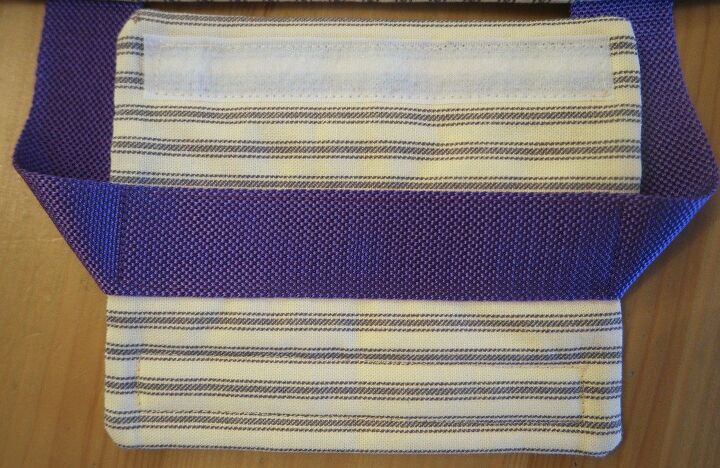
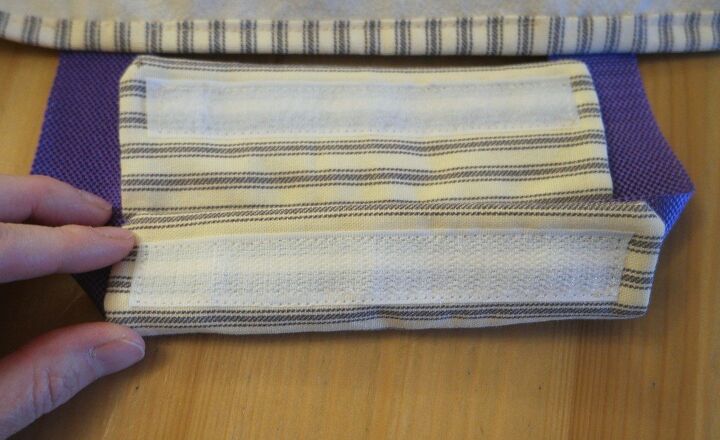
5. Making the handle cover
Take the 2 rectangles and the quilt batting. Pin them together so that the rectangles have their right sides together, and the batting is on the top.
Sew around the outside edge, leaving a gap in one side.
Trim the seams and cut across the corners. Turn it the right way out and sew up the opening.
Pin one half of the velcro to one of the long edges about a cm (1/4 inch) in from the edge. The is so that the velcro doesn’t scratch your hand when you’re carrying your books about or your shopping. Sew around the velcro.
Pin then sew the other half of the velcro to the other long edge on the other side of the handle cover.
Pin the handle cover to one of the handles on the underneath. This is that you can fold the handle cover round both the handles, then do it up with the velcro. Sew webbing to the cover.
Tips
Remember to wash your fabric first! This is especially important if you are using calico or similar as this might shrink when you wash it.
You could use cotton webbing instead of nylon, or you could make straps from fabric.
Don’t forget to press seams as you go!
You could skip lining it if you wanted to as the the French seams will give the inside a neat finish anyway.
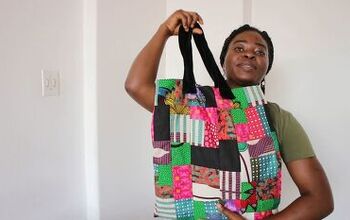
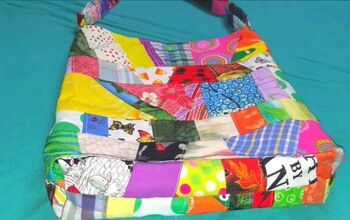
If you liked this tote bag tutorial, you might also like these.
The author may collect a small share of sales from the links on this page.


Comments
Join the conversation