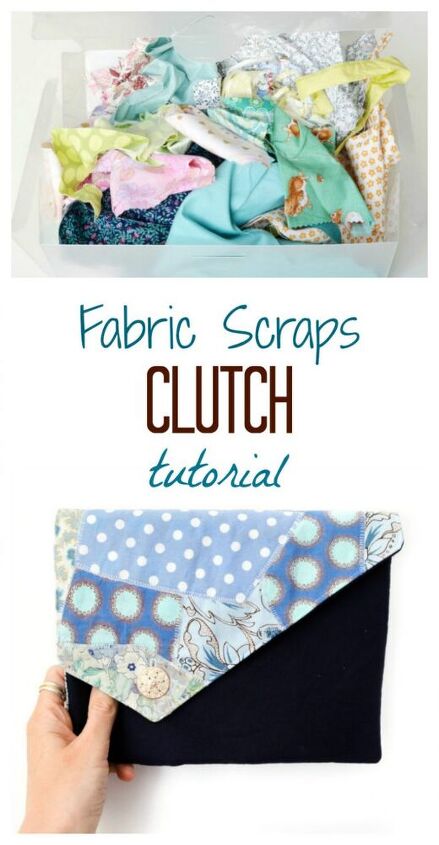
What to Make With Fabric Scraps?? Free Fabric Scraps Clutch Tutorial
Do you have endless piles of fabric scraps?? I know I do … over the years I have had a variety of storage solutions ranging from cute denim baskets, clear plastic bags and even plastic shoe boxes.
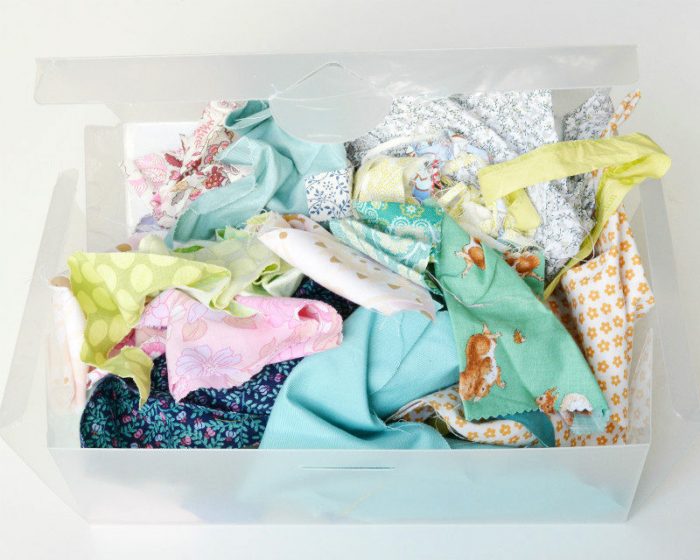
I have to admit my stash of scraps can become overwhelming. Regular readers will know that I hate waste, I have a strong preference for recycling or upcycling. There are so many ideas for using fabric scraps it’s hard to throw them away!! Today I am going to share you with you a fabric scrap clutch tutorial.
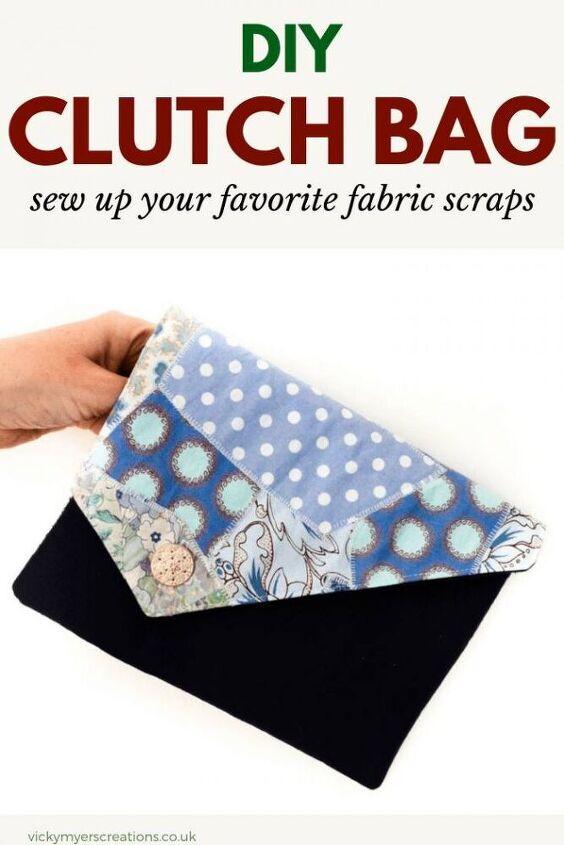

What’s not to love about a clutch, great for day or evening why not make one with your precious scraps of your favourite fabrics?
Fabric scrap clutch tutorial
Supplies
- Scraps
- Iron on interfacing
- Fusible fleece
- Base fabric 16 by 12″
- Front of bag fabric 8 by 10″
- Lining fabric 24″ by 10 1/2″
- Ruler and pencil
- scissors/rotary cutter
- glue stick
- sewing machine
- button
To make:
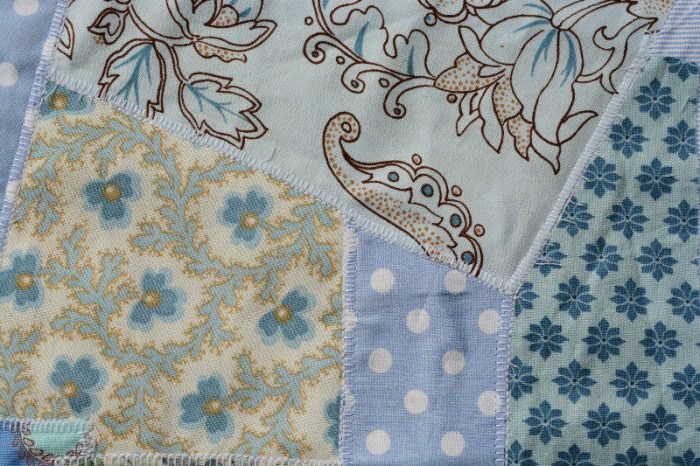
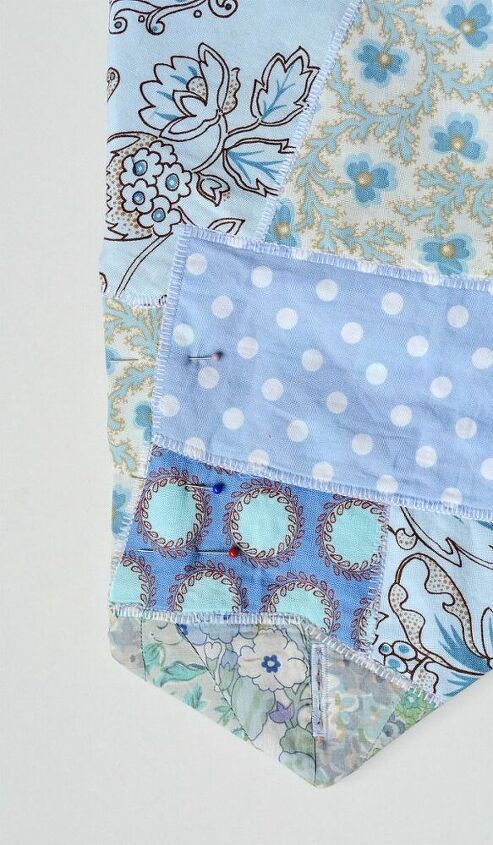
Place fabric scraps onto your base fabric. Once you are pleased with the layout pin or using your glue stick hold in place.
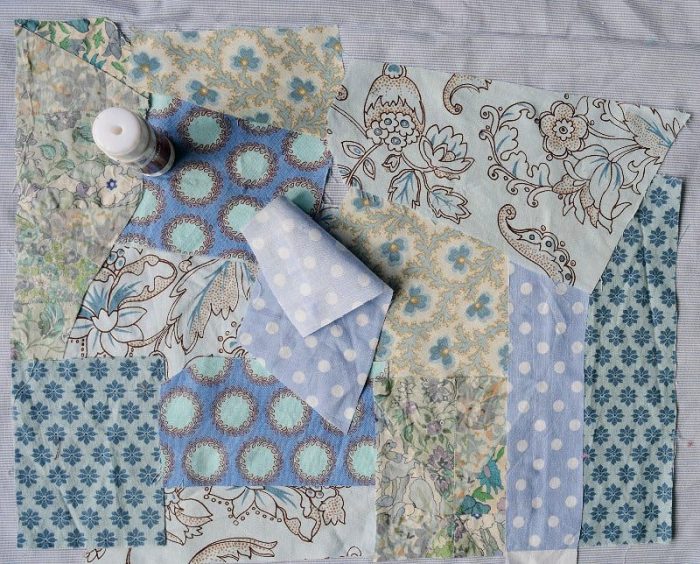
Machine stitch the scraps – I have used an applique stitch on my sewing machine. Alternatively, you could use a zig zag machine. Test your tension first on a fabric sample (I would hate you to ruin your scraps with an uneven tension).
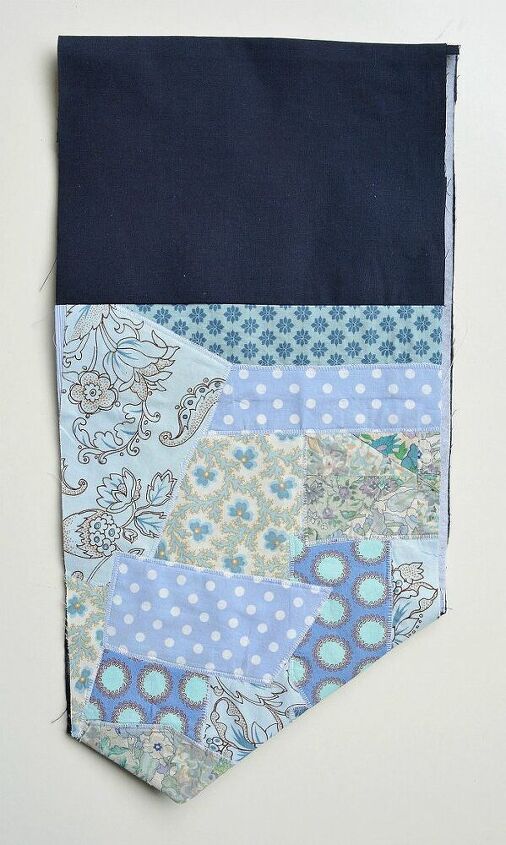
Cut your scrap fabric piece to measure 14 by 10″. On the reverse mark 4 3/4″ up on the left-hand side, 1 3/4″ up on the right-hand side. Along the bottom mark 6 3/4″ in on the left-hand side 2 1/2″ in on the right-hand side.
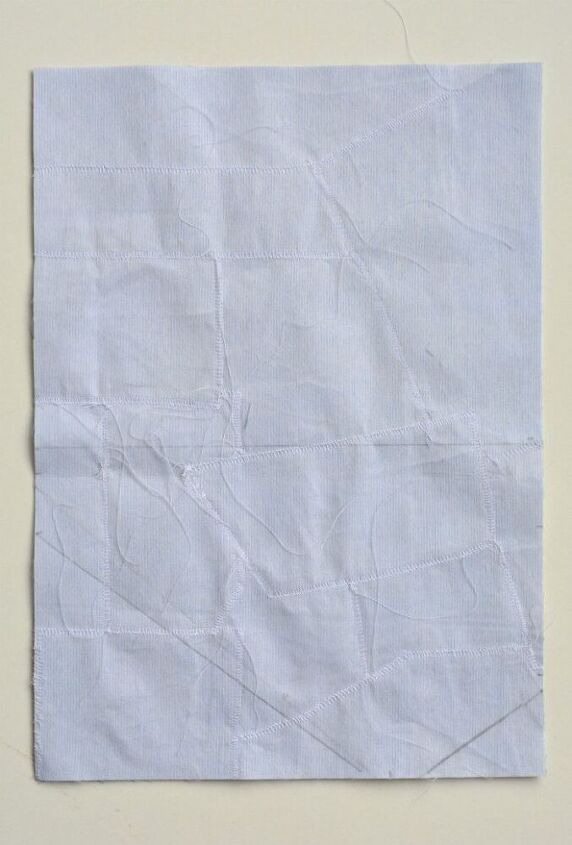
Use these marks as your cutting line to create the triangle front design of the bag.
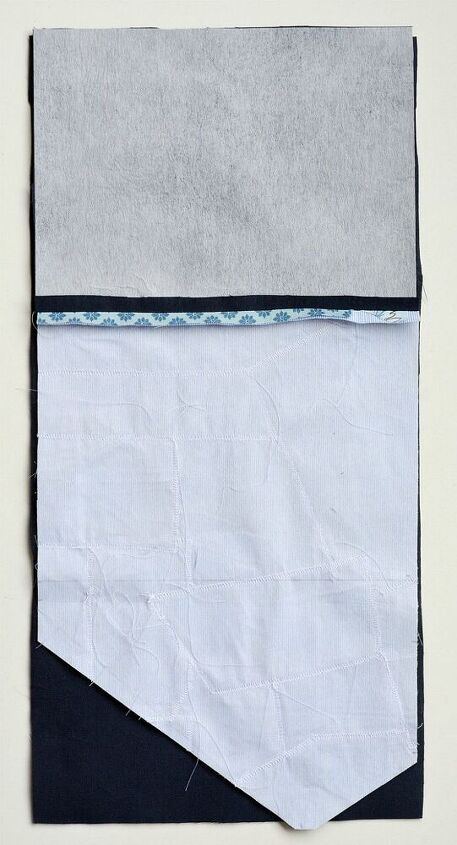
Iron interfacing to your front panel piece. Place this right sides together along the short straight edge of the scrap fabric. Stitch the seam with a 1/4″ seam allowance then press.
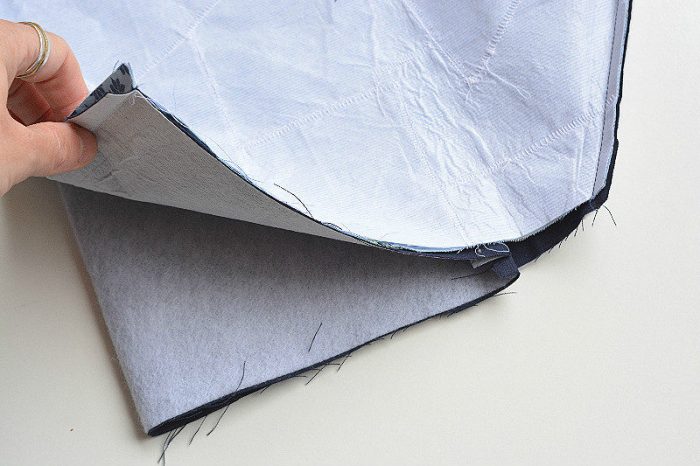
Iron the fusible fleece to the reverse of the lining fabric. Using your fabric scrap piece as a guide cut out the front flap triangular shape.
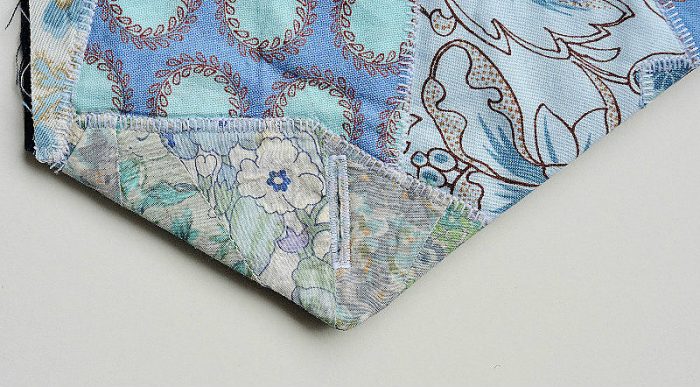
Place the lining and the main bag right sides together. Stitch the short side and the triangular shape. Trim the seam allowance around the point of the triangular shape being careful not to cut into the seam stitching.
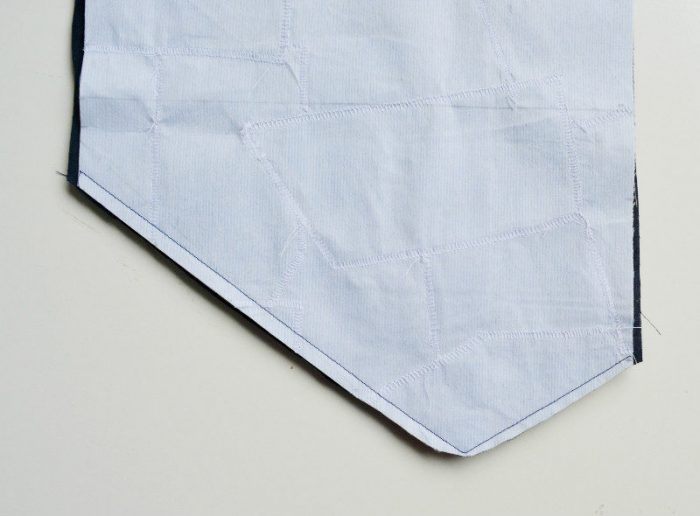
Turn right side out and press.
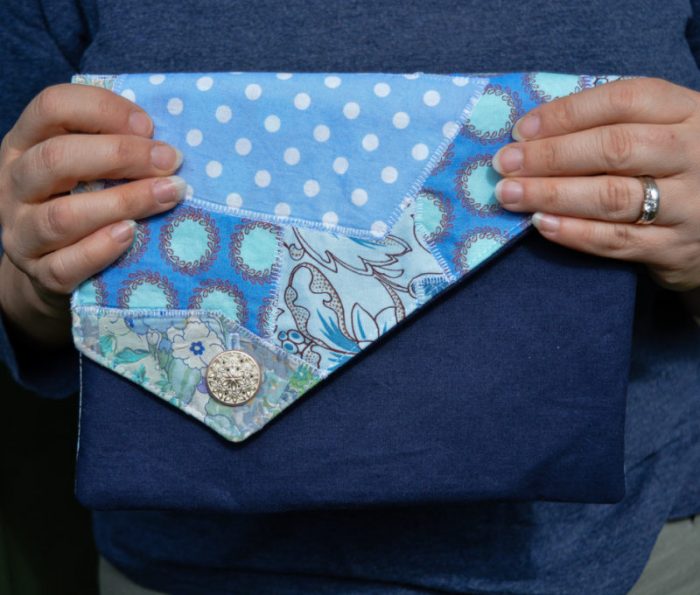
Fold and press as your finished clutch. Sew your button hole in the v shape, ensuring the top of the button hole is parallel or shorter than the start of the straight edge (on the left hand side as you look at it)
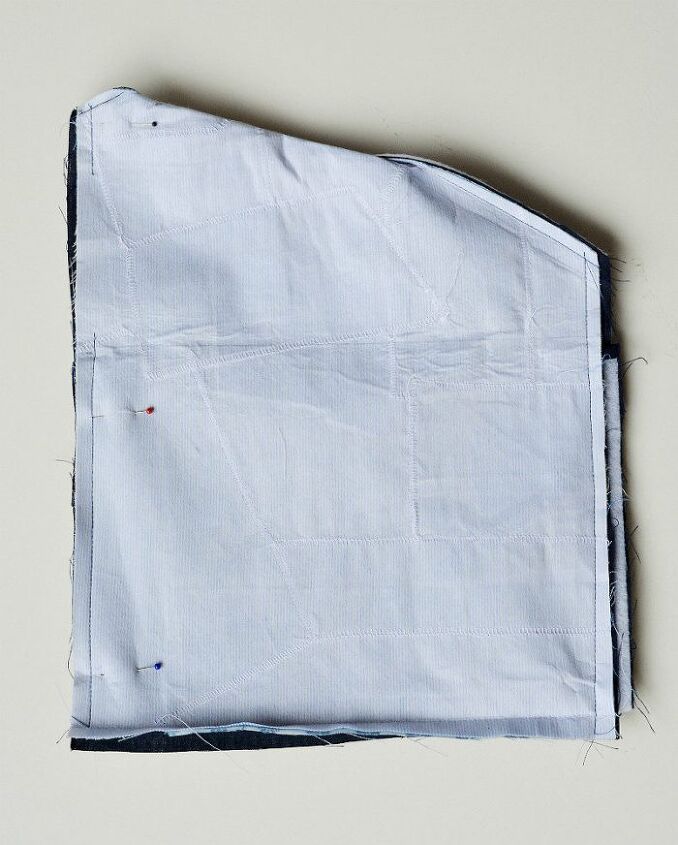
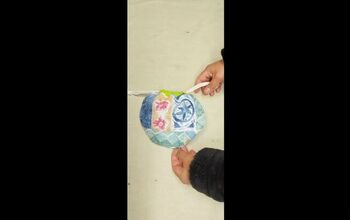
Turn inside out so right sides are touching. Fold the bag in as per the picture.
Stitch the side seams allowing a turning gap on the closing flap.
Turn right side out, press in the side seam.
Topstitch around the v flap. Finally, add your button.
The author may collect a small share of sales from the links on this page.


Comments
Join the conversation
I LOVE anything that allows me to use scraps to make a useful product! A great gift idea! THANKS!
I am using a similar method to use fabric scraps. I have spent the winter making a crazy quilt. I took an old sheet and cut it into 10 x 12 inch rectangles to use as my base onto which I sew the pieces of scraps. I do fold all the scrap seams under and baste before the machlne stitching. To finish the blanket I am using a coordinating fabric about 3 inches wide to join the pieces. I am using that same fabric to use as the back of the blanket . It has been such fun making each rectangle a different design.