How to Easily Get Beautiful Heatless Headband Curls Overnight

Heat can be super damaging to our hair, and sometimes we want easy, effortless curls without the risk of doing harm.
In this tutorial, I’m going to show you how you can create curls with a headband to minimize the heat you’re adding to your hair without minimizing your style. Let’s get started with these gorgeous headband curls!
Tools and materials:
- Headband
- Brush or comb
- Hair clips
- Spray bottle
1. Dampen hair
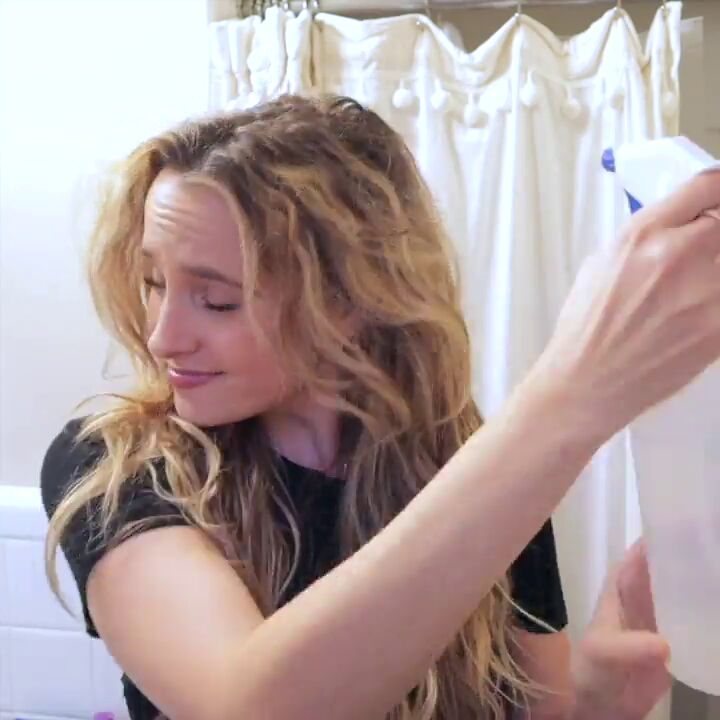
When creating curls without heat, you always want to dampen your hair by spritzing it with water. This allows us to shape our hair however we want so it dries and settles in the position we choose.
Take a bottle of water and spray it all over your hair.
2. Detangle
Use a brush or comb and detangle your hair. That’ll help you achieve the look of smoother curls and brushing while wet reduces frizz.
3. Put on the headband
Your heatless curls headband should be placed just at the top of your head where your forehead meets your hairline and should be lying flat.
4. Section hair
Separate your hair into two sections. One section should have a bit more hair than the other section, so the distribution should be slightly uneven.
Clip away the thicker section with a banana clip for later.
5. Wrap the first section
To get headband heatless curls, start by taking a small section of the thinner section of hair we just separated. Then, wrap that new section under and then over the headband, all the way down until to the nape of the neck. This should wrap around 3-4 times.
Then, take the remaining section and separate it into two sections. Wrap the first section around the headband once, then wrap the second section around the headband just once.
Finally, gather the tail end of the now combined hair and wrap all of it around the headband until it’s all wrapped.
6. Wrap the second section
Let down the clipped-away hair and split it into two sections. Clip away the section closer to your face for now. Taking the section closer to the back of the head, wrap it around the headband similar to the last step until you run out of hair.
Depending on how long your hair is, it should wrap around until it reaches the front of your face.
Now, take the section closer to your face we clipped away and let it down. Wrap this section around the headband in the front of your face, following the curvature of your forehead. Wrap until you run out of hair.
7. Sleep
Now you sleep!
8. Take down your hair
After you wake up and your hair is fully dried, it’s time to take it down. You’ll immediately begin seeing the curls your hair formed overnight.
9. Shake it out
Your hair will most likely appear as really tight ringlets so I recommend giving your hair a really good shake after you take it down to loosen up the curls. Shake until you get the desired curl and you’re done!
Headband curls tutorial
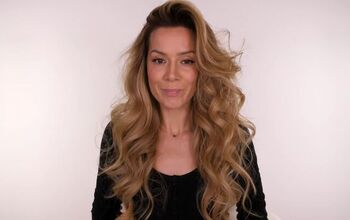
Here’s the finished look! These headband curls are super easy to do overnight so you can wake up primed and ready for the day. Plus, you don’t have to worry about damaging your hair or causing unnecessary frizz.
If you’re avoiding heat, definitely try out this tutorial and let me know how it goes!
Enjoyed the project?
The author may collect a small share of sales from the links on this page.











Comments
Join the conversation
Omg, u r absolutely Gorgeous!!!!!!!!!👍️🤩
Doesn't his trick work on all textures of hair ? Does it only work for just hair like yours?