3 Cute Heart Hairstyles You Can Easily Create This Valentine's Day

This Valentine's Day, get into the spirit of love with these three heart hairstyles! One is a twisted heart, one is a traditional heart braid, and the final one is more of a knotted heart.
Let's learn how to create a heart in your hair in 3 different ways.
Tools and materials:
- Brush
- Clear elastic
- Pocket mirror
- Bobby pins
Twisted heart hairstyle
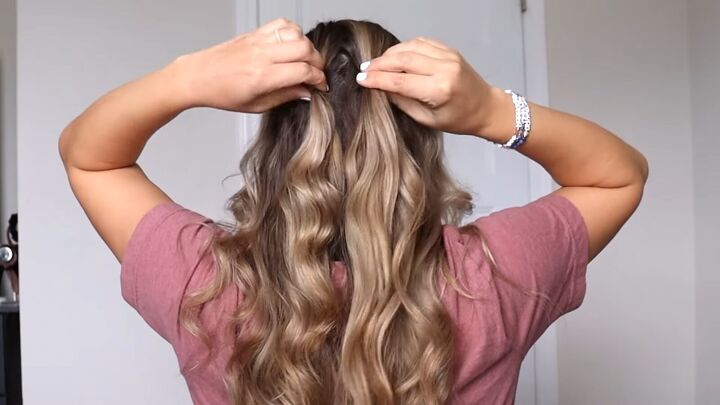
1. Tie sections of hair
Take two small sections of hair at the back and tie them with clear elastics.
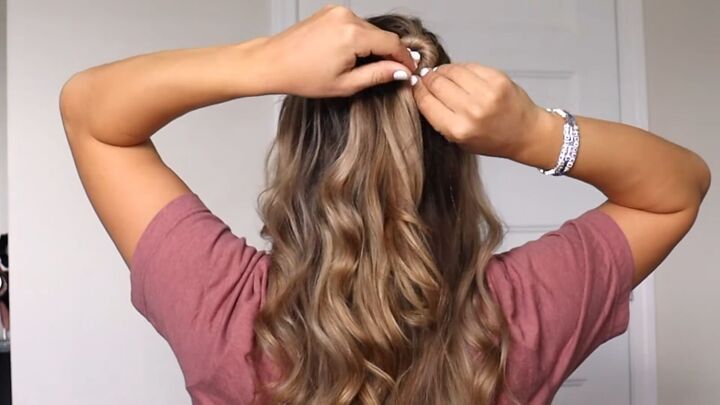
2. Twist the ponytails
Twist one section until it coils, then bobby pin to secure. I needed two bobby pins here.
Repeat on the other side. Twist the section up and around, then pin it in place. This is what it should look like.
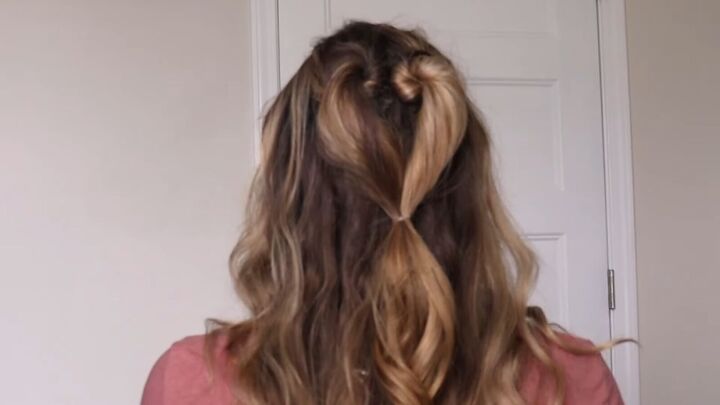
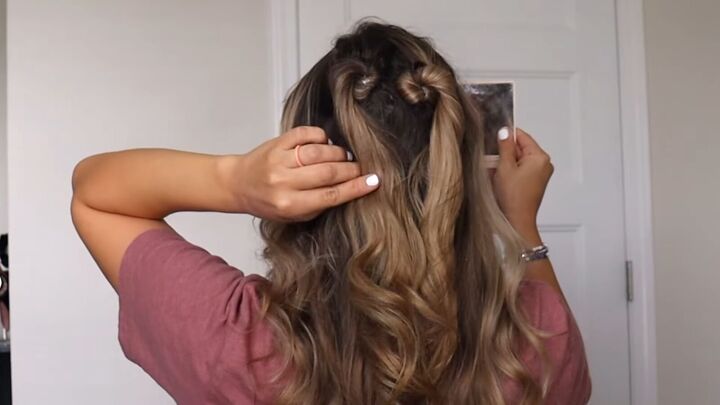
3. Tie the ends together
Take the loose ends from both sections and tie them together to make a heart shape. There you have a beautiful heart-shaped design! This is so easy to do.
Heart braid hairstyle
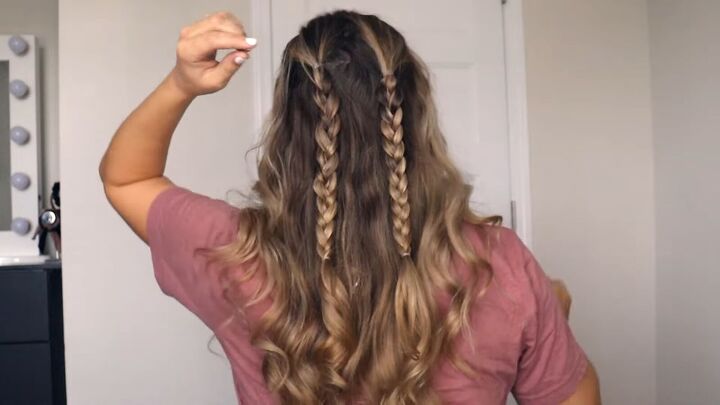
1. Tie and braid hair sections
Just as the first hairstyle, tie two sections of hair at the back of your head. Then, do regular 3-strand braids all the way down and tie the ends with clear elastics.
2. Twist the braids
Following the same technique as the first hairstyle, twist each section up and around, then pin it into place.

3. Tie the ends
Tie the braids with a clear elastic to make a heart shape. What do you think of this gorgeous heart-shaped braid? You can readjust it and pancake it down if you wish. I think it looks so effective.
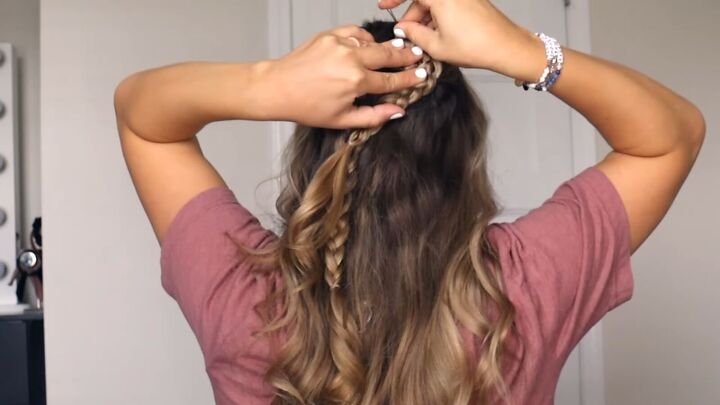
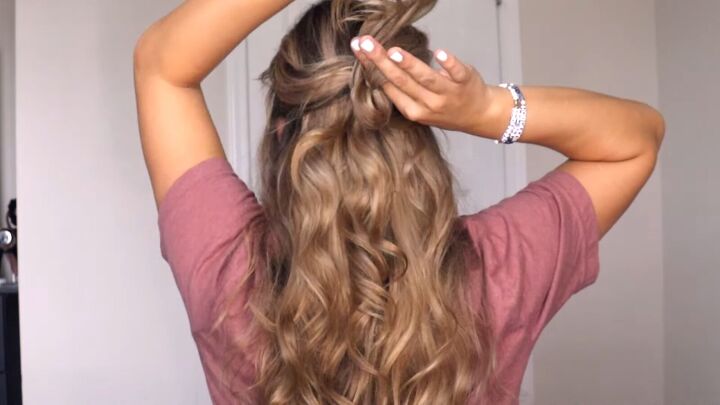
Knotted heart hairstyle
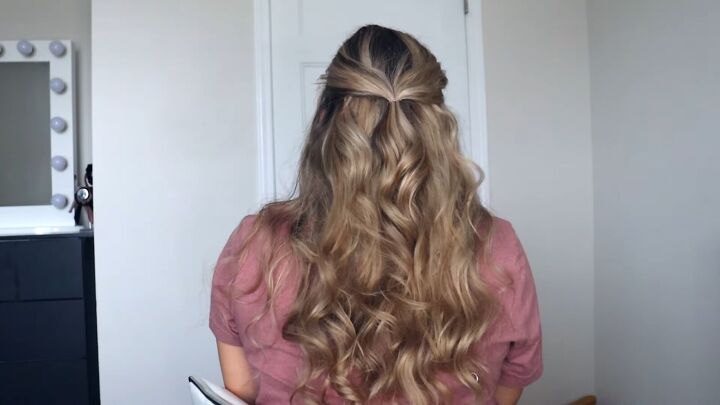
1. Make a half ponytail
For the final hairstyle, grab a section from each side of your head and combine it to form a half ponytail at the back.
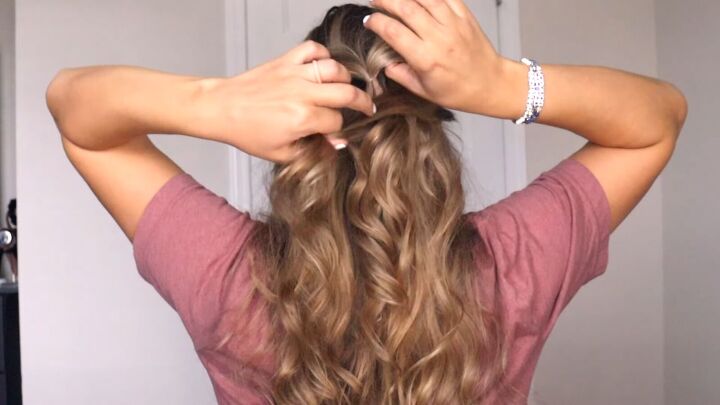
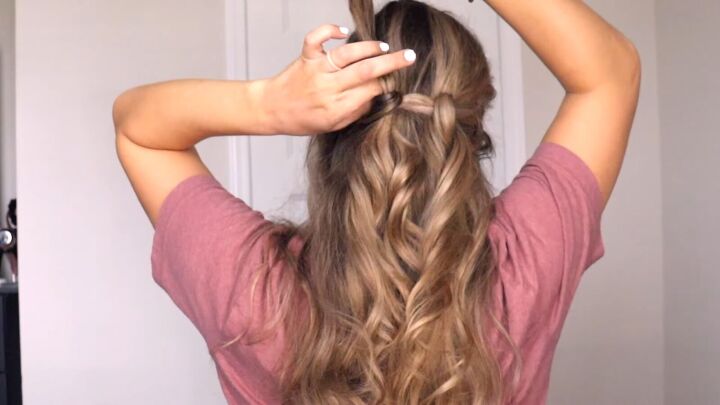
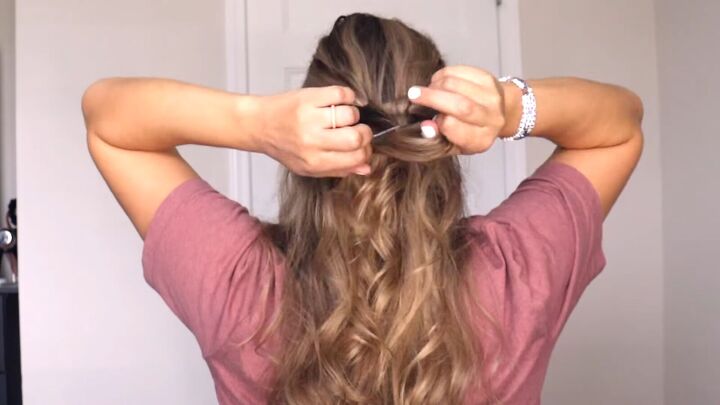
2. Tuck new sections into the half ponytail
Starting from the right side, grab a new section of hair from right under the first section you just tied off. Then, grab your thumb and stick it under the first section to create a gap.
Watch the video from 2:50 to see the exact steps slowed down.

Take the new section (hold it with your opposite hand), bring it up, over the top sections, and under the right section, pulling it through the gap.
Repeat on the opposite side.
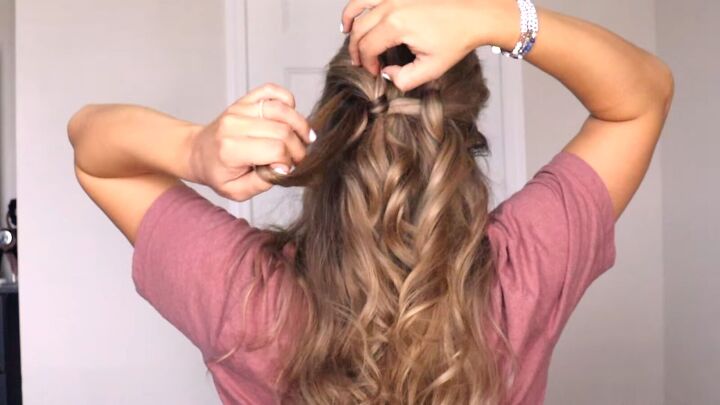
Here’s what it looks like on the left side.
This is what your hair should look like once both sides are done.
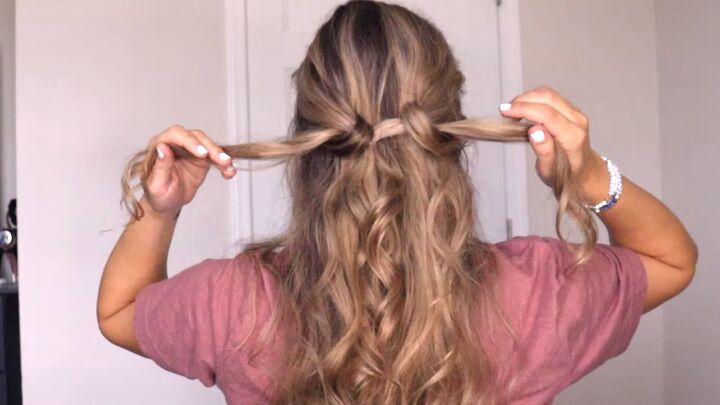
3. Tie the ends together
Take both sections that you pulled through and combine them with a clear elastic.
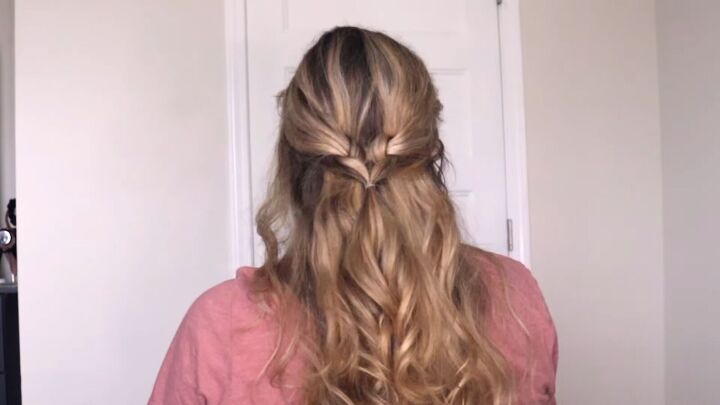
This is what your subtle and stylish heart hairstyle should look like. This one is definitely my favorite as it’s wearable for everyday looks (even if it’s not Valentine's Day).
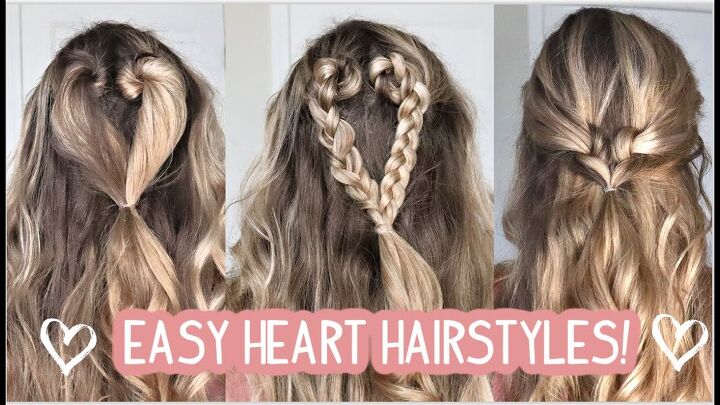
Easy heart hairstyles for Valentine's Day
That’s it, We are done! You now have three heart hairstyles to flaunt this Valentine’s Day. I hope you enjoyed my heart braid tutorial. These three looks are easy to create once you get the techniques down.
Let me know which was your favorite of the three heart hairstyles in the comments below. Thanks for joining me!
The author may collect a small share of sales from the links on this page.


Comments
Join the conversation