7 Super Cute Holiday Hairstyles

Having short hair can be hard sometimes because you feel limited in the ways to style your hair.
I’m here to help because, today, I'm going to show you some super cute and super simple ways to wear your bob-length hair for Christmas. Let the holiday hairstyles begin!
Tools and materials:
- Comb
- Clips
- Hair elastics
- Curler
- Red bow
- Bobby pins
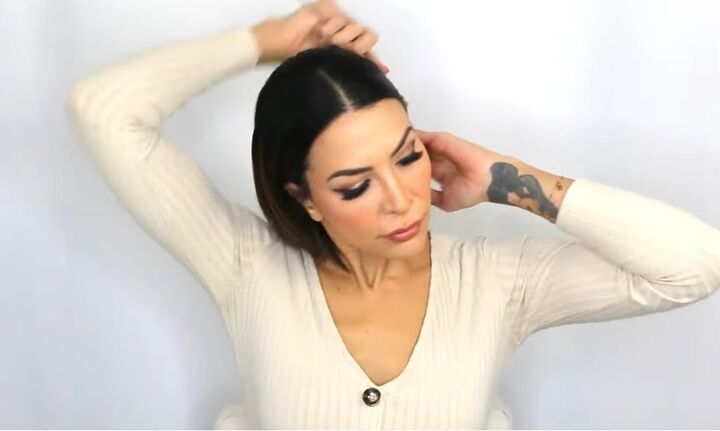
Sleek low pony
1. Make middle parting
Make a sleek middle parting.
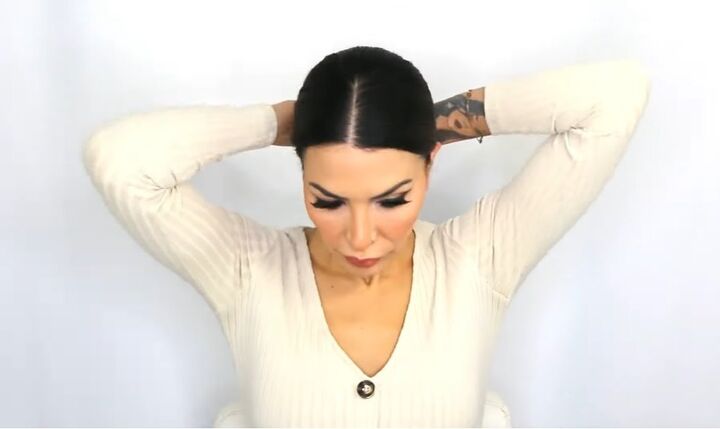
2. Tie a ponytail
Pull your hair back into a low ponytail, or if you have enough hair, then into a low bun.

You can totally jazz this up by adding some adorable accessories clustered on one side.
I love this look because it is super trendy and sophisticated, and ultra-sexy at the same time.
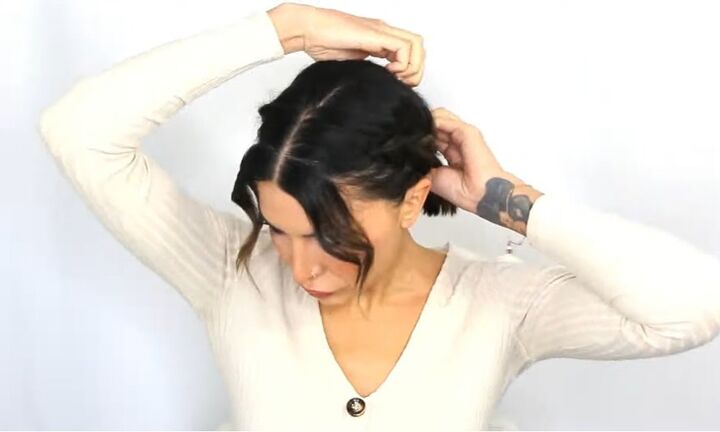
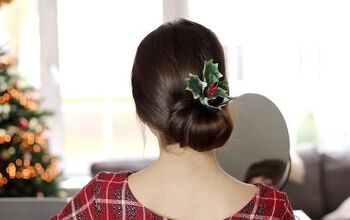
Tucked bun
1. Brush front hair out
Start with a low ponytail but leave out lots of soft pieces of hair around your face.
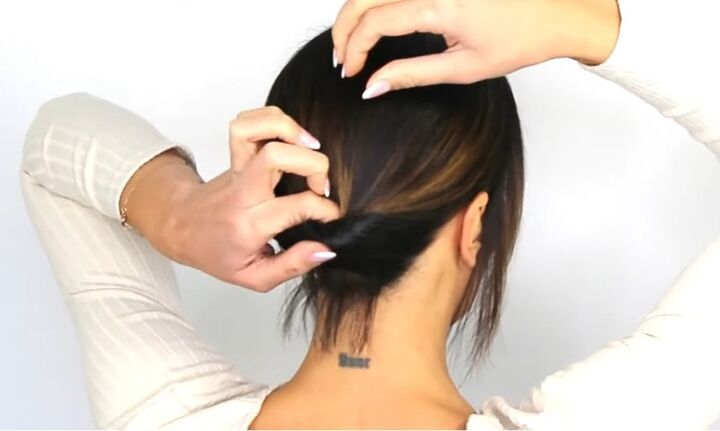
2. Create a half-bun
Pull your hair into a ponytail, and start a topsy tail, except don’t pull the ponytail all the way through.
Just tuck it into the hair at the back. This will create a curled-up bun effect.
I have some little nape hairs at the back that are falling out because they are very short, but I didn't try to spray or clip them in.
I just love the way they look because they add an element of softness. I also curled the hair at the front.
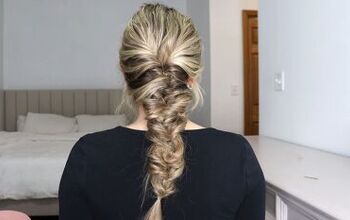
Braided ponytail

1. Braid both sides of your hair
If you're good at braiding, a cute thing you can do is a double dutch braid on each side of the head. You can do this with your bangs left in or out.
I'm going to leave some face-framing sections out on mine. All that you're doing is a three-stranded braid.
Integrate hair into the side sections, and bring it under the middle, so you keep integrating and moving the side sections under the middle section.
Repeat this all the way down.
2. Tie a ponytail
Secure it with an elastic and put it in a little ponytail.
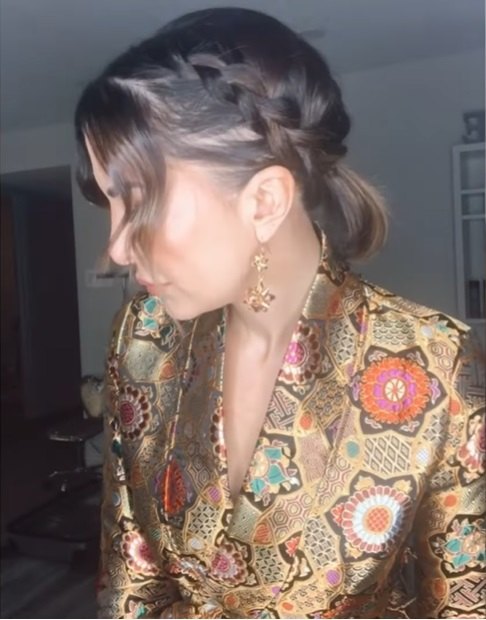
This is a really trendy and fun look for the holidays.
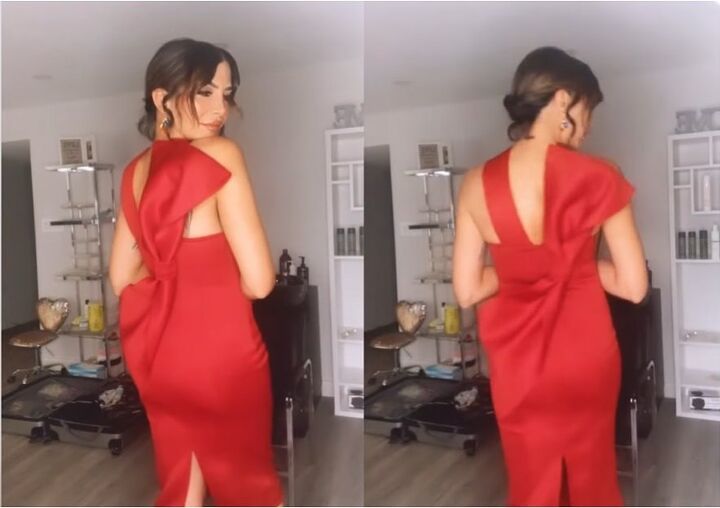
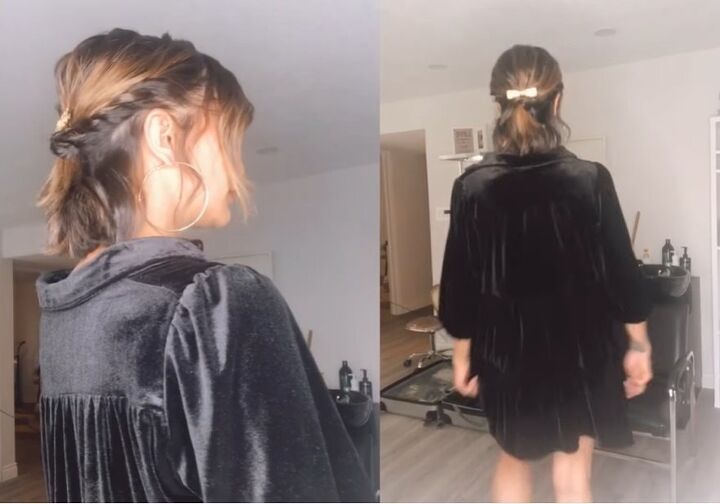
Red bow
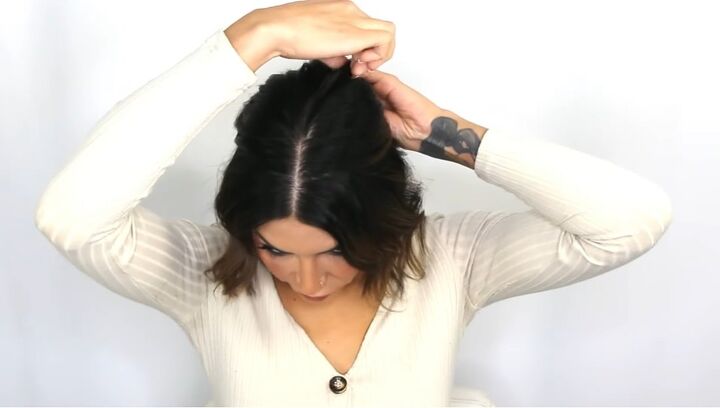
1. Curl hair
Start by curling your hair to just create some gentle waves.

2. Tie a half-ponytail
Pull a little bit of your hair back in a tiny elastic.
3. Pinch out hair
Then pinch out some volume from the hair that is tied up.
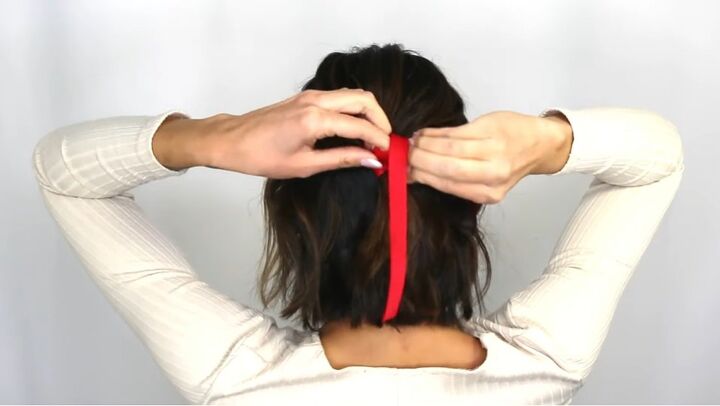
4. Add bow
Finish by covering the elastic with a red bow.
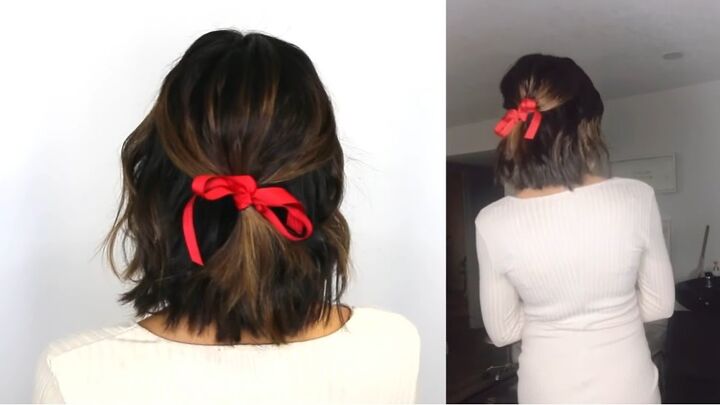
This look is so easy, but it looks really festive, so feminine, and adorable.
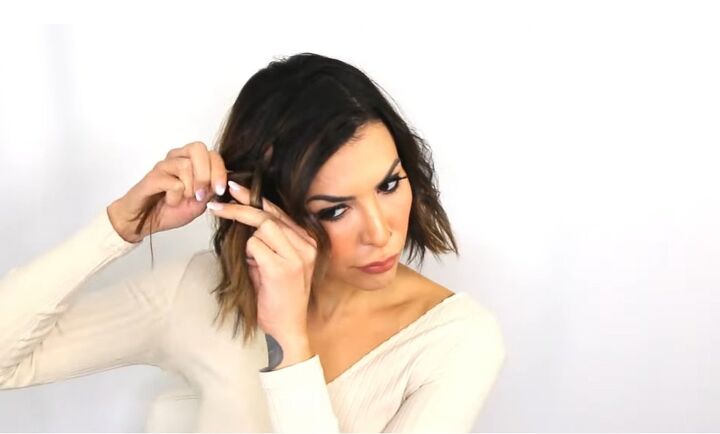
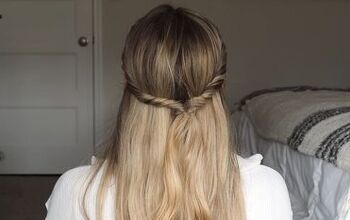
Rope braid
1. Do a rope braid
Tie your hair into a half ponytail, then grab hair from the sides and do a rope braid.
To do this, grab a piece of hair from the side, divide it into two pieces and then turn them on top of each other.
Every time you get to the bottom section, incorporate some hair into that section. Repeat on the other side.
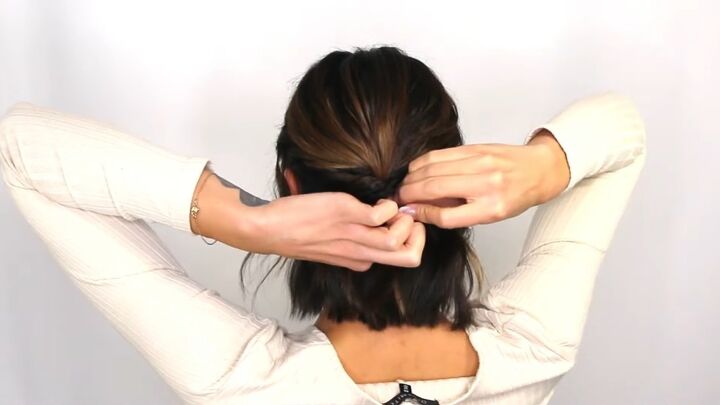
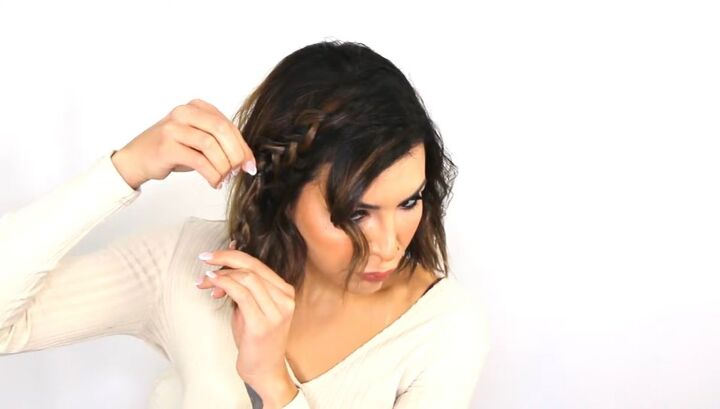
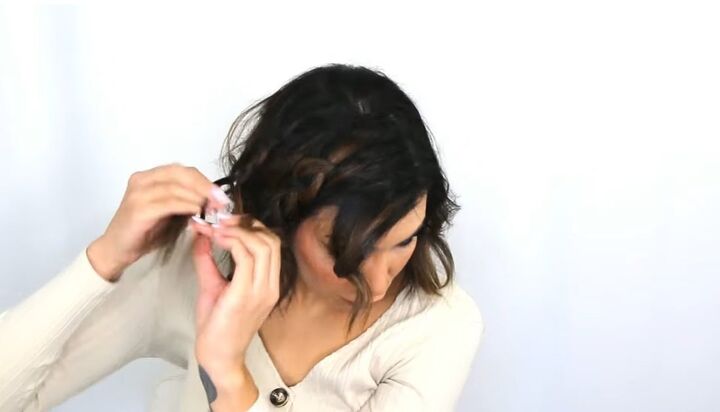
2. Cross it over
When you get to the back, cross it over the elastic and secure it with a bobby pin.
It looks really good if you pinch out the volume after you do this.
You can use some really cute clips to accessorize the top of this and hide anything that you don't want showing, like the elastic.
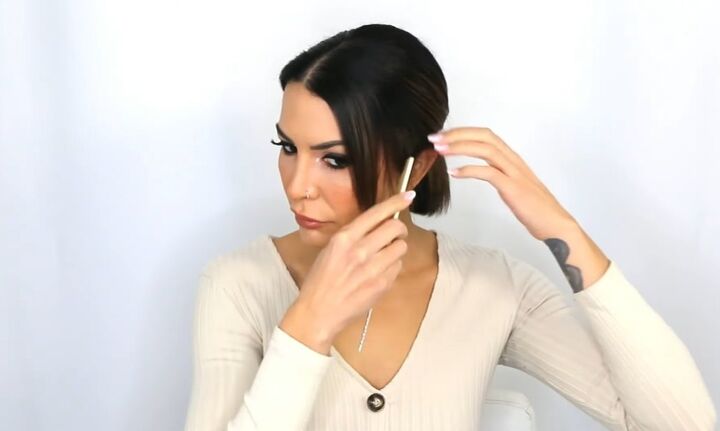
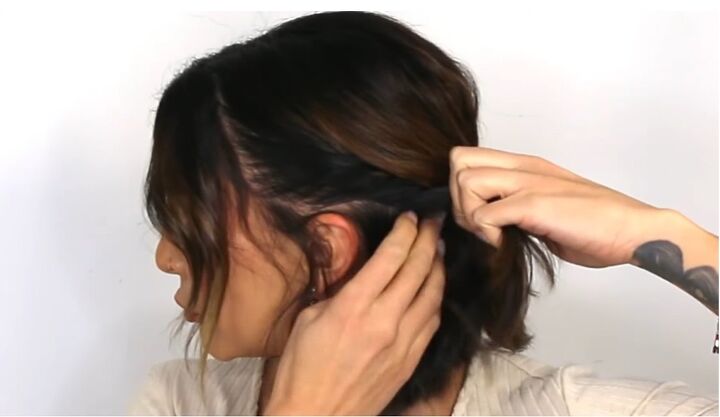
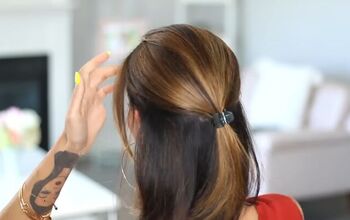
Side part
Now we're going to switch it up and move over to a side part.
A side part is great because it gives loads of volume at the front. So, f you have a rounder face that you want to elongate, doing something with the side part is awesome because it really adds length to your face.
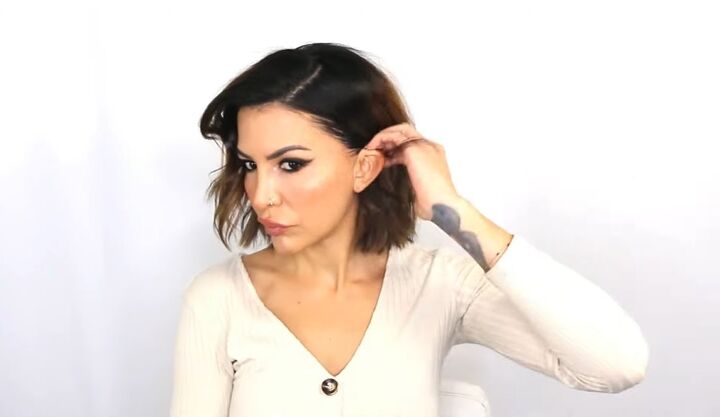
1. Create the side part
Tuck the hair back on one side behind your ear to create smoothness on one side and loads of volume on the other.
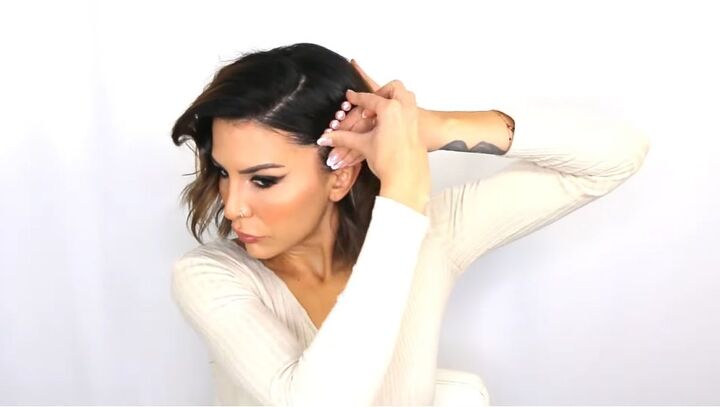
2. Add clips
Then do a festive pin cluster on the smooth side.
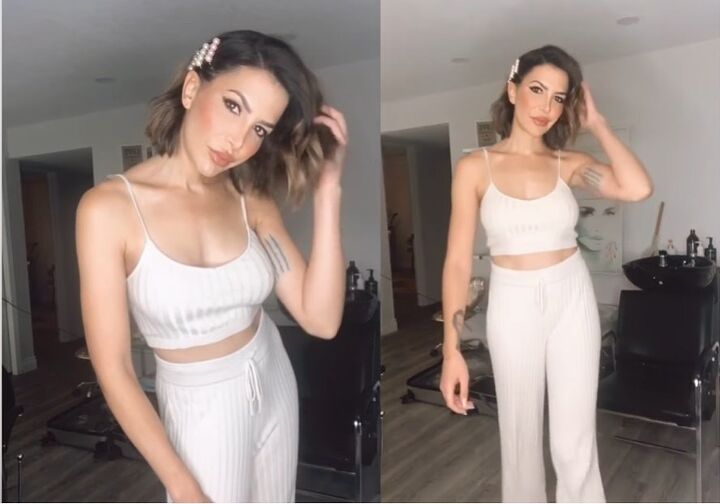
This is an absolute staple look of mine, I wear this all the time to special events.
Double braided
1. Braid hair
Start with a dutch braid.
2. Pull braid out
Then pull the dutch braid out to make it look as wide and as fluffy as possible.
3. Make another braid
Now do a regular three-stranded braid right behind it, and tie them both together with a tiny elastic.
Finish off this look with some accessories, and you are ready to hit the town.
Here is the finished look!
Holiday hairstyles
All of these looks are super cute and great for short hair. Let me know which one is your favorite in the comments below.
If you enjoyed this post, check out my Super Glam Hair Pearls Tutorial.
The author may collect a small share of sales from the links on this page.


Comments
Join the conversation