How to Make a Hair Towel Wrap With This Free Pattern
I’ve got a dead easy project for my curly headed sisters: how to make a hair towel wrap.
I will be the first person to admit that I’ve not always loved my curls. Growing up in a super hot, humid climate did not endear my curls to me. As I’ve gotten older, and actually found someone who specializes in cutting curly hair, I’ve learned some things that make me appreciate my hair a lot more.
One of the biggest gamechangers is using a hair towel (no frizz!) vs. a regular one (frizz city!).
If you have curly hair yourself or have a friend, seriously make this project right now. I love this so much, I made a free hair towel pattern for you. It will make such a difference in how good your curls look. Bonus, it takes very little fabric, it’s reversible and only takes about 20 minutes to sew.
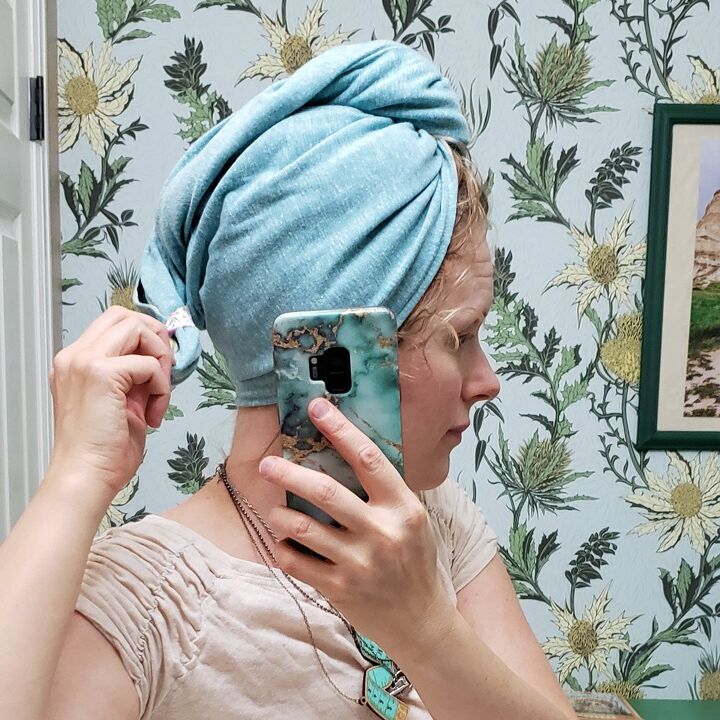
Table of Contents
What kind of fabric should I use for a DIY hair towel
Jersey is your good buddy here. Smooth knits absorb the moisture from the shower without creating frizz unlike terry cloth.
I’ve also successfully used scuba knit. Scuba is maybe the only polyester jersey I’d recommend. You don’t need much stretch for this project.
You can use cotton or cotton/poly jersey yardage. If you have a microfiber towel, you can cut that up too. I personally prefer jersey. T-shirts work well here too. Before I started using hair towels, I would plop my curls into a old t-shirt.
To recap, some good fabric choices to make a DIY hair towel:
- Cotton jersey or cotton/poly jersey
- Scuba knit
- Old t-shirt (upcycling opportunity!)
- Microfiber towel
- 80/12 universal machine sewing needle
- Stretch double needle (optional)
elizabethmadethis.com is a participant in the Amazon Services LLC Associates Program, an affiliate advertising program designed to provide a way for websites to earn advertising revenues by advertising and linking toSome of the links below are affiliate links. This means that, at zero cost to you, I will earn an affiliate commission if you click through the link and finalize a purchase.
How to make a hair towel wrap supplies
- Free DIY hair towel wrap pattern (see below for how to get that)
- 1 yard of cotton jersey or 1/2 yard each of two contrast cotton jerseys
- Foldover elastic or picot elastic
- S ewing pins or Clover Wonder Clips
Get the DIY hair towel wrap pattern
The pattern is available inside the Resource Library. You can get the DIY hair towel wrap pattern for free when you sign up for the newsletter below. Once inside the library (there’s a password), print out the pattern and tape the pieces together.
How to make a hair towel wrap step by step
Cutting your pieces
Hair towel (pattern piece)Cut 2 from one jersey for outside of towelHair towel (pattern piece)Cut 2 from contrast jersey for inside of towelElasticCut 2 pieces 4″ long
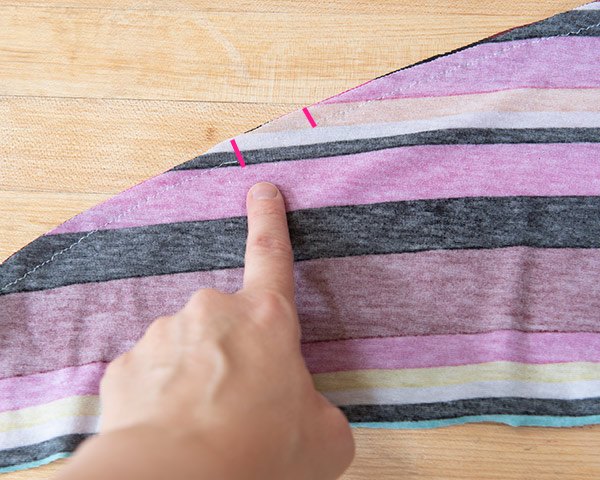
Transfer the marking for the elastic to your pattern pieces once you’ve cut everything.
Sew on the elastic
Fold one of the elastic pieces in half.
Line up the elastic ends with the marking for the elastic on one of the hair towel pieces. Pin the elastic in place.
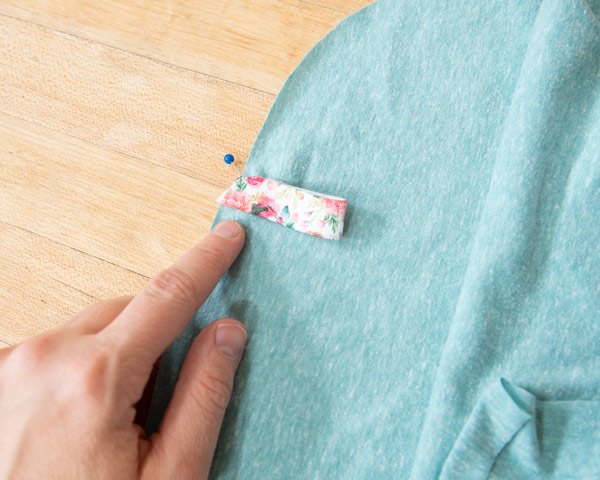
Change your machine to a zigzag stitch with a 0.5mm width, 2.5mm length ( narrow zigzag stitch).
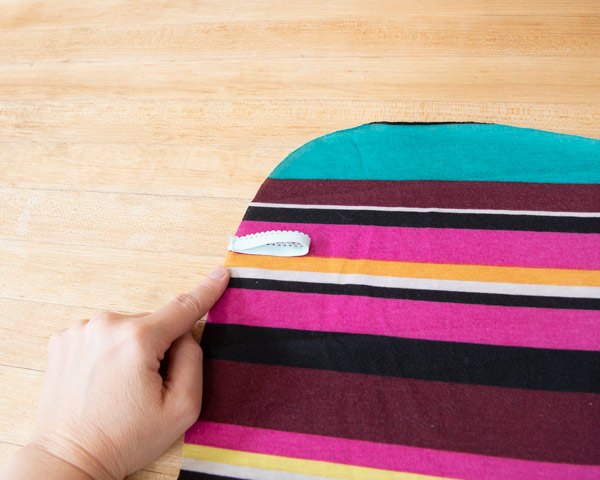
Stitch down the elastic close to the raw edge. The loop should be facing towards the body of the hair towel piece at this point.
Repeat this process for one of the inside pieces. This step is required if you want to make your DIY hair towel wrap reversible. If you don’t want that feature, just add one loop of elastic on the outside only.
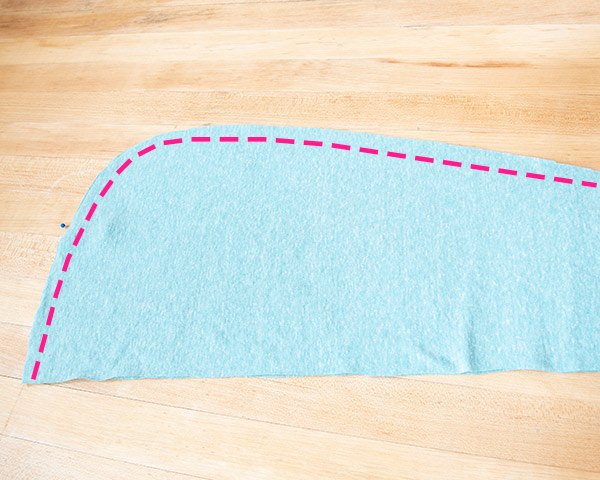
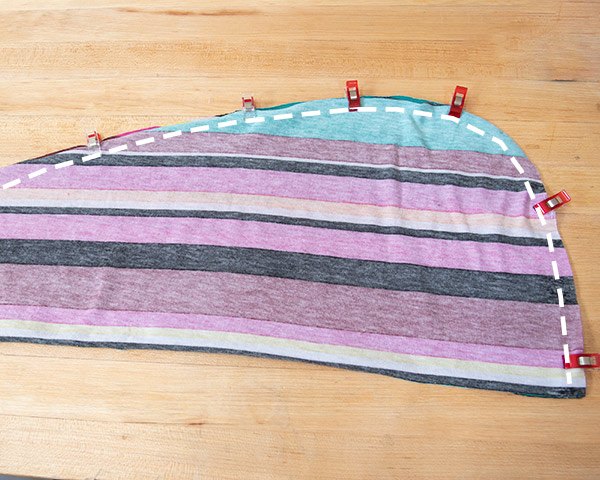
Sew the outer hair towel wrap pieces together
Lay the DIY hair towel wrap pieces right sides together, using clips to hold the pieces together along the curve.
Stitch around the curved edge with a 3/8″ seam allowance.
Sew the inner (lining) hair towel wrap pieces together
Lay the inside pieces you cut right sides together, and use your clips to hold the pieces together along the curve.
Stitch around the curved edge with a 3/8″ seam allowance, leaving a hole for turning somewhere along the curve.
Sew the towel pieces together
From here, turn one of the pieces right side out and slip it inside the other.
Clip the layers together along the bottom edge, matching up the side seams.
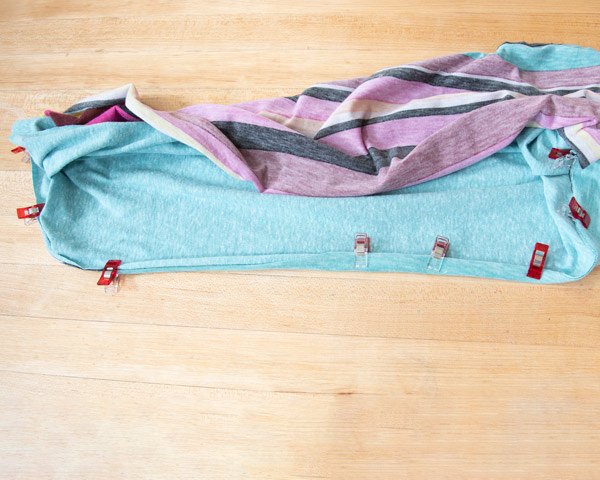
Sew the layers together all the way around the bottom edge with a 3/8″ seam allowance.
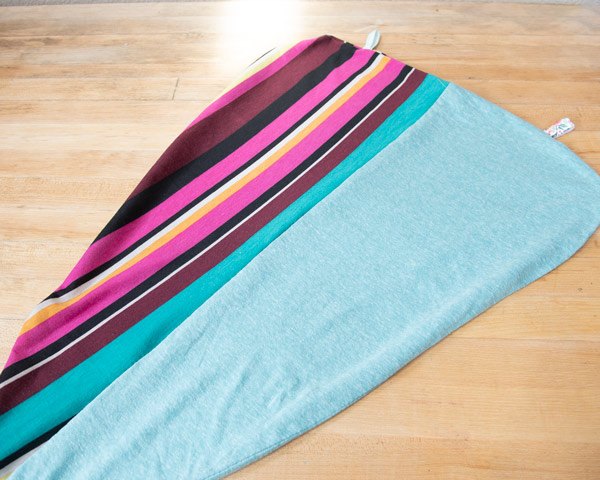
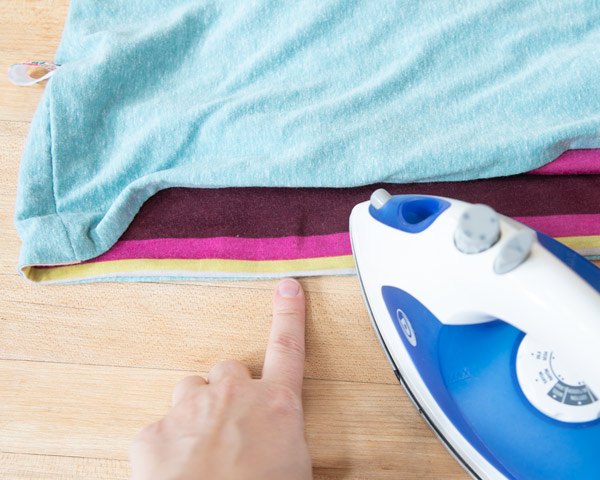
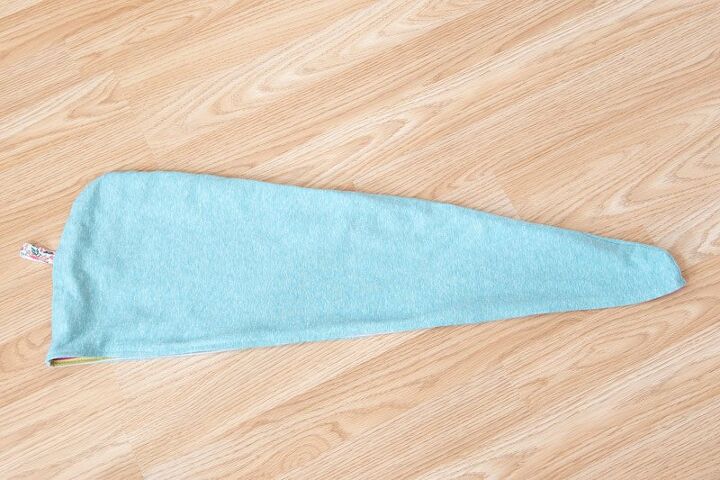
Press the DIY hair towel wrap
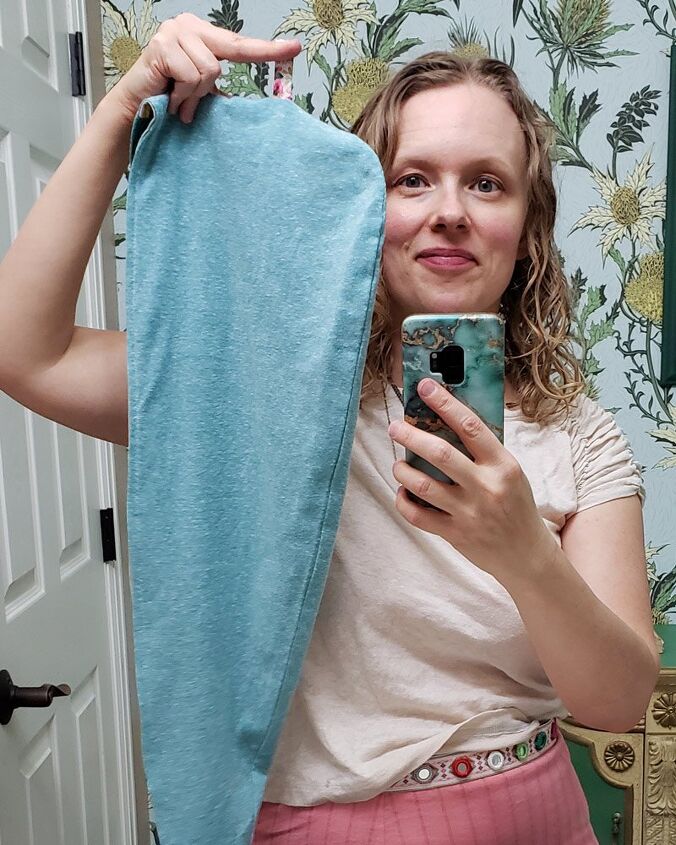
Next, press the towel wrap flat. It’ll look like a kite!
After that, press the seam allowances on the hole so that they’re even with the seam edges.
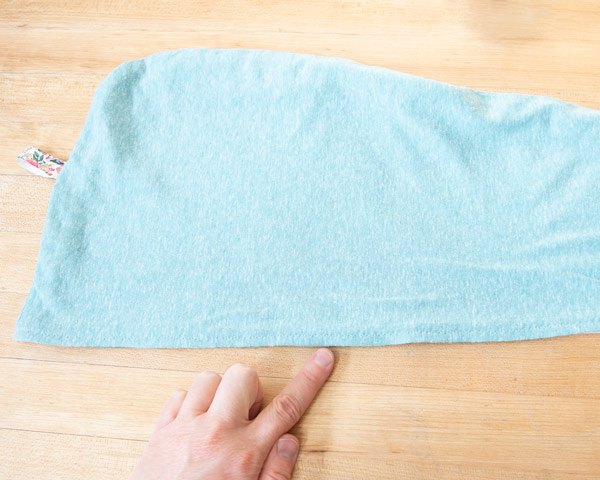
Slip the lining inside the outer towel and press the bottom edge.
Close up the hole
Pull out the lining and stitch up the hole close to the edge. Be sure to backstitch at the beginning and end of the stitching.
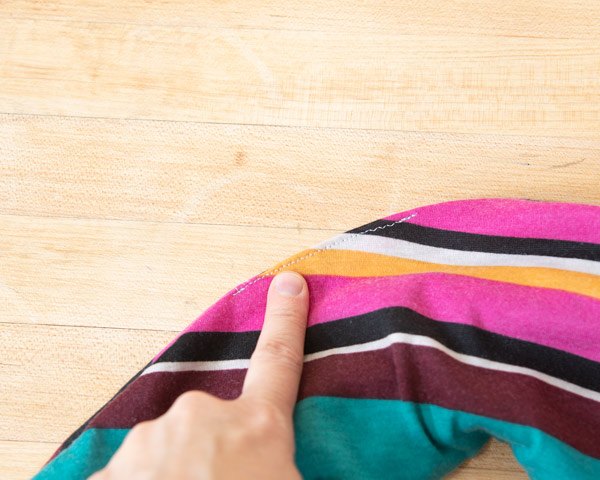
Sewing the hem
Stitch 1/4″ away from the bottom edge, continuing with the narrow zigzag stitch you’ve been using.
You can switch to a double needle here if you’d like, but it’s not necessary.
How to use your DIY hair towel wrap
Now that you’ve learned how to make a hair towel wrap, you may be asking, how do I use this thingy?
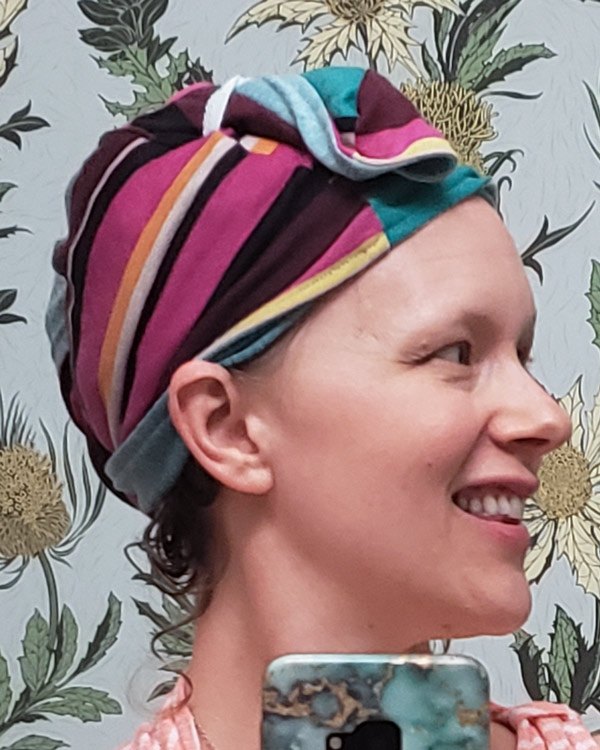
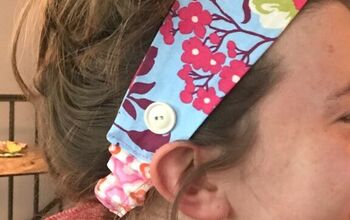
Wash your hair as you would. Apply your styling products on wet hair with your head flipped upside down, scrunching out the extra water. Plop your curls into the hood part of the towel wrap. Twist the ends around your head and slip the end through the elastic loop.
Let the towel absorb the extra moisture for a few minutes before you style your hair. You can also use it to scrunch out more water. My hair gets water-logged easily because it’s fine, so I usually do this.
And that’s how easy it is to make a DIY towel wrap that’ll keep your curls looking awesome.
More easy sewing projects to make:
How to make a hair towel wrap with this free pattern
I’ve got a dead easy project for my curly headed sisters: how to make a…
35 Back to school sewing projects to start the year right
Looking for some back to school sewing projects for your creative kid? Here you’ll find…
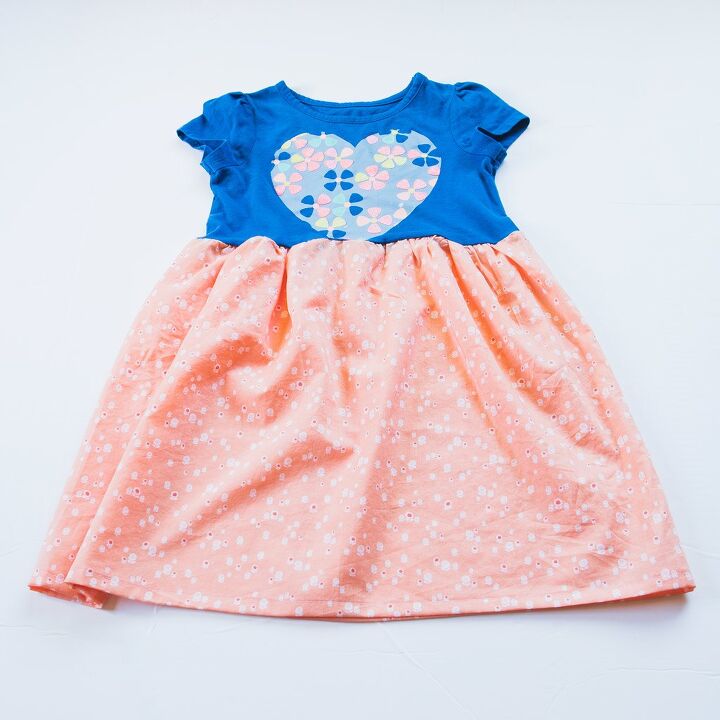
Quick and cute DIY t-shirt dress: How to turn a t-shirt into a dress (2T-14 sizes)
This post is all about showing you how to turn a t-shirt into a dress….
Elizabeth Farr is the writer behind the Elizabeth Made This blog where she shares helpful sewing tips, step by step sewing tutorials and videos to help you explore your creativity through sewing. She has written sewing Eguides and patterns, been a featured teacher at Rebecca Page’s Sewing Summit and Jennifer Maker’s Holiday Maker Fest and her work has appeared in Seamwork and Altered Couture magazines. She also created a line of refashioned garments for SEWN Denver. When her sewing machine isn’t humming, she’s playing and teaching violin, and hanging around a good strategic board game with her husband and 4 kids.
The author may collect a small share of sales from the links on this page.


Comments
Join the conversation