How to Make a Santa Hat With Faux Fur Trim in 7 Quick & Easy Steps

In this tutorial, I’m going to show you how to make a Santa hat to rock for Christmas. It's so quick and simple to do. So go ahead and pick out either a classic red material or a fun holiday print and let’s get right into it.
Tools and materials:
- White faux fur muffler
- Tape measure
- Scissors
- Fabric
- Pencil
- Ruler
- Pins
- Sewing machine
- Needle and thread
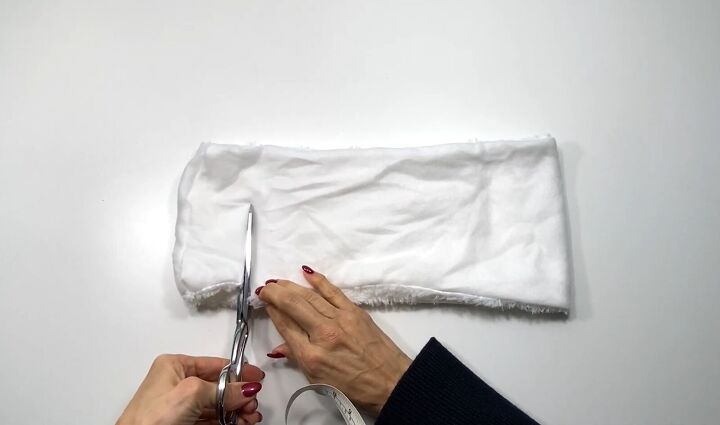
1. Cut the muffler
Turn your faux fur muffler inside out and, on one end, cut off about 2.5 inches (6cm).
The more you cut off, the smaller the Santa hat will be, so I would advise putting the muffler on your head first and seeing what your desired measurement is.
Then, put that spare piece of fabric aside as we’re going to use it later.
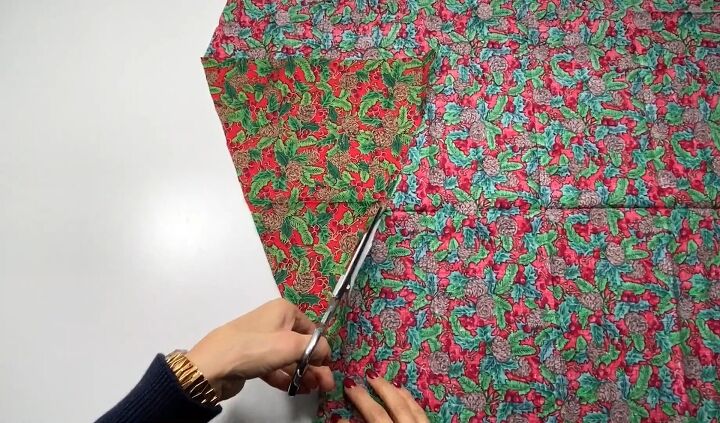
2. Cut out two triangles
The next thing you’re going to do is cut out your triangles for the main part of your hat. The triangles should measure 12 inches (30cm) and be about 13 or 14 inches (33-36cm) high.
You can use any fabric you want for this hat. Here, I’m staying with the Christmas theme, and I’ve gone for a cute holly print fabric.

3. Sew the triangles together
Once the triangles are cut, you’re going to sew them together right down the diagonal sides, leaving the bottom open. You can finish off the bottom with a zigzag stitch if you like; I don’t think you need to because the plush hides that part, so it’s unnecessary.
Pin the sides together and sew them. Then, proceed to sew closed the faux fur on the open end.
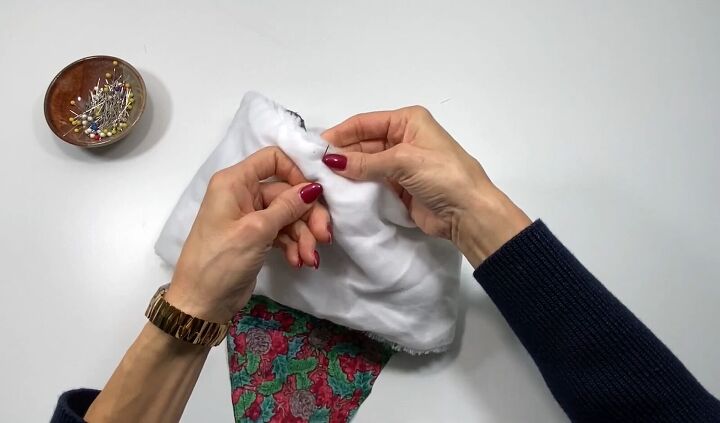
4. Attach the muffler to the fabric
The next thing you’re going to do is have both wrong sides facing out and slip the triangles inside the muffler. Take one seam edge of the fabric, line it up with the seam of the muffler, and pin them together.
Pin around the whole top area of the muffler and then sew. You want to keep the faux fur as close to the edge as possible.
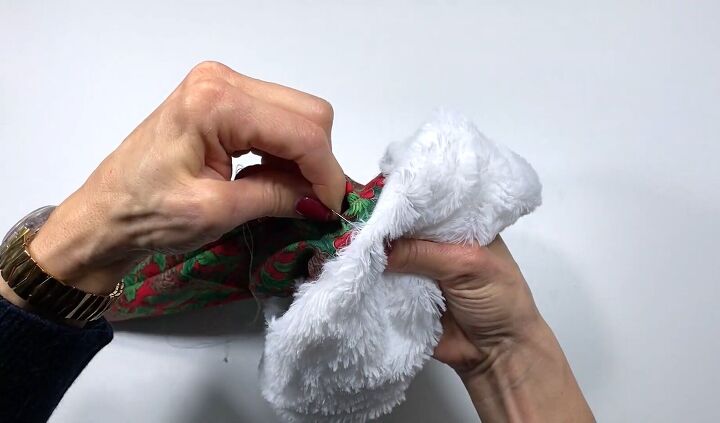
5. Tack the muffler
Next, turn the hat right side out and turn the faux fur over. Give it two tacks, one on either side, so it stays in place. To do this, use a double threaded needle.
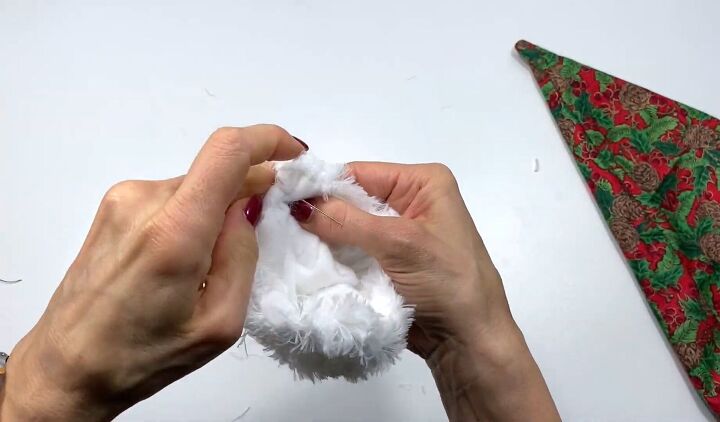
6. Create the pompom
We’re almost done! The next step is to make the little pompom up on top.
Take that piece of extra fabric from the beginning, and with your double threaded needle and on the wrong side of the faux fur, make a basting stitch all around the edge. Then just cinch it together.
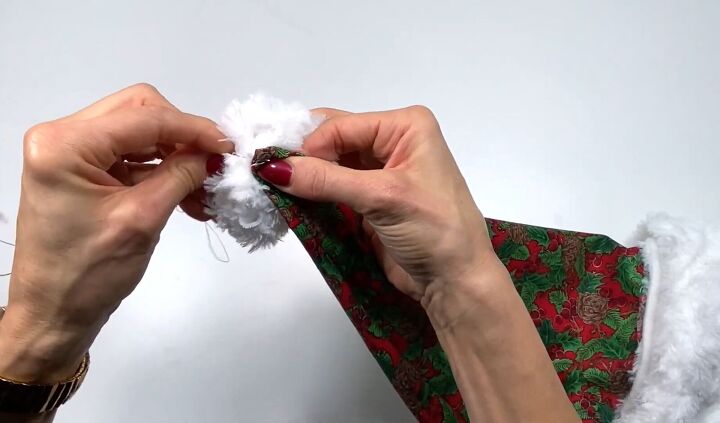
7. Attach the pompom to the hat
The last step is just to sew the pompom onto the tip of the hat. You want to do quite a bit of stitching to make sure it is secure on there.
How to make a Santa hat tutorial
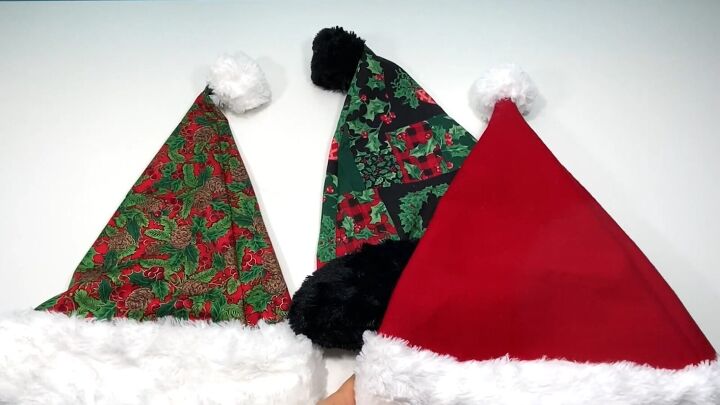
There you go! You have an adorable and personalized Santa hat. You can go with the classic Santa red or a cute Christmas print, and of course, you can add jingle bells and anything else you want on this.
These hats are so easy to make and such a fun accessory for your Christmas celebrations.
The author may collect a small share of sales from the links on this page.


Comments
Join the conversation