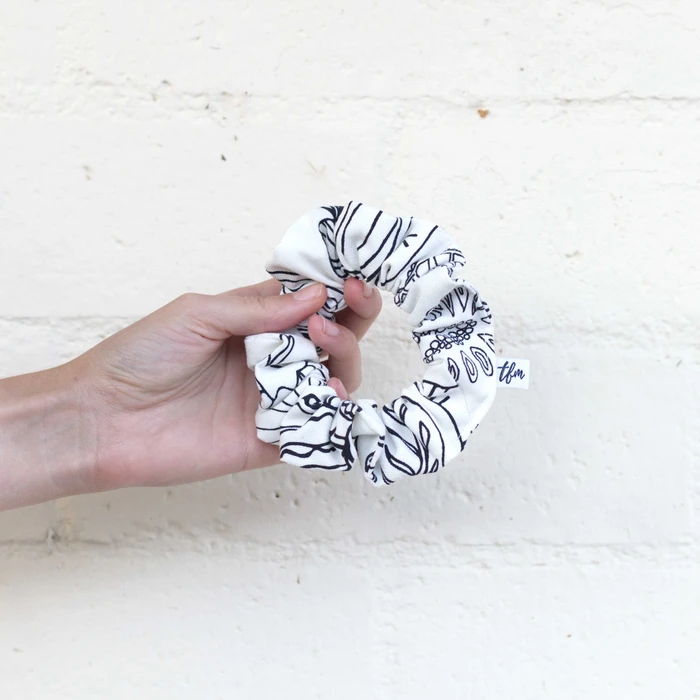
How To Make A Scrunchie: DIY Sewing Tutorial
You guys. I'm pretty excited for this week's newest addition to our DIY sewing tutorial series. Why? Because it takes me allll the way back to my 90's childhood. This week we are learning how to make a scrunchie!
Over the last few years, I feel like scrunchies have slowly been creeping back into mainstream fashion. We started to see them reappear on the scene a while ago, every once in a while. But now they seem to really be getting popular again.
I was at a trendy little trinket shop here in San Diego a few weeks back, called Pigment. And I kid you not--They were selling velvet scrunchies for $12 apiece. This made my jaw slightly drop, I couldn't believe that they were charging TWELVE DOLLARS for a scrunchie.
Something that is typically made from scrap fabric, and literally takes 30 minutes to create. Twelve dollars. So it gave me an idea: Why not just teach you guys how to make a scrunchie?
And save you the twelve dollars.
Go buy yourself a nice lunch instead. Or a book.
But really. Making a scrunchie is SO EASY, and it also uses up scrap fabric just laying at the bottom of your sewing box.
And you KNOW getting rid of scrap fabric is one of my favorite things to do. (Like when we made a DIY patchwork pillow & a chair cushion using nothing but fabric scraps!)
(Want to learn how to make a scrunchie? Not only is this the easiest project to date in our DIY sewing tutorial series, but it's also the quickest. Grab your free, printable tutorial below!)
When I was working in New York, we would often turn leftover fabric scraps into scrunchies. That is something that I loved about the company that I worked for--We used every last scrap of fabric so that there was no waste.
Which isn't always the case with clothing companies. (More often than not, it definitely is NOT the case.)
At the end of a production run, there are usually a few yards of fabric leftover. And those few yards are often too small to turn into a garment. So rather than just throwing the fabric away, why not turn it into something you can sell?
It's a win-win-win situation
(But please, don't charge twelve dollars if selling scrunchies using scrap fabric. That's just extortion.)
I have actually been thinking of creating & selling some scrunchies that will match the fabric of the Dany DIY kits. (Coming out later this month btw--Working so hard on getting everything together for them!) Because how cute: A matching scrunchie to go with the new dress you just sewed up! Have I convinced you to just learn how to make a scrunchie yet? Whether making it for yourself, giving one as an easy gift, or trying to be creative with finding ways to use up fabric scraps for your clothing company.. I think you are going to LOVE this DIY sewing tutorial.
(Want to learn how to make a scrunchie? Not only is this the easiest project to date in our DIY sewing tutorial series, but it's also the quickest. Grab your free, printable tutorial below!)
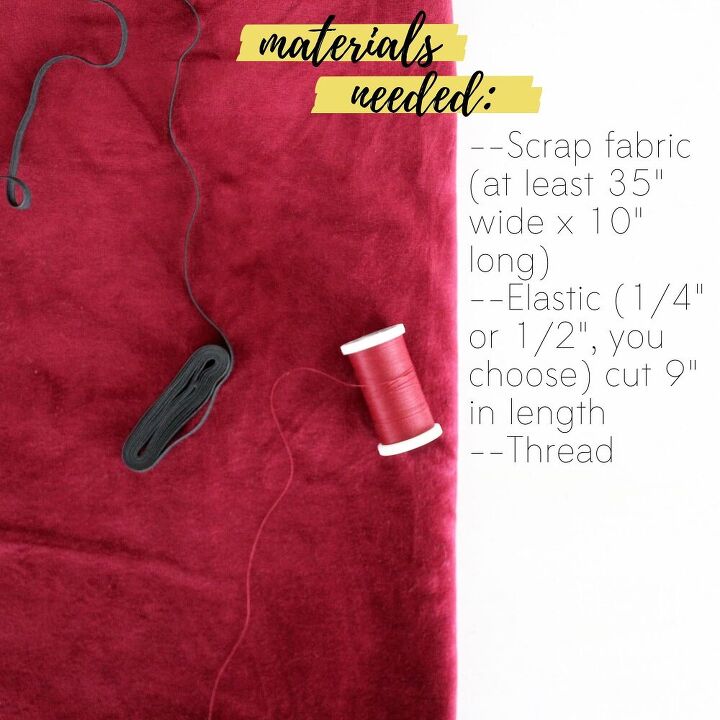
Thankfully, there really isn't much that is needed to DIY a scrunchie. Listed below are all of the materials that you will need to make a single scrunchie:
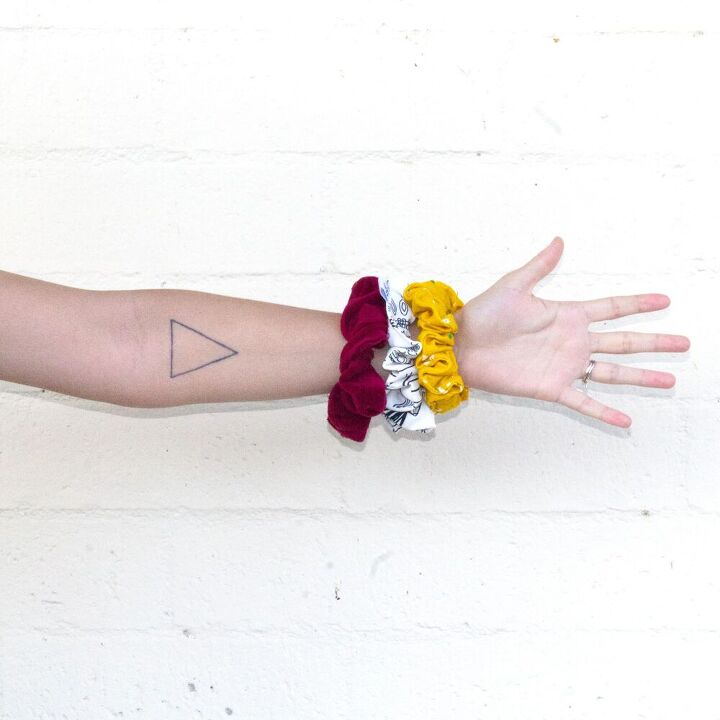
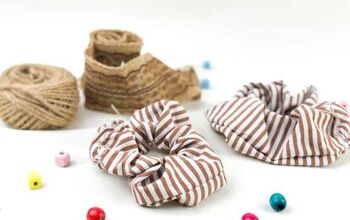
- Scrap Fabric: Grab a piece of scrap fabric, ideally about 35" long x 10" wide. The scrunchie itself is only 4" long, but I prefer to cut my scrunchies on the bias, to give it some extra stretch. I would also recommend using a fabric that has a little bit of stretch to it, although that isn't 100% necessary. (As you can see, I used a wide variety of fabrics for my DIY scrunchies!)
- Elastic: Use elastic 1/4"-1/2" wide, cut 9" long. I tested out both widths with my scrunchies, and the choice is really up to you. If using a 1/2" wide elastic, in the end you would just fold it in half so that it measures 1/4". Doing so results in a stretchier, tighter elastic. 1/4" Elastic still works just fine (and is what I use in this DIY sewing tutorial) but the choice is totally up to you.
- Thread: Use whatever thread you have on hand, that matches the fabric chosen for your scrunchie.
And literally, that's it. Those are all of the materials needed to make a DIY scrunchie, and they are most likely already sitting in your sewing box.
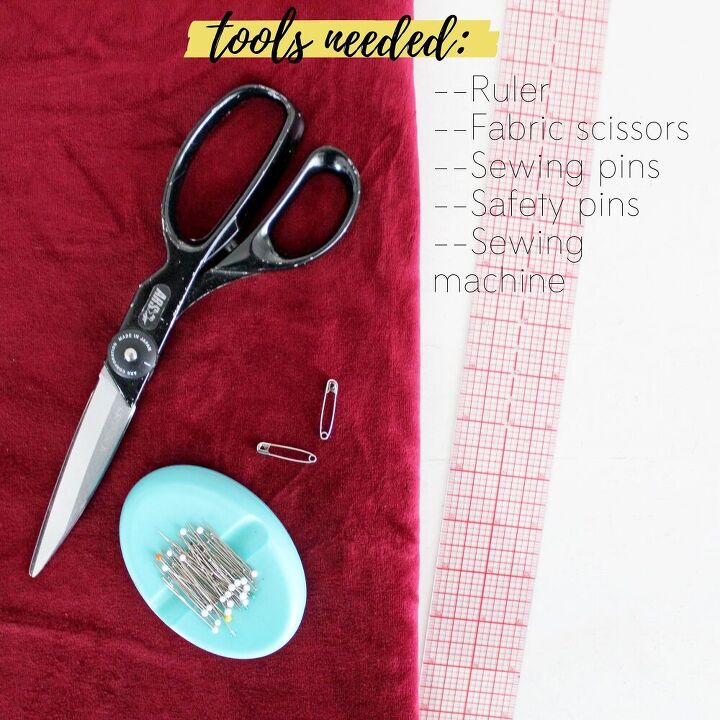
A few sewing tools will also need to be pulled out for this little project:
- Ruler: This will allow you to draw the length & width of the scrunchie on to the fabric. (So also grab a pen too, obvi.)
- Fabric Scissors: To cut out the scrunchie, duh.
- Sewing Pins: To help with sewing, mainly keeping the seams straight & even.
- (2) Safety Pins: These will help pull the elastic through the scrunchie. (Serious time saver here! But not life ending if you don't have any already at home.)
- Sewing Machine: Obvi.
And again, that's literally it. I told you, easiest DIY sewing tutorial EVER.

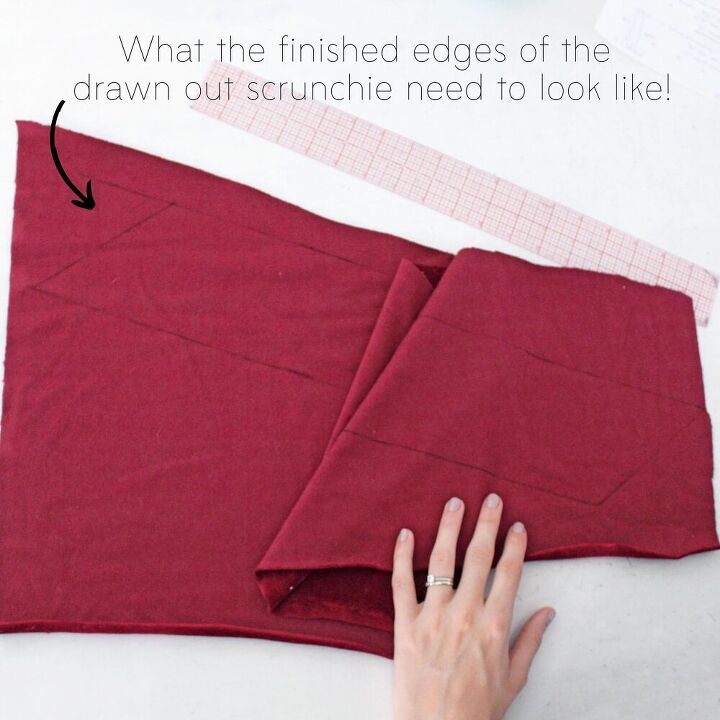
As mentioned above, I prefer to cut my scrunchies on the bias (i.e. diagonal) of the fabric. Grab the fabric & ruler. On the WRONG side of the fabric, draw a straight line on the bias about 35" long.
Draw a second line parallel to the first line (also 35" long) 4" apart. From the upper right corner, grab your ruler and measure diagonally across to the other line. When you reach 5", draw the diagonal line to connect the two parallel lines. Mark a dot 32" down from the upper right hand corner.
Repeat the process of grabbing the ruler and measuring diagonally across to the other line. When you reach 5", draw the diagonal line to connect the two parallel lines. (This essentially just ensures that the two edges of the scrunchie have the same angles.)
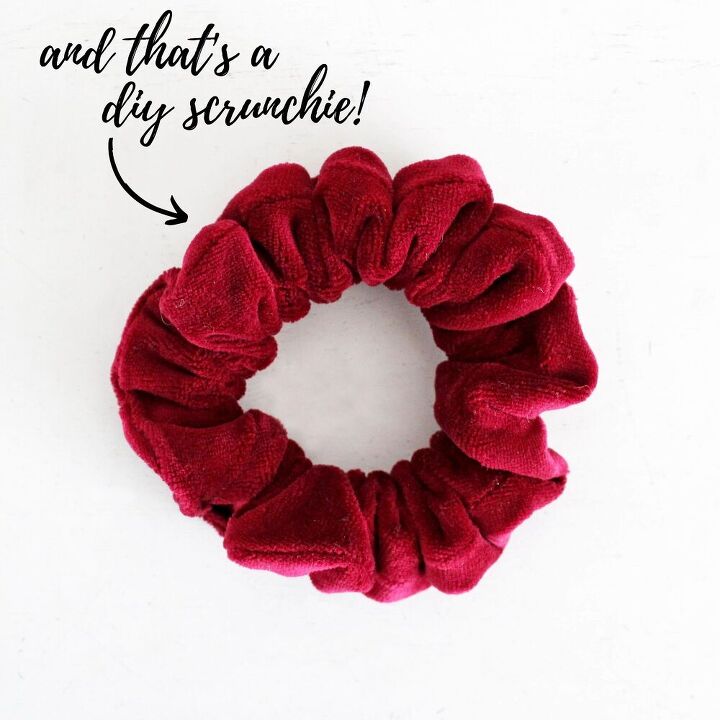
And that's your scrunchie!

With the scrunchie drawn out on the WRONG side of the fabric cut it out.
NOTE: The measurements above include a 1/4" seam allowance on all sides, so seam allowance does not need to be added to the scrunchie before cutting it out.
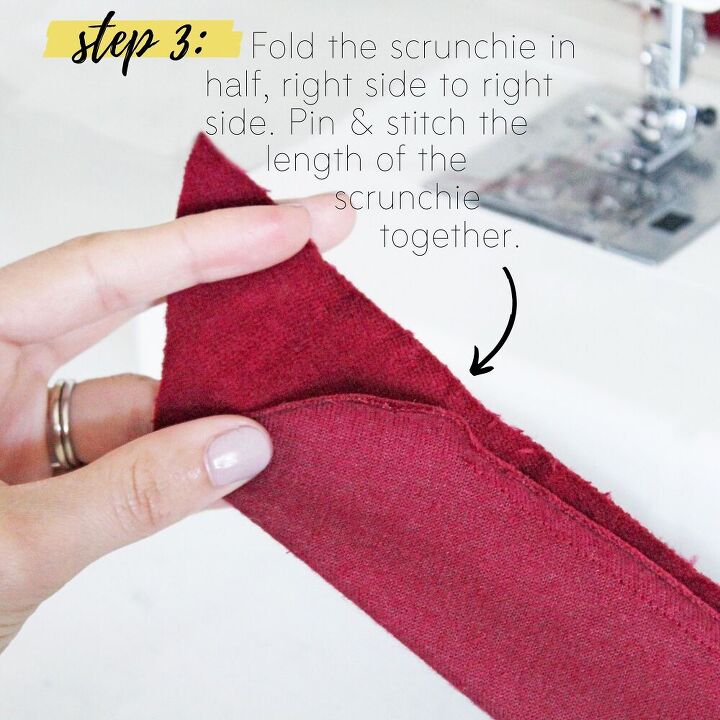
Next, fold the scrunchie in half, right side to right side.
Pin & stitch the length of the scrunchie together, making sure to leave 1/2"-1" of space open at the end of each side. (Near the diagonal edges.)
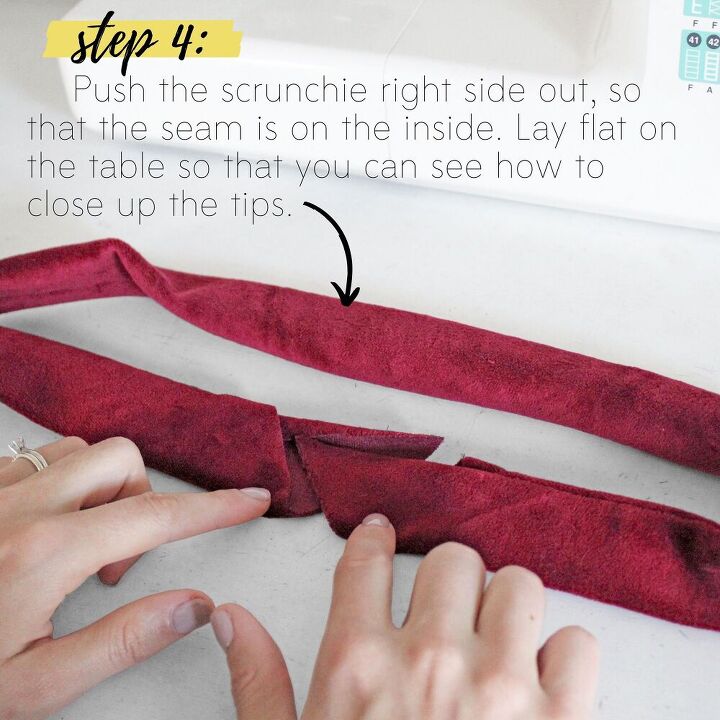
With the length of the scrunchie sewn together, push the fabric inside out. (Once this is done, the raw seam should be on the INSIDE of the scrunchie.)
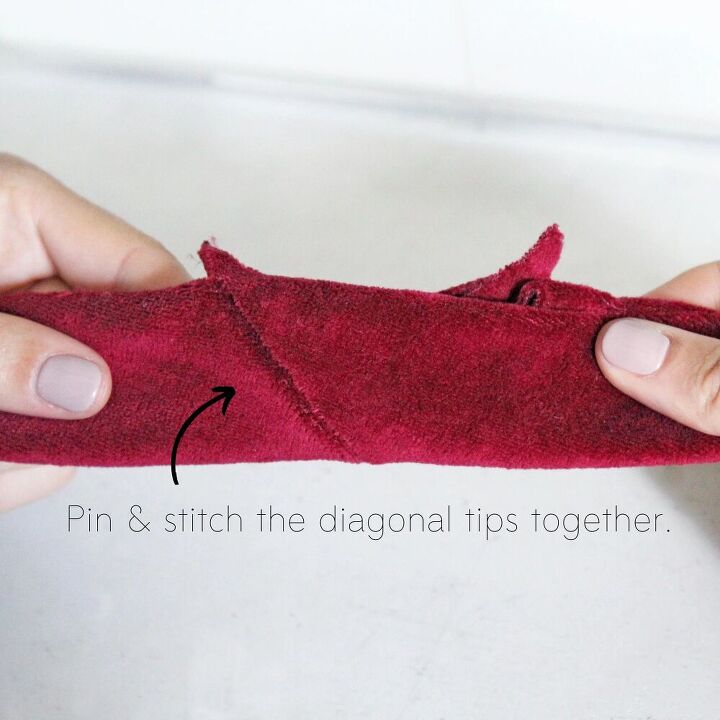
Lay the scrunchie flat on the table, then fold the unsewn tips over to the center. This is an easy way to see how the diagonal tips of the scrunchie need to be sewn together. Pin the diagonal tips together, right side to right side, and stitch.
NOTE: At this point, there should still be an open 1"-2" gap along the length of one side of the scrunchie.
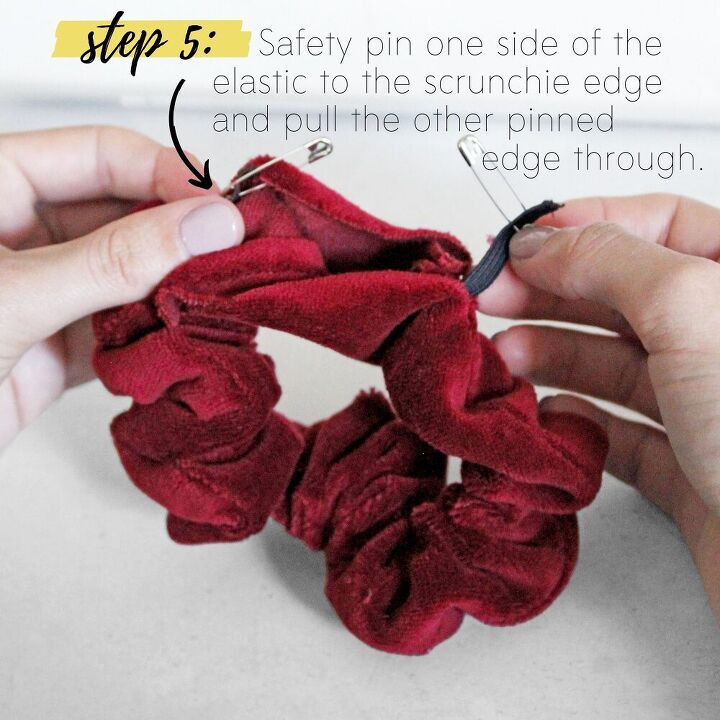
Next, grab the elastic. Safety pin one side of the elastic to an edge of the scrunchie. Then pin the other safety pin to the other edge of the elastic.
Using the safety pin on the edge of the elastic, pull it through the scrunchie until it comes out the other side of the circle.
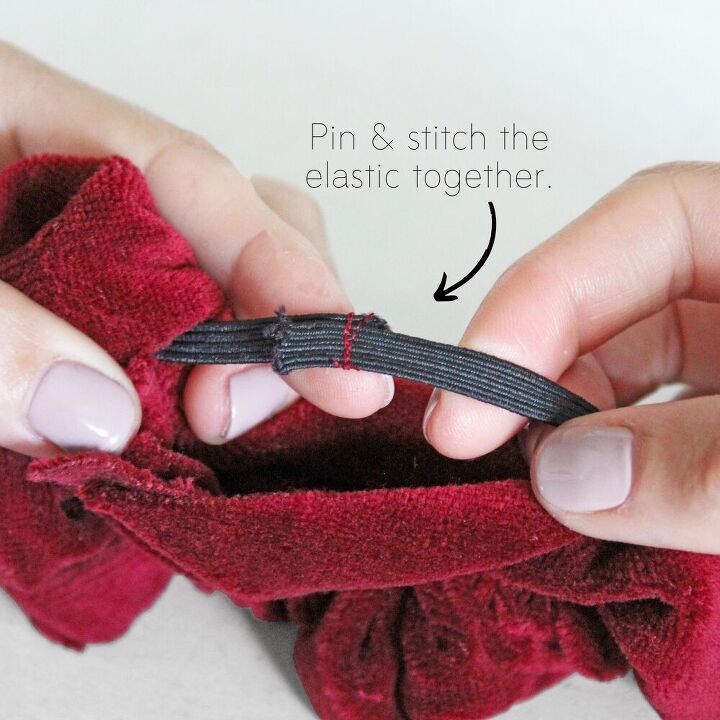
Unpin the other side of the elastic from the scrunchie, then pin the two edges of the elastic together & stitch to create a closed circle with the elastic.
NOTE: While you don't necessarily HAVE to have safety pins for this step, I highly, highly recommend it. It makes it SO much easier to pull the elastic through, and will save you a whole lot of time.
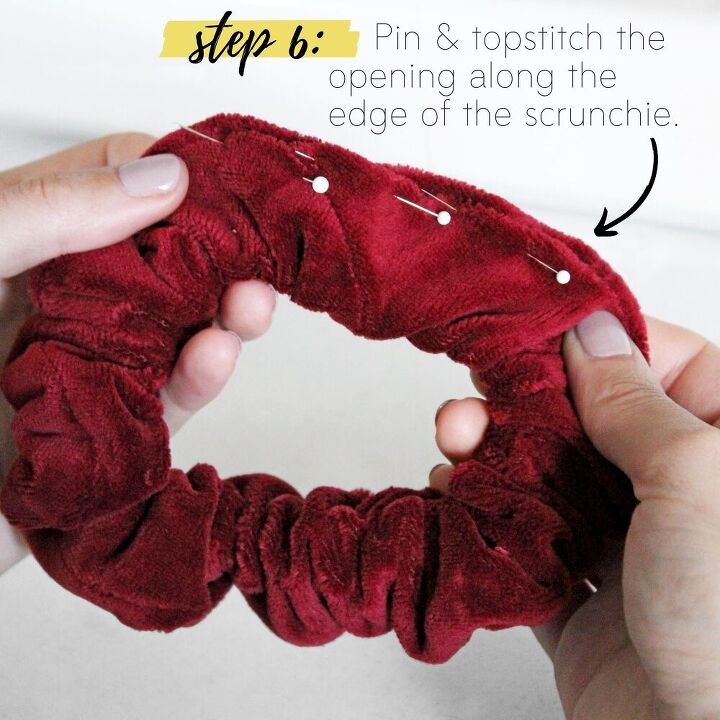
And finally, to close off that last little gap on the scrunchie. Fold the seams under and pin together, then just topstitch closed.
And that's literally it! If you prefer not to have stitching show on this step, the gap can always be hand stitched closed with a slip stitch. I wouldn't really recommend this though--Hand stitching is pretty delicate for the most part, and scrunchies receive a whole lot of stretch, wear, & tear.
And I feel like the topstitching doesn't even really show all that much.. So why not just go for the more secure option?
So, truly pretty easy, am I right? I feel like this really is our easiest DIY sewing tutorial, and it's just so damn cute too.
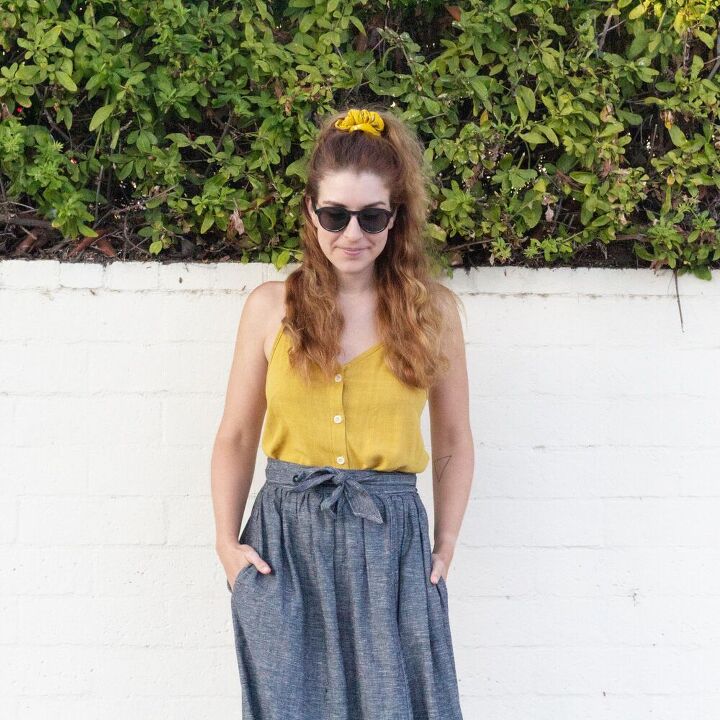
If you have some scrap fabric lying around that isn't big enough to use for a regular sewing project, then this is SUCH a good option for using it up. And like I said above--Scrunchies really do seem to be coming back in popularity, so they would be a great gift too! And with summer coming, we are ALL going to be wearing our hair up.
Speaking of--Scrunchies are also beneficial because they are way way easier on your hair than typical elastic bands.
Standard hair ties are known for being hard on your hair.
I honestly think that scrunchies have helped my hair grow longer--I have been using them consistently for the last year or so, and my hair just won't stop growing. And no, I don't take any vitamins or supplements to make it grow.. It just won't stop.
And I really do partly attribute using scrunchies to that. Maybe I'm imagining things and just turning my love for scrunchies up full volume.. But don't knock it until you try it.
Would looove to see any scrunchies you guys create using this DIY sewing tutorial! And stay tuned, I'm REALLY into the idea of creating matching scrunchies to go with the Dany DIY kits..
The author may collect a small share of sales from the links on this page.


Comments
Join the conversation