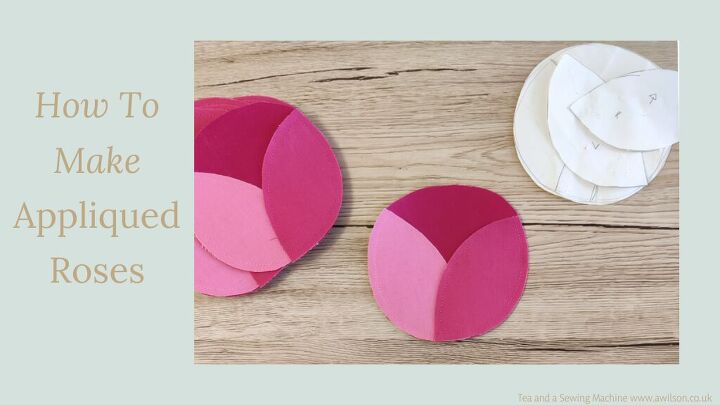
How To Make Appliqued Roses
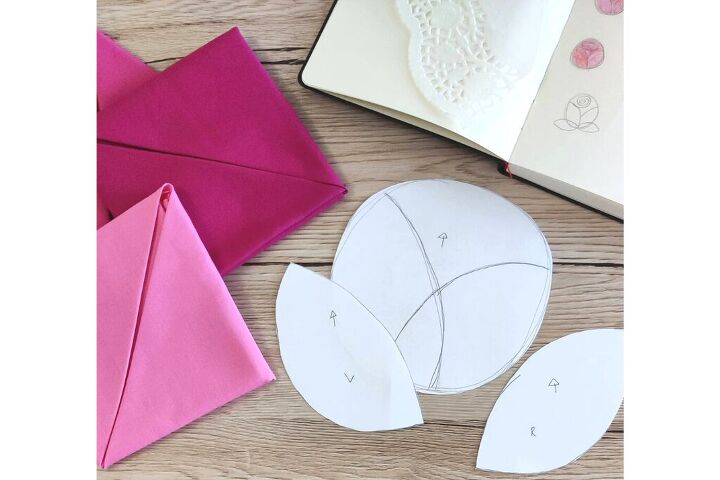
Inspiration can be found in all sorts of places, and the inspiration for these appliqued roses came from some paper doilies I bought from Poundland years ago!
Usually the approach here would be to draw the same thing over and over again until it becomes easy. By doing this, the thing you are drawing becomes simplified, and then it’s possible to use this as a starting point.
This can be difficult though, and it requires time and energy that we don’t always have.
So another option is to look at what other people have done and start form there. For applique, finding things that have been reduced to a few colours and few simple shapes is helpful. You don’t have to copy exactly, just use it as a springboard for your own ideas.
It would be difficult to turn anything too complicated into a doily, so the roses have already been simplified. There were several ways I could have gone with this, but as I also like retro style geometric flowers (think Orla Kiely and biscuit tins from the 70s!), I decided on this approach. Retro style flowers are my favourite way of making appliqued flowers because they are all made from simple shapes, and it’s easy to get something striking and looks nice.
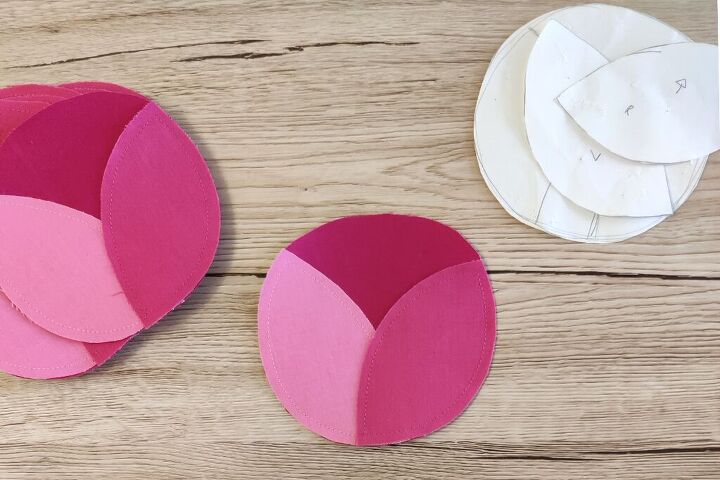
The appliqued roses are quite big, about 14 cm (5 1/2 inches) in diameter. I drew the templates free hand because I didn’t want them to be perfectly round. If you don’t want to draw your own roses, you can download the templates by filling in the form below. Please note that I ask for an email address in exchange for the templates, and you will be added to the Tea and a Sewing Machine email list. There’s more information about why I do this here.
To Make Appliqued Roses, You Will Need:
Cotton fabric in 3 different colours or designs
Fusible interfacing
Templates (you can draw your own or download the ones I used)
Instructions
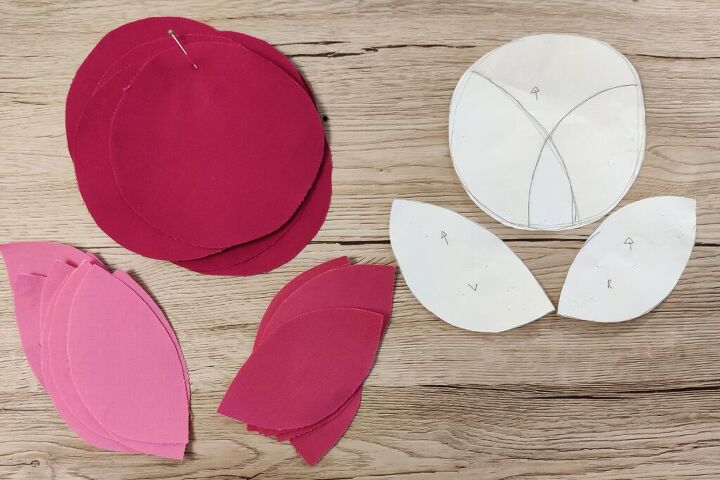
Fuse the interfacing to the wrong side of the cotton fabric.
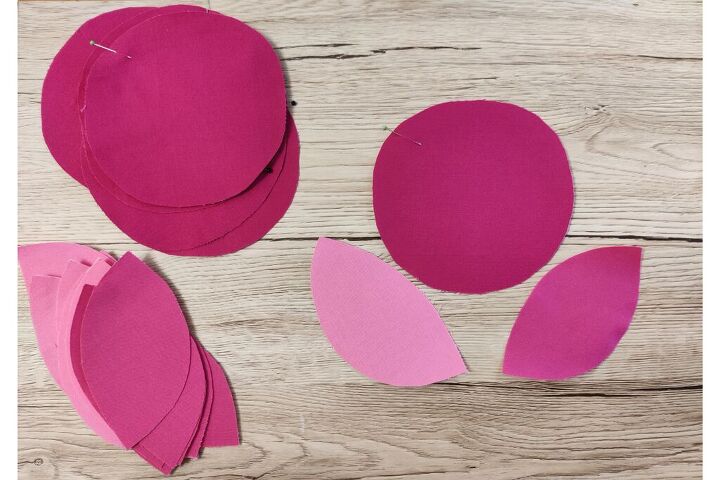
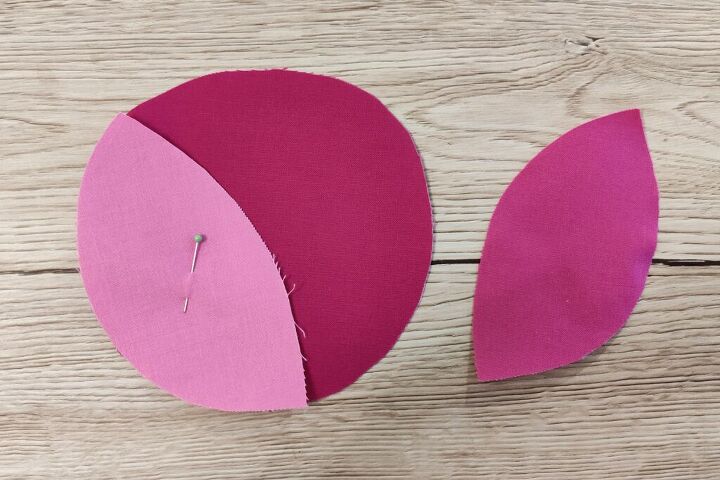
Cut out the pieces. For each rose you will need one main flower piece in colour 1, a left hand petal in colour 2 and a right hand petal in colour 3.
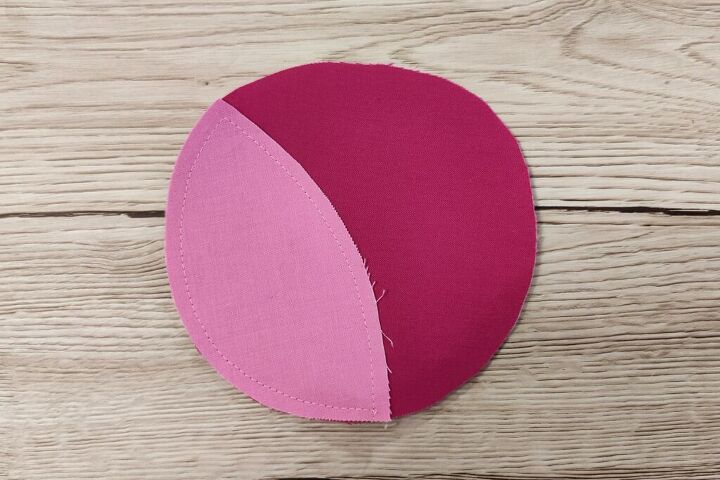
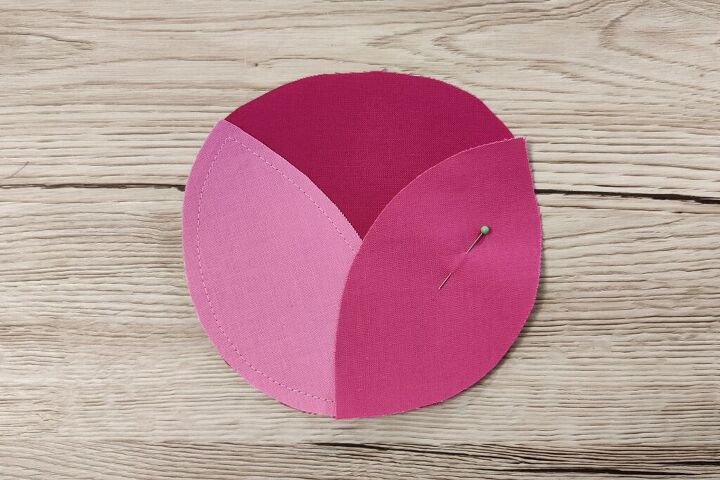
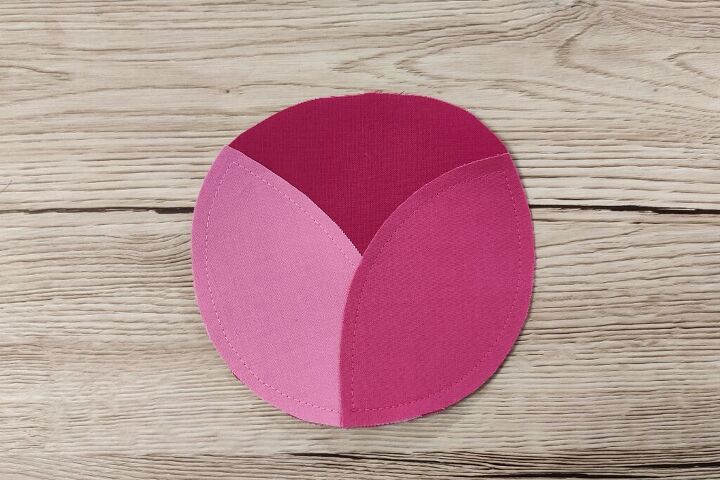
Assemble the rose. I like to use a straight stitch and I don’t mind if the edges end up fraying a bit, although the interfacing should stop it from fraying very much. If you prefer a neater finish, you could use zigzags instead.
If you Liked This Post…
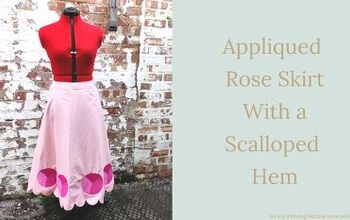
…you might also like this tutorial showing how to make a laptop sleeve featuring retro flowers, and this post here shows how to make a mug cosy from felt with a similar flower design.
I also have a Pinterest board of retro flower designs which you can find here.
The author may collect a small share of sales from the links on this page.


Comments
Join the conversation
These are cute! Great for embellishing T-shirts, sweaters, hats or making some Valentine's Day garland! Ty!