How to Make Reusable Menstrual Pads Out of Fabric (Pattern Included)

In this tutorial, I'll show you how to make reusable menstrual pads. Regular menstrual pads produce a lot of waste, they can get pretty expensive, and the chemicals and fragrances they’re made with aren't good for our bodies.
So, I’m going to show you how you can cut the cord on single-use pads with this tutorial on how to sew reusable menstrual pads with my own cloth menstrual pads sewing pattern.
Tools and materials:
- Menstrual pad pattern
- Cotton fabric
- Waterproof fabric
- Cotton and polyester bedding
- Rotary cutter
- Scissors
- Pinking shears
- Sewing clips
- Sewing machine
- Needle and thread
- Snaps and snap pliers
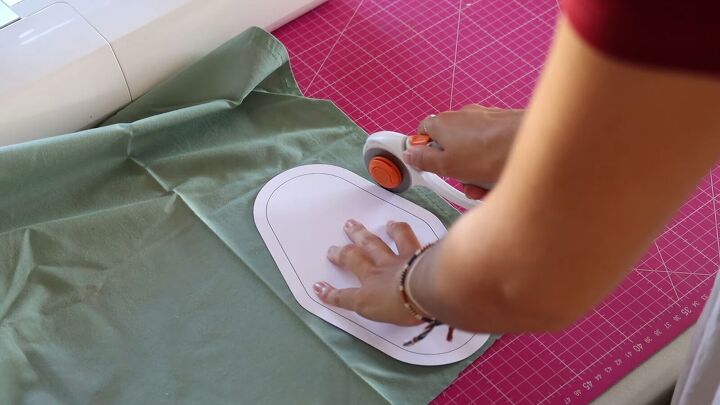
1. Cut out the pattern
Place the pattern on top of your fabric and cut out the shape. I’m using a rotary cutter but you can also use scissors. This pattern comes with a seam allowance, so don’t worry about that.
You should have two layers of fabric: first, the inner layer. This one should be regular cotton, as it’s softer and will be against the skin.
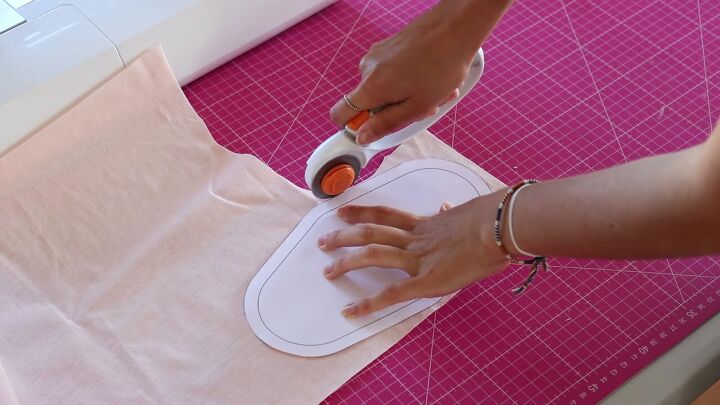
The outside layer should be made from a waterproof fabric. It should feel like regular fabric on one side and a bit rubbery on the other.
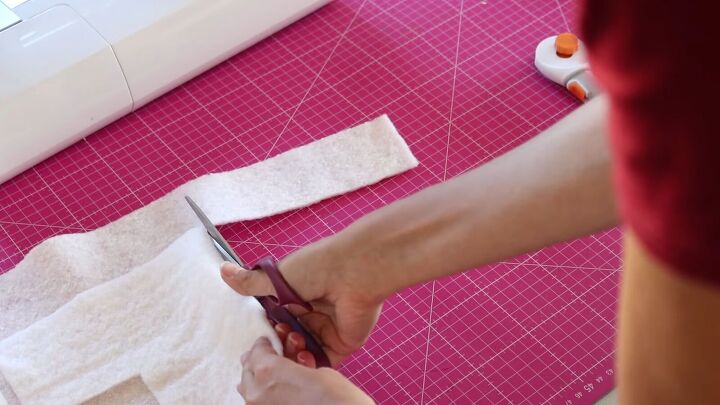
2. Cut out the lining
Next, cut out a rectangular piece of fabric for the lining. Here, I’m using cotton and polyester bedding.
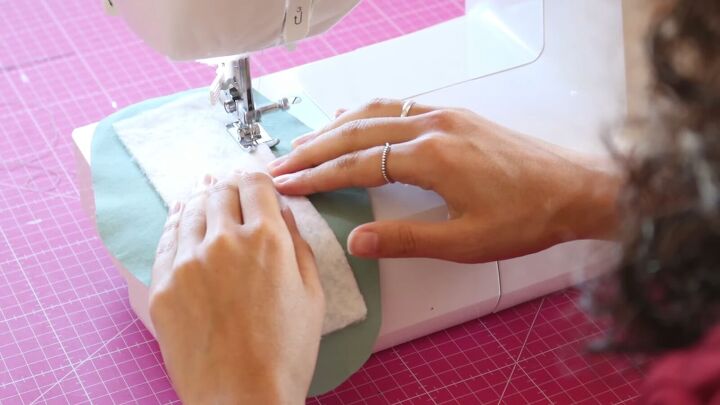
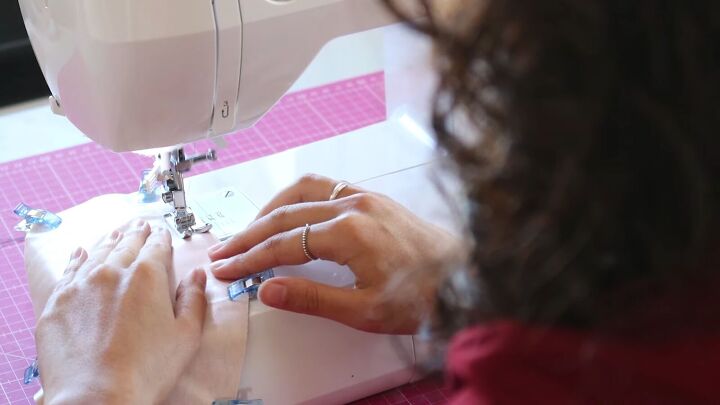
3. Attach the lining to the inner layer
Attach the inner layer of fabric to the lining by sewing two straight lines on both sides with the right side of the fabric facing out.
4. Attach the inner and outer layers
Sew the inner and outer layers together with right sides facing. The rubber side of the waterproof fabric should be facing the outside.
Make sure to leave an opening on one of the straight sides, so you can turn it inside out later.
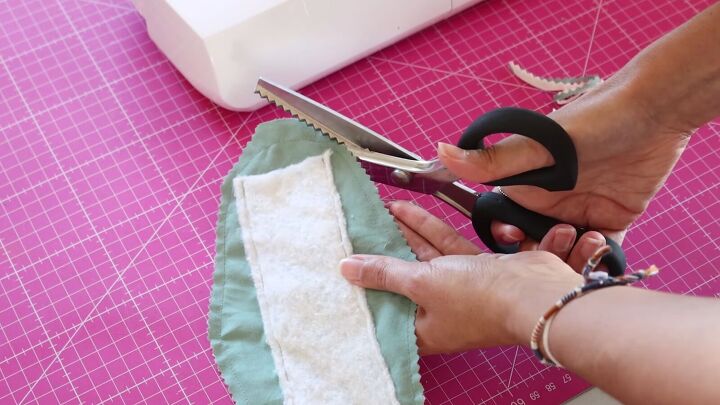
5. Trim the seam allowance
Make little snips on the curved sides of the fabric so your seams can lay flat when you turn it inside out. Or, use pinking shears to trim the seam allowance, then turn it inside out.
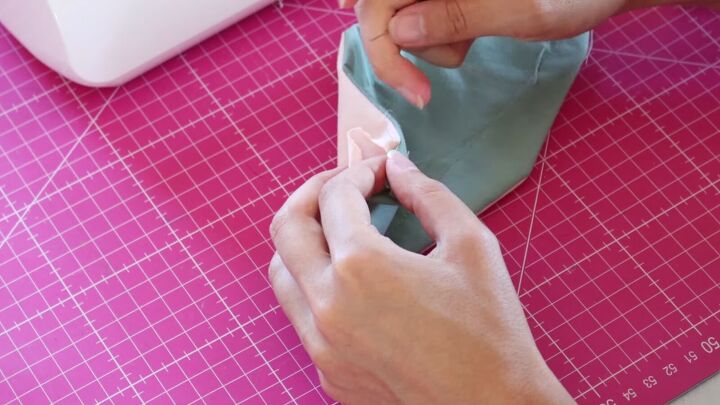
6. Sew the opening closed
Hand-sew the opening closed.
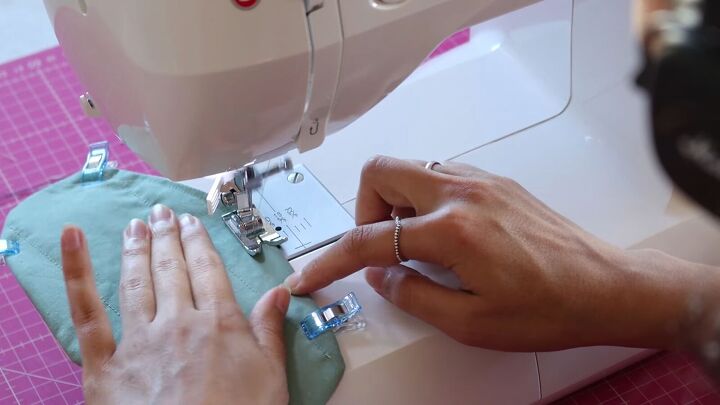
7. Topstitch
Sew a topstitch around the entire pad.

8. Attach the snaps
For the final step, we’re going to attach some snaps to the wings with a snap tool. If you don’t have one, you can use a small button or Velcro as an alternative.
Match the snaps accordingly. One side should have the stud facing down and the other should have the socket facing up.
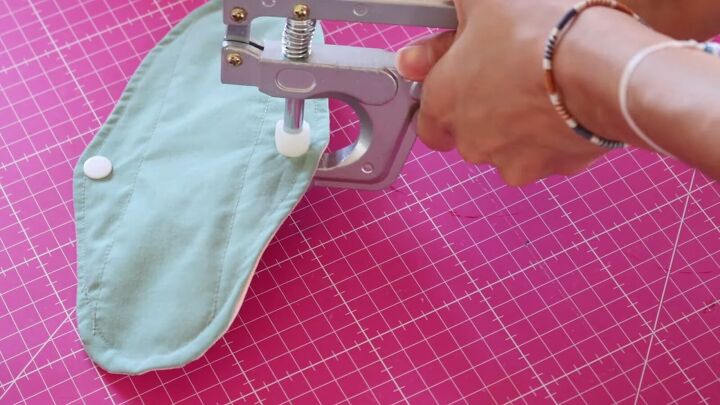
Use the snap tool to attach them in place on both sides.
All done! Here’s the final look alongside another pad that I made:
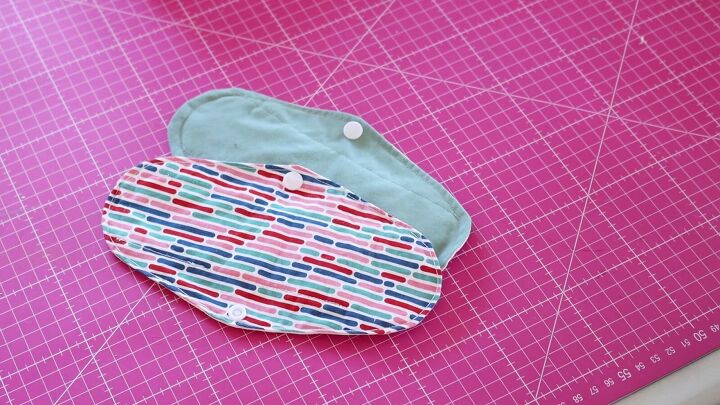
How to make reusable menstrual pads tutorial
To wash these DIY reusable cloth menstrual pads, you can use regular detergent, baking soda, or vinegar. To avoid stains, soak the pads in cold water immediately after use.
If you’re looking to make the switch to DIY reusable period pads, let me know if you decide to try this out!
The author may collect a small share of sales from the links on this page.


Comments
Join the conversation
What is the cotton polyester bedding specifically?
yes it will be used for a women's retreat project