Easy Hair Tutorial: How to Make Your Curls Last Longer

Even if you have hard-to-curl hair, or maybe especially if you do, follow this tutorial!
I’m going to share my tips on how to make curls last longer. These curling iron tricks, which are especially great with vintage hairstyles, will keep your curls in all day long, and then some!
Bonus: I’m also going to show you the products I use in my curl-resistant hair to keep my curls lasting longer.
Tools and materials:
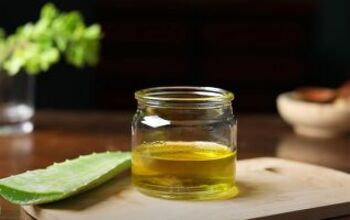
- Argan oil
- Heat protectant spray
- Curling oil
- Hair pins
- Comb
1. Prep your hair for heat
Yes, heat curls can be damaging to hair, especially if you already use bleach or colorant on your hair.
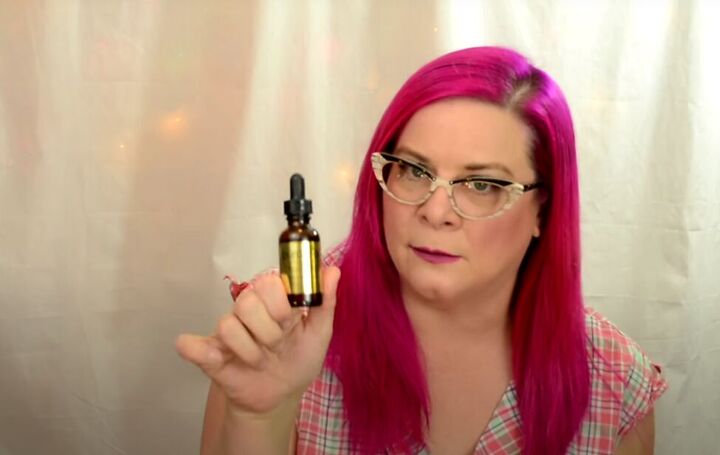
So, prep your hair by applying some argan oil.
Just rub the argan oil into the palms of your hand and then massage it through your hair, starting at the ends of your hair first.
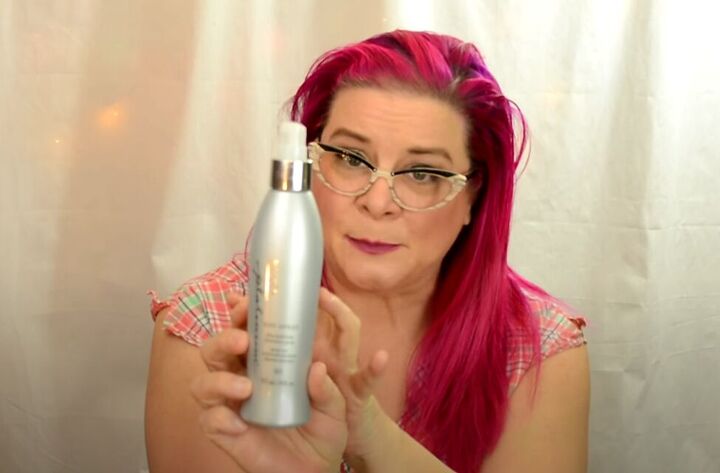
You will also need to apply some heat-protectant spray to your hair. It will not only help protect your hair from the heat curls, it will also help to set the curls.
2. Curl the top of your hair
Section of the top of your hair, and tie off the rest.
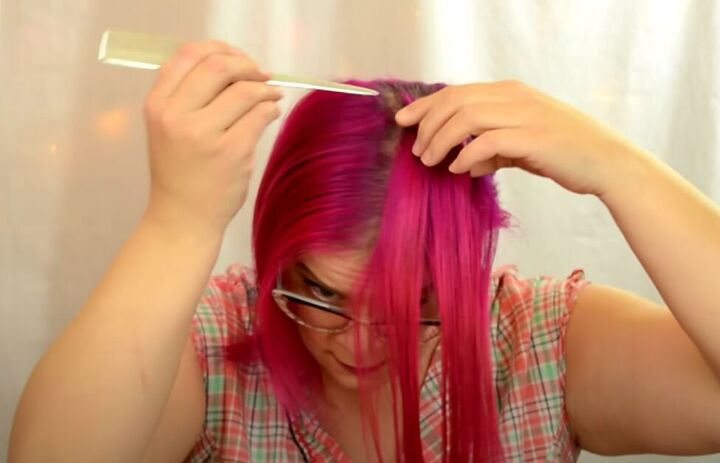
Spritz that hair with hair protectant, and then split the section down the middle.
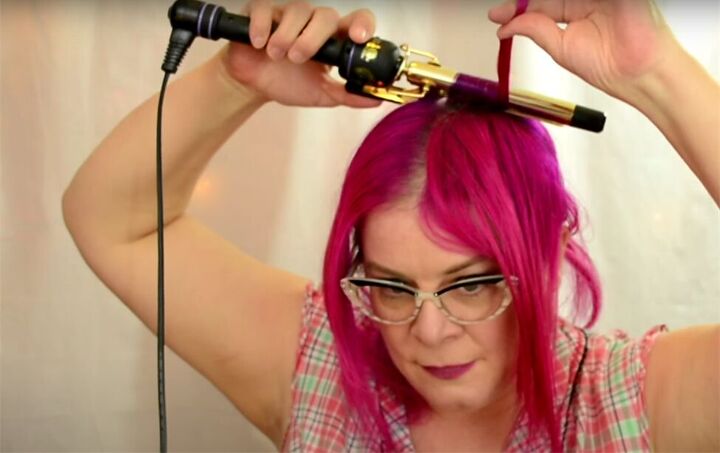
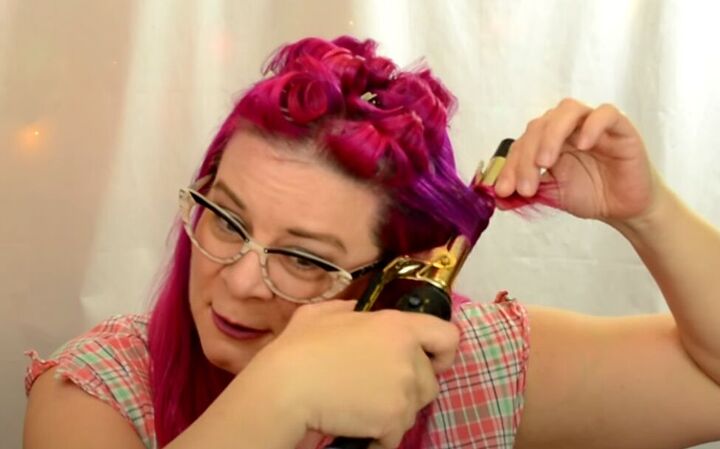
Now, starting with a small section on one side of the front, place your curling iron at the base of your hair. Wrap your hair around the barrel from front to back.
After each wrap, slide the curling iron up, wrap and turn the iron again, and repeat until the whole section is wrapped around the barrel.
Don’t start curling from the end of your hair, because when you do that, you are keeping the heat directly on the most fragile part of your hair the longest.
When you start at the base you are not only protecting your fragile hair, but ensuring you are curling down the entire length of your hair while not needing to leave the iron in your hair as long.
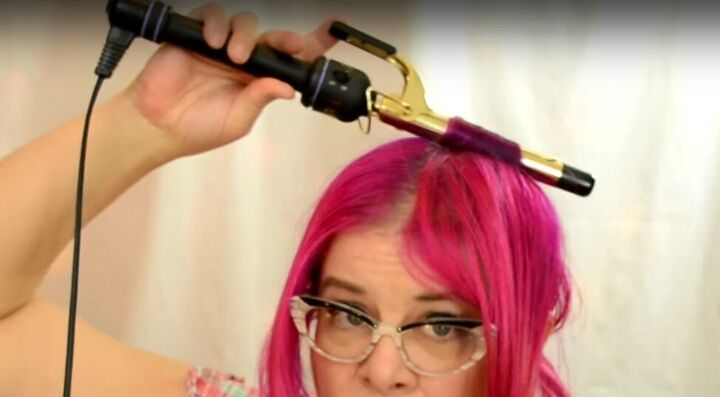
Tip: If you want tight curls, take smaller sections, and if you want looser curls, take larger sections.
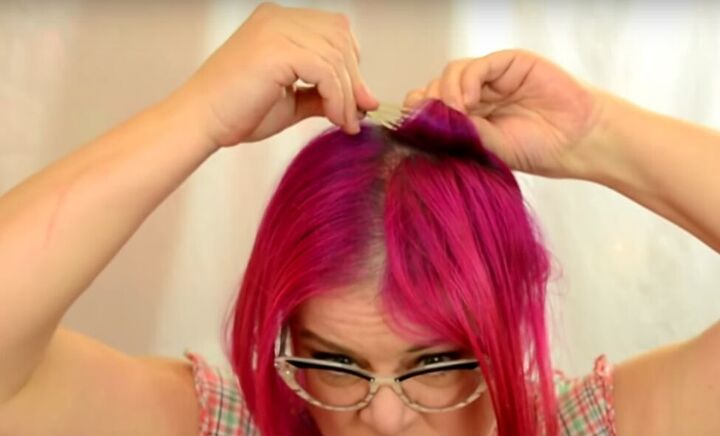
Just leave the curling iron in for a couple of seconds. Then remove the iron and the pin the curl to hold it in place.

Repeat with sections of your hair working from back to front.
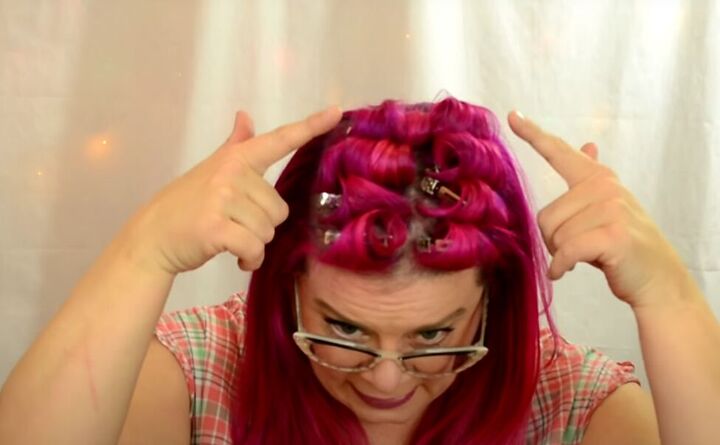
Then repeat on the other top section of hair.
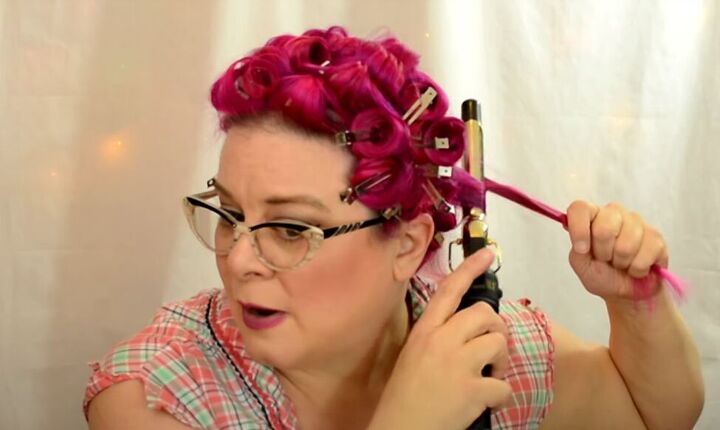
3. Curl the sides of your hair
For the sides of your hair, take a small section of hair from in front of your ears, and use the same method to curl the sections as you did for the top of your hair.
You may want to make these sections a bit larger than the top of your hair, and curl from the front of the barrel to the back.
For the rest of the side of your hair, take a section from just behind your ear and create heat curls as you did for the top and sides.
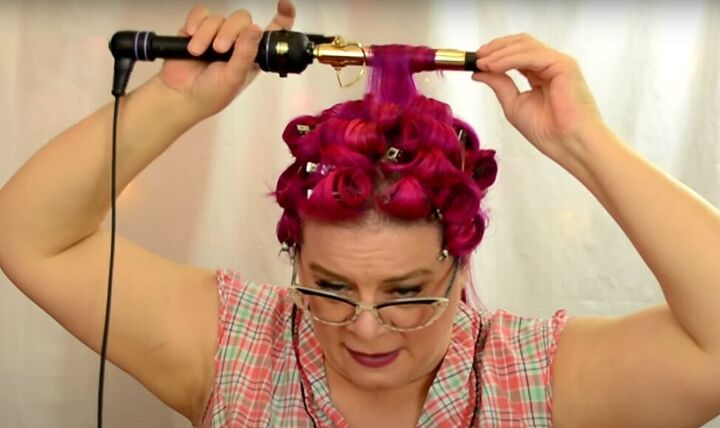
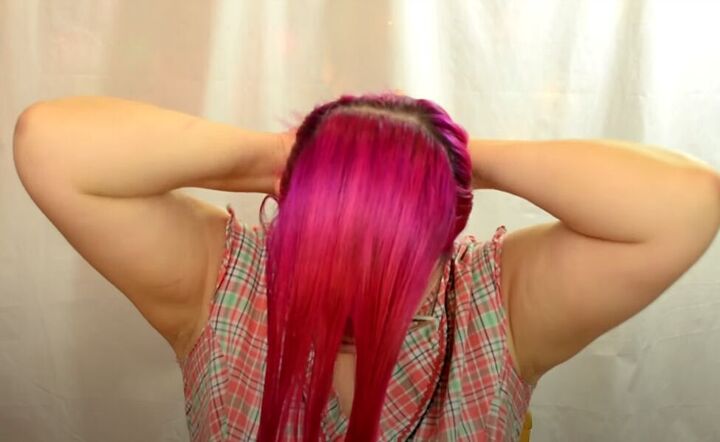
4. Curl the back of your hair
Of course, the back of your hair is the trickiest to do, but here’s my super trick to get it done.
Start with a section at the top back of your hair and curl as before. Try keeping the tail of the hair section close to the top of the curling iron to keep your hair from getting caught up in the curling iron mechanism that’s hard to see.
For the next sections down the back, pull them to one side so you can see the sections in your mirror as you curl.
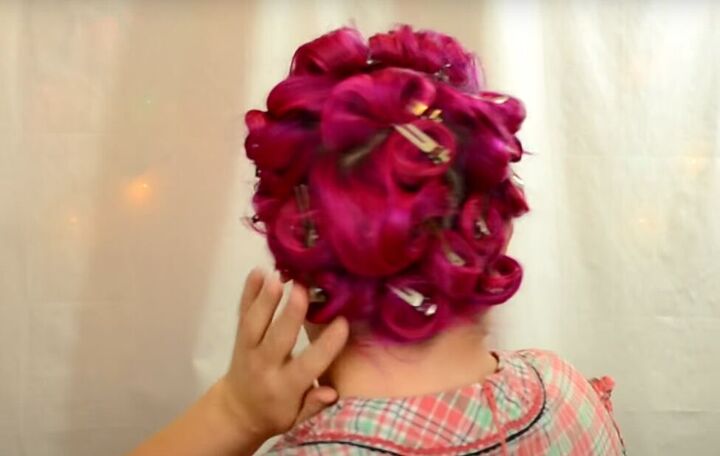
How to make your curls last longer
And there’s my whole head of hair perfectly heat-curled and pinned!
Let the heat curls cool down for 10 to 20 minutes before removing the pins. Then, your curls will be all ready to style (but that’s a whole other tutorial!)
It takes about 30 minutes to curl your hair with this heat curls technique, but do you know how long these curls could last? Mine sometimes last as long as 2 or 3 days!
If you try out this heat curl technique, leave a comment to let me know how it worked for you.
The author may collect a small share of sales from the links on this page.


Comments
Join the conversation