How to Make Your Own Hair Ties, Plus 11 Pretty Hair Bow Styles to Try

In this tutorial, I’ll show you how to make your own hair ties without a sewing machine, plus 11 (yes, 11!) different hair bow styles!
Basically, I have all this scrap fabric leftover from my other DIY projects and didn’t know what to do with it. Then I saw these DIY hair ties and hair bows, and they look so cute!
I’ll be making them in three different sizes of DIY hair tie, so some can even double as a scarf, hair bow, or wrap - anything you want!
Also, I’ll be hand sewing, as I know not everyone has a sewing machine and these DIY hair ties are easy to make by hand. Of course, if you have a sewing machine, you’re welcome to use that too, to make the process go even faster.
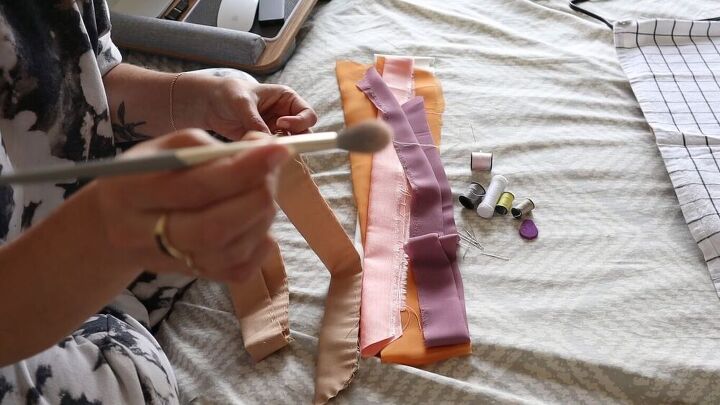
Tools and materials:
- Paper
- Pencil
- Ruler
- Scrap fabric
- Scissors
- Iron
- Pins
- Thread
- Needle
- Makeup brush
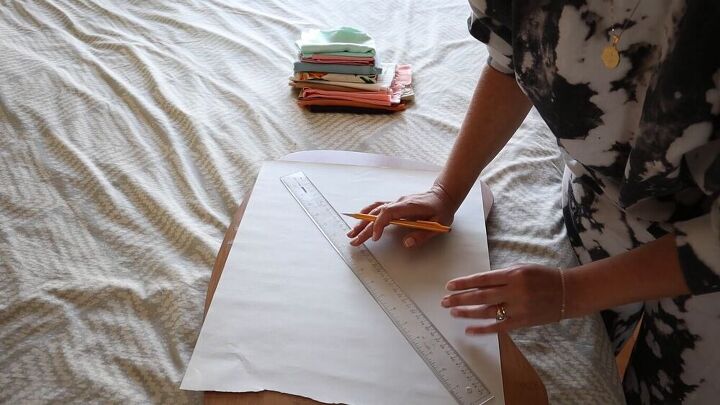
1. Measure a pattern on paper
The DIY hair ties I’m going to make are 38 inches long. So, I measured 19 inches lengthways (half the hair tie length) and used double my ruler width as the width. You want the length to be enough so if you tie up the bow, there will be some ribbon ends hanging down, and long enough to wrap around your head.
The width depends on what style you’re going for. I’m making a skinny hair tie, a medium-sized one, and a thicker one (2.5 inches wide when folded). All are in different fabrics as well.
You can measure this directly on the fabric, but I prefer to make a template on paper first.
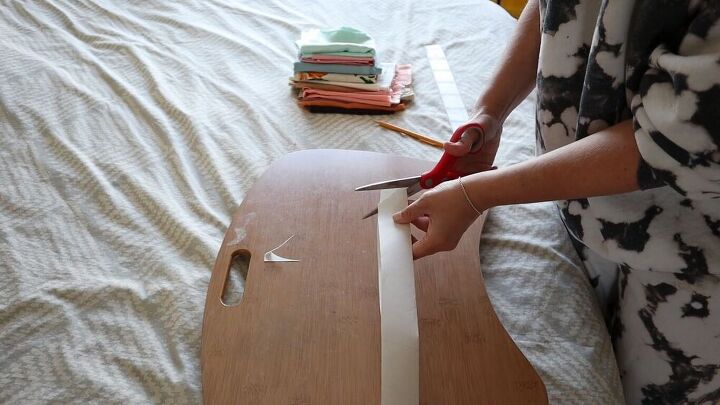
2. Curve one end
Next, I folded the paper in half and cut one end into a curve shape for a ribbon-style finish.
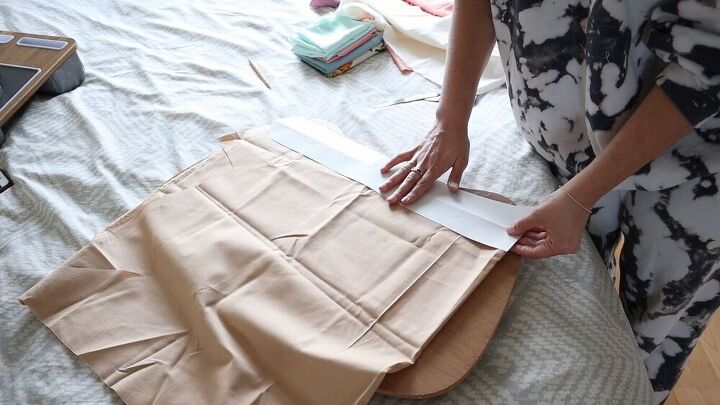
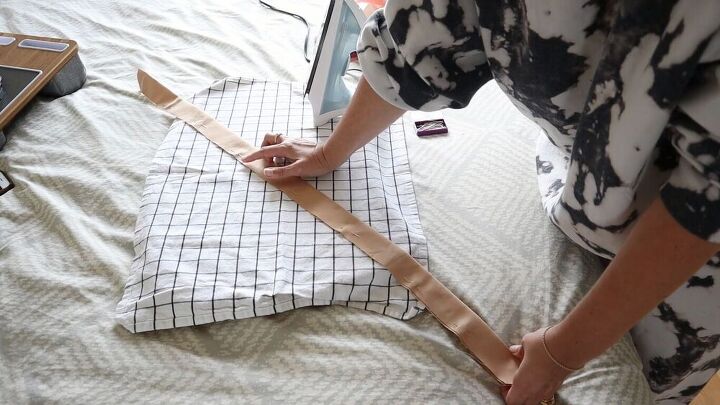
3. Pin and cut the fabric
Fold your fabric in half and place the flat end of the pattern against the fold. Pin the paper to the fabric, then cut around the shape.
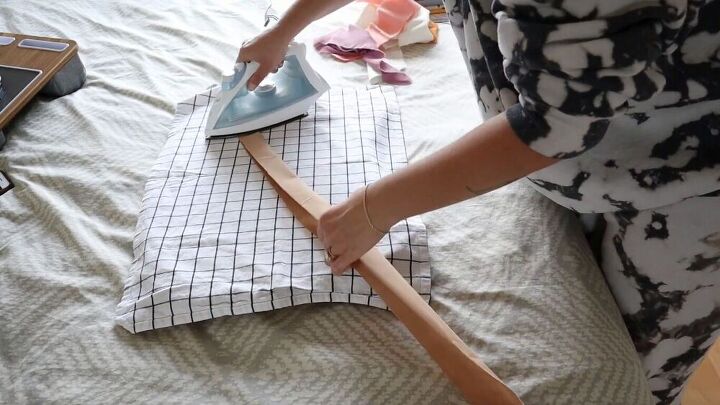
4. Iron the fabric
Next, iron the fabric flat, then iron it folded in half lengthways.
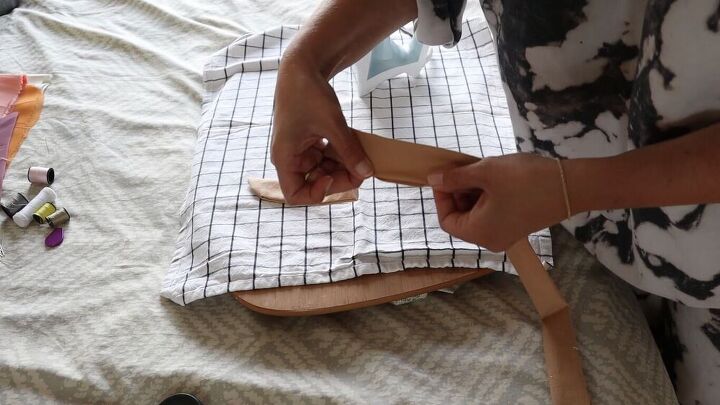
5. Pin and sew
Pin the fabric along the edges, then sew. Make sure to leave a gap in the middle because you’re going to flip the fabric inside out to hide the seams. I just used a basic running stitch.
6. Flip the fabric
Next, you’re going to flip the fabric inside out through the gap. To do this, get something long and pointy to stuff the ends, like a knitting needle. I’m using a long makeup brush.
7. Iron and sew the gap closed
The final steps are to iron the fabric flat, then hand-sew the gap in the middle of the fabric closed.
8. Different hair bow styles
Now you know how to make your own hair ties, it’s time to learn how to style them.
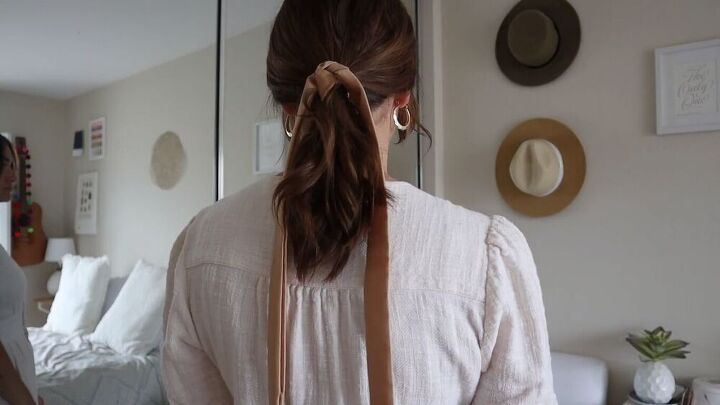
1) Messy low ponytail
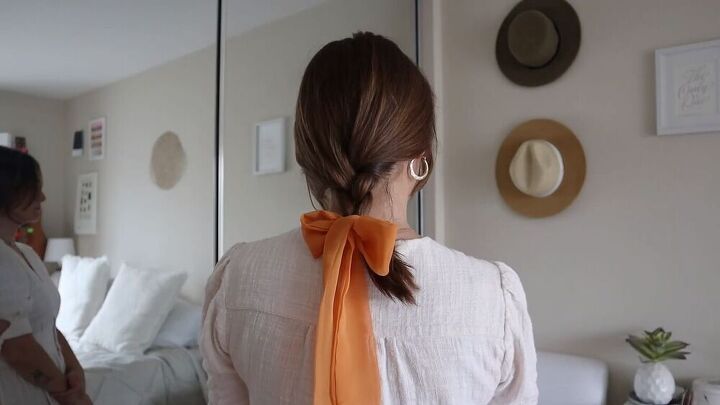
For the skinny hair tie, here’s a messy low ponytail with a classic knot. The ends may look a little stiff at the moment, but they’ll loosen up over time.
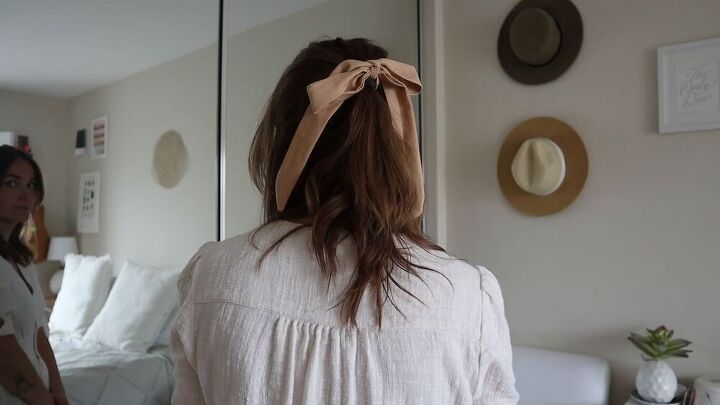
2) Messy bow
With the same DIY hair tie, here’s a messy bow in a half-up style. I didn’t want the bow to look perfect - I’m going for a more casual style.
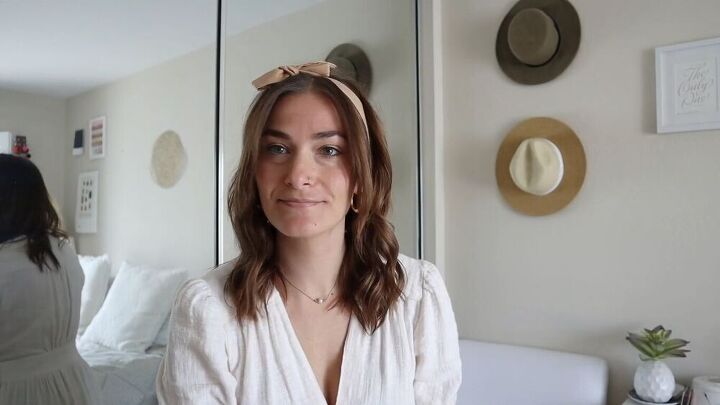
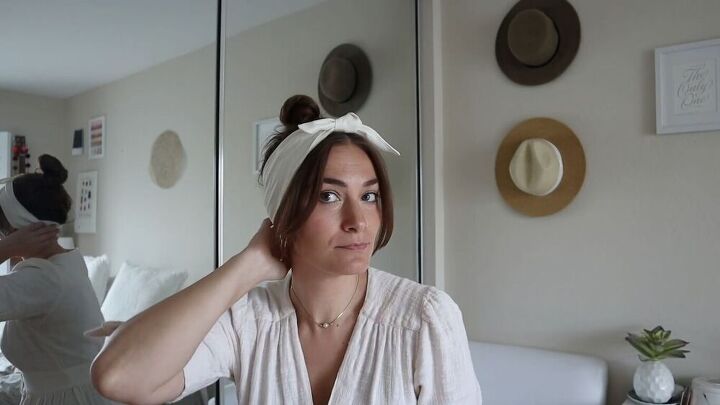
3) Headband
Finally, with this thinner hair tie, you can use it as a headband with a cute bow at the top.
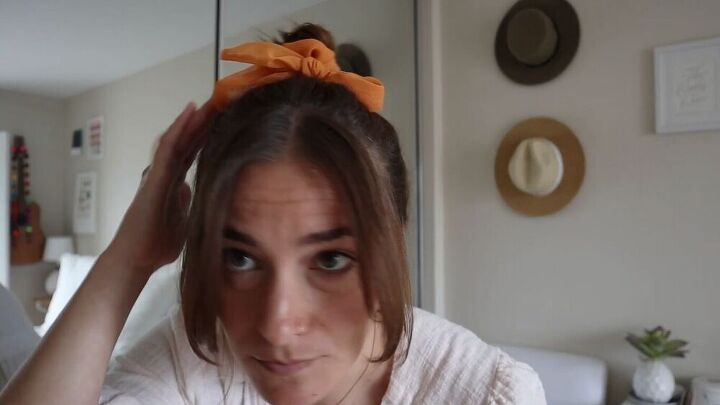
4) Basic bun with a bow
This next DIY hair tie is a medium-width hair tie in a more flowy material. Because it’s flowier, it’s easy to wrap, so I created this basic bun with a bow around it.
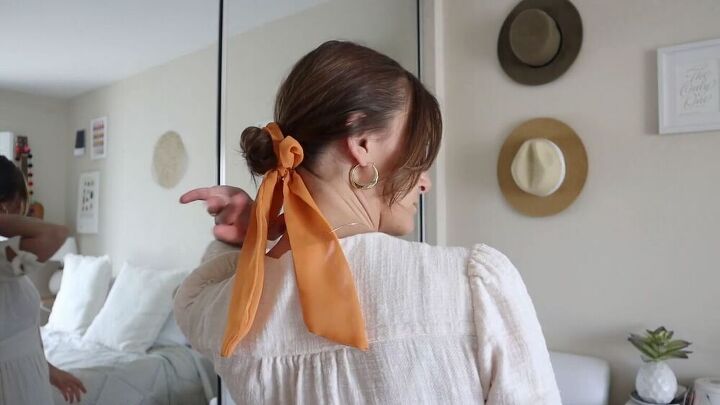
5) Low bun
Another way to wear this is in a low bun. I tied the bow underneath and let the ends hang. You could even untie the bow and leave the ends long.
6) Braid with a bow tie
This style is very “Belle from Beauty and the Beast.” I tied the hair tie on the end of a braid. This would look really great with long hair.
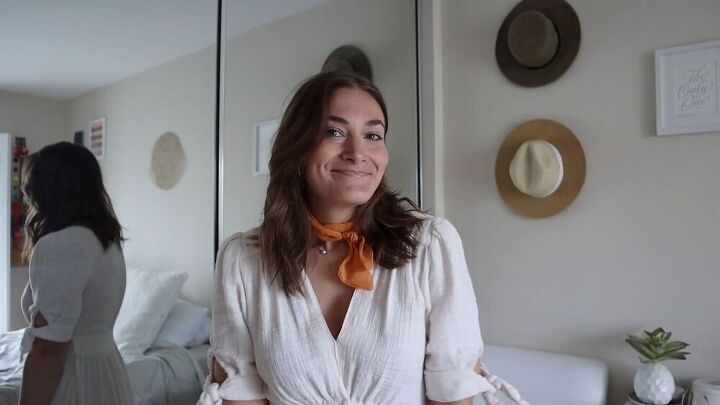
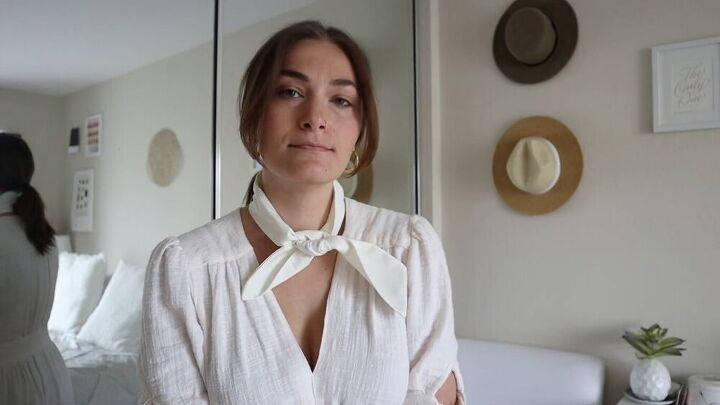
7) Short neck scarf
I also wanted to show you how you can wear this DIY hair tie as a scarf. This has a very Parisian vibe to it.
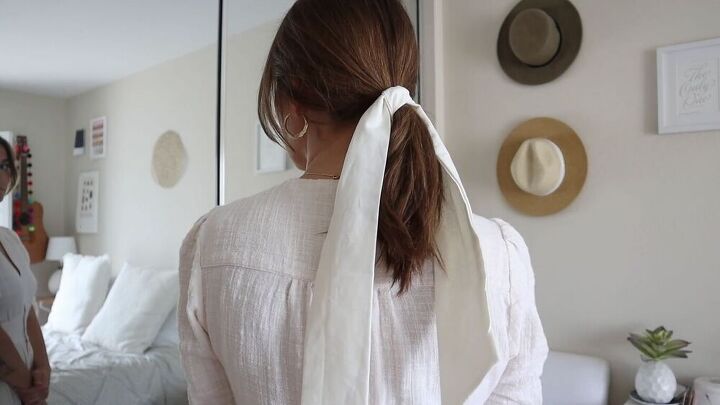
8) Low pony
The last DIY hair tie I made was this thick linen hair tie. Here’s the same simple low pony as above, but the thicker material and structured fabric elevates the look.
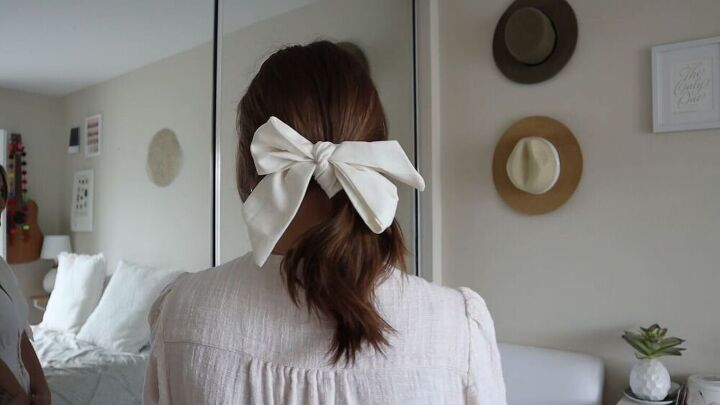
9) Structured bow
This wider DIY hair tie looks great in a bow, as it’s super structured.
10) Long neck scarf
Here’s the same hair tie as a scarf. I’m not sure if it works as well as the flowy material, but it could still complement the right outfit.
11) Head wrap
Finally, I tied it up in this wrap look. I think this would be great for the beach. It would look so cute with a bathing suit!
How to make your own hair ties
Thanks for reading this tutorial on how to make your own hair ties, as well as how to create different hair bow styles. I hope this gave you some bow inspiration or hair inspiration.
Do let me know which size hair tie you prefer and which hair tie style is your favorite in the comments.
The author may collect a small share of sales from the links on this page.


Comments
Join the conversation
Great idea. Did you know that you can use fabric glue to close up the opening instead of sewing it.
Not really, I have been using FabricTac (for a permanent adhesive) to close seems for years. I use Roxanne Glue-Bast-It for temporary use (when I need to sew a strap on something but I don’t want to use pins or clips).