How to Remove Braids in 8 Easy Steps

Hi everyone. In this tutorial, I’m going to show you how to remove braids and how to remove knots from hair after braids. Let’s get started!
Tools and materials:
- Spray bottle
- Moisturizing cream
- Wide-tooth comb
- (Optional) Pre-poo treatment
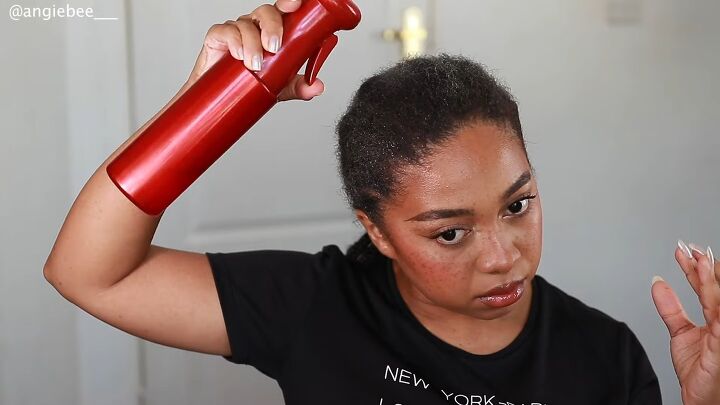
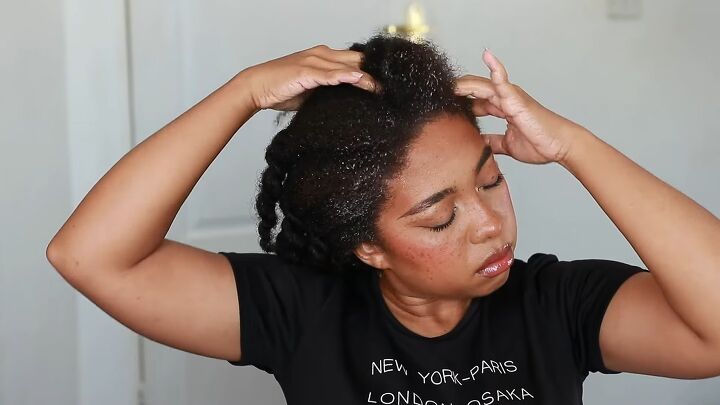
1. Dampen your hair
I like to use an infinity spray bottle because I like the distribution of the water. It helps the hair not get too wet because it sprays an even amount of water everywhere.
Your hair should be damp, but not dripping wet which will make your hair fragile and could lead to breakage.
This step is especially for if you have low-porosity hair. If you don’t, you may be able to skip it.
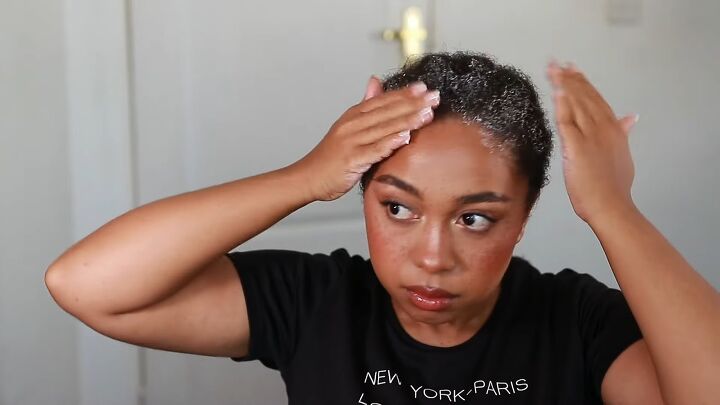
2. Apply moisturizing leave-in cream
Work the water into your hair and make sure it’s not just sitting on top before adding in a leave-in cream.
Apply a generous amount over your braids, including the ends of your hair. This gives the hair a nice slip and prevents any breakage or damage as this is a delicate process.
Don’t worry about putting too much conditioner as you’ll be washing it out anyway.
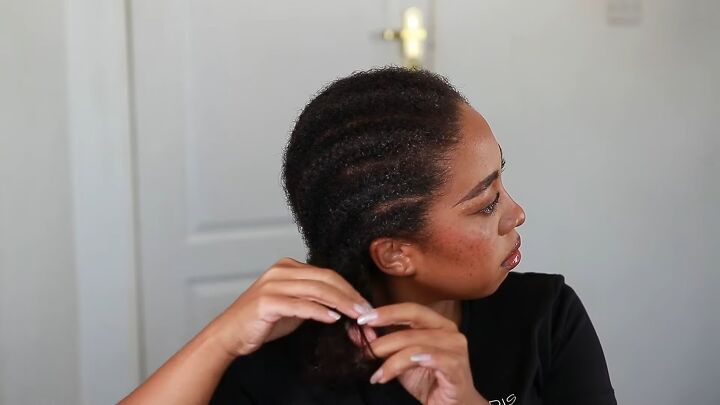
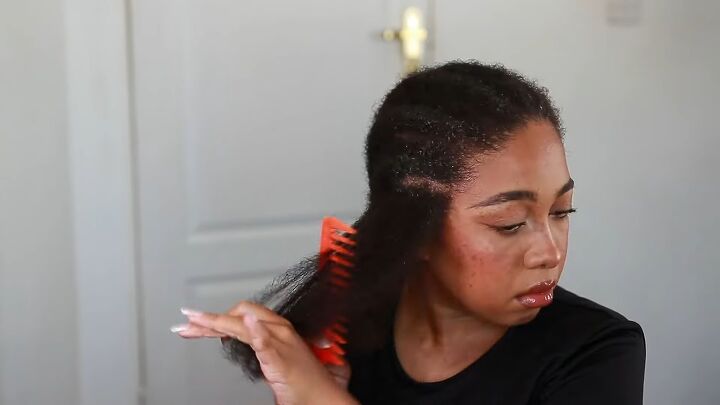
3. Take down the braids
I didn’t braid my hair all the way up to the end, so it’s easier to unbraid.
What I do for taking out braids is follow the braid exactly how it is. I don’t try to unbraid the hair from a different point at the top and start pulling the hair out.
Do not use a comb. Just use your fingers and focus on using the pads of your fingers as that’s the best way to prevent breakage. Do this very slowly and gently as you’re untangling to prevent fewer tangles.
If you pull very hard, it will start creating knots and be difficult to untangle. Be gentle, and everything should fall apart on its own.
As you get to the front section, be more gentle here than anywhere else as you’re more prone to build-up here. This is where you can cause a lot of damage and breakage if you’re violent.
It can also cause you to have very short hair at the hairline, or even damaged edges.
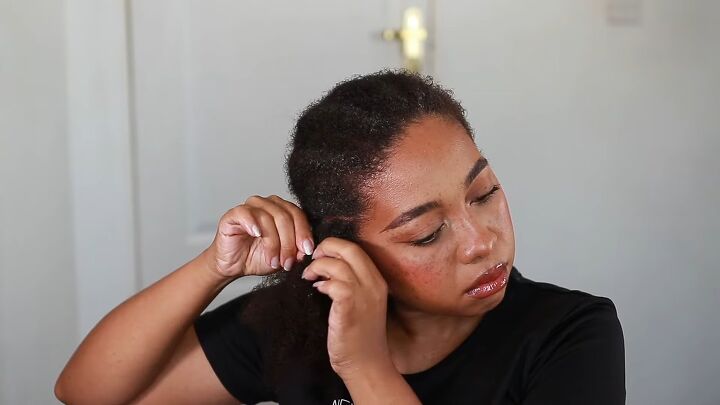
4. Detangle
After you take down the first braid, go straight to detangling. Detangle with a wide-tooth comb. The comb should glide right through.
If your hair is severely matted and tangled, that could be a sign you took bad care of your hair when it was in braids.
Because I oiled my scalp and moisturized my braids, the takedown process of my hair feels amazing.
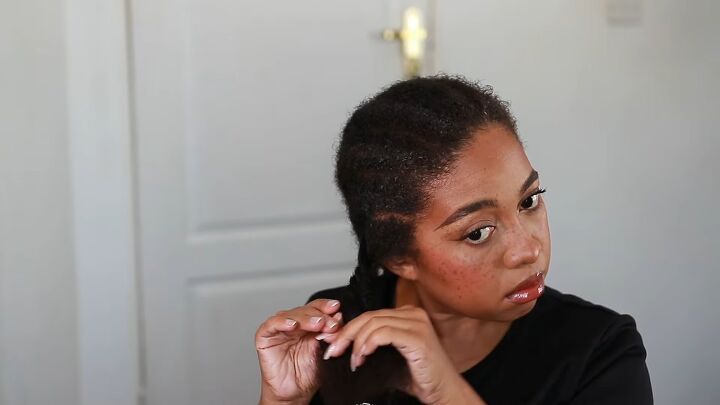
After the braid is detangled, I just twist up the hair so it doesn’t start mixing with the other hair as the curls are going in different directions.
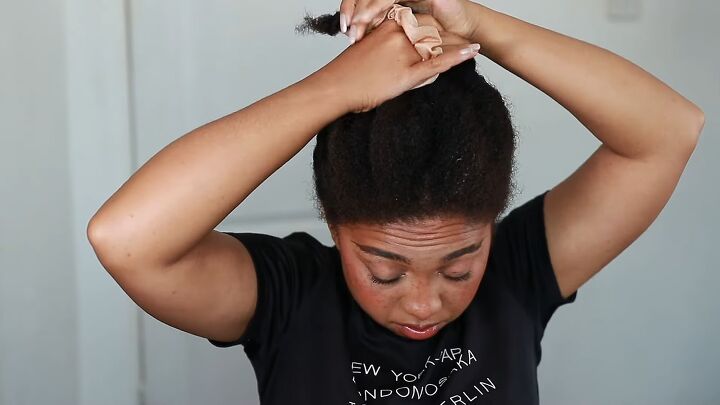
5. Tie your hair up
Tie your hair up and let it sit for an hour so your scalp can rest as the unbraiding process adds a little tension to the scalp.
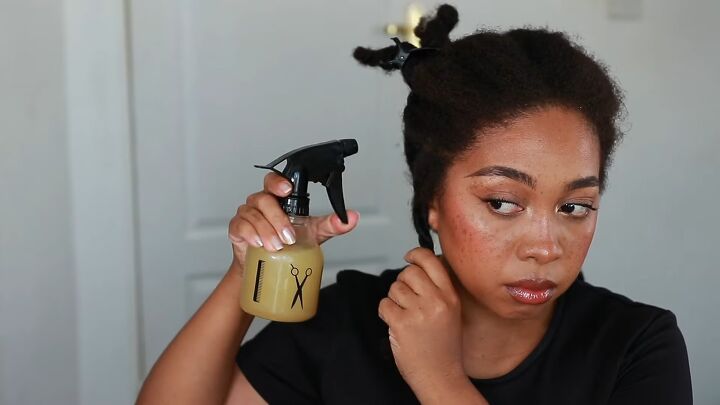
6. Apply a pre-poo treatment (optional)
This step is optional, but before I wash my hair, I use a rosemary rice water treatment.
Leaving my hair in twists gives me very easy access to my scalp with no twist.
I just focused the product on my scalp and a little on my hair, then massaged it into my scalp to get the maximum benefits.
You can also use a hot oil treatment or any other pre-shampoo treatment.
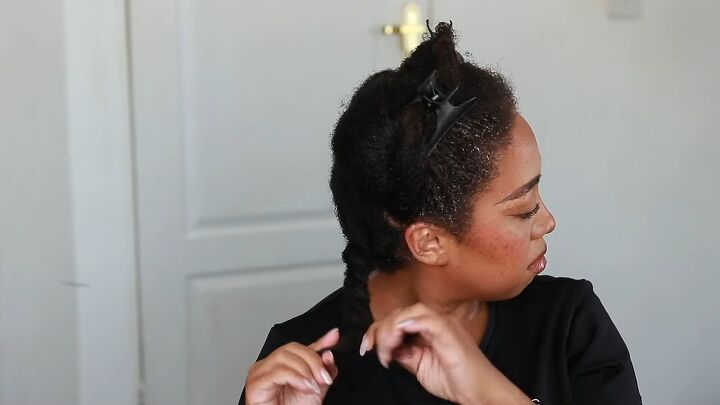
7. Section your hair
I wash my hair in four sections, so I took down my twists and made four new, large twists and clipped them away.
I recommend this to limit the amount of tangling and breakage while making sure you’re focusing on every section of your hair without leaving anything out.
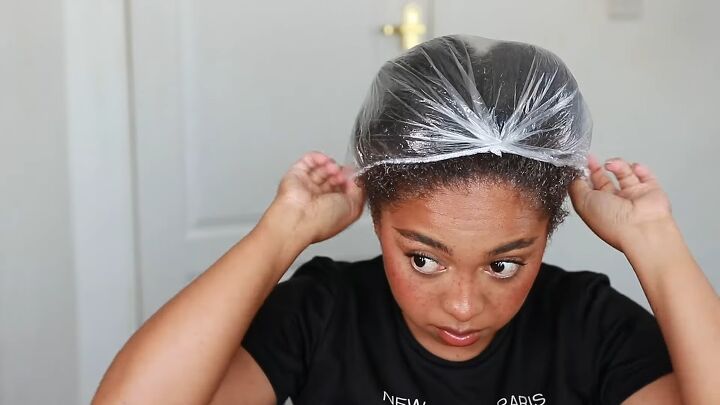
8. Go under heat
Put your plastic cap on and go under heat for twenty minutes, then wash and moisturize your hair.

Here’s my hair the next morning. There’s very little frizz, it’s very shiny and extremely healthy.
Now that you know how to remove knots from hair after braids properly, following this technique should give you happy and healthy hair with minimal breakage and damage!
Let me know how this method works for you down below.
If you enjoyed this tutorial, check out my post on How to Make Coffee Oil for Hair Growth.
The author may collect a small share of sales from the links on this page.


Comments
Join the conversation