Simple Tutorial on How to Sew a Beanie

I want to show you how to sew a beanie super quickly and easily.
You don't need a beanie sewing pattern at all, just fold and mark your fabric, make two cuts and sew it together.
Use a light or medium weight stretchy knit fabric and optionally add a couple of buttons as a trim. Anyone can do this!
Tools and materials:
- Light or medium weight stretch knit or jersey fabric
- 2 buttons (optional)
- Fabric marker
- Ruler
- Pins
- Hand sewing needle and thread
- Sewing machine
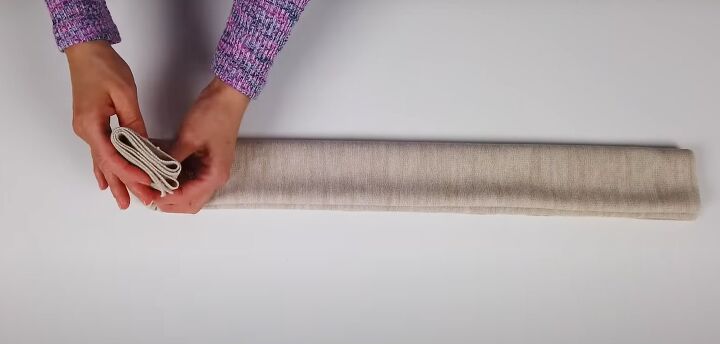
1. Cut and fold your fabric
Cut a rectangle from your fabric 24 inches (61 cm) wide and 21 inches (54 cm) long.
Make sure the stretchiest grain of the fabric is running lengthways.
Fold the fabric in half widthways with the right side on the inside. Fold it in half widthways again two more times, so you have a total of eight layers.
Make all the folds away from you, so you keep the folded edge towards you.
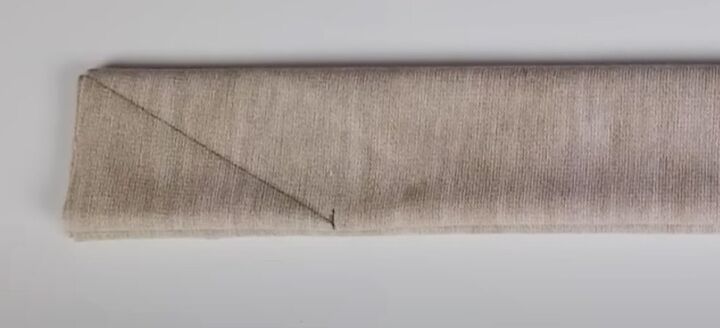
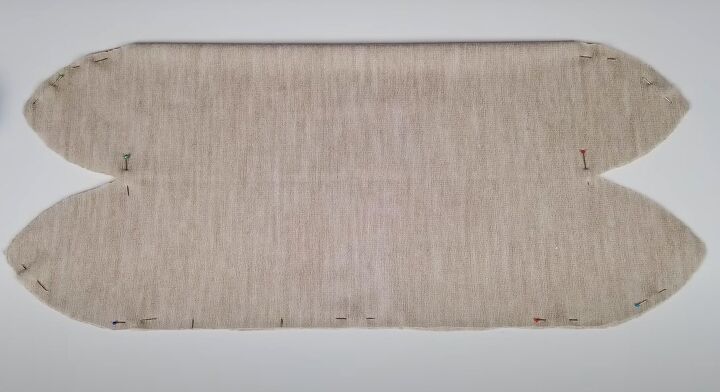
2. Cut the beanie shape
Measure in 4 inches (10 cm) from one side along the edge of the fabric furthest from you.
Draw a diagonal line from that point to the same side on the folded edge closest to you.
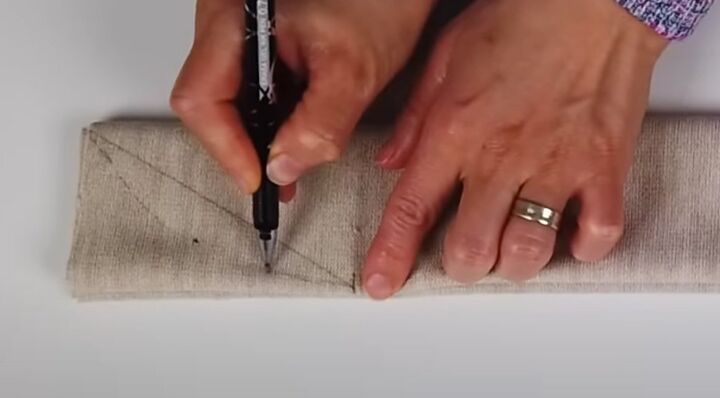
Mark a point 0.6 inches (1.5 cm) from the line towards the corner and draw a curve connecting this point to the two ends of the diagonal line.
Cut along the curved line.
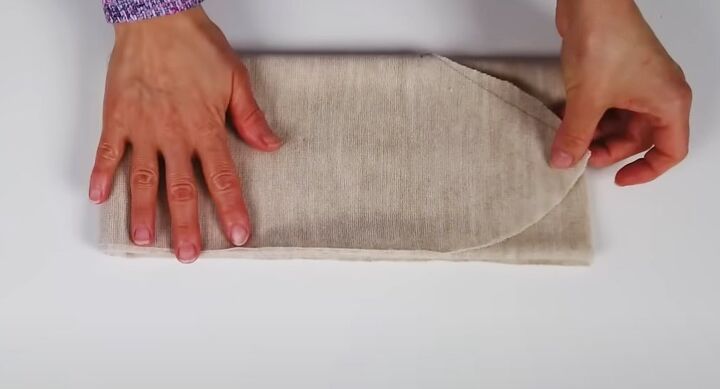
Open out one fold of the fabric and fold the four layers in half lengthways, lining up the point with the other side edge.
Cut around the curve.
3. Sew the beanie shape
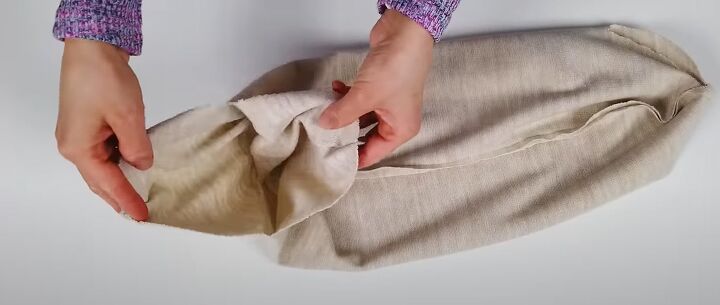
Unfold the fabric lengthways, keeping the folded edge towards you. Unfold it once widthways, so you have two layers of fabric.
Pin the fabric together around the lower and upper curves and the straight raw edge.
Sew the pinned sections, leaving a 2 inch (5 cm) gap unsewn along the raw edge.
Refold the fabric so the main seam is in the center.
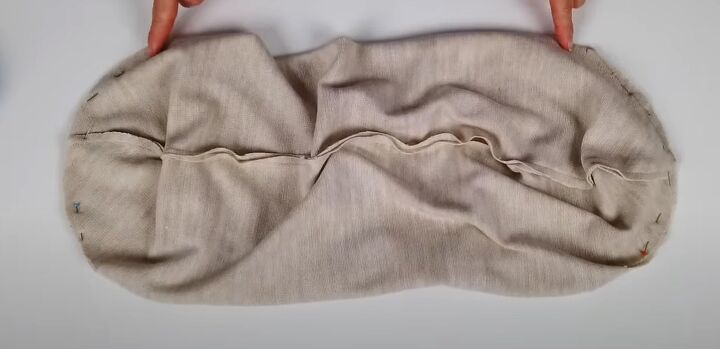
Match the two seams at each end and pin the raw edges together. Sew the pinned sections.
4. Finishing
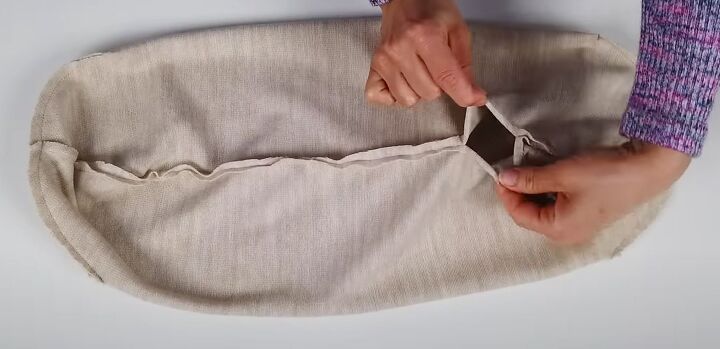
Turn the beanie right side out through the gap in the long seam.
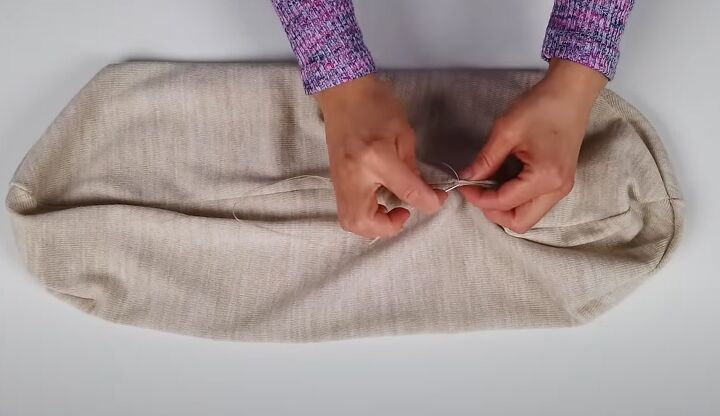
Fold the raw edges to the inside and hand sew the gap closed using ladder or invisible stitch.
Tuck one end of the beanie inside the other, to make a lining. Turn up the edge of the hat to make a brim.
Put the main seam to the back of the beanie and optionally sew two buttons on to the brim.
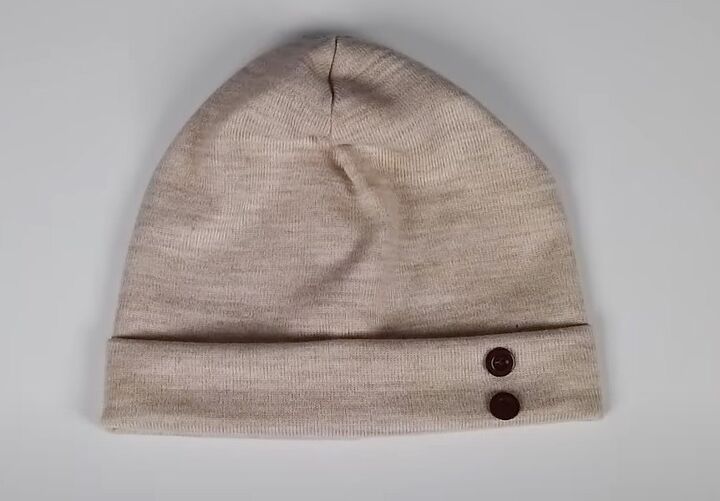
How to sew a beanie: DIY beanie hat
You can make a DIY beanie hat like this in 30 minutes or even less. This beanie sewing pattern is easy enough for a complete beginner to make successfully and the stretch fabric means it will fit all sizes from kids to adults.
If you enjoy easy-to-make tutorials like this one, please let me know in the comments below.
Follow me on TikTok: @tugbaisler and check out my post on How to DIY a Cute Twist Hair Band.
The author may collect a small share of sales from the links on this page.


Comments
Join the conversation