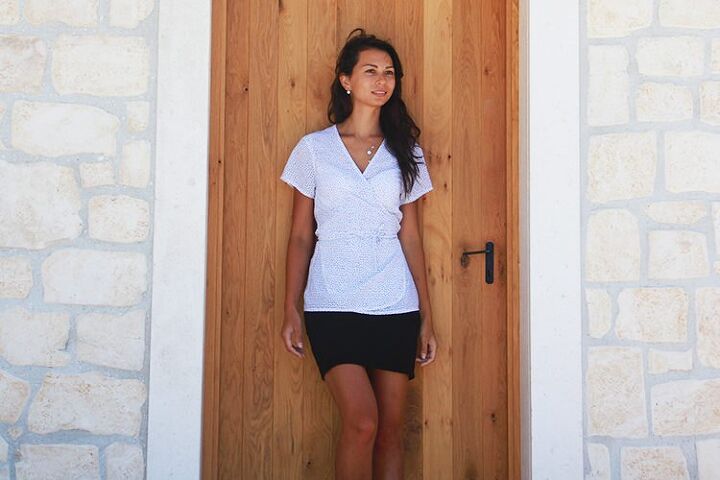
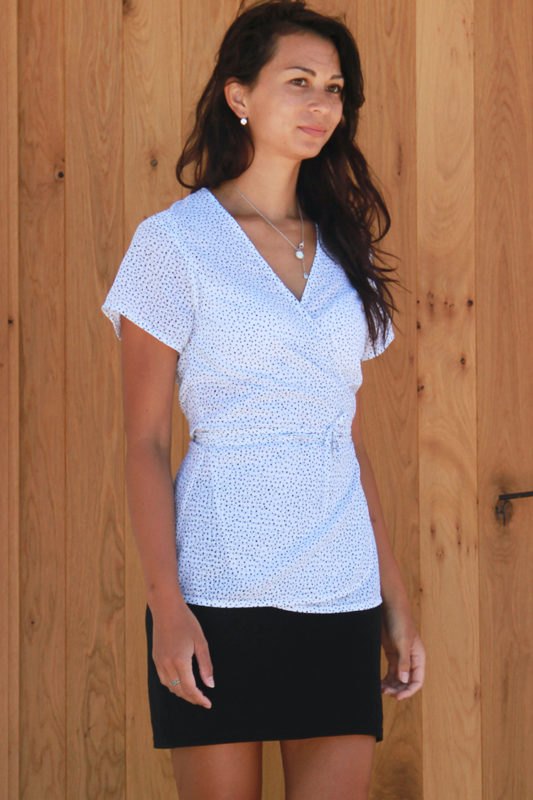
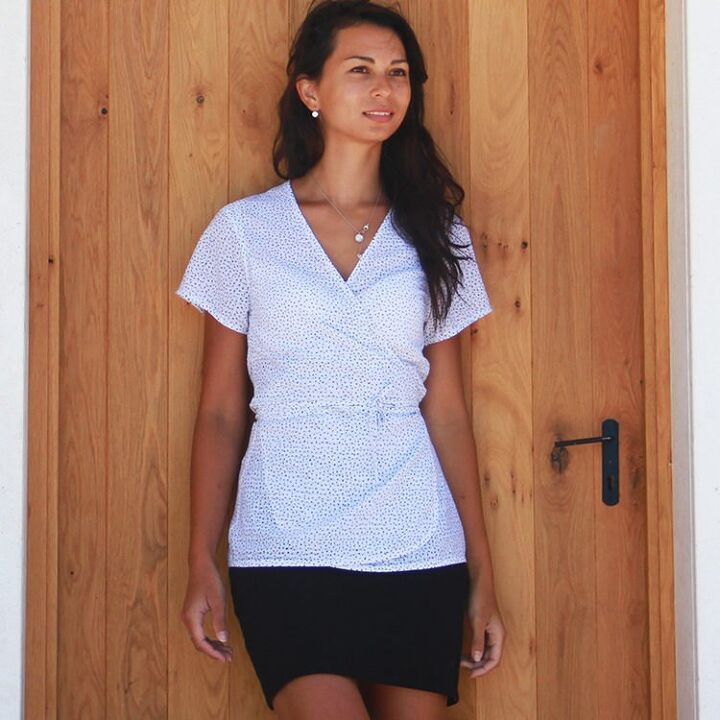
How to Sew Women's Wrap Blouse DOTS

I have prepared sewing instructions for our new pattern for today, but don't worry, it's nothing too complicated. Today's article is about sewing a wrap blouse, so we'll avoid sewing button placket and collar. The pattern for women’s wrap blouse DOTS is constructed in a professional program for clothing pattern development and it is available in sizes 32–46. You can print the pattern on your home printer (A4 format) or a plotter (A0 format), you will receive both versions from us.
You can explore this blouse pattern here:
The pattern for women’s wrap blouse DOTS (size 32–46)
This blouse pattern is very simple with small bust darts. However, since sewing requires concentration and patience, I would recommend it to intermediate sewers.
Fabrics commonly referred to as blouse fabrics are suitable for this pattern. These are mainly polyester and viscose materials. You can learn more about viscose fabrics here:
I got my fabrics from Dumlatek.cz store, here:
- Sizes 32–36: 1.5 m (60")
- Sizes 38–46: 1.8 m (71")
I used French seams when sewing my blouse. If you don't feel like using them, you don't have to. In that case, 1 cm (0.4”) wide seam allowances will suffice. Then you sew as you are used to - sew the pieces together right side to the right side and then clean the seams on an overlocker (serger) or with a zig-zag stitch. Sewing instructions for the simplified version (without French seams) can be found at the end of this article.
Seam allowances (for side seams, shoulder seams, and armscyes) are prepared for French seams - they are 1.5 cm (5/8") wide. I recommend you to look at some of the patterns in the "A4 Individual sizes view" folder, where all pieces are shown with their seam allowances.
Before you start cutting the fabric, you should compare the paper pattern with body measurements and, if necessary, make minor adjustments so that the garment fits perfectly. You can learn more about that here:
Pattern layout
Prepare:
- 1x back piece (cut on the fold)
- 2x front piece
- 2x sleeve piece
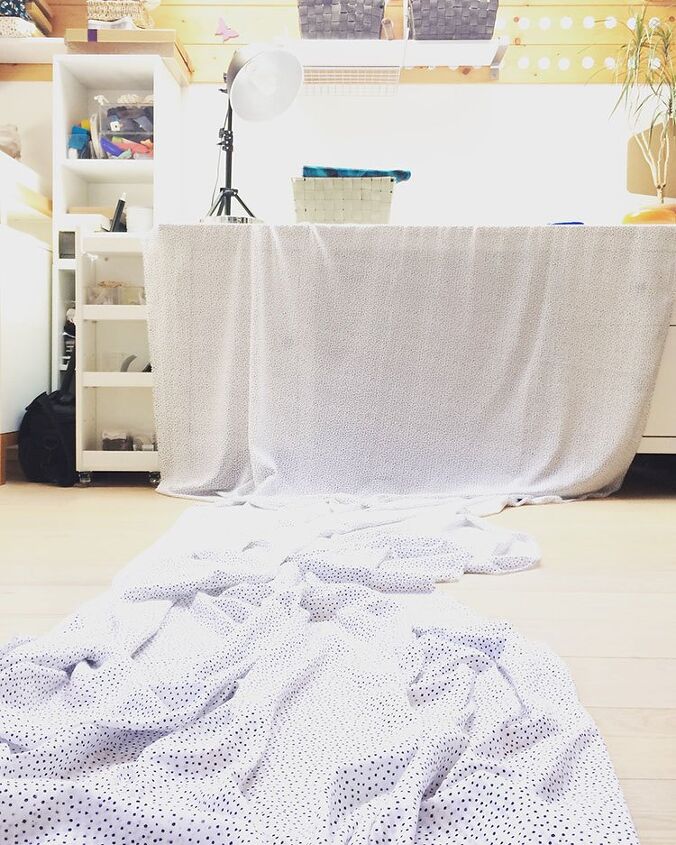
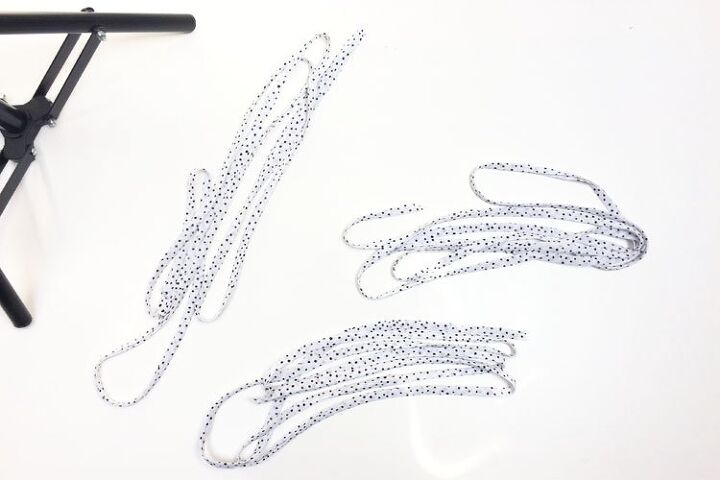
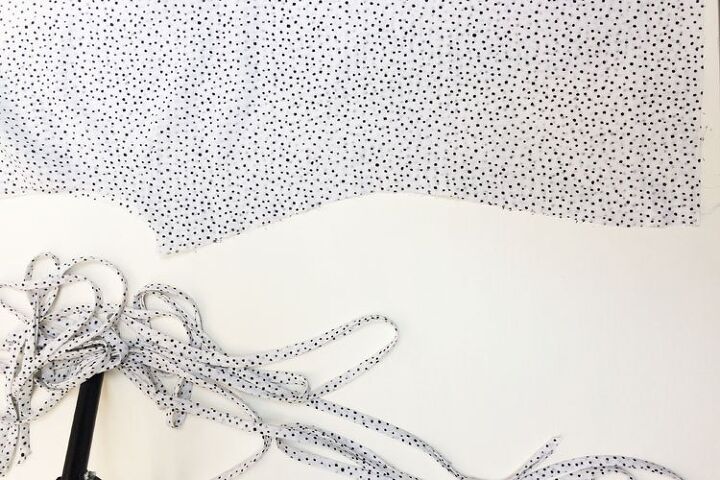
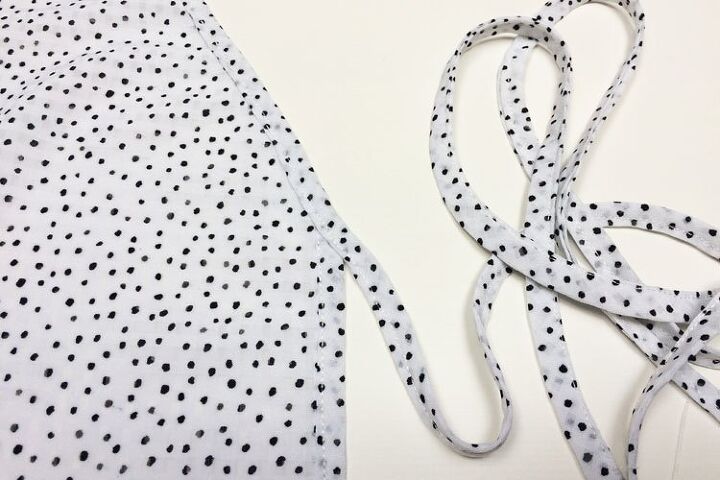
Next, you will need 3 strips of bias tape. Make them approx. 1.8 m (71") long and 4.5 cm ( 1 3/4") wide.
I recommend preparing these strips first and cut out the pattern pieces from the rest of the fabric afterward. You can also use a rotary cutter to prepare your bias tape strips.
In any case, the strips need to be cut on the bias - they need to be pliable so that you can use them on curved edges.

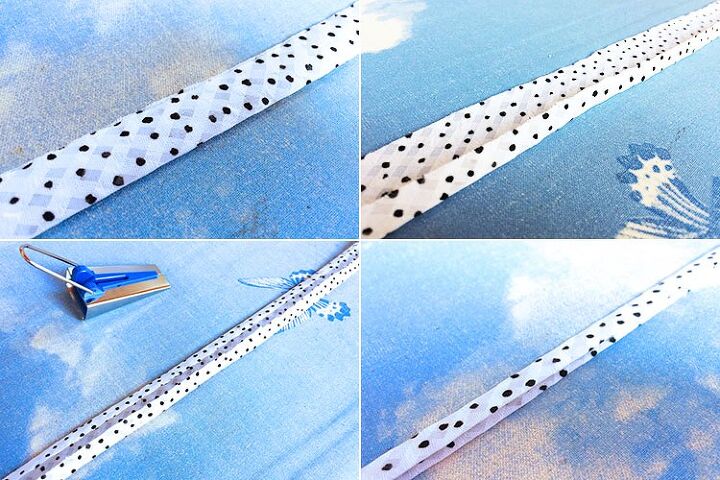
If you have a bias tape maker, you are golden. If you don't have it (or have the wrong size like me :D ), then simply fold the strip in half (lengthwise, wrong side in) and iron it. Use a lot of steam and force. Then open the strip, fold the two longitudinal edges towards the center fold and iron it. Finally, fold the strip once more (along the original fold) and iron it again.
If you don't want to waste time preparing bias tapes, you can buy ready-made bias tapes in many widths and colors. I recommend using cotton bias tapes because they are easy to work with, on the other hand, you should match the material with the material of the blouse.
How to sew a wrap blouse - Version No.1
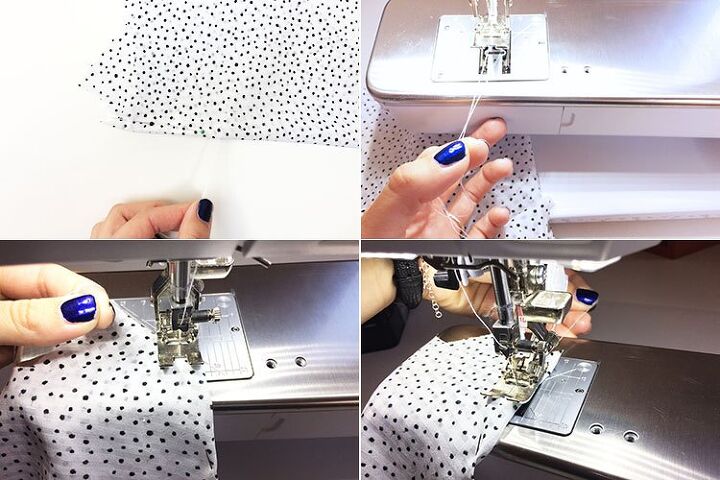
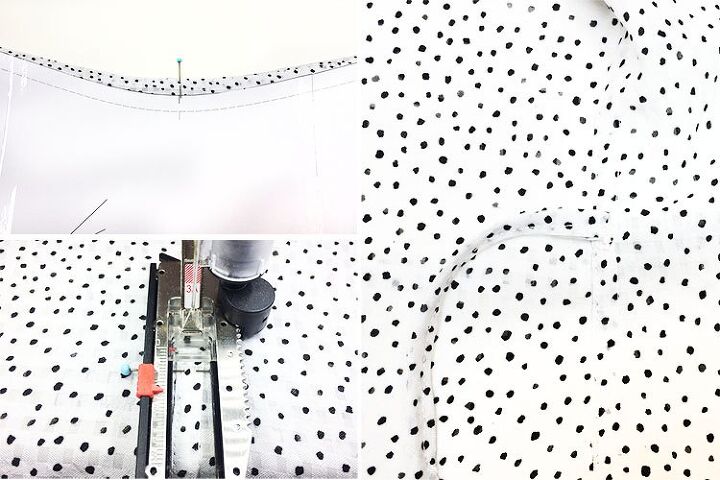
Sew bust darts first. Use thread to transfer the mark for the top of the bust dart to the fabric.
Start sewing at the edge of the piece and move towards the top of the bust dart. Pull a few centimeters/inches of both threads out of the sewing machine.
Position the edge of the bust dart under the presser foot and sink the needle into the fabric. Hold the ends of the threads (you can wind them on your finger) and start sewing. By gently pulling on the ends of the threads, help the machine to move away from the edge so that the fabric does not get caught in the machine.
When you reach the top of the bust dart, sew the last stitch outside the fabric. Lift the needle and presser foot and carefully slide the fabric out. Cut the threads and tie them with two or three simple knots at the top of the dart. Then cut off the excess ends (cut about 1 cm / 0.4" from the knots so they don't untie during washing). Fold the dart down (towards the waist) and iron it.

This is what it should look like when you're done. Right side:
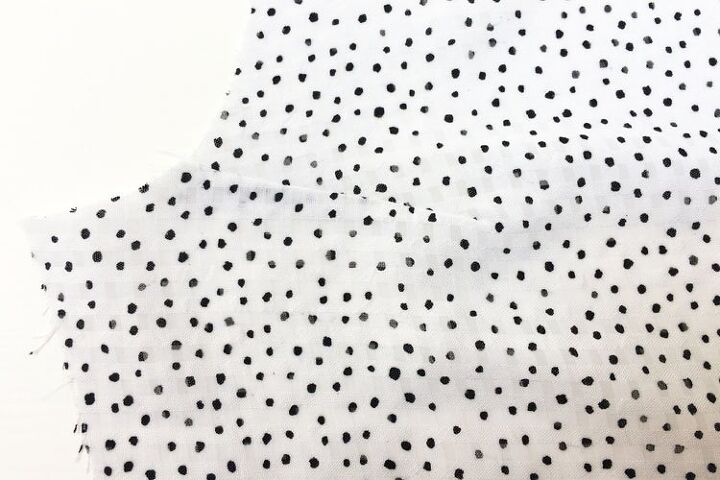
Wrong side:
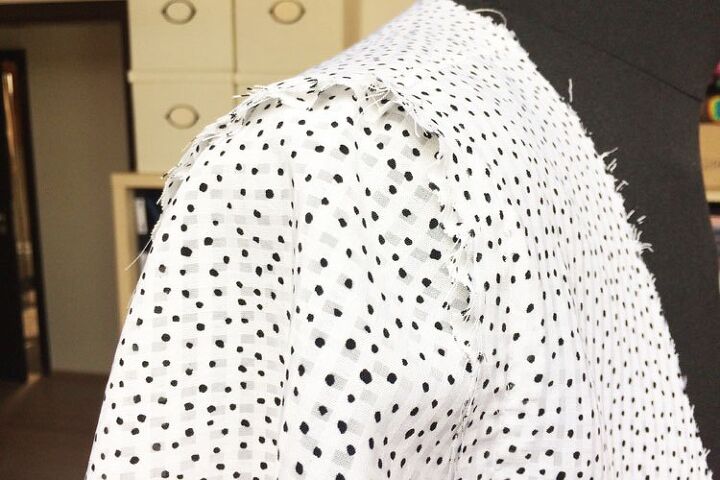
Shoulder seams
I already showed you the French seam in one of my last articles:
Let's have a quick refresher...
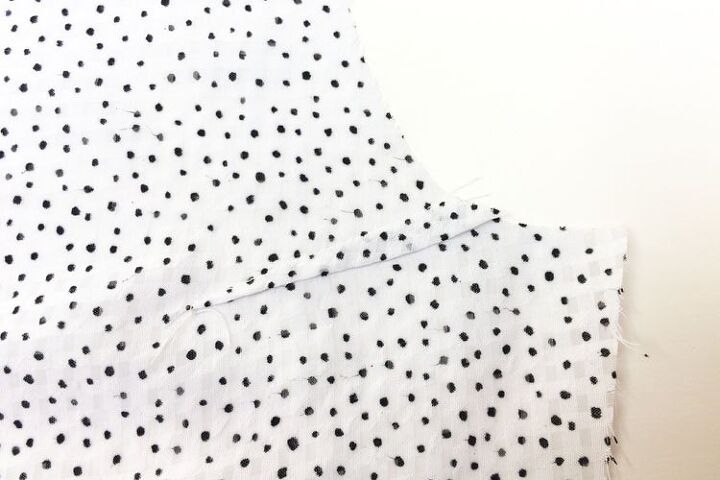
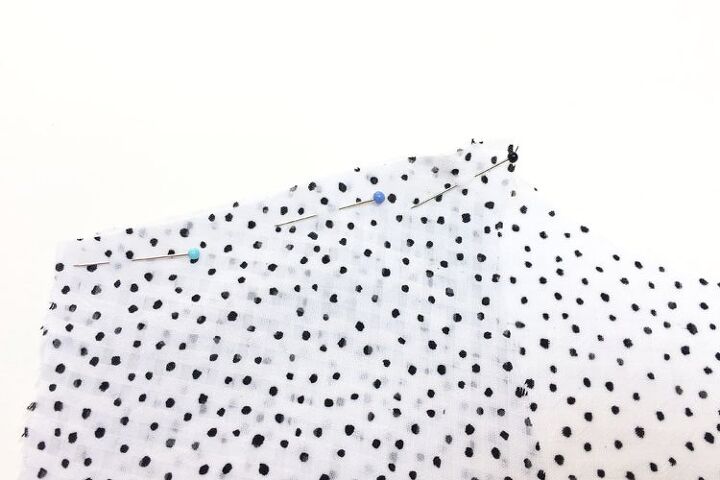
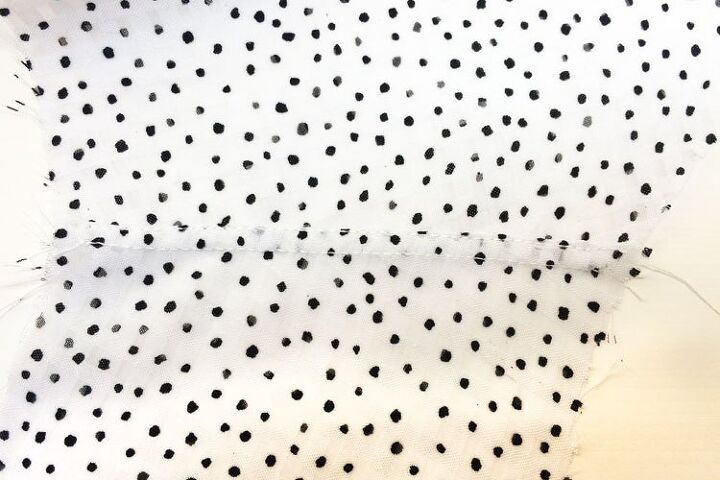
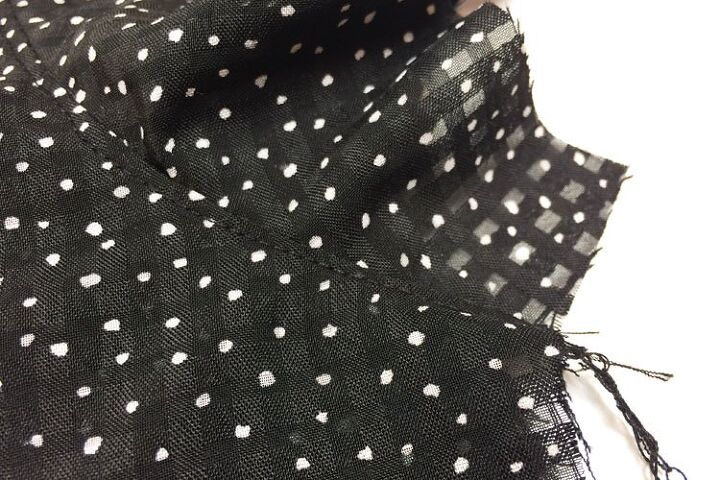
Put the front piece on the back piece (wrong side to the wrong side). Pin and sew the two pieces - sew 1.5 cm (5/8") from the edge.
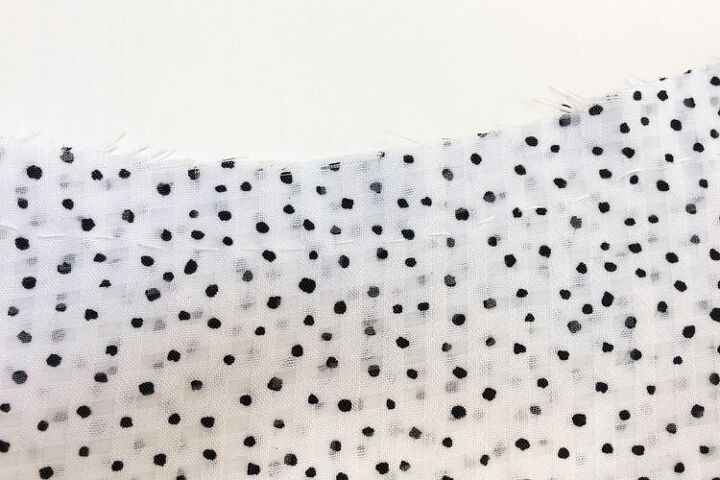
Cut the seam allowance of the back piece in half. Press the seam allowances of both pieces towards the back piece.
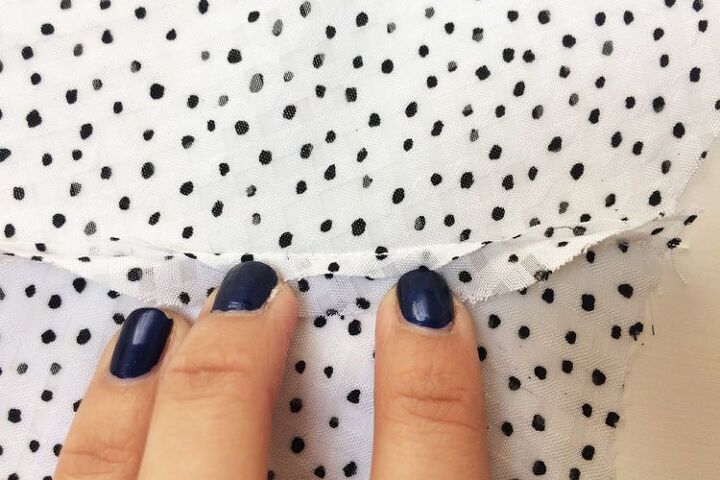
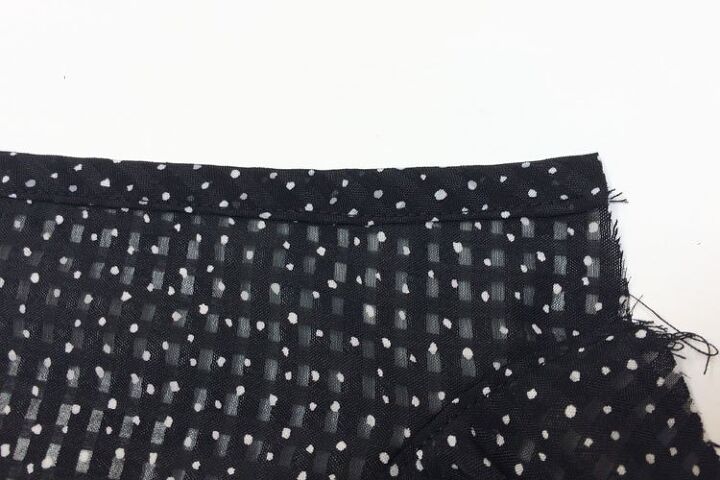
Fold the seam allowance of the front piece over the seam allowance of the back piece. Baste (temporarily stitch) the seam allowances in this position.
(Baste...? What do you mean? You can learn more about basting here: How to baste fabric (simple & correct technique)
For a more detailed description of how to sew the French seam, see this article:
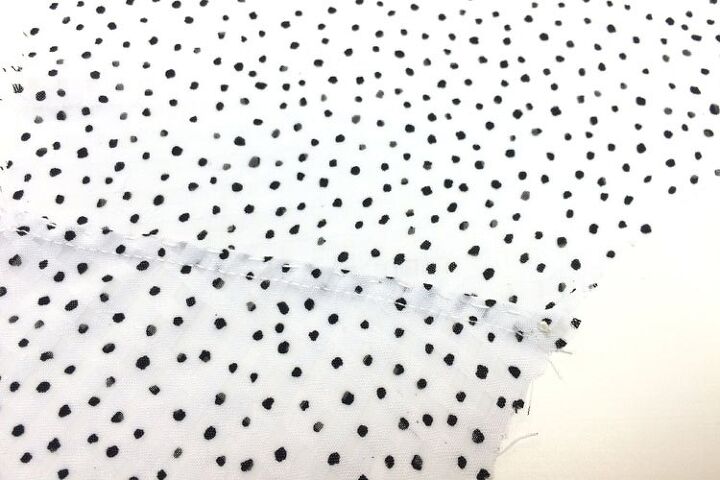
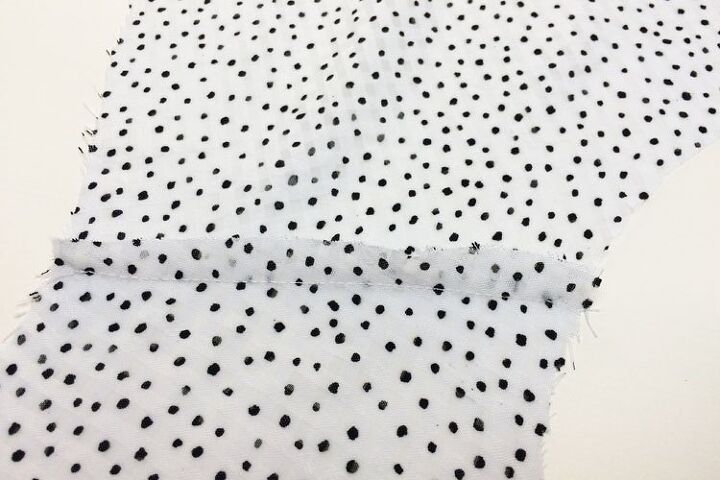
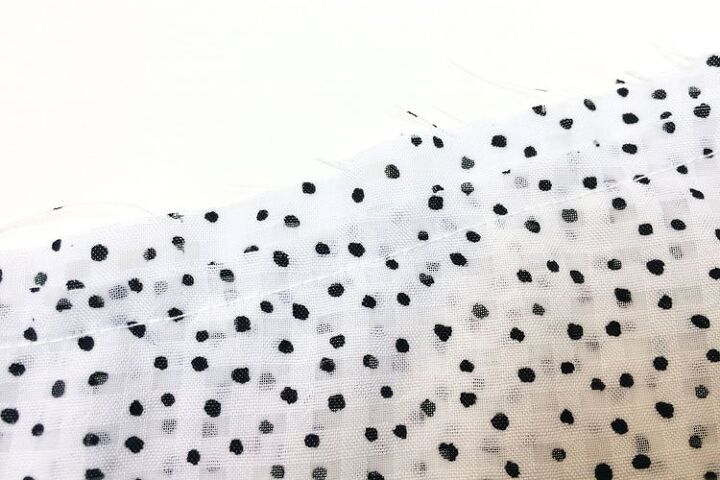
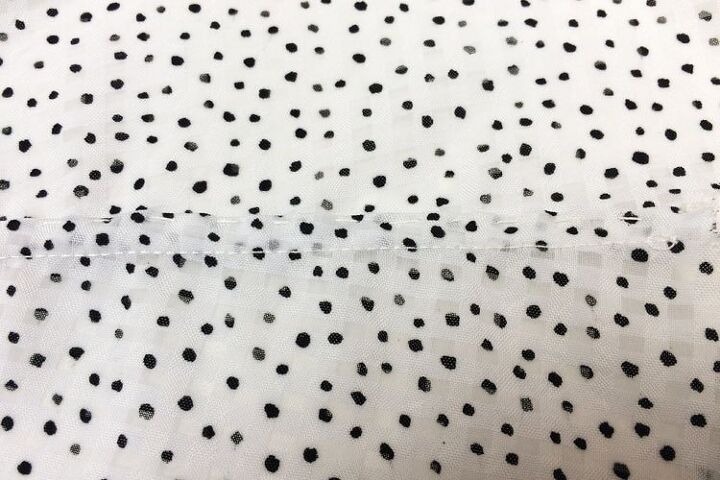
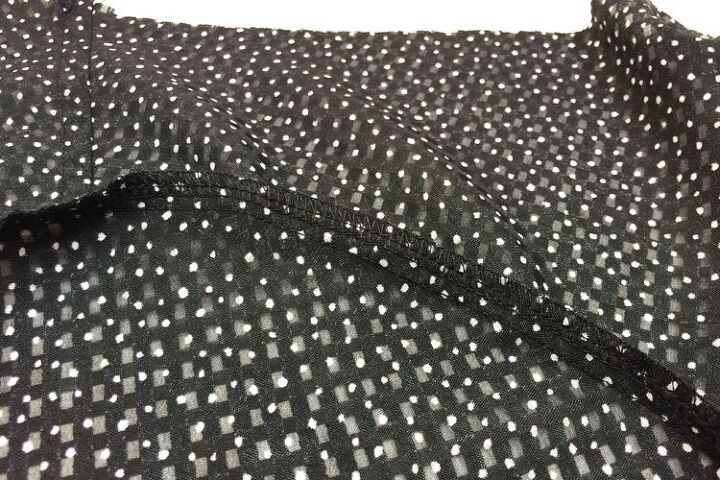
Iron your seam and check that it is the same width along its entire length. If everything is in order, topstitch the seam (sew from the face side of the blouse). Sew 1–2 mm (0.04”–0.08") from the “free” edge (fold) of the seam. Don't forget to pull out the basting thread afterward.
Work on the other shoulder seam in the same way.
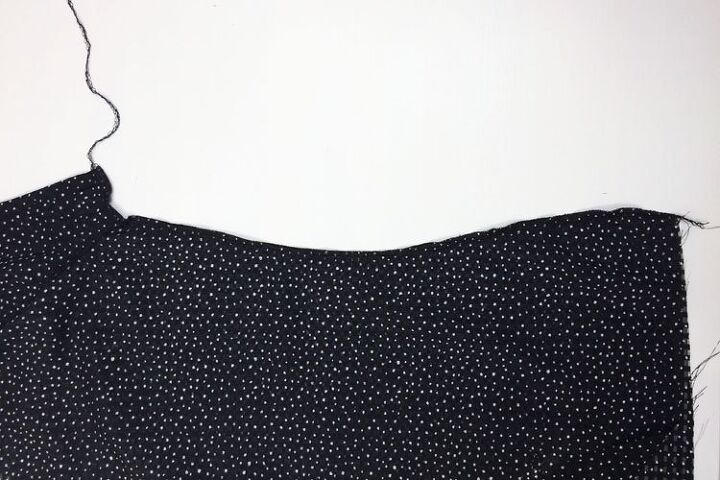
Similarly, sew the side seams. Put the pieces together (wrong side to wrong side) and baste the seams (stitch 1.5 cm / 5/8" from the edge).
Let’s perform the first fitting test.
If you have compared the pattern to your body measurements before you cut the pieces, there should be no need to make any major adjustments now. You should perform this fitting test primarily because every material behaves a little differently and what works with one fabric may not work with another. Therefore, even if you have already tried a pattern, you should still be careful when sewing another piece from a slightly different material.
If you discover a problem, adjust the garment. If the blouse fits properly, you can continue. Sew the side seam and pull out the basting thread.
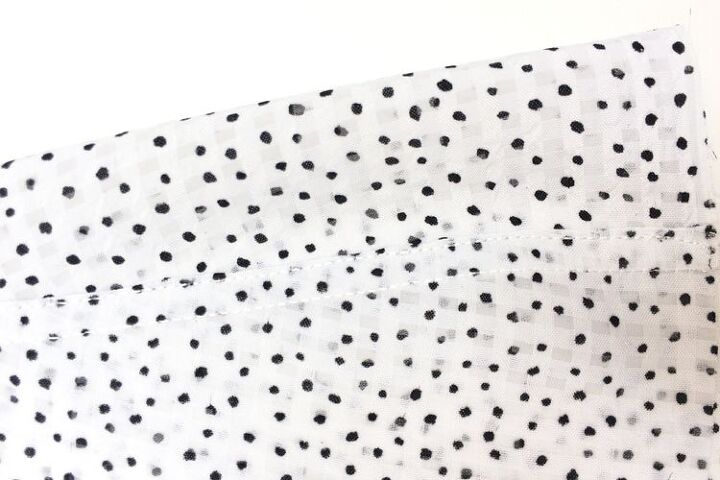
Trim the seam allowance of the back piece, baste and iron the French seam.
Topstitch the seam.
Sleeves
Sew the sleeve seams in the same way as the side seams and shoulder seams. Fold the sleeve wrong side in and sew the two edges. Cut the seam allowance of the back part of the sleeve in half. Fold and baste the seam. Topstitch the seam and pull out the temporary stitching.
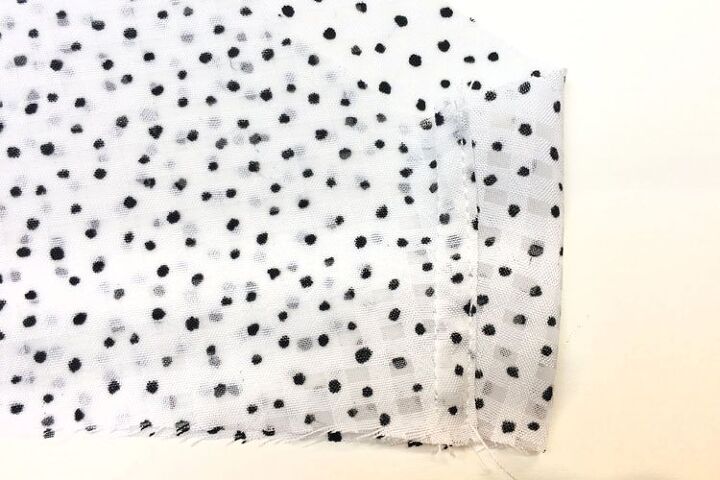
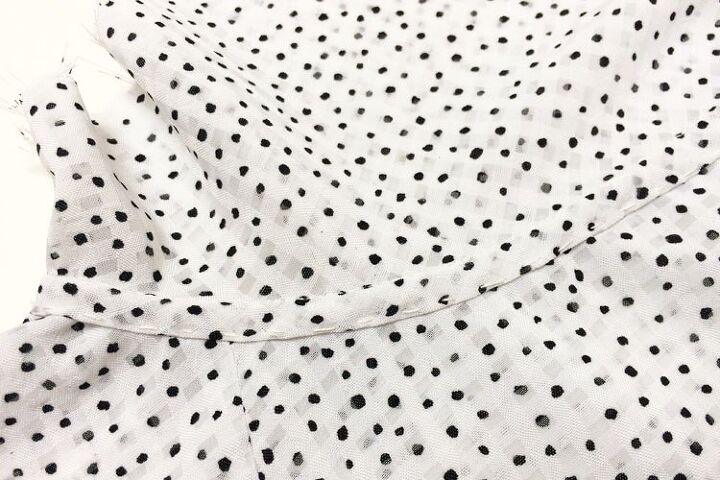
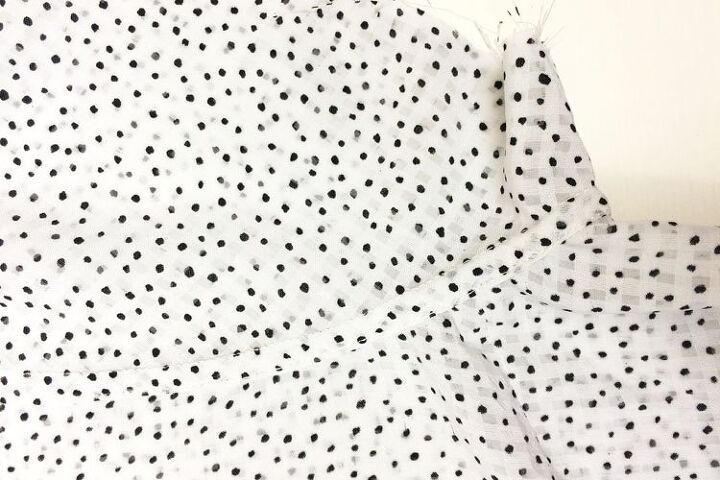
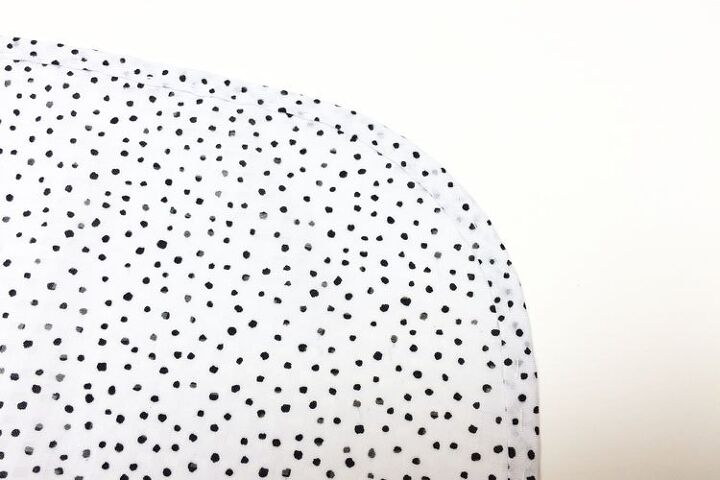
Baste the sleeve to the armscye (wrong side to the wrong side). You should easestitch the sleeve a bit around the top of the sleeve cap, especially at the back.
This is what it should look like:
I now recommend that you do a 2nd test and check the sleeve. We all have differently shaped shoulders/backs, those with rounder backs will probably need to easestitch the sleeve less in the front and more in the back. If you have an athletic physique and a straight back, you probably won't need to make any additional changes.
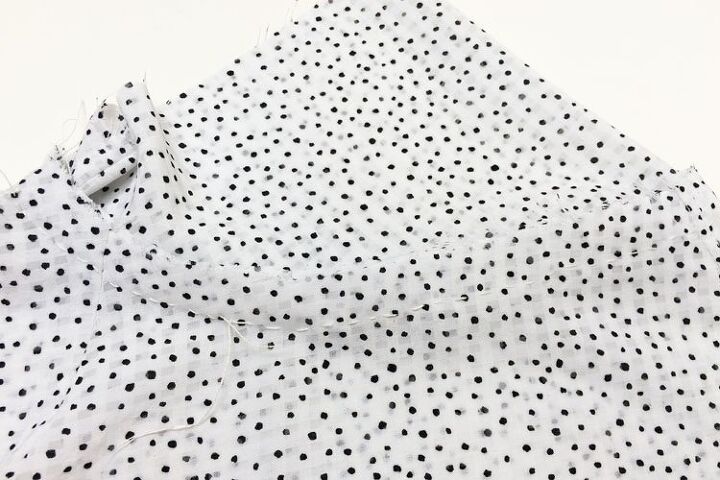
When you have the sleeve fitted to your liking and everything looks good, you can sew the sleeve in. Then cut the seam allowances of the back and front piece, not the sleeve, in half.

Baste the seam...
...topstitch it and pull out the basting thread.
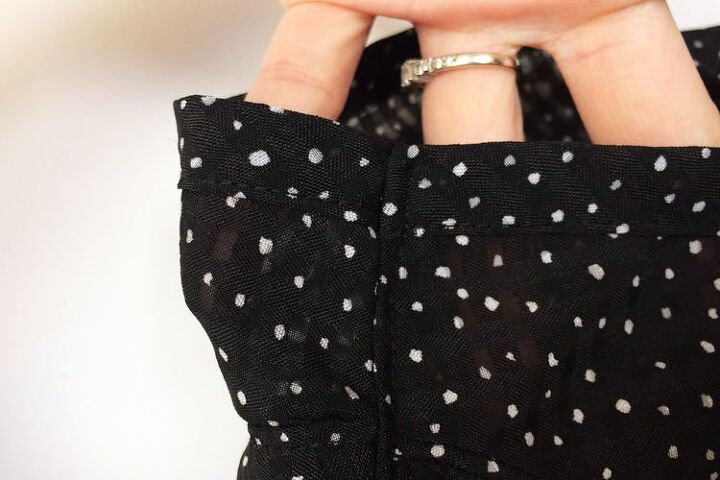
Now you will need one of the bias tapes to hem the sleeves. There are several ways to do this. You can "open" the tape, pin the edge of the strip to the cutting edge of the sleeve (right side of the tape to the wrong side of the sleeve). Sew the tape to the sleeve in this position. Then "wrap" the strip around the edge of the sleeve and topstitch it - sew from the face side of the blouse/sleeve to attach the second side of the tape.
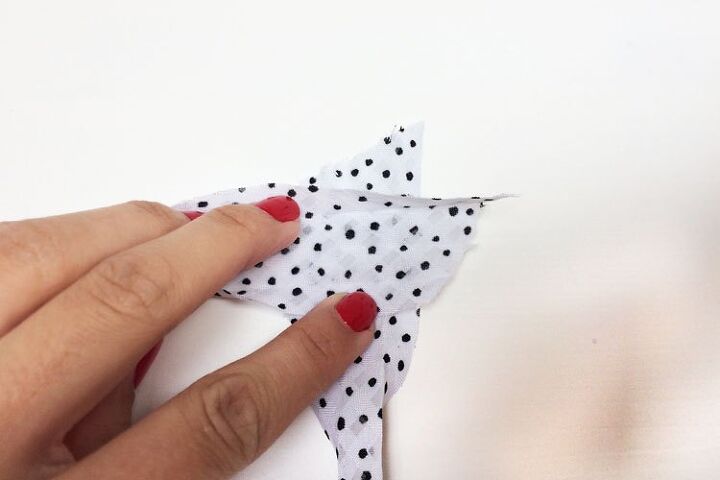
I chose a different option today and sewed the tape here with only one seam. The procedure is described and photographed below. Tuck the edge of the sleeve between the two layers of the tape and baste it in this position. Baste from the right side of the sleeve.

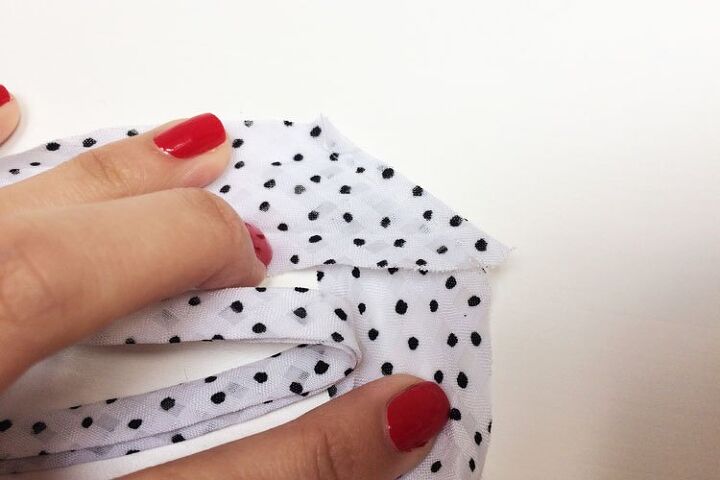
When you get back to the beginning, cut the tape so that it overlaps by about 2 cm (3/4"). Fold the edge under itself...
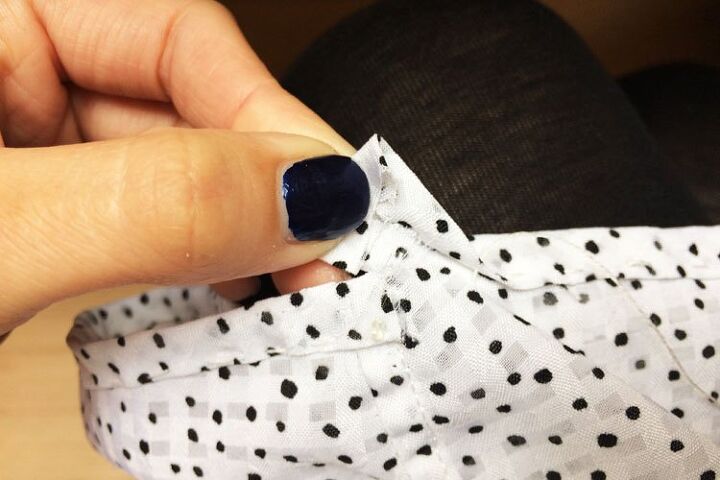
...and use this smooth edge to finish the hem.
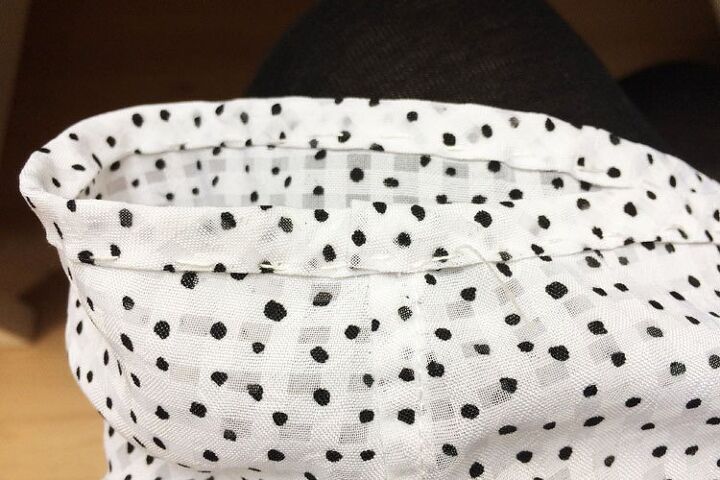
Topstitch the hem and pull out the basting thread.
Then check the inside of the sleeve to see if you have managed to attach the other half of the tape all the way around. If not, attach the loose places to the sleeve with small stitches by hand.
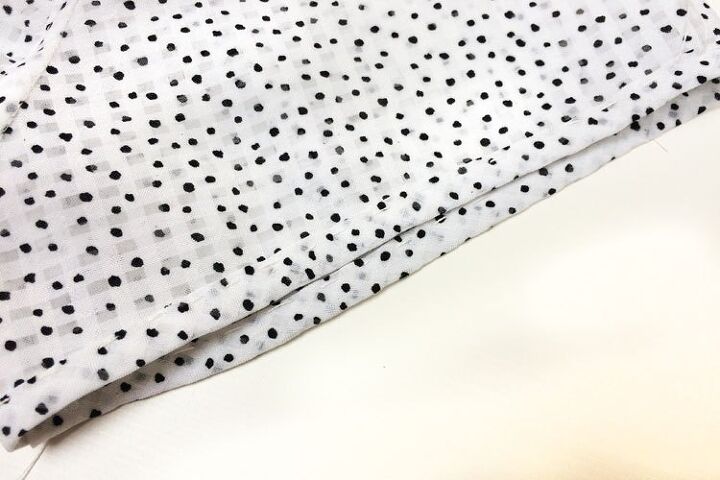
Bottom hem
Work on the bottom edge of the blouse in the same way. Bias tapes are pliable, so you can hem even the curved parts of the front pieces without creating unsightly creases.
Neckline hem
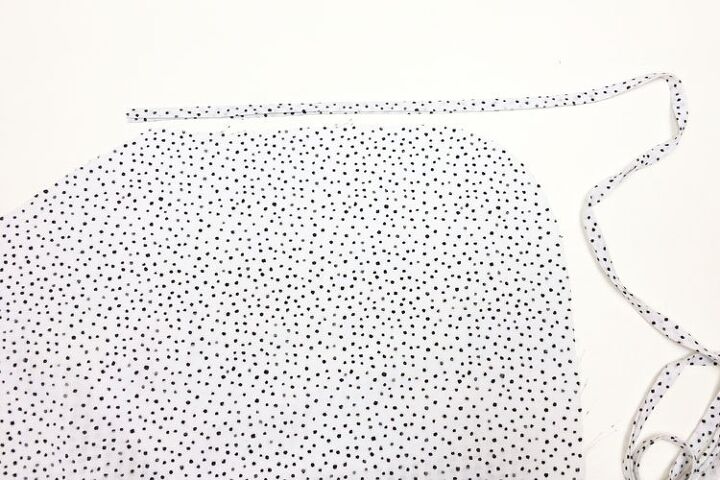
Now connect two 1.8 m long bias tapes (if you want to have shorter ribbons, one 1.8–2 m / 70”–80" long tape is enough).
Lay the ends of the tapes on top of each at a 90-degree angle, right side to right side.
Sew the tapes as shown below and cut off the excess parts.

This connection belongs to the middle of the neckline (back piece).
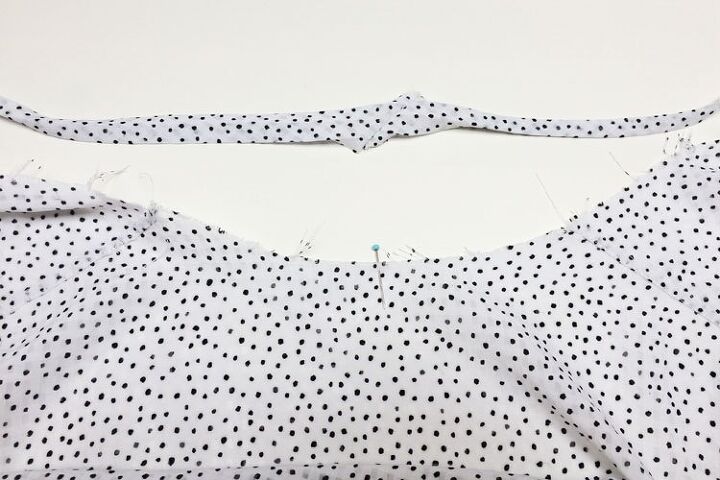
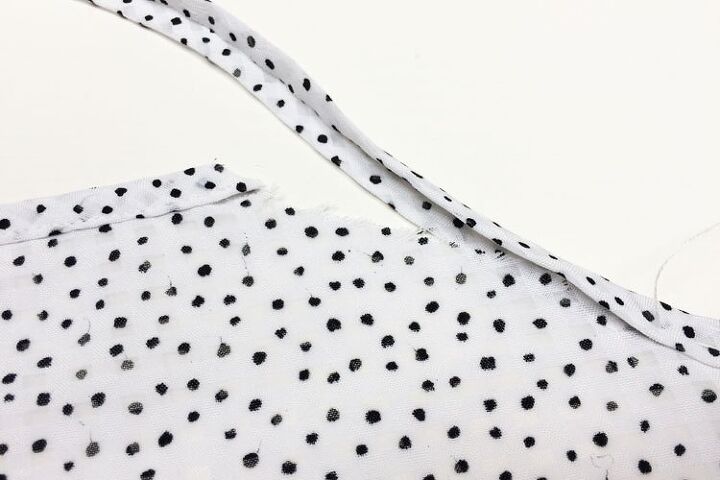
Baste the tape to the neckline and then continue down towards the waist.
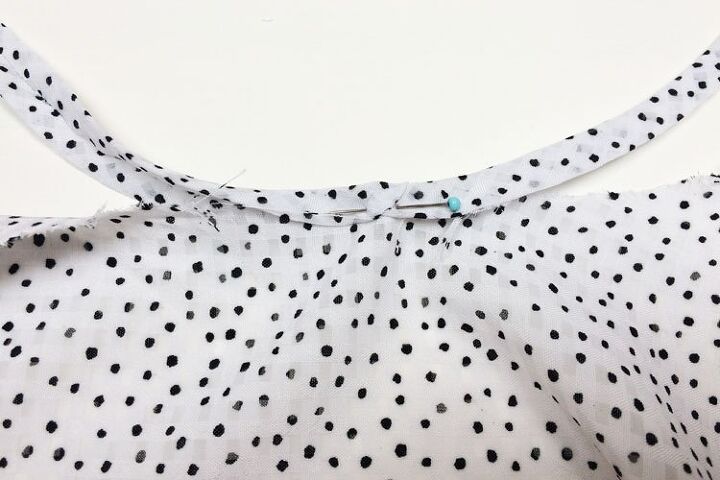
Cut the edge of the bottom hem flush with the edge of the front piece as shown in the photo below.
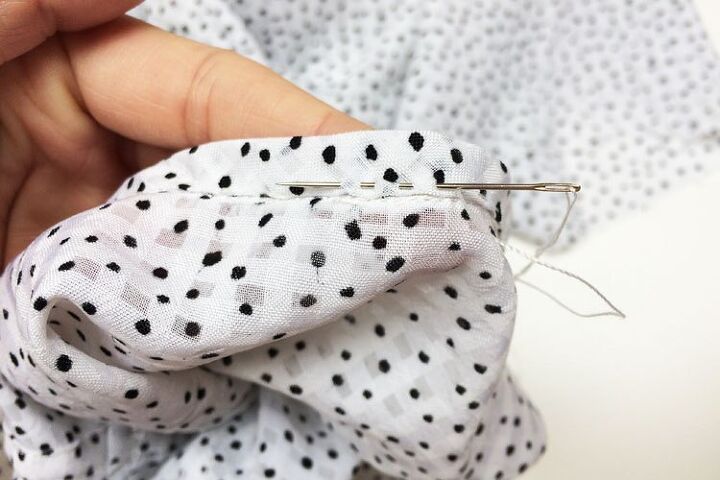
Tying ribbons
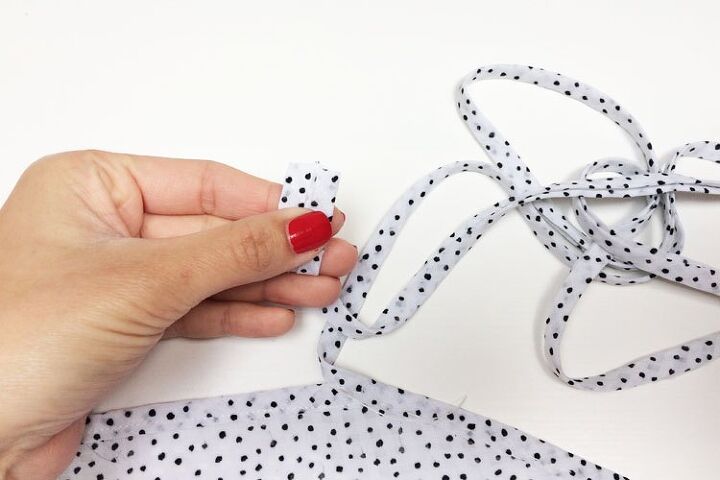
Fold the end of the tape 1 cm (0.4") under itself...
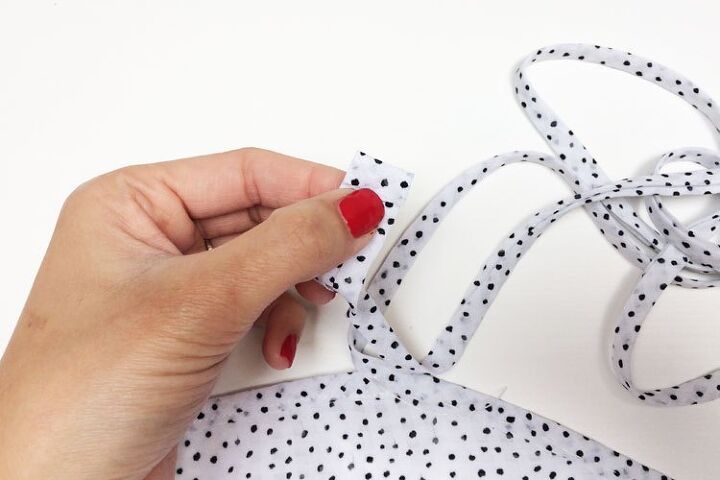
...then fold the end to the original position (lengthwise) and finish the end of the tape with a few stitches.
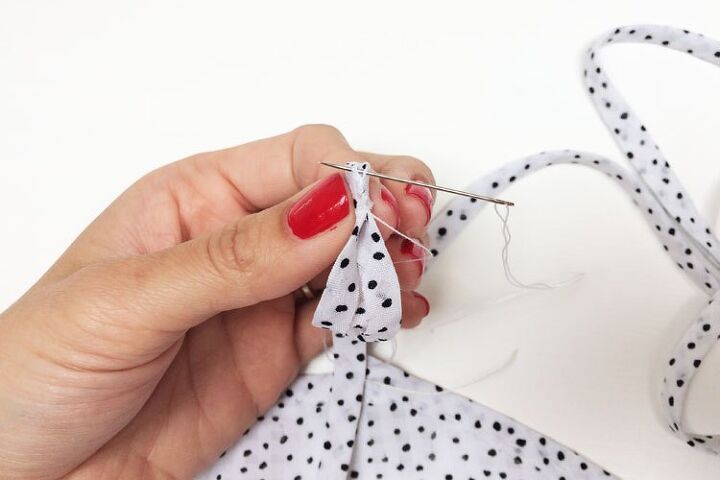
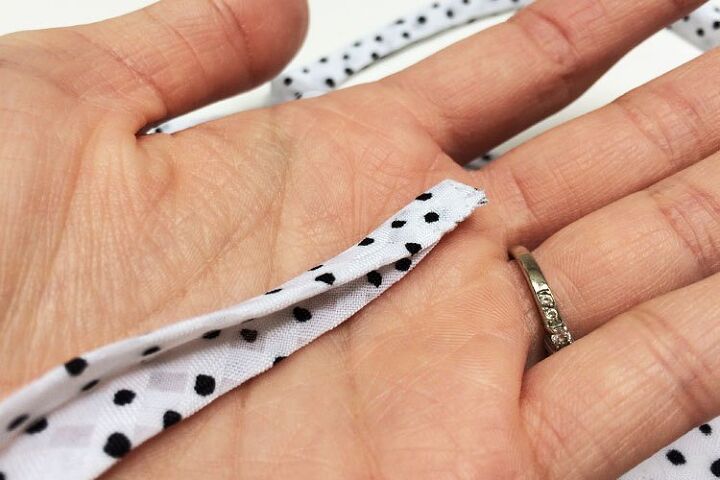
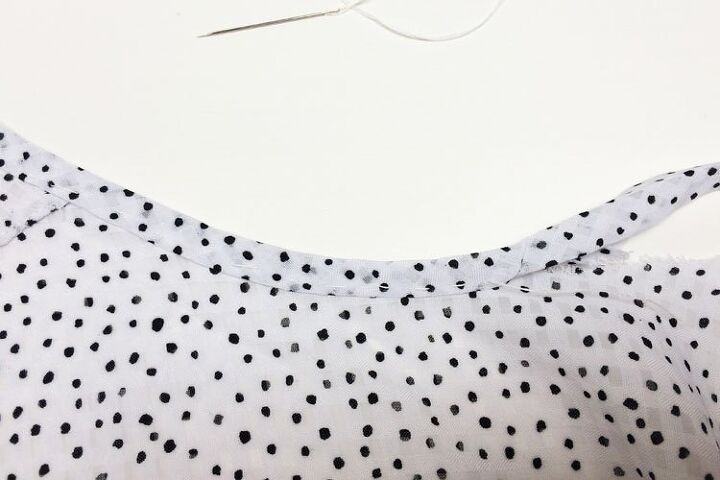
Then sew along the edge of the "ribbon" (to close it), when you get to the front piece continue sewing along the front piece, neckline, down the second front piece, and to the other end of the "ribbon".
Finally, sew a buttonhole near the right side seam at the waistline (there is a mark in the pattern). Thread the left ribbon through this buttonhole so that you can tie the blouse comfortably.
How to sew a wrap blouse - Version No.2
The procedure is very similar, but this time you will not use French seams (modify seam allowances - narrow them to 1 cm / 0.4"). You can use an overlocker or a regular sewing machine (and clean the seams with a zigzag stitch, for example). Another difference is in the procedure for sewing the sleeves. Above I described the classic “blouse way” of sewing sleeves and now we will look at how to sew the sleeves in flat. This is how shirts are usually made.
I got a bit carried away while sewing the shoulder seams and accidentally used French seams and only realized it when I was editing the photos. However, you can sew them in a classic way:
Lay both front pieces over the back piece (right side to right side). Pin and sew the shoulder seams. Clean both shoulder seams.
Press the seam allowances towards the back piece and topstitch the shoulder seams. Sew from the right side of the back piece, about 2 mm / 0.08” from the original seam.
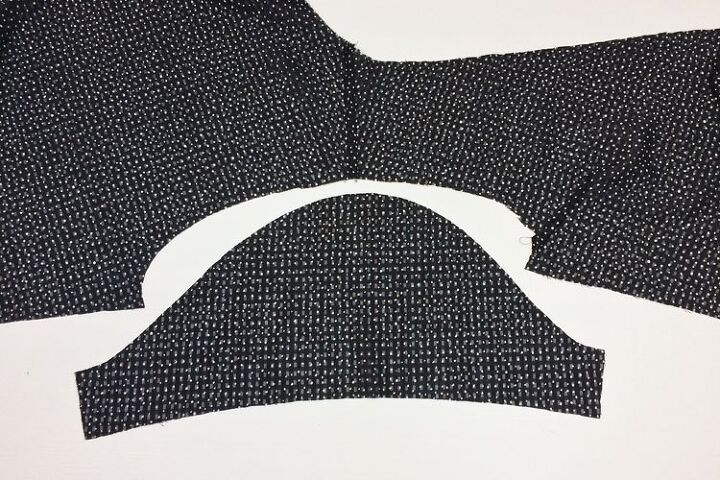
Prepare the sleeve pieces. Do not mix up the sleeves - the steeper part of the sleeve cap belongs to the front piece (it’s marked in the paper pattern).
Pin the sleeves to the open armscyes. The top of the sleeve cap needs to be easestitched a bit (more info in the first sewing tutorial above). I recommend basting the sleeve to the armscye. Sew the sleeves to the torso (right side to right side).
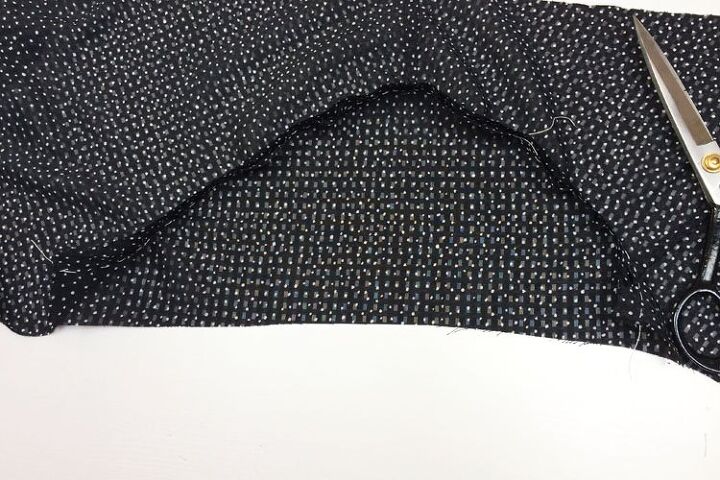
Clean the seams...
...and topstitch them. Press the seam allowances towards the torso (away from the sleeves). Topstitch about 2 mm (0.08") from the original seam.
Then sew the sleeve hems. (More info in the first sewing tutorial above).
Side seams & sleeve seams
Turn the blouse inside out and baste the sleeve and side seams. Now I recommend performing a fitting test. If everything is in order, sew the sleeve and side seams on both sides of the blouse. Clean the seams...
...and topstitch them. Press the seam allowances towards the back piece and topstitch them.
Finally sew the bottom hem, neckline, and ribbons (more info above)
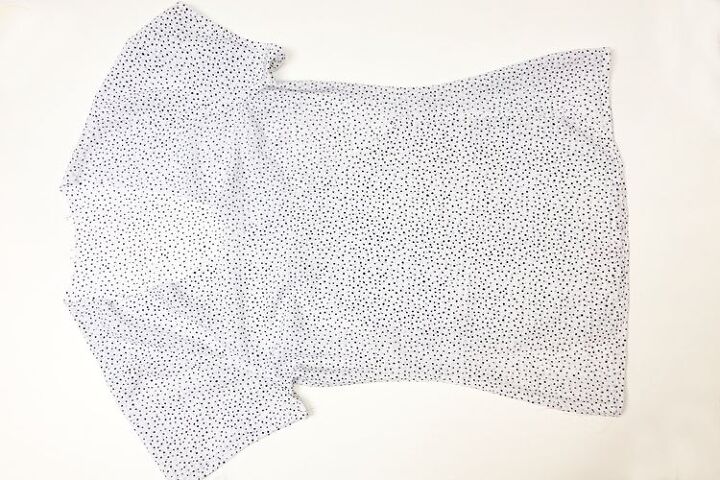
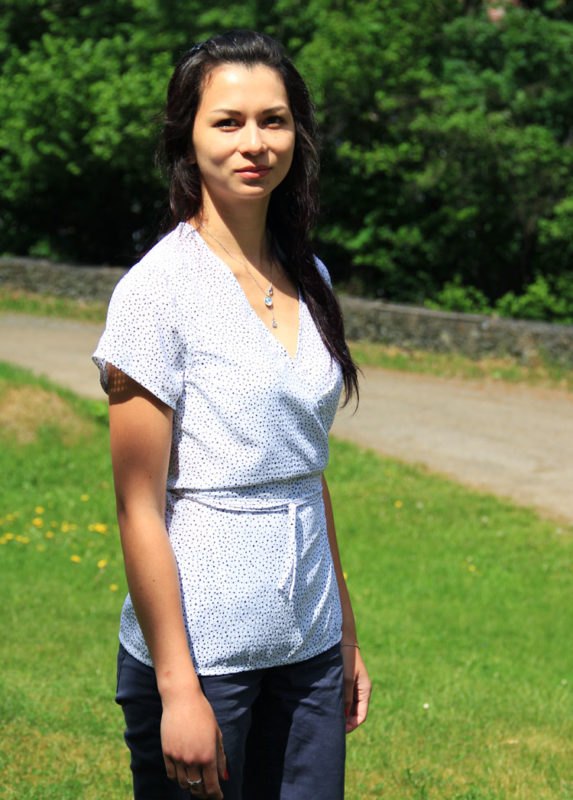
Aaaand it’s done, your new blouse is ready! Do you like it?
Have a nice day, Petra

You can get this pattern here:
The pattern for women’s wrap blouse DOTS (size 32–46)
Do you like this article? If so, share it with your friends and tell me about it in the comments section below. I will be glad for any feedback! ♥
PS: Did you know that there are other FREE PATTERNS available on my blog?
The author may collect a small share of sales from the links on this page.


Comments
Join the conversation