How to Use Heatless Curling Rods for a Curly Mohawk Hairstyle

Today, I am going to do a curly mohawk hairstyle, and I’m going to show you how to use heatless curling rods.
We are going to use curl formers which are curlers that you can use from wet to dry on natural hair, and they create beautiful ringlet curls.
If you want to know how to create heatless curls overnight, keep reading.
Tools and materials:
- Hair ties
- Curl formers
- Spray bottle
- Leave-in conditioner
- Hairbrush
- Curl cream
- Mousse
- Hair oil
- Bobby pins
- Gel
- Toothbrush
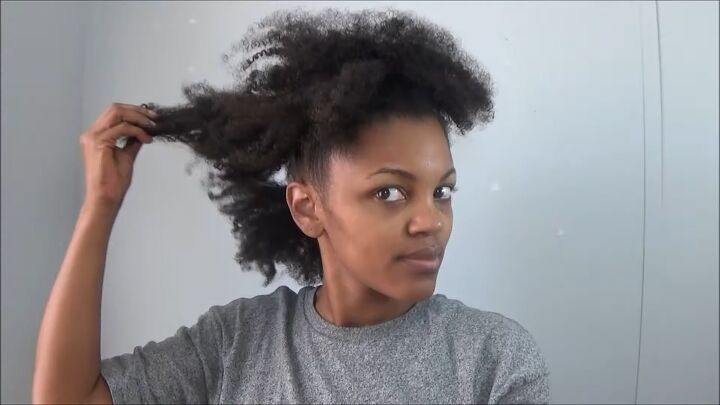
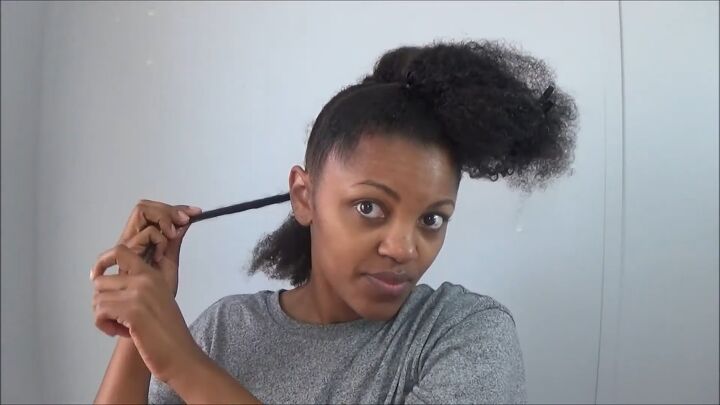
1. Part your hair
Part your hair into three sections - one section at the top of your head, one in the middle of your head, and one at the back.
2. Apply products
Wet your hair with a spray bottle and put in a few products to keep your hair moisturized.
I’m applying Jamaican black castor oil leave-in conditioner and combing it through my hair.
I’m also using a curling cream which helps to define my curls and contain the frizz.

You could stop right here and go ahead and put your curl formers in, but I decided to add a smooth shine polishing curl-up mousse which doesn’t make my hair at all crunchy.
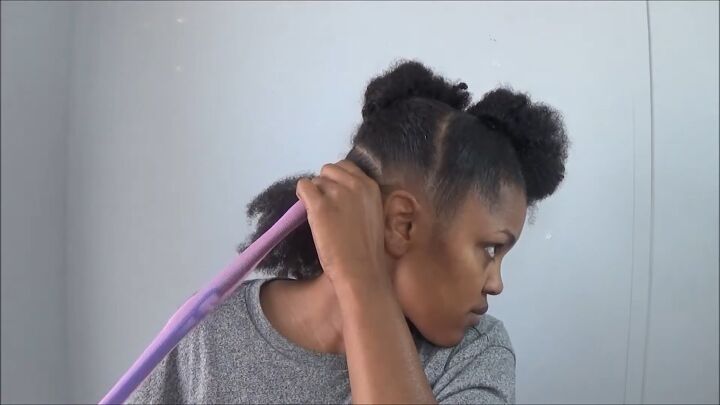
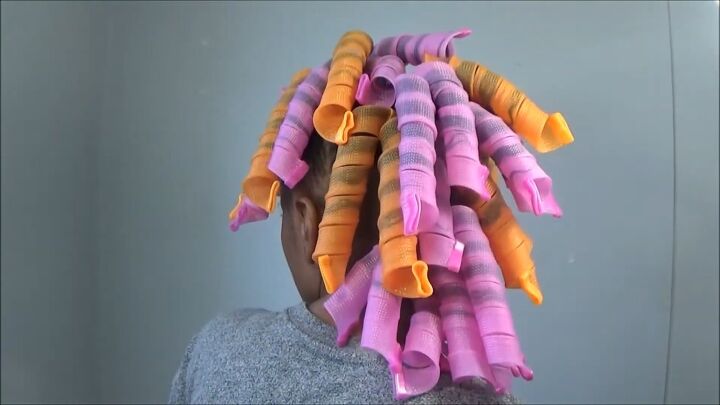
3. Attach the curl formers
Take the rod and slide the curl former onto it. Then put the hook right at the base of your hair, then grab and pull, and it pulls the hair into the curl former.
You can watch the video 2:29-2:36 to see how I did this.
Attach the curl formers all over your hair.
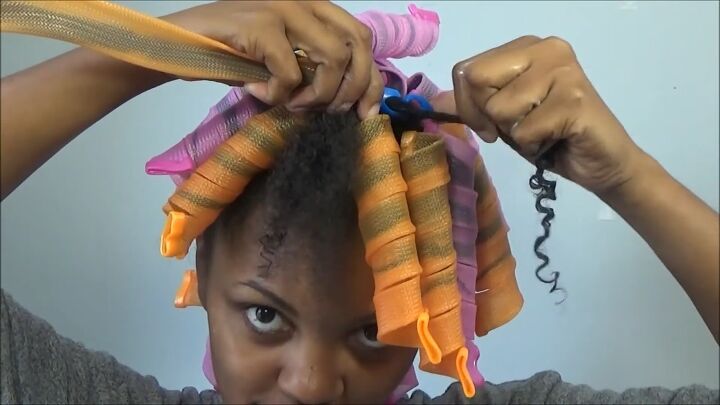
You can see in my hair that I have curl formers in pink and orange - the pink ones curl clockwise, and the ones curl counter-clockwise.
It's great to rotate your colors so that your curls are not curling into each other, and you can get a nice full curl out, and they won't clump together or lack volume.
The curl formers are super easy to use and also easy to sleep in.
4. Sleep with the curl formers in
This is how my hair looks with the curl formers in, and I'm going to sleep like this overnight.
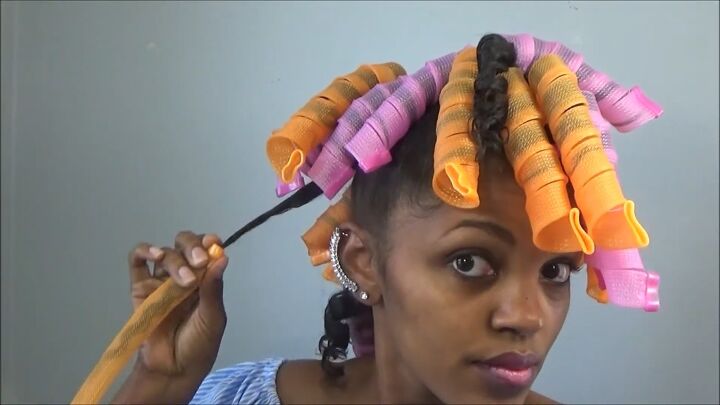
5. Take the curl formers out
Since your hair will now be fully dry, taking them out is even easier than putting them.
You're simply going to push on the rubber piece at the top and pull them out.
If you're in a hurry and you want to dry your hair up under our hairdryer, you can use these under a dryer - they don't melt or anything
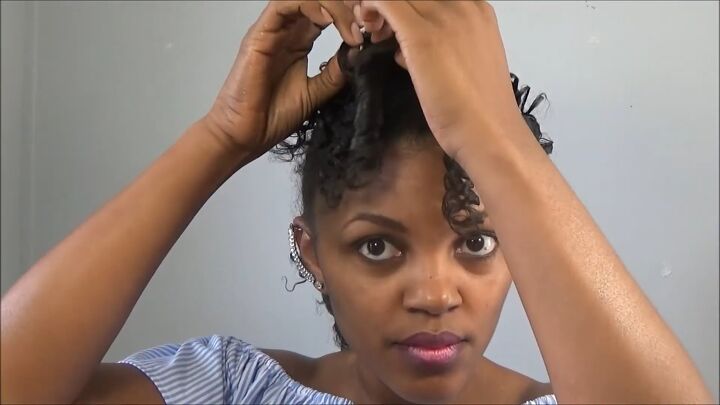
6. Apply oil
I now have beautiful curls. Now I’m going to rub some oil in my hands and start to separate the curls.
I'm going to be very careful and separate them where they naturally want to separate. Work through your whole hair until you’re satisfied.
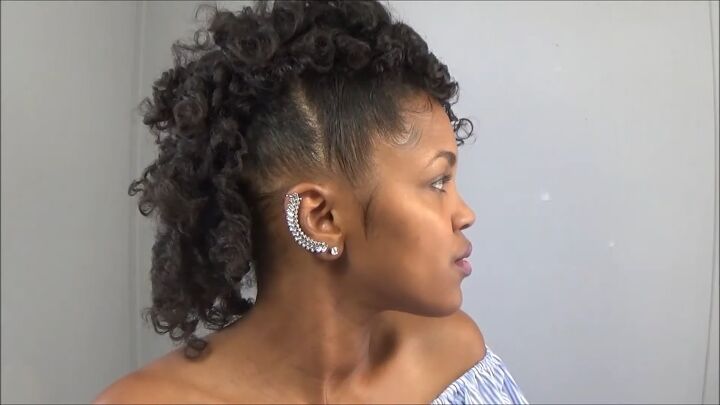
7. Pin hair
If you have longer hair and you really want to show off the Mohawk style, simply pin up a few of the curls on the side until you get your desired Mohawk look.
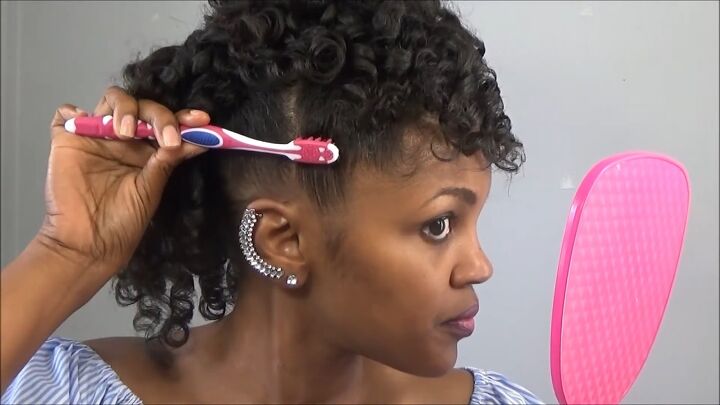
8. Smooth the sides
Last but not least, let's fix up the sides and edges. Add some gel and smooth it in with a toothbrush.
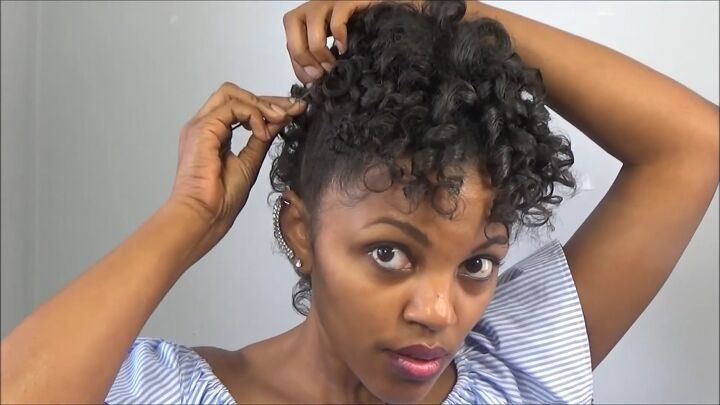
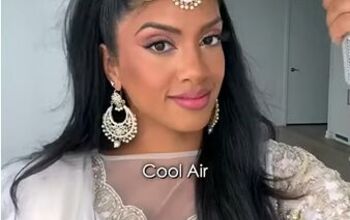
Here is the finished look!
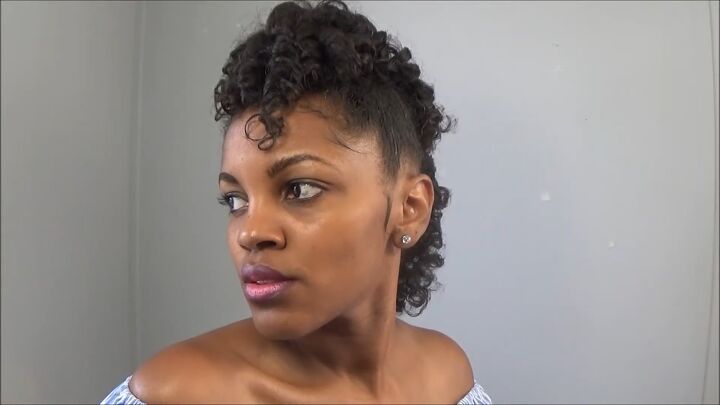
The curls are super defined, and they’re really nice and tight as well. I love the mohawk style, where the hair is just curly in the middle and pulled back along the sides.
The curl formers are very easy to use, and as you can see, they deliver wonderful end results.
Whether you want to do this exact hairstyle or another hairstyle, I hope you’ll give the curl formers a try. Leave me a comment down below.
Check out my post on How to DIY an Easy Deep Conditioner for Natural Hair.
The author may collect a small share of sales from the links on this page.


Comments
Join the conversation