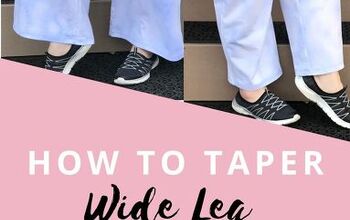
How to Taper Pants Legs…
When I was in in junior high and high school, I hated wearing pants with any sort of flare in the leg. Unfortunately, since my mom was the one buying my school clothes, I had to wear what she chose. I did find a way to get around it… I figured out how to taper pants legs and started altering them into something I liked, that is, until my grandma noticed and made mention of the seam (I sewed it by hand). My mom was not happy!
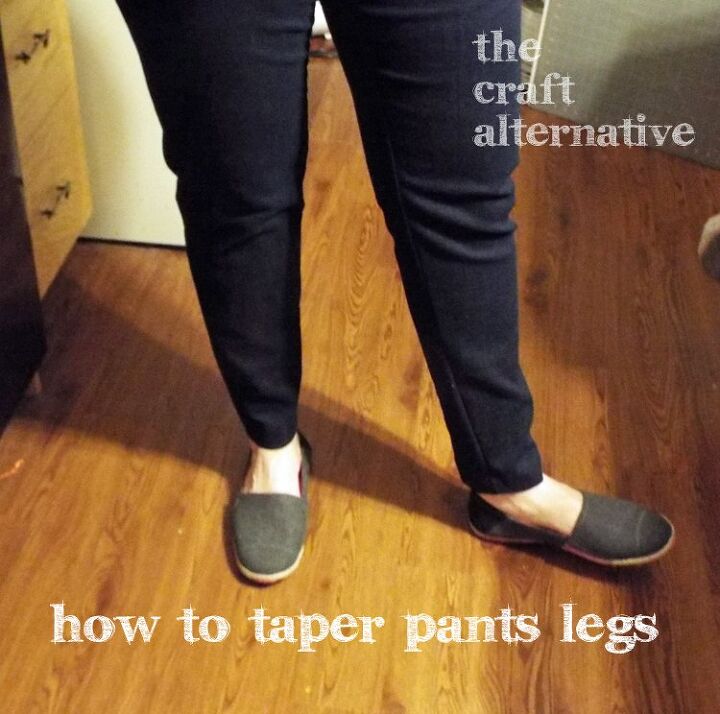
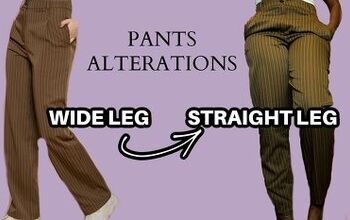
So I have this pair of pants that are the pull-on type with stretch and the hem flares out a little too much for my liking. I decided to taper the legs to a more “skinny” fit. They will look a whole lot better with a tapered hem since they are too short and hit me at about the ankle. This method works best for pants with a plain seam on each side of the legs.

Start by trying on the pants and determining how much of a taper you would like. If a lot of fabric will be removed, both the inseam and outseam will have to be tapered otherwise the new seam will not blend smoothly into the old one. I placed pins at the hem on the inseam and outseam, then placed safety pins at the knees where I wanted the tapers to stop.

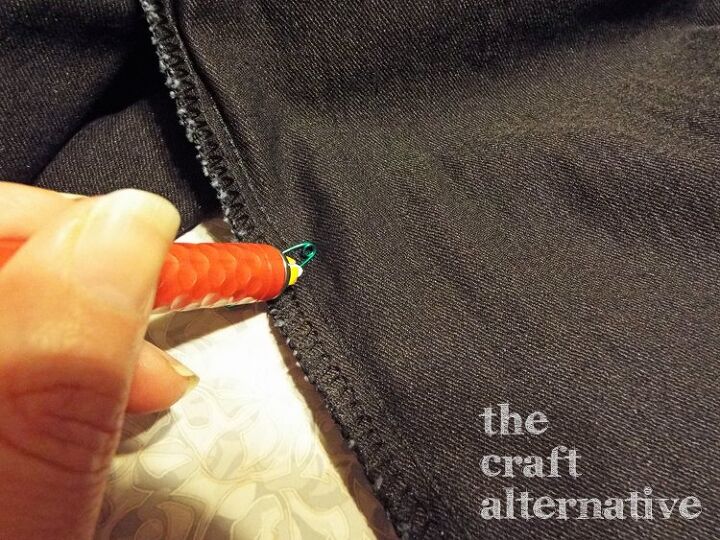
Next, make note of the amount of material to remove from each side of the hem and transfer the safety pins to the inside of the seam. Remove the existing seam with the seam ripper.
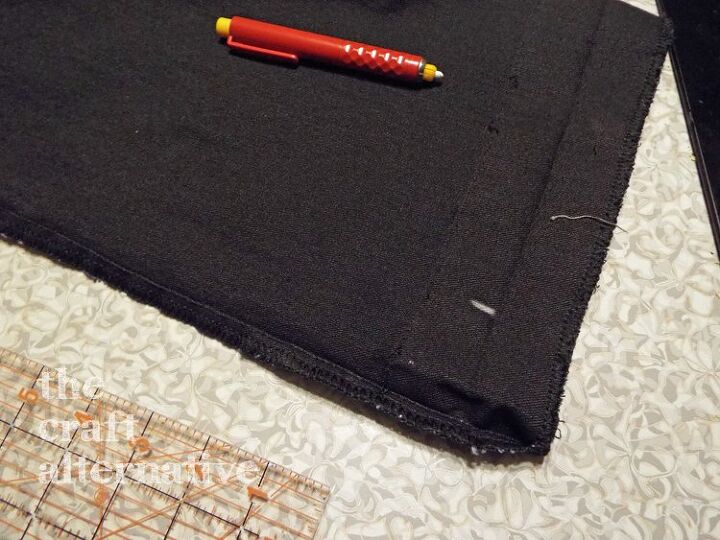
Make a mark on the inside of the hem where the taper will start. I wanted the taper to start at 2″ from the inside of the inseam, and 1-1/2″ from the inside of the outseam. Draw a straight line at this mark from the very bottom of the leg to the top of the stitching mark from the existing hem.
Make a mark where the taper will stop (at the safety pins), then draw a straight line from one mark to the other blending the line into the existing seam at the top. Repeat for both sides of the leg on each leg.
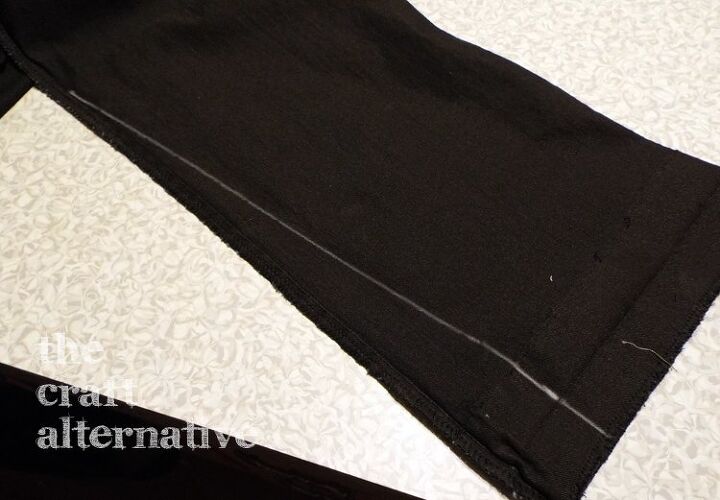
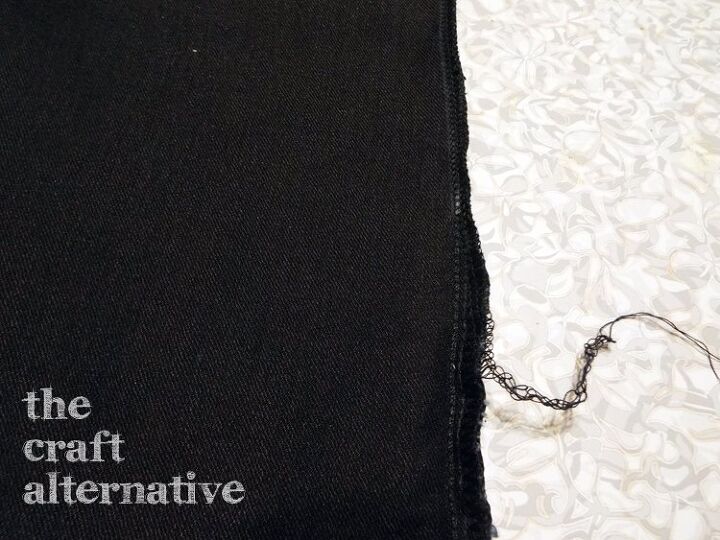
Sew along this line using matching thread and a stitch suitable for the fabric of the pants. If the pants have stretch, use a stretch stitch. If the pants do not stretch, use a regular stitch. Trim the excess fabric away and secure the seam with a zig zag stitch. I used a serger which did all of the finishing work for me!
Replace the hem using thread that matched the thread from the existing hem. Press the new seam. That's it!
The author may collect a small share of sales from the links on this page.


Comments
Join the conversation