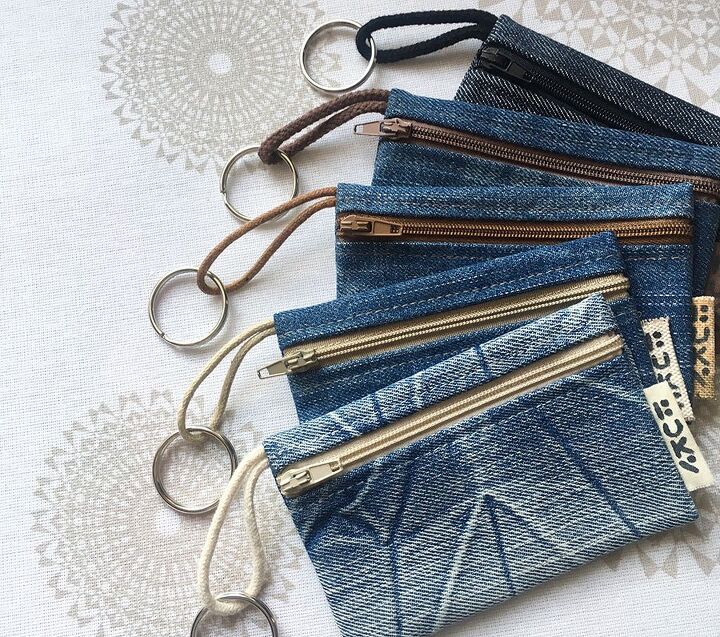
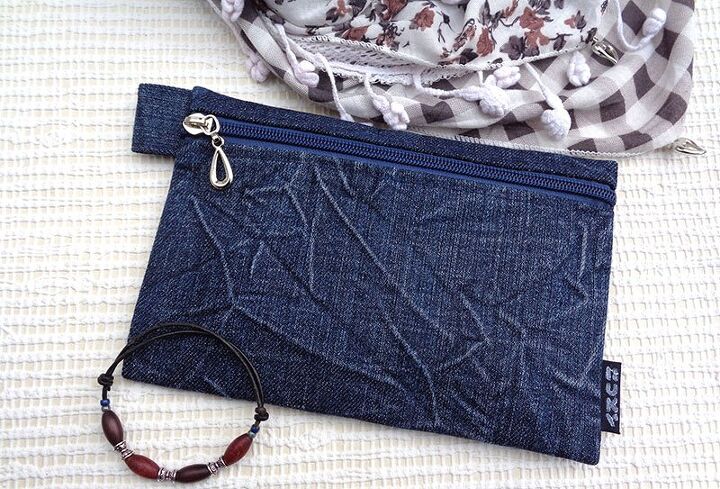
Handy Zipper Pouch

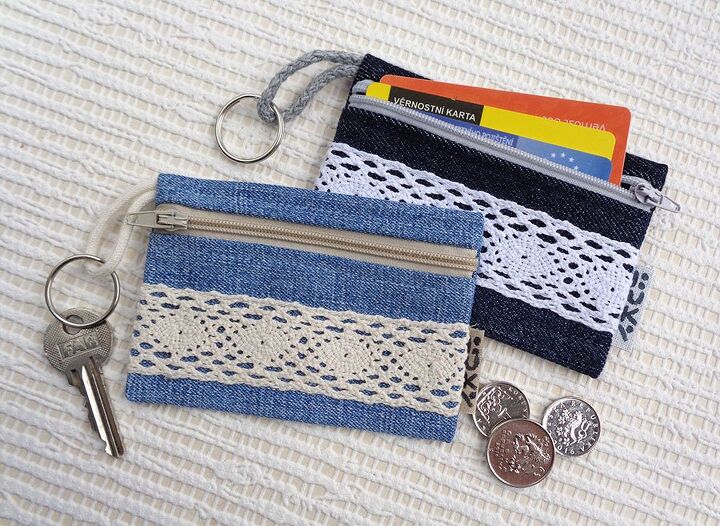
Make this handy pouch for all sorts. As a change purse, key ring, cards wallet or a stash pouch.
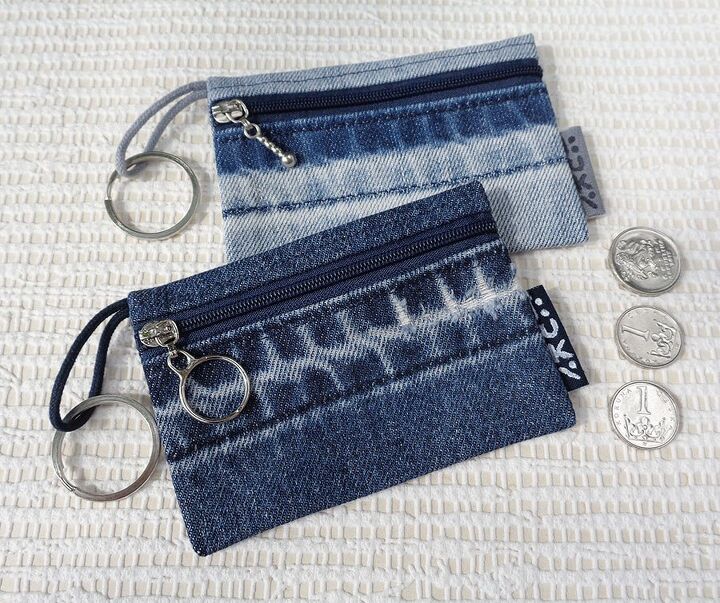
This zipper pouch makes a cool little gift for men and women. It is eco-friendly, as you can use some old jeans for this, or other fabric scraps.
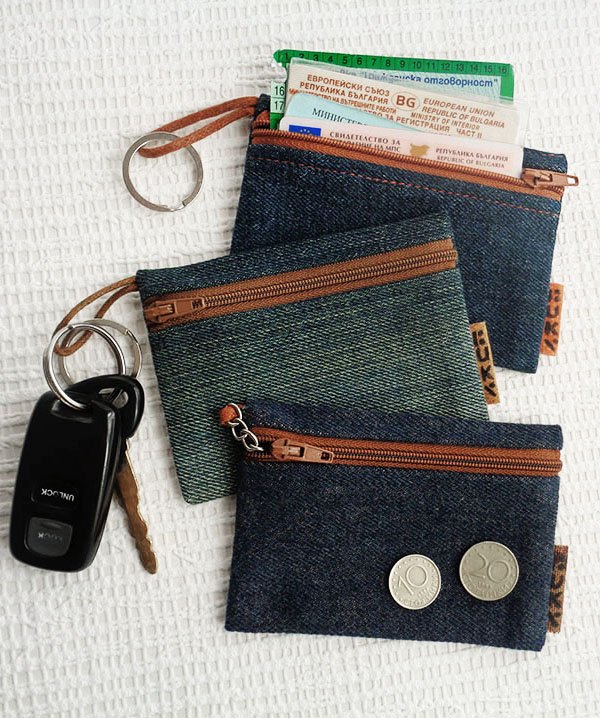
I use mine as a car key ring keeping my driving license, car docs and petrol card in it, so whenever i go by car – all it’s docs are with me – simply can’t forget it at home!
So here we have an easy old jeans sewing project, suitable for beginners and free step by step tutorial.
What you’ll need
When choosing fabric for this project, look at the thickness — medium weight is the best. Thin fabric will make the pouch floppy and thick denim will make it rather bulky. Do not use stretchy denim – as this will cause stretched corners.
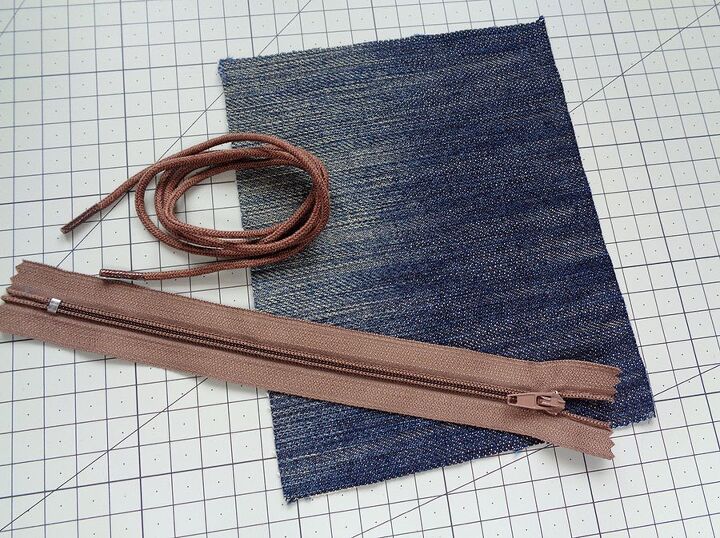
You will need to cut a piece of denim 16x13cm (the seam allowance is included). Make sure you follow the grain (texture) of the denim.
A zipper – minimum of 18cm. The longer – the better, especially if you are a beginner, longer zipper will give you more freedom while sewing.
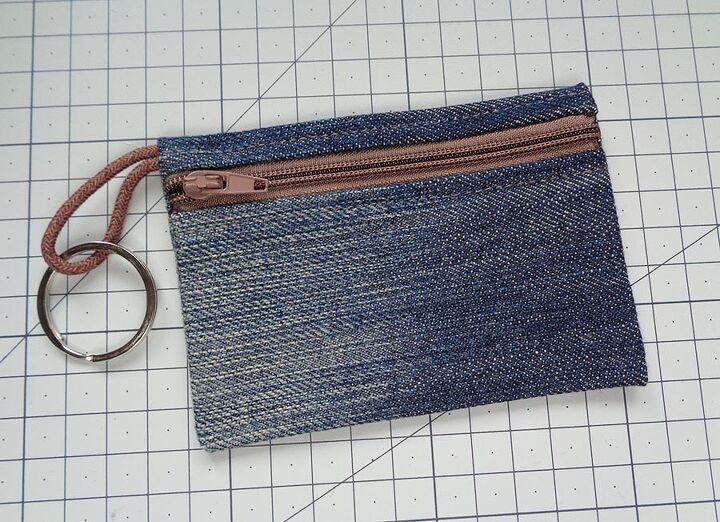
A piece of string 12cm, it can be a shoelace 😉
How to sew
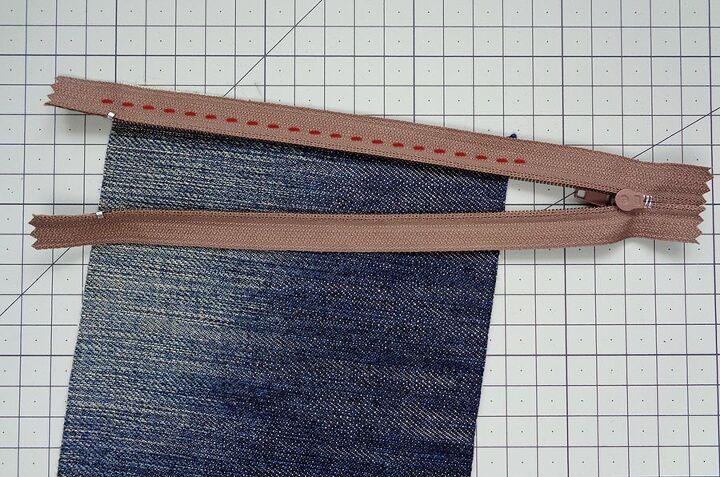
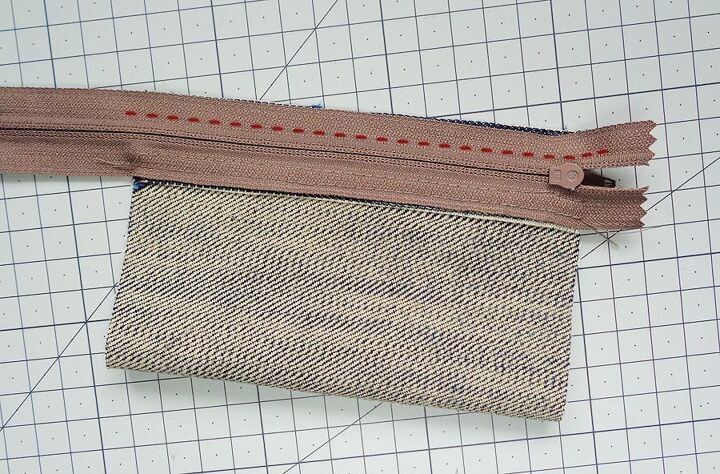
Place the zipper in the position as on the picture, faces together, align with the top (narrow) edge of the denim. Make sure you have some end hanging on your right, but if your zipper is longer than mine, you can have both ends hanging.
Stitch along.
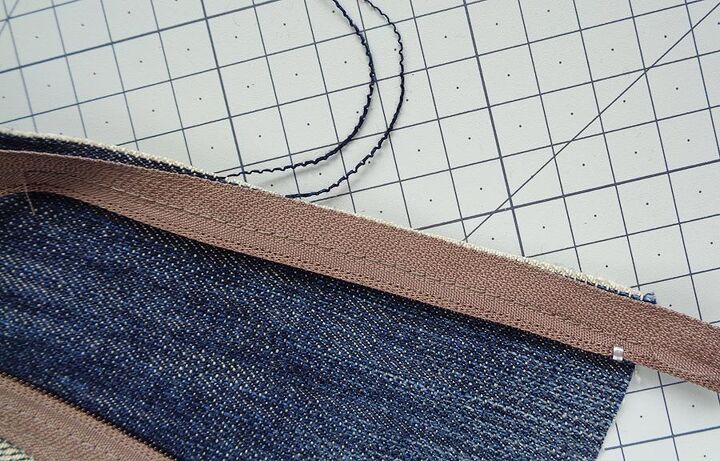
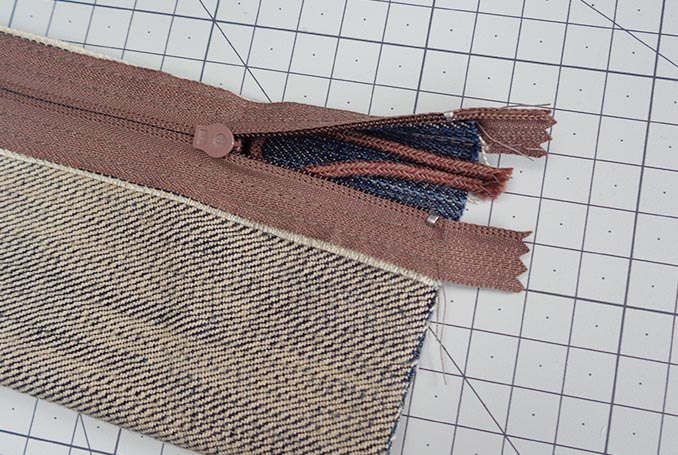
Once stitched, fold the zipper over to the right side, pull away from denim and press flat, creating a neat finish. Top stitch in a nice straight line at some distance. This will secure the fabric and zipper in place.
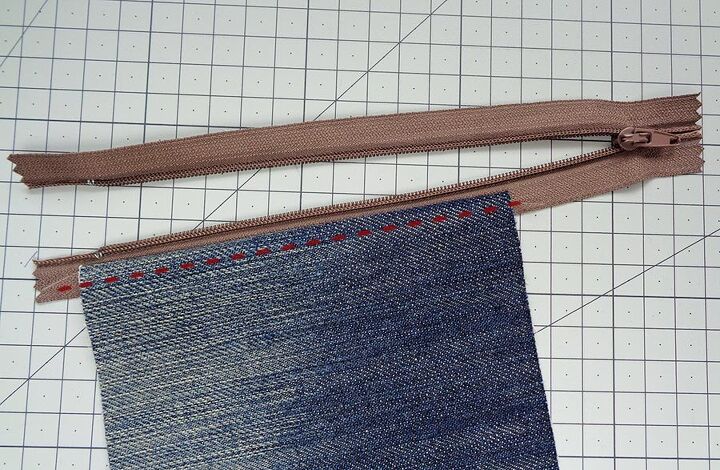
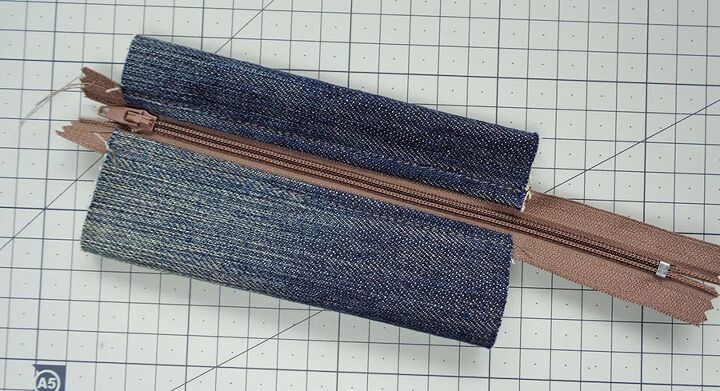
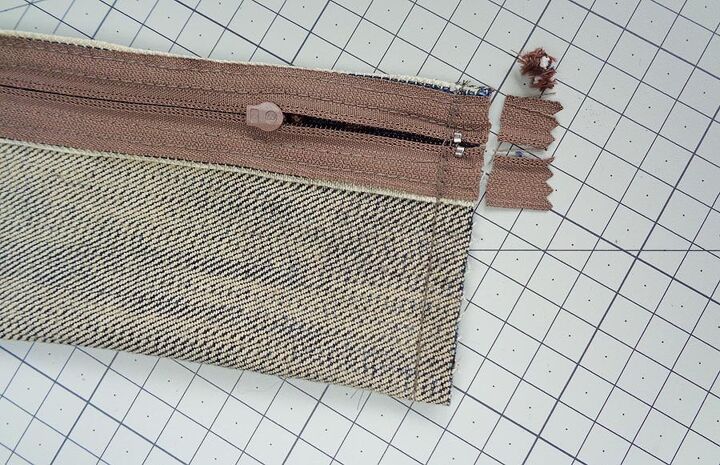
Zip the zipper up, lay it infront of you and fold the bottom edge over the zipper. Align the sides.
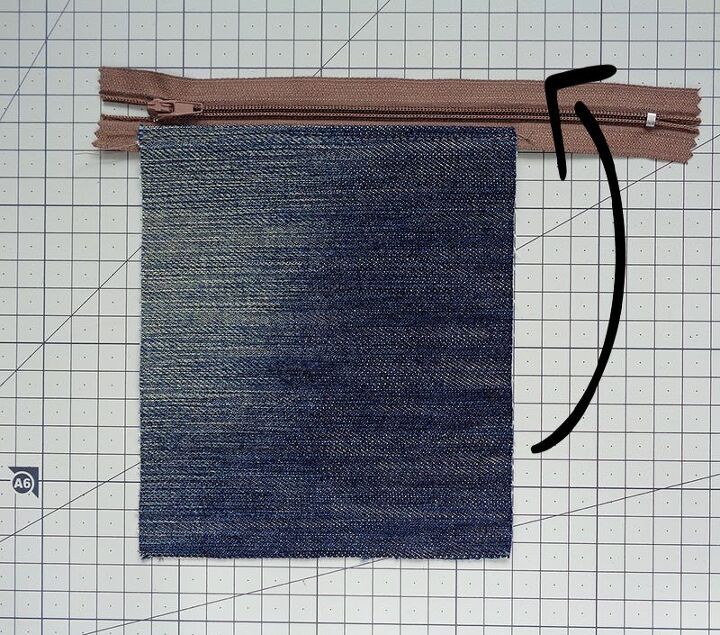
Flip over to have the zipper infront of you and stitch the other half of the zipper in place. Make sure the sides are level.
Repeat the top-stitching as for the first half of the zipper.

You should have a tube like this.
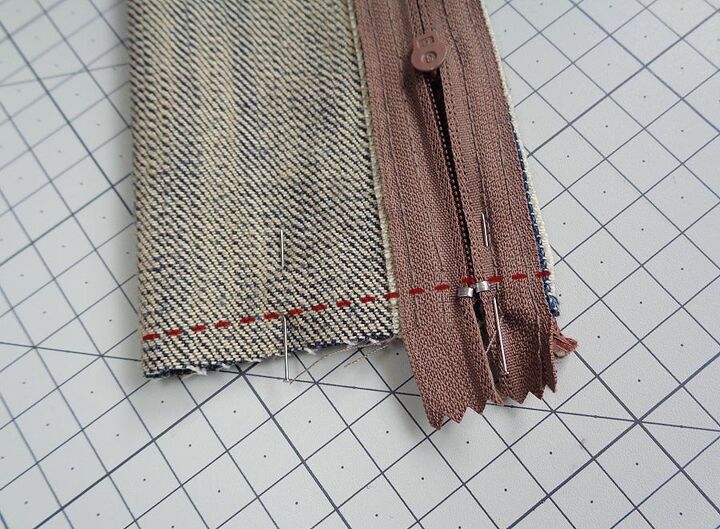
Turn inside out. Flatten the tube positioning the zipper at the top, but about 2-3mm lower. This is important to avoid bulk.
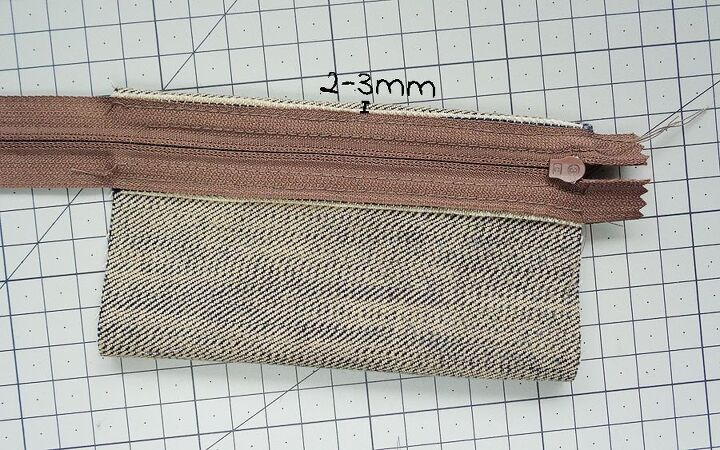
Stitch up the left side, leaving 1cm seam allowance. Cut the zipper excess off.
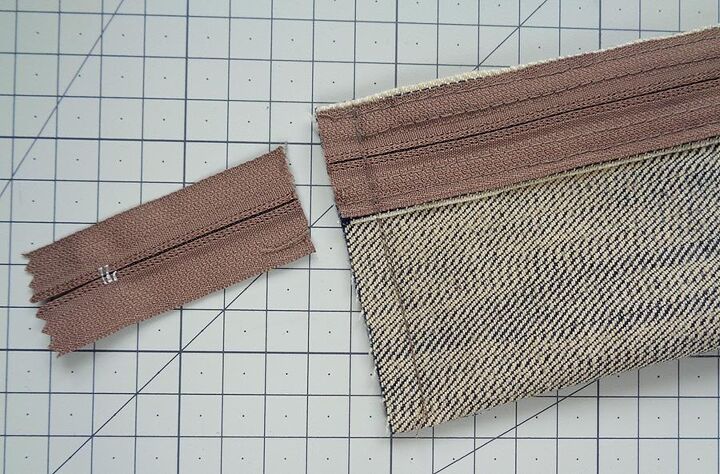
For the right side, unzip the zipper slightly. Cut the string 12cm and fold in half.
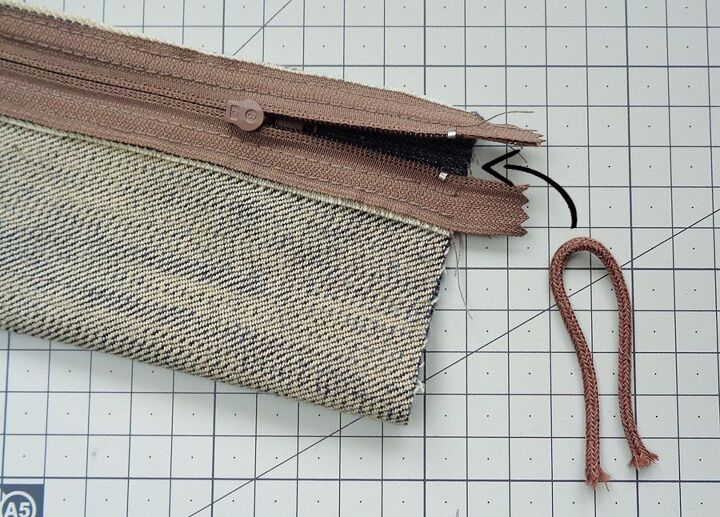
Place the string into the pouch, aiming to have it right at the top of the fold.
Pin or hold in place and stitch the same as the other side.

Turn out to the right side. Poke the sides and the corners out carefully with a screwdriver or something like this.

You will notice that the pouch is not keeping it’s flat shape. All you need to do is iron it. Place a thin cloth over the pouch to iron to avoid streaks and zipper melting.
Done! I hope that was easy enough and you are now excited to make many more, adding different designs 😉
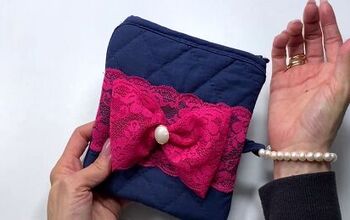
If you are adding any design onto the pouch, sew the decor onto the cut rectangle first and only then proceed with the pouch.

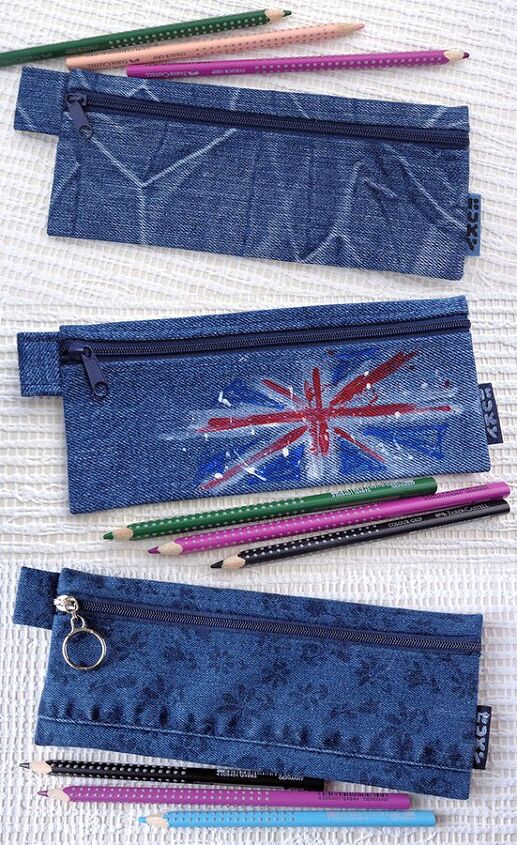
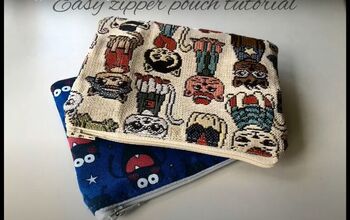
A pencil case can be made in the same way. The size of the rectangle is 21x17cm (8 1/4″ x 6 3/4″). Slight variation of this measurements is ok. The zipper must go to the longer side!
A larger pouch can be made to store make up. A rectangle of appx 20x25cm is needed for this.
The author may collect a small share of sales from the links on this page.


Comments
Join the conversation
Love this!