Sew the Perfect Pair: DIY Jeans

I have wanted to make jeans for a long time now, but the truth is, it intimidated me. Denim fabric frays a lot and the thought of having to zigzag all those edges didn’t seem all that appealing. But, now that I’ve gotten an overlocker I decided to dive into the deep end sew DIY jeans.
Tools and materials:
- Cheap fabric
- Scissors
- Pattern paper
- Pins
- Sewing machine
- Overlocker
- Scissors
- Marker
- Button
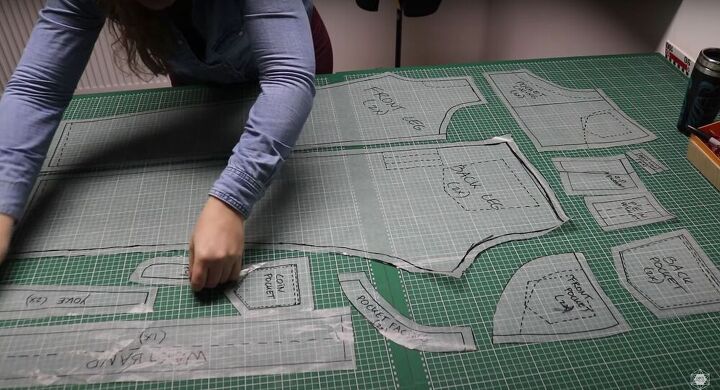
Prepare your pattern
Patterns are always pretty tricky, so to make sure you’ve got it just right, check out the first couple of minutes of the video!
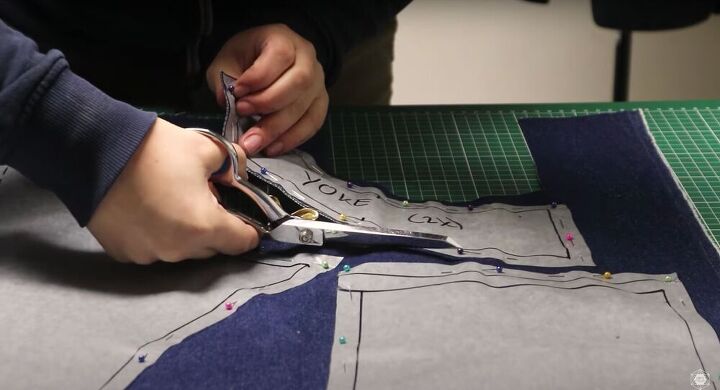
Cut out your fabric
With denim, you need to pay attention to the grain of the fabric. Make sure you are placing all your pieces in the same orientation and parallel to the edge of the fabric. Pin your pattern pieces onto the denim and cut them out. Then I cut out the pocket lining using thin cotton.
Prepare the pocket
To start the construction of the pants, I first secured all the seams with the overlocker (remember that you can simply replace the overlocker with a zigzag stitch if you need to, it will just take more time). Next, I sewed the back pocket pieces onto the lining and made a coin pocket. I did that by taking the pocket, folding the top over twice, and stitching it down. Then I folded the other edges inwards, pinned them onto the pocket, and sewed around the edges.

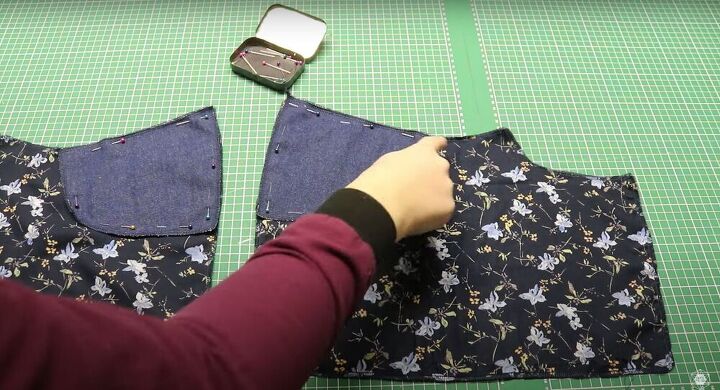
Attach the pockets
To attach the pockets to the front leg pieces, I placed them right sides together and pinned them down. I then sewed along the curve and made little cuts along the seam allowance to let the fabric fall flat for when I turn it right side out. I add a line of topstitching to keep the lining securely on the inside of the pocket. Finally, I sew the bottom of the pocket closed and attach the sides and top to the pants.
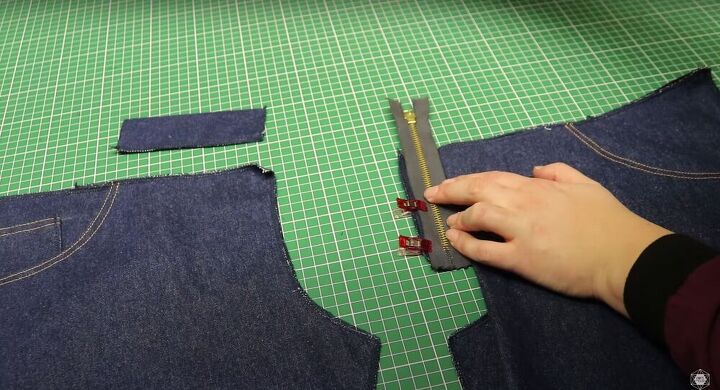
Add the yoke and zipper
I added the yoke to the back legs by placing it along the top. I stitched it in place and added a line of topstitching to keep the seam allowance flat. Keep in mind that the yoke will not (and should not) lay flat. Next, I sewed the zipper into the pants and covered it using some fabric.
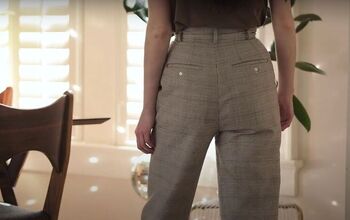
Attach the pockets
I constructed the back and side pockets by folding the top edge inwards twice and stitching it down. Then, I folded the other edges inwards as well and pinned the pockets onto the back. I then sewed the pockets down with two lines of straight stitching.
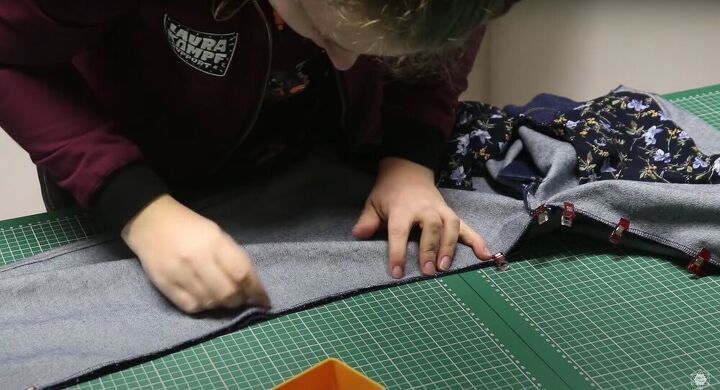
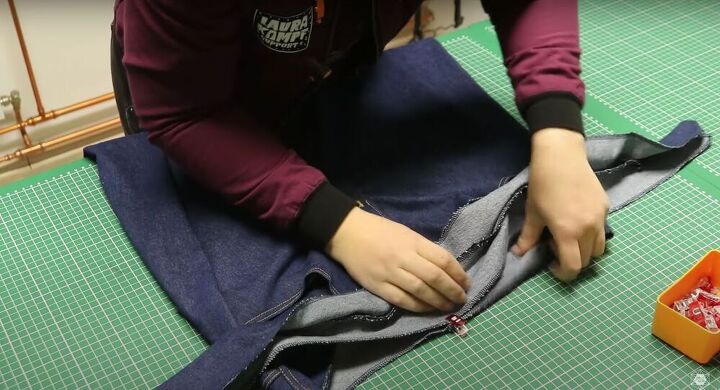
Sew the side seams
I placed the front and back pieces together, wrong sides touching. Then, I pinned the jeans in place and stitched them down with a 1.5-centimeter seam allowance. Next, I cut down the seam allowance on the back panel a bit over half. I folded the remaining piece of seam allowance over the raw edge, pinned it in place, and sewed it down. (Make sure your second line of stitching is parallel to your first one).
Line up the crotch seam on the back pieces and sew it closed. Next, line up the crotch point for the front and back and use it as a guide to line up and pin the inside leg seams. Once that’s done, sew your pants, starting from one ankle and ending at the other.
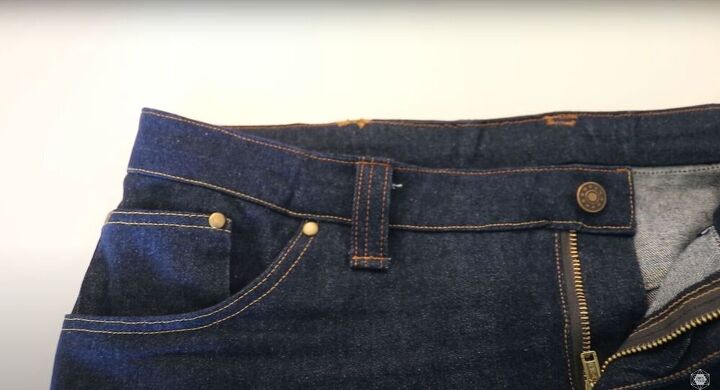
Attach the waistband
I hemmed the bottom of the legs by folding the fabric inwards twice and stitching all the way around. Next, I made the waistband. To see how I attached the waistband, check out the video at 7:30.
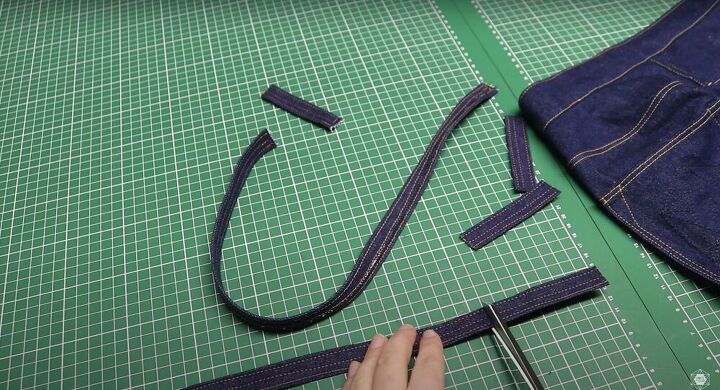
Create the belt loops
For the belt loops, I took a long strip of fabric and used the overlocker to finish off the edges. Then, I folded the wrong edge inwards and covered it with the finished edge. I sewed it all down with two lines of stitching and then cut the strip down to seven individual loops. I secured them in place with a zigzag stitch and then folded them over and added a second line of stitching. Finally, I folded it under the bottom edge and stitched the second side down.
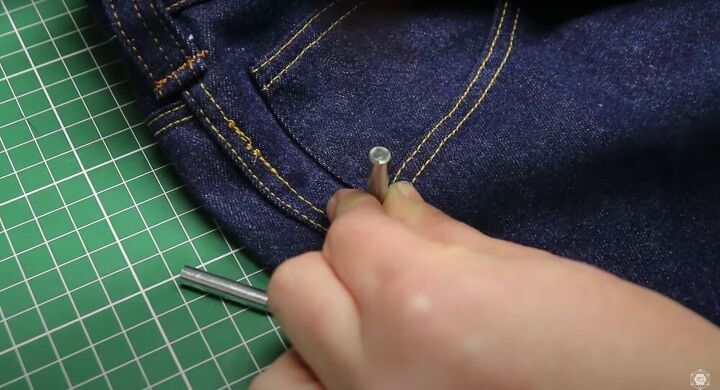
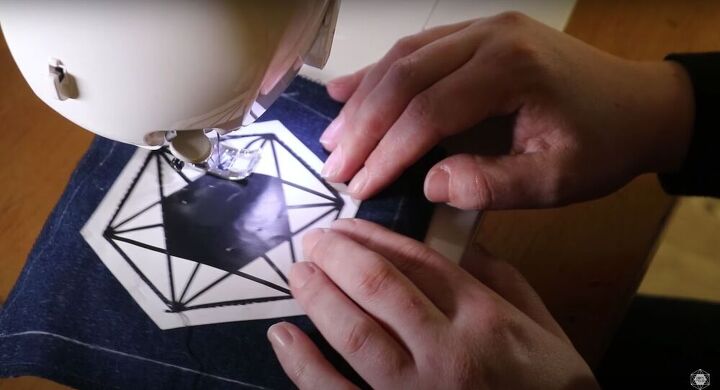
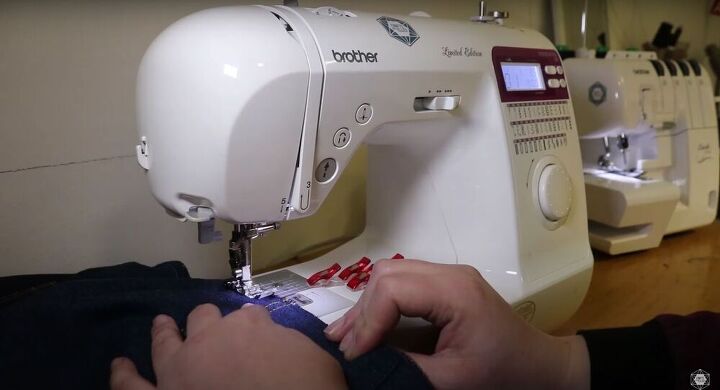
Finish the pants
I finished the pants by making a buttonhole. What I did was make two parallel lines of thigh zigzag stitches and cut open the fabric in between with a seam ripper. I hammered a button onto my waistband and added some reinforcing rivets in the corner of the pockets.
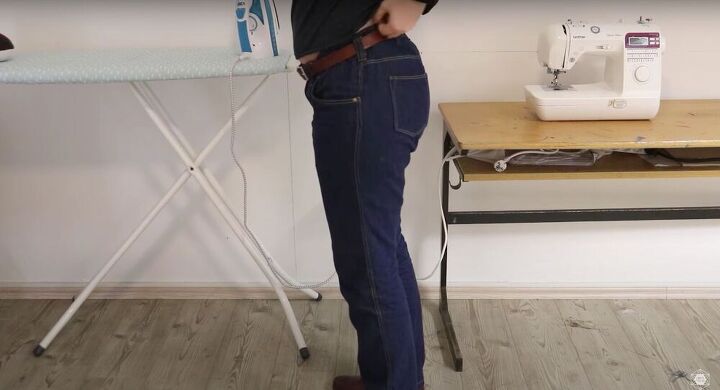
I am super proud of these jeans. I learned so much by making them. I think everyone should give them a try, so go ahead and sew DIY jeans!
The author may collect a small share of sales from the links on this page.
![Gold & Denim Are A Perfect Pair [DIY Denim Pantsuit]](https://cdn-fastly.upstyledaily.com/media/2020/10/27/6319434/gold-denim-are-a-perfect-pair-diy-denim-pantsuit.jpg?size=350x220)


Comments
Join the conversation
These look %100 store bought!
WOW!