Follow This Simple Sewing Pattern to Create Cute Vintage Jeans

This is a reproduction vintage jeans sewing pattern that I've made before, but I used the wrong fabric last time.
Today, I'm going to make my very first pair of jeans. Actually this is my first time working with denim at all!
I decided that my stitching isn't yet good enough to use the traditional orange contrast thread to top stitch the seams, so I'm using a matching blue thread.
Feel free to use a contrast thread if your sewing is better than mine!
Tools and materials:
- Simplicity S8447 pattern
- Medium weight low stretch denim fabric
- 8 large buttons or jeans buttons
- Pins
- Scissors or rotary cutter
- Fabric marker
- Sewing machine
- Buttonhole attachment (optional)
- Serger (optional)
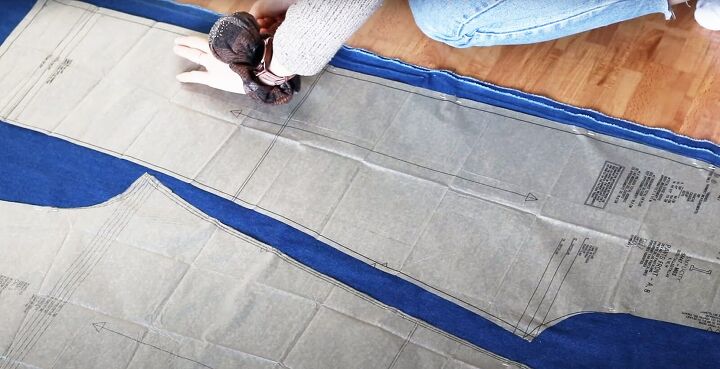
1. Cut out
Cut out the fabric pieces and transfer the pattern markings.
2. Inner seams
Sew the waist darts and press to one side.
Sew the front and back inner seams.
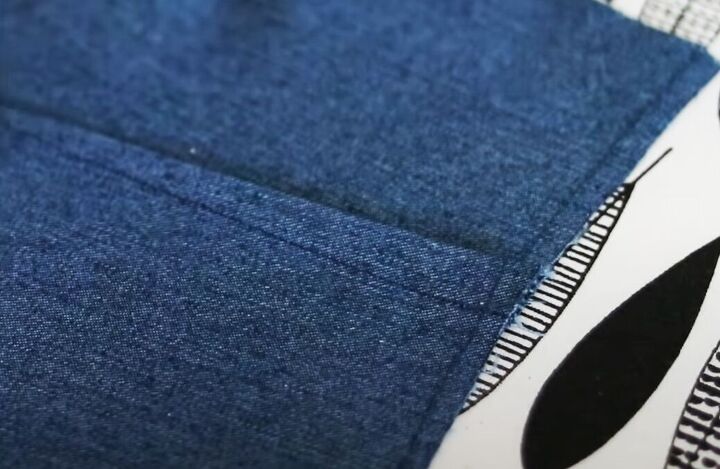
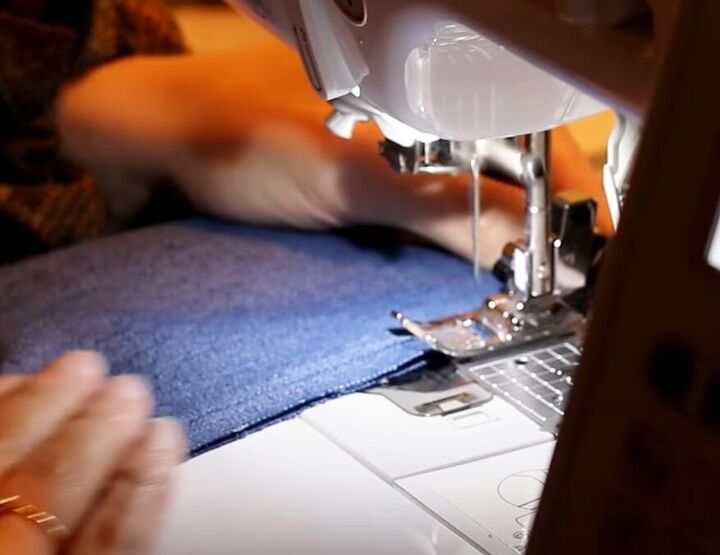
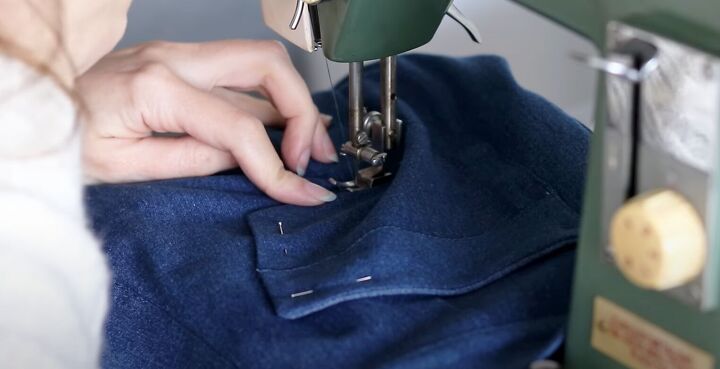
3. Top stitching
This pattern doesn't actually call for topstitching so I worked out where to use it by looking at other pants that I own.
I wanted to flat fell the seam at the same time and I don't have a twin needle machine. So, I had to find a way to keep the lines of top stitching the same distance apart while also catching the seam allowance on the inside.
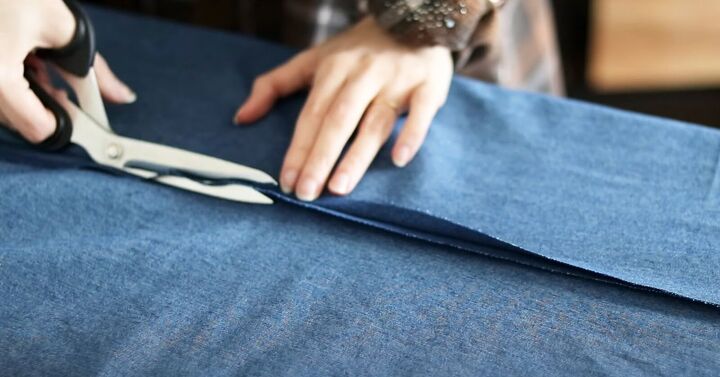
Trim one side of the seam allowance.
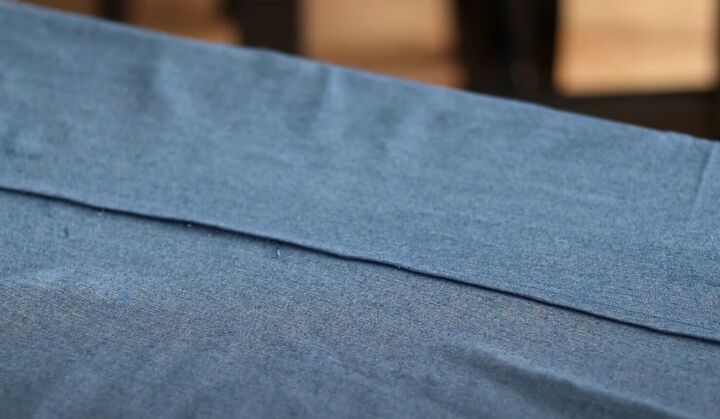
Fold the raw edge of the other seam allowance over the trimmed one, turning in a narrow hem, and press it in place.
Top stitch two rows on the right side, using your presser foot as a guide to keep the width consistent, if you don't have a twin needle machine.
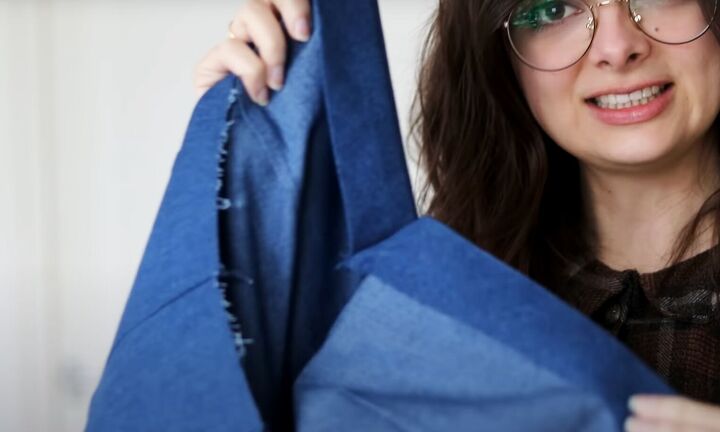
4. Outer leg seams
These can't be top stitched because once you've closed the seams, you can't access them.
Join the outer seams, leaving an opening at the top of the left seam for the button closure.
Finish the raw edges with a serger or a zigzag stitch.
5. Button plackets
These jeans close with buttons at the side seam.
Attach the plackets to the front and back of the left side seam.
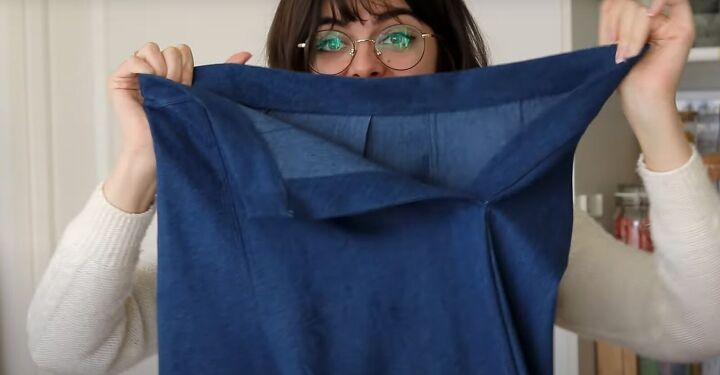
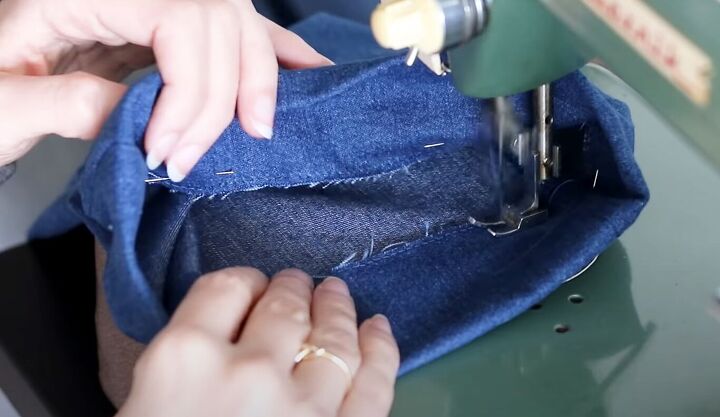
6. Waistband and hem
Press the seam allowance to the wrong side on both long edges of the waistband.
Pin and sew the waistband to the jeans with the right sides together.
Fold it to the inside and top stitch it along the lower edge so it covers the first line of stitching.
7. Pants hem
Finish the raw edge.
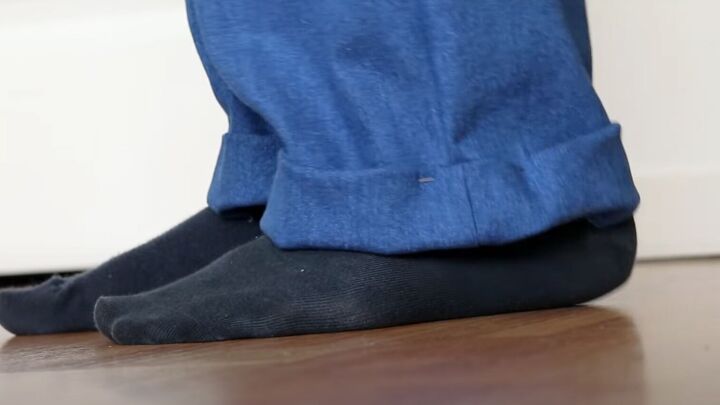
These pants have a cuffed hem.
Pin the pants on the inside to the marking shown on the pattern, to make a deep hem.
Turn the lower edge to the right side to form a cuff or turn-up.
Try the jeans on and adjust the length as necessary.
Stitch the hem in place on the inside and press.
8. Pockets
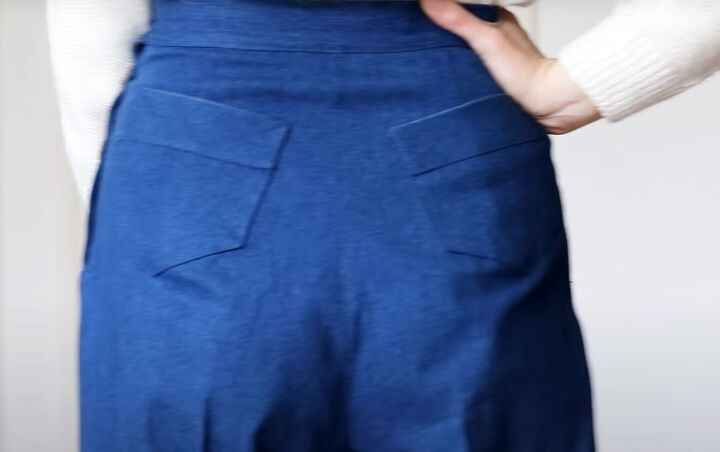
I decided to omit the front pockets and add two patch pockets to the back.
Turn in and press the edges and pin and top stitch them in place.
After seeing my finished video, I felt that the original placement was too high so I intend to move them a little lower.
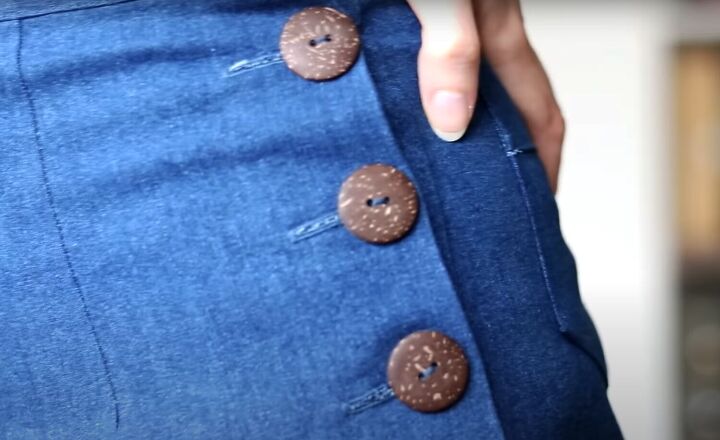
9. Buttons and buttonholes
Make 4 buttonholes on the front placket. Either sew on regular buttons to match at the back or attach jeans buttons.

DIY vintage jeans
My first ever DIY jeans and I am so happy with them!
I have almost half of the recommended amount of fabric remaining, so I may well make another pair with narrower legs. I really love the fit of these, the high waist and the side buttons.
What do you think of them? Let me know in the comments!
Next up, See How I Made This Gorgeous Summer Meadow Dress With Applique.
The author may collect a small share of sales from the links on this page.


Comments
Join the conversation