Got a Stash of Buttons at Home? Try Out This Button Bracelet Tutorial

Do you have a stash of buttons? Why not make something special with this button bracelet tutorial?
I’m going to show you how easy it is to create a handmade DIY button bracelet that you can customize to your liking!
So, grab your buttons, and let’s make this fantastic DIY together.
Tools and materials:
- Buttons
- Sewing needle
- Regular sewing thread or button thread
- Non-roll elastic
- Scissors
- Sewing machine
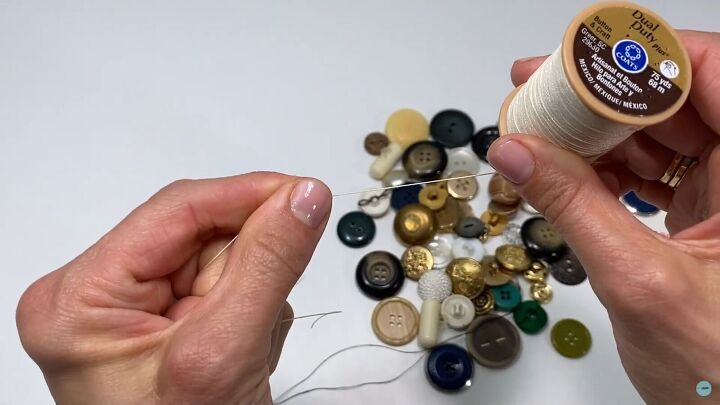
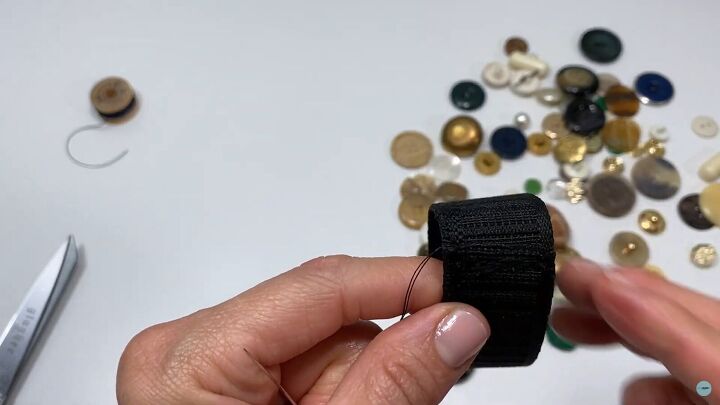
Let’s quickly go over what you’ll need for this button bracelet tutorial. Apart from the obvious being buttons, I recommend using button thread as it’s thicker and will probably secure the buttons without double-stitching.
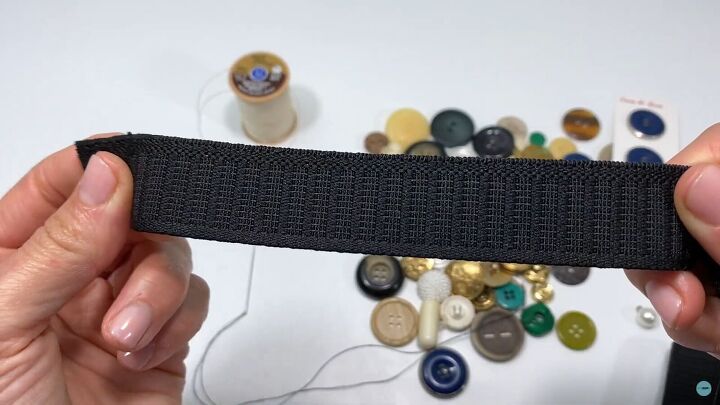
As for the elastic, a non-roll elastic works best; I’m using a one-inch width, and as you can see, there are also grooves within the elastic, which help keep the buttons in place. You can use any size elastic you want; it’s really up to you.
Try to use a matching thread, as shown in the image above.
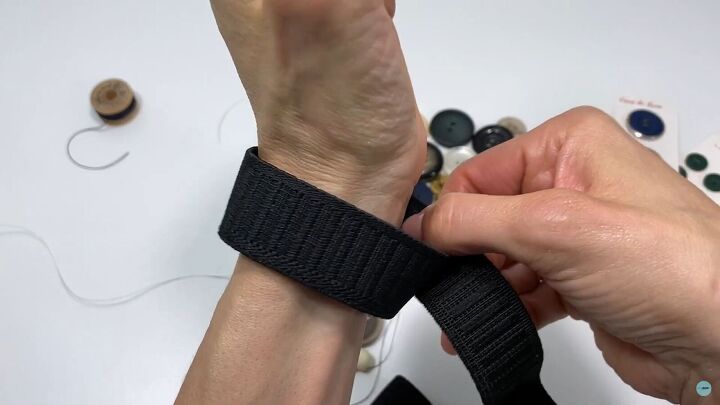
1. Determine the size
You’ll need to decide what size you want the bangle to be. Do you want it loose or to fit tight around your wrist? Once you’ve decided on the best size, go ahead and cut out your elastic piece.
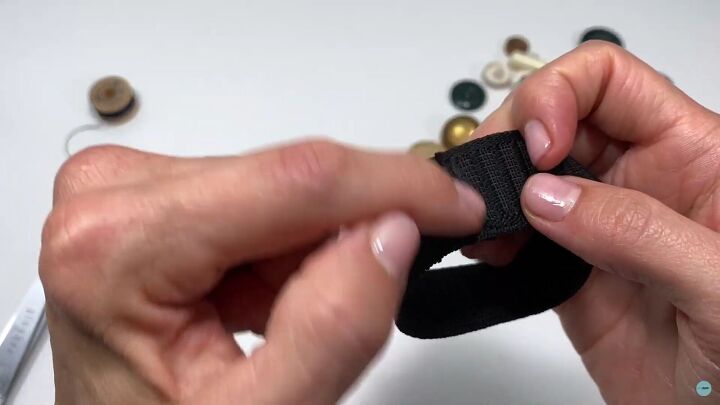
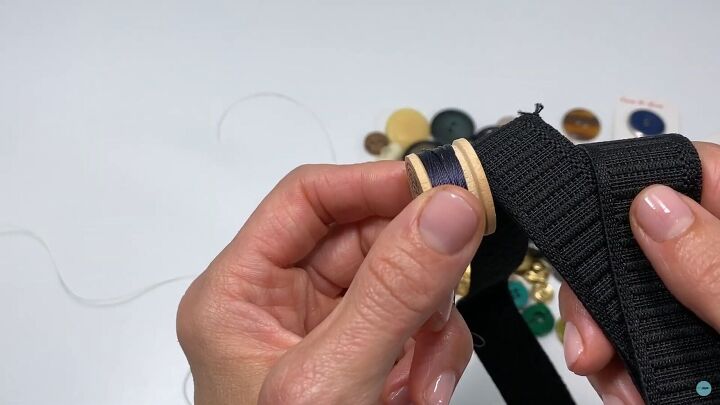
Next, sew the short ends on your sewing machine, running it up and down about four times, so it secures well.
2. Attach the buttons
Now is the part where I show you how to make a button bracelet. It’s fun and artistic, and you can personalize it however you want.
Also, you need to think about the layout; I like to lay them out so that you cannot see the elastic. However, you can go for something more uniform and attach them in symmetrical rows.
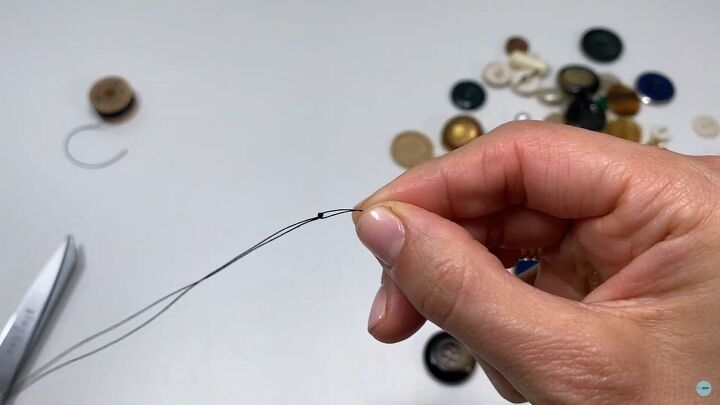
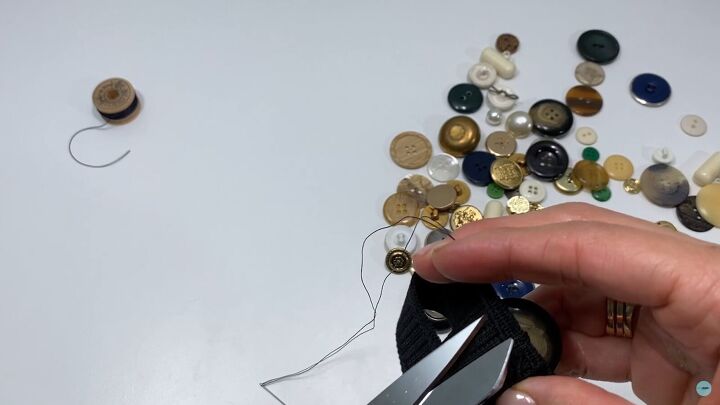
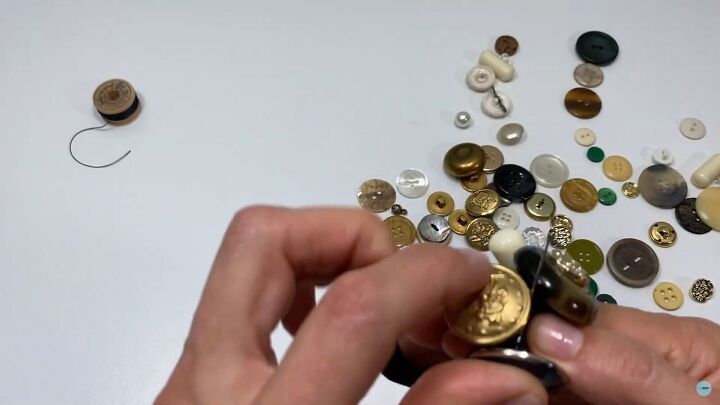
Start by double-threading your needle and tie a double knot at the end.
Insert your needle from the wrong side, upward.
Tip: It’s best to start where your ends are sewn.
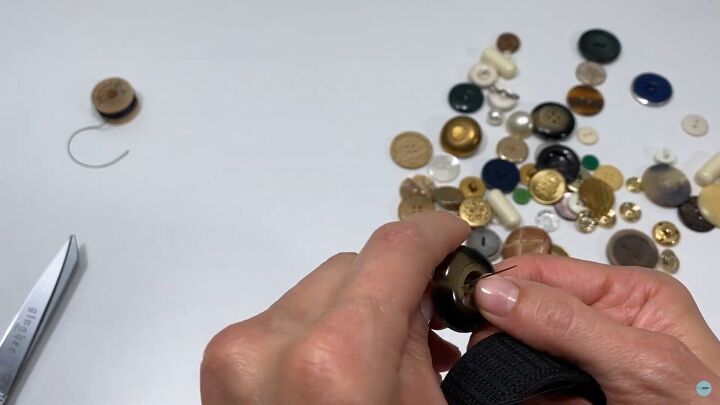
Then, feed the needle through one of the holes on the button.
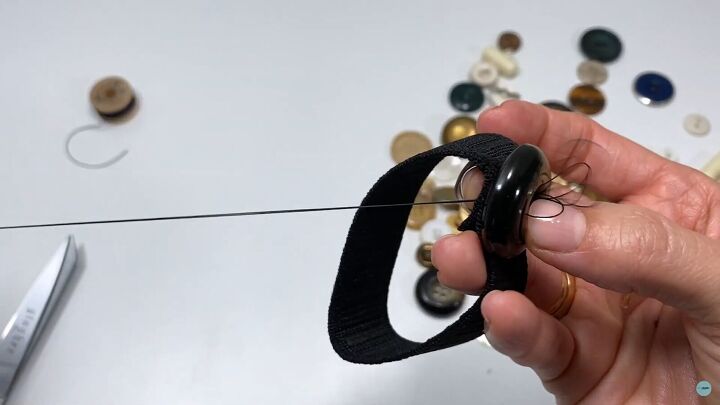
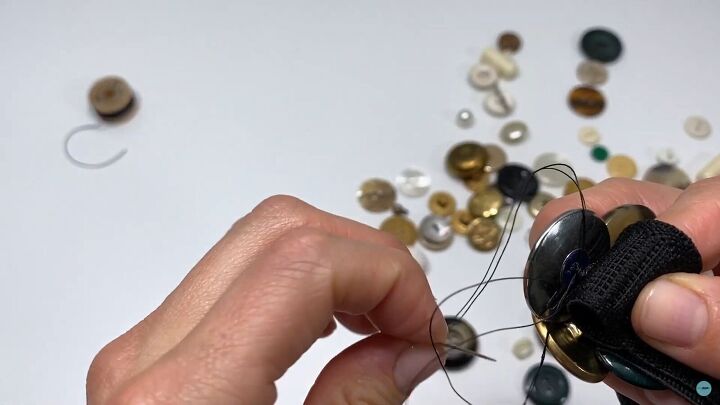
Loop it through the second hole and the elastic.
Since I’m using button thread, I don’t need to do another stitch over the X; this thread is pretty sturdy. If you’re using a regular thread, consider doing a double stitch.
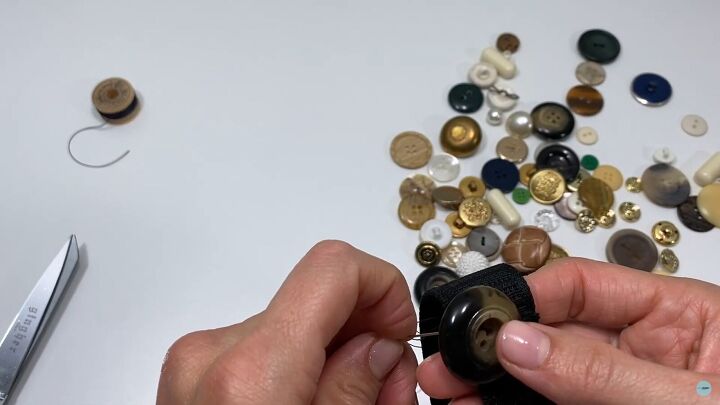
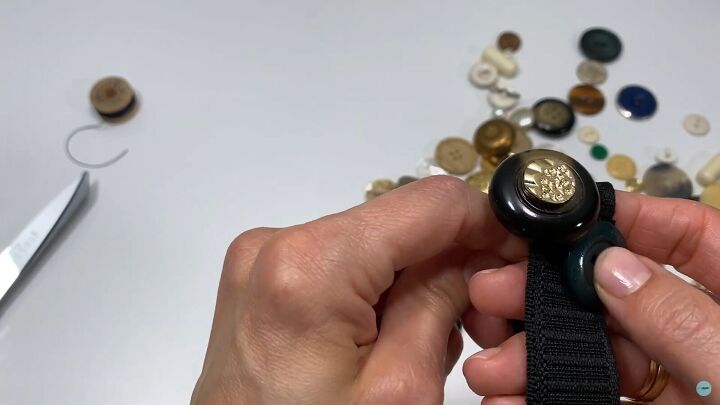
Now, feed your thread upward, through the third buttonhole, and back down through the fourth.

You could finish the button like that or add another button that could dangle from the middle. To do this, feed the needle through the back and then into one of the buttonholes of the sewn button.
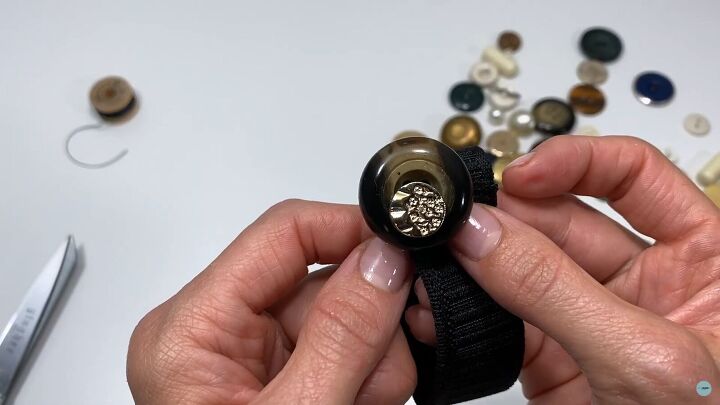
The fun thing about this is that you can tighten or loosen this thread, meaning if you want it to dangle a little or sit tight right on top of the first button.
Remember, you’re the designer, and there are no set rules with this button bracelet tutorial!
When you’re done, then always end of the stitch at the back. Simply go in through the elastic (just a little bit). Pull it, and before you pull it all the way, stick your needle through the loop and tighten. I like to do this twice just for extra strength.
Snip off the excess thread.
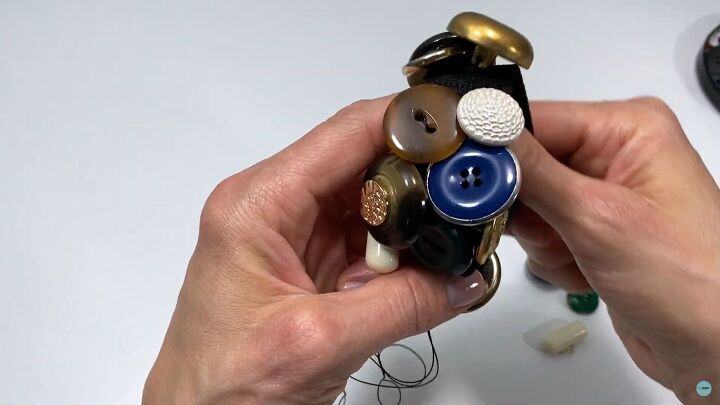
3. Repeat
Now, repeat the process and build up your buttons around the elastic. As mentioned, I like to layer mine and not put them in a row, but again, do what you like, you are the designer!
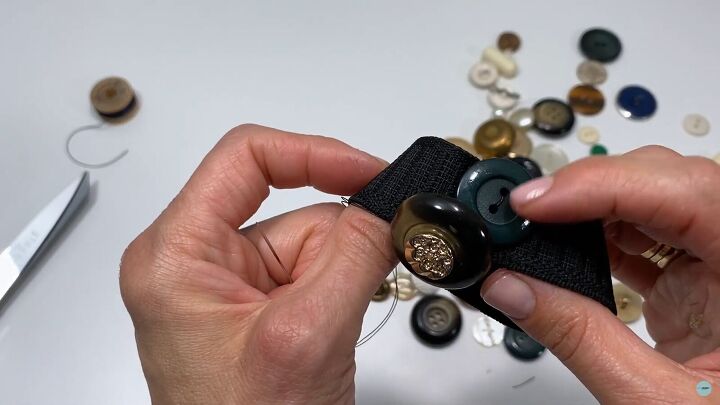
To not see the elastic from under the buttons, be sure to place the preceding buttons under each other, as shown.
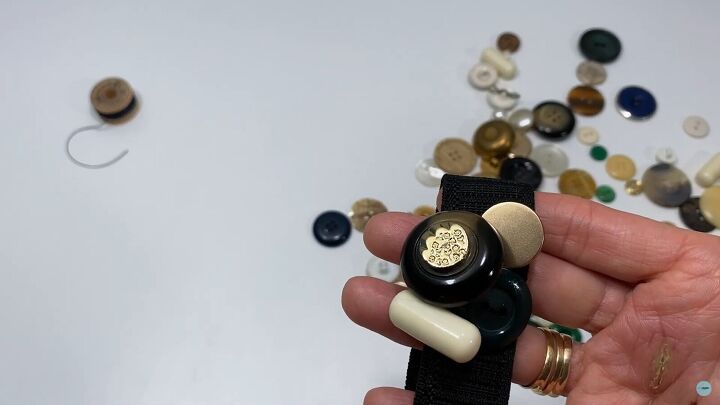
Use all sorts of buttons in different shapes and sizes for a beautiful layered and colorful feel!
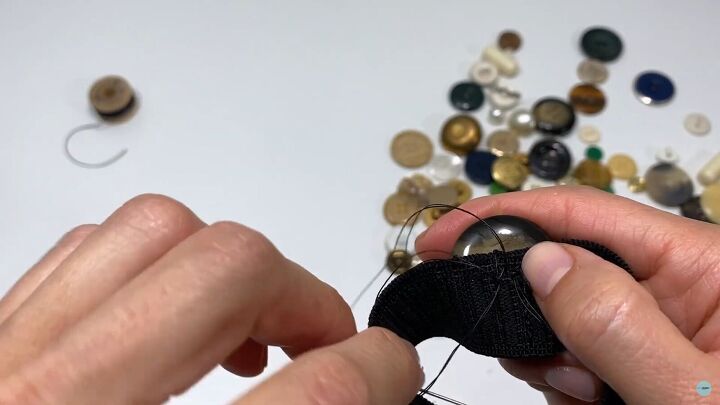
4. Create a button shaft
If you want to create a button shaft, simply sew the button a few times.
Every time you’re about to go through the elastic, grab a little with your needle instead of pushing the needle down right through the elastic.
Like this, your button won’t sit so sturdy and will wiggle a little.
Next, wrap the thread around the button a few times. Instead of ending off in the back, end the thread in the front, right through the thread you just made your shaft with.
Now, keep going and enjoy the process!
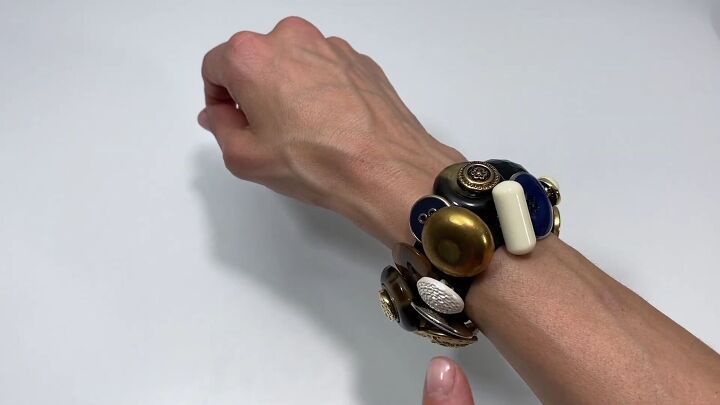
Button bracelet tutorial
This DIY button bracelet is really artistic and even jingles when you shake your arm! I hope you enjoyed this creative button bracelet tutorial and that you now have some inspo to make something extraordinary from your button stash.
Now that you know how to make a bracelet out of buttons, what style and color will you go for? Comment down below.
How to Make a Multi-strand Bracelet
The author may collect a small share of sales from the links on this page.


Comments
Join the conversation
So Cute 😊❗
azer
Hello this is fab !!!! I do many creations with buttons , thank you !! Love your style of video too !!! I will bee following you