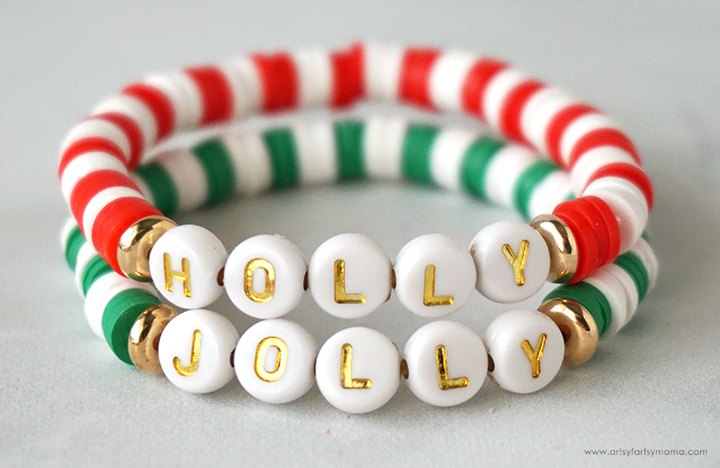
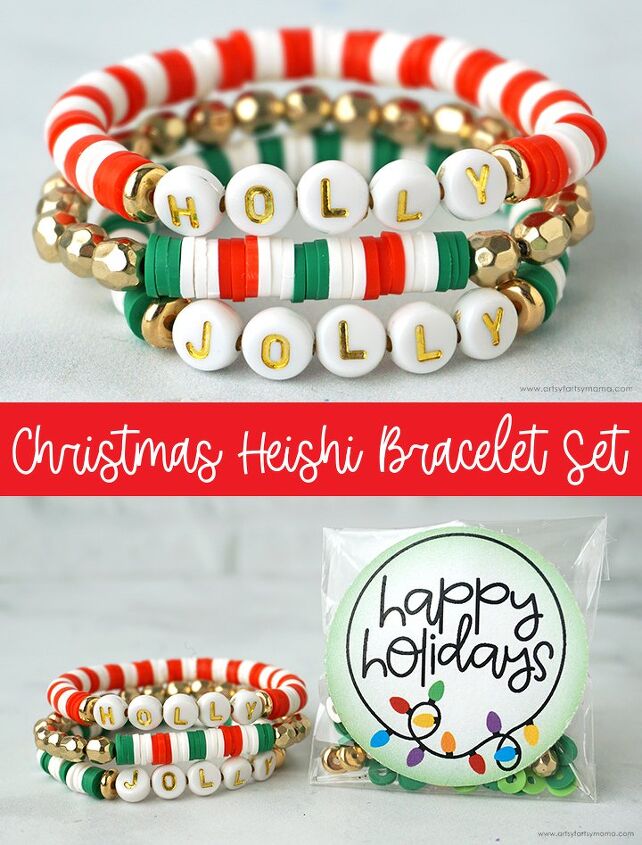
Christmas Heishi Bracelet Set
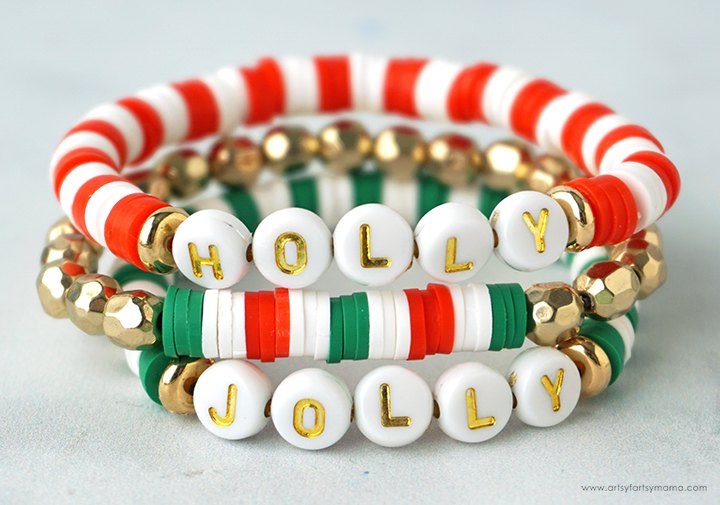
Heishi bracelets are all the rage right now, I love this Holly Jolly set I made for Christmas! They are so simple for kids of all ages to make, and are sure to brighten up your holiday fashion. Not only are these stackable bracelet sets simple to put together for yourself, but you can package the supplies up into a kit with my free printable label to share as gifts or holiday party favors!
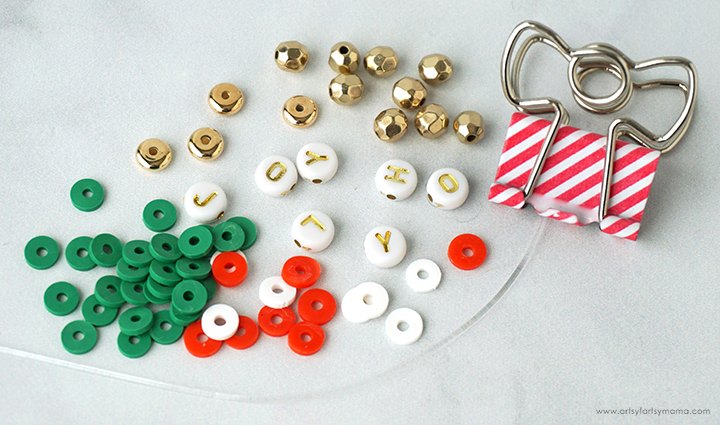
To make your own Christmas Heishi Bracelet Set, you will need these supplies:
- Clear Elastic Jewelry Cord
- Heishi Beads (red, white green)
- Metallic Heishi Beads
- Alphabet Letter Beads
- Metallic Faceted Spacer Beads
- Binder Clip (optional)
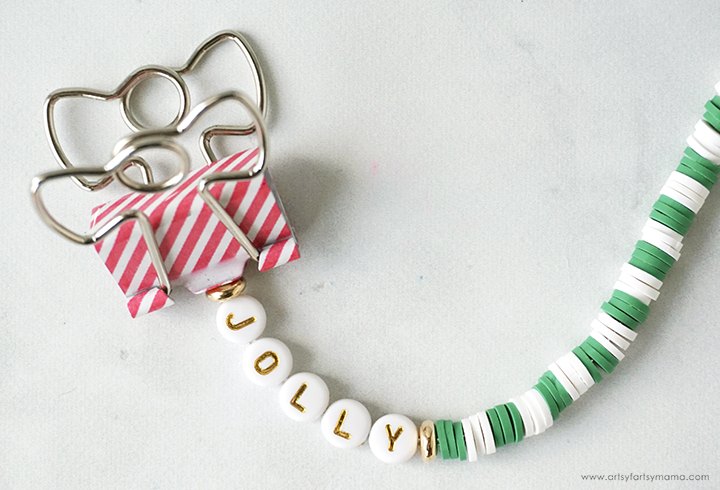
There are so many ways to make a Christmas bracelet set! I'm sharing the one I made as an example, so feel free to follow along to get the same look, or use these as inspiration to get creative with your own style!
Check the fit by carefully wrapping the bracelet around your wrist. There should be about 1"-1 1/2" of cord left. Carefully remove the binder clip and hold the end of the cord. Knot the ends of the cord together in a tight knot, and then tie it a few more times. For an extra strong hold, pull the knot tight and add a small drop of super glue. Hold the knot tight until the glue dries. Once dry, trim the ends of the cord.
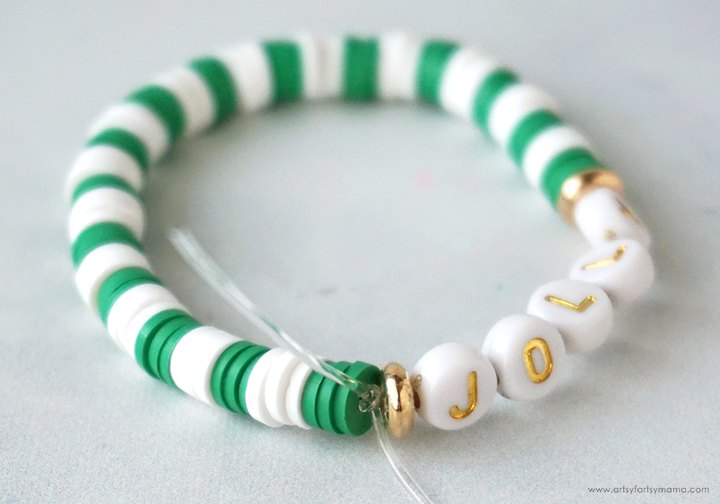
Repeat this process to make a "Holly" bracelet. I made mine the same way, but used red heishi beads instead of green.
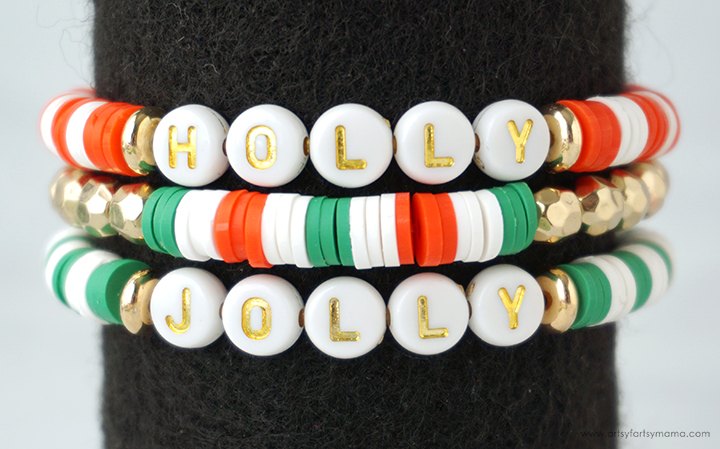
When making bracelet sets, I like to make a third accent bracelet to go along with the other two bracelets. For this one, I strung on sets of 3 green, white, and red heishi beads and filled the rest of the bracelet with gold faceted spacer beads. Easy enough, and it coordinates perfectly!
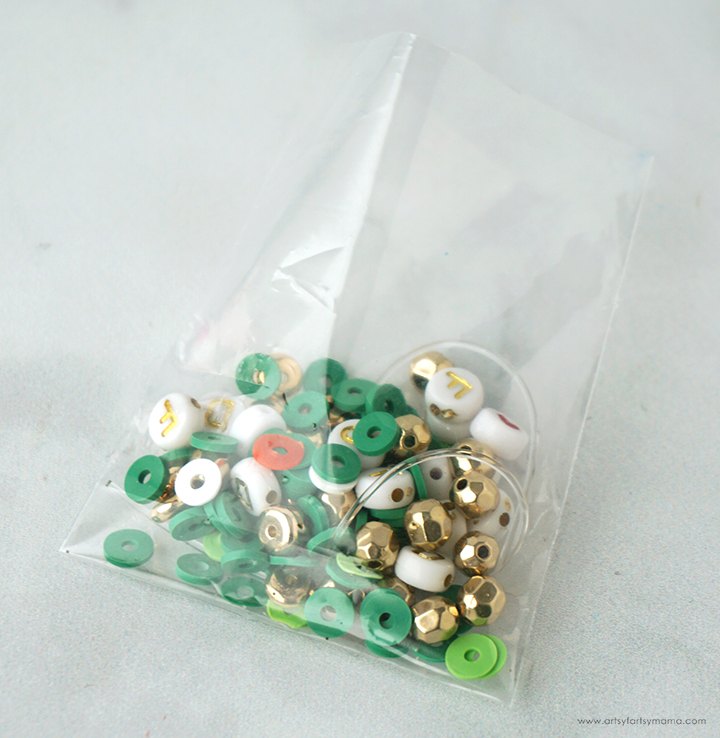
Packaging the Christmas Heishi Bracelet Set supplies as a party favor couldn't be easier, and looks so cute when you're done! Start by counting out all of the beads needed to make one or all three bracelets, and carefully funnel them into a small plastic bag.
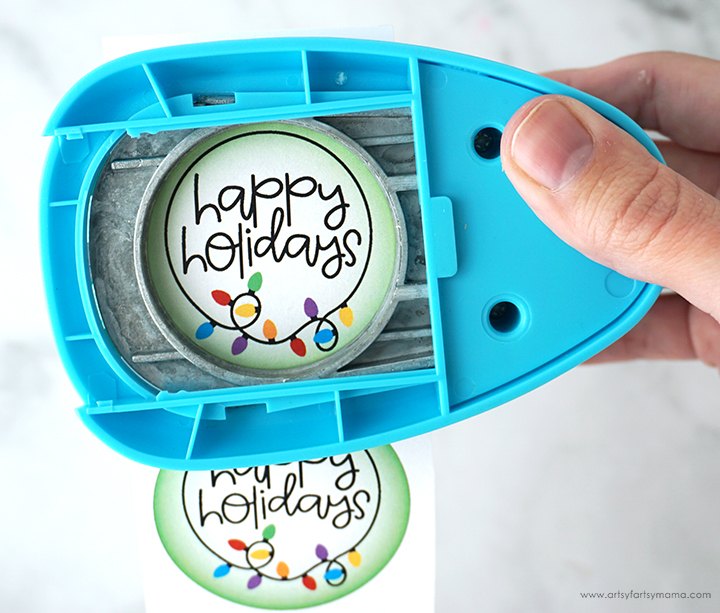
Download the Happy Holidays label printable (personal use only), and print on regular copy paper. Use a 2” circle punch or use scissors to cut out each of the labels.
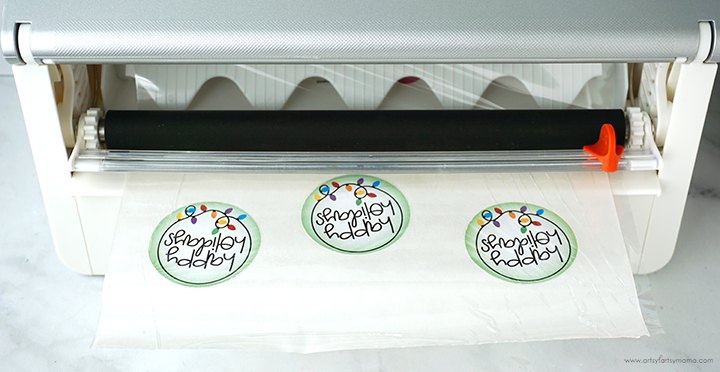
You can apply double-sided tape to the back of the labels, or you can easily transform the paper circles into scissors using a Xyron Creative Station! This machine is manual, so you don't need any electricity or fancy gadgets to make it work. There are also cartridges that can be used to also create magnetic and laminated projects!
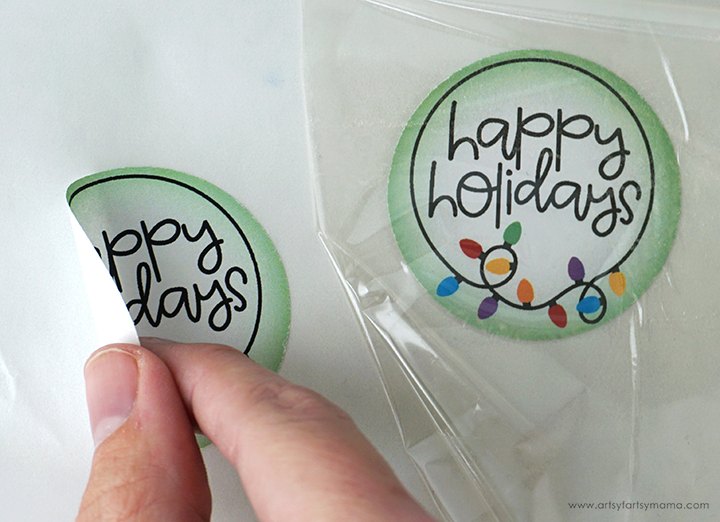
Peel the plastic covering away from the labels. Now you can peel the label away from the backing, like a regular sticker. The backs are completely covered in adhesive and ready to be placed onto your bracelet kits!
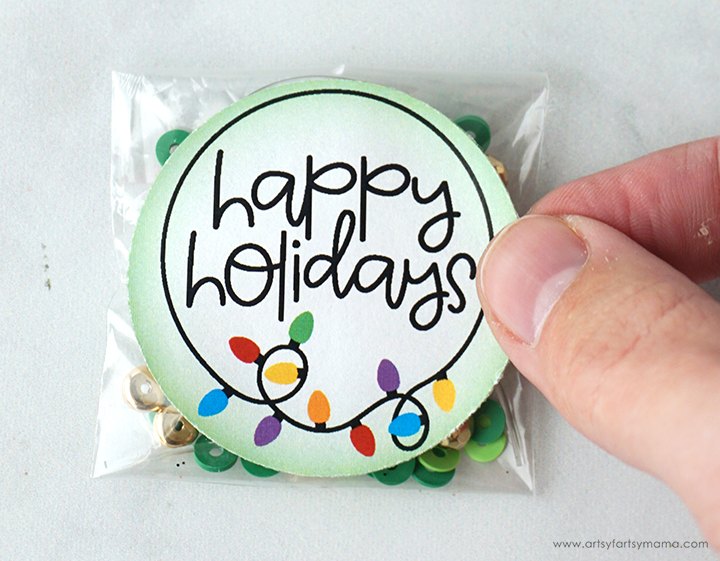
Fold the top of the bag over, and place the label over the top. You don't want the bag to accidentally open and lose all of the bracelet materials!! If you want to personalize the kit with the name, you can turn the bag over and write on it with a permanent marker.
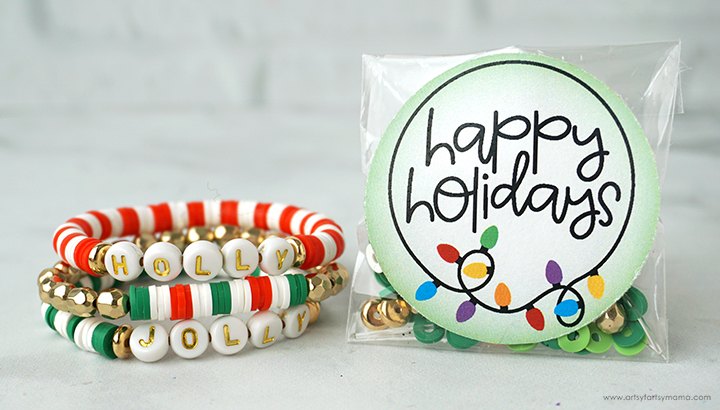
I mean, honestly, who wouldn't want to wear a set of these custom Christmas Heishi Bracelets? It's actually a fun craft to do with a group, and there are so many ways you can create a unique Christmas bracelet! I love that you can use the packaged bracelet kits to give as gifts or party favors!! As always, if you make any of these projects for yourself, I'd love to see your creations! Tag me on Instagram and Facebook, or leave a comment/photo on the project pin on Pinterest!
The author may collect a small share of sales from the links on this page.


Comments
Join the conversation