How to Make a Pretty DIY Valentine’s Bracelet With Beaded Hearts

Valentine’s Day is on its way, and to get you into the spirit, I’ve got a fabulous DIY Valentine’s bracelet for you. This bracelet is beaded and has an intricate-looking heart design on it. Follow along as I take you through step-by-step how to make a Valentine bracelet.
Tools and materials:
- Thread
- Needle
- Round beads (white and pink)
- Box
- Tape
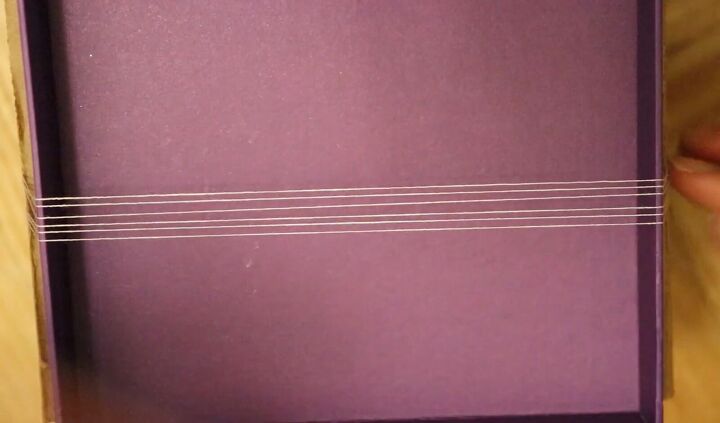
1. Arrange the strings
Take six strings of thread that measure 12 inches (30cm) long. You want to spread them across an open surface and tape them down at the sides as I have done. A shoebox would work well for this.
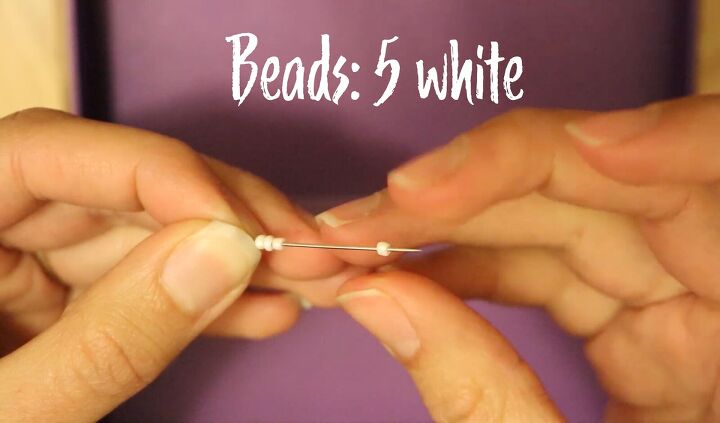
2. Add beads to the needle
Thread a needle with a very long piece of thread and tape it down to the left side.
Then, run five white beads along the needle and bring the beads down to the bottom of the thread.
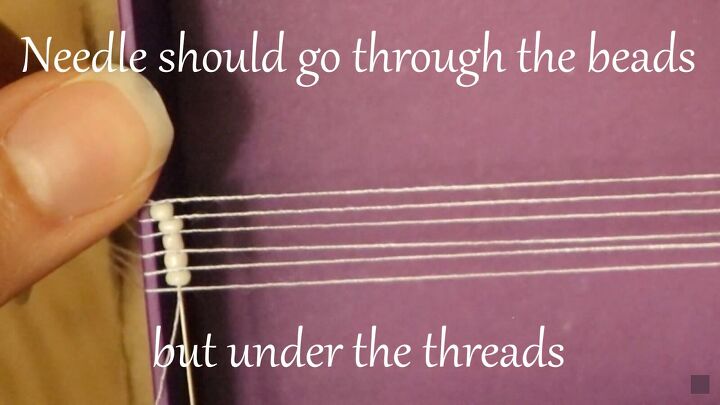
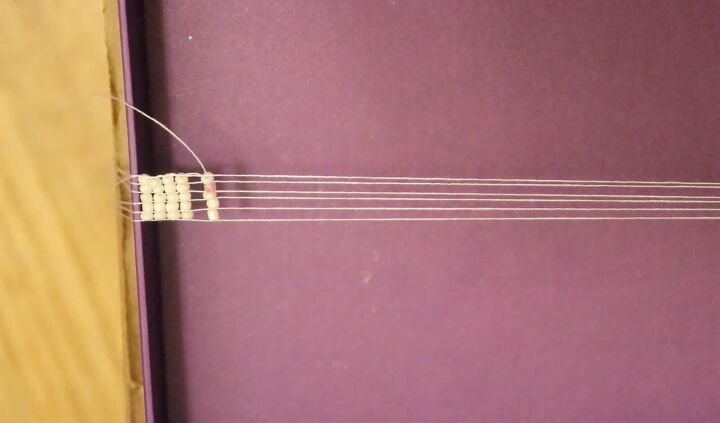
3. Add the beads to the threads
You then want to arrange the beads so that they are each sitting in between two threads.
The next step is to thread the needle through the beads. The needle should go through the beads but under the horizontal threads.
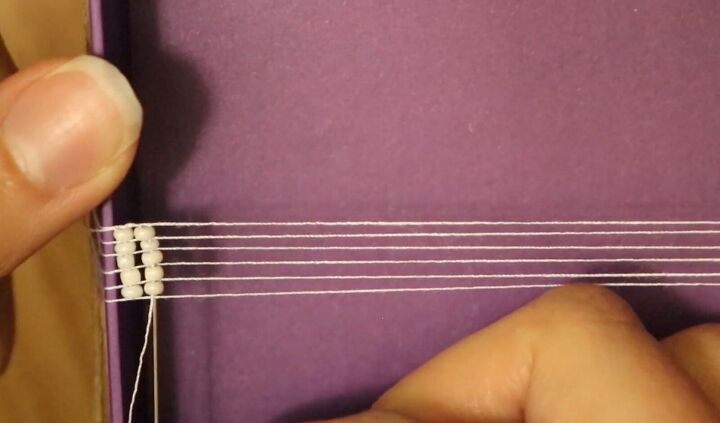
Repeat the process, again adding five white beads to the needle and thread and then arranging the beads so that each is sitting in between the horizontal thread. Proceed again to thread the needle through them.
The first time, your needle would have gone from the top of the thread; this time, you are bringing your needle up from the bottom. Each time you add beads, you will alternate between top then bottom, top then bottom.
Continue to repeat until you have four rows of white beads.
4. Create pink hearts in the design
When you have your four rows, again add beads to the needle, but this time instead of them being all white, you want them to be white, pink, white, white, white.
Repeat the process as before of adding the beads to the bracelet.
You don’t want there to be any gaps between the rows of beads; they should all sit next to each other tightly. So if there are any gaps, go ahead and just scoot the beads along.
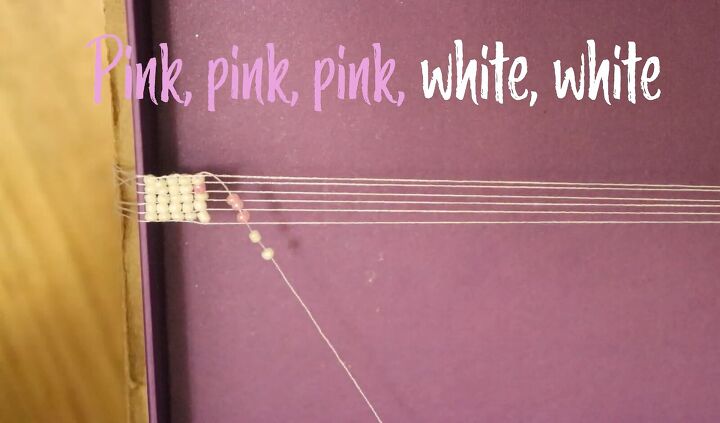
Continue to thread the needle with beads. This time, the beads should be pink, pink, pink, white, white. Then add them to the bracelet.
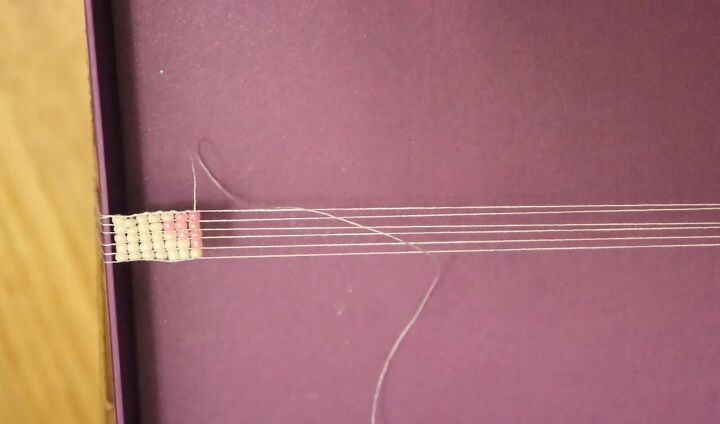
The next set of beads should be pink, pink, pink, pink, white.
As you can see, we’re making our heart design with the beads. Take a look at the video from 1:51 to follow what pattern the beads should be in for the rest of the bracelet.
5. Tie knots
When you reach the end of the bracelet, tie your long thread in a knot on the top row.
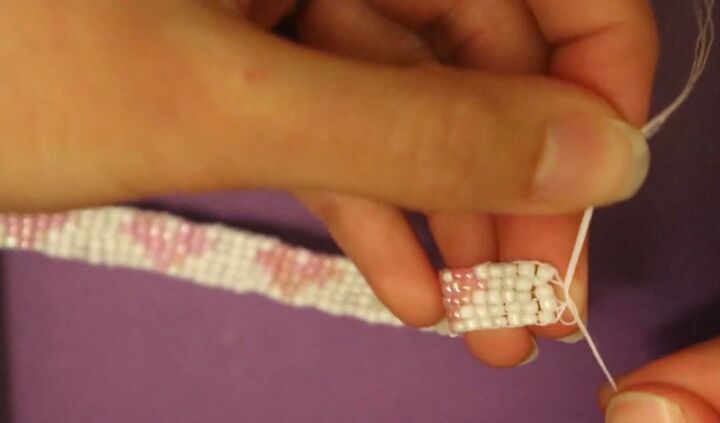
Then, unstick the threads from the side of the surface that you were using, part them so that you have three on each side and then tie them into a double or triple knot, ensuring that the bracelet is securely closed.
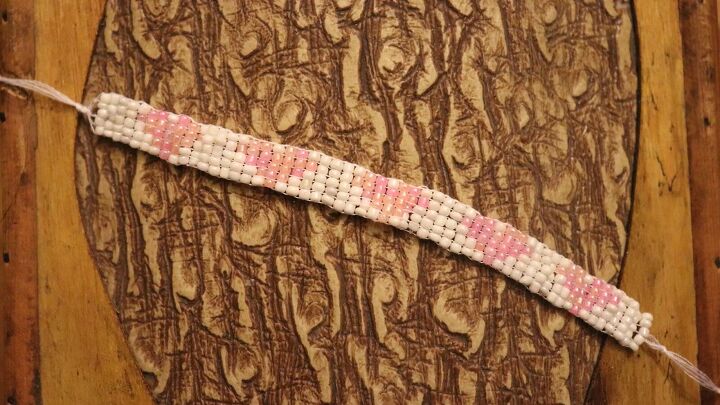
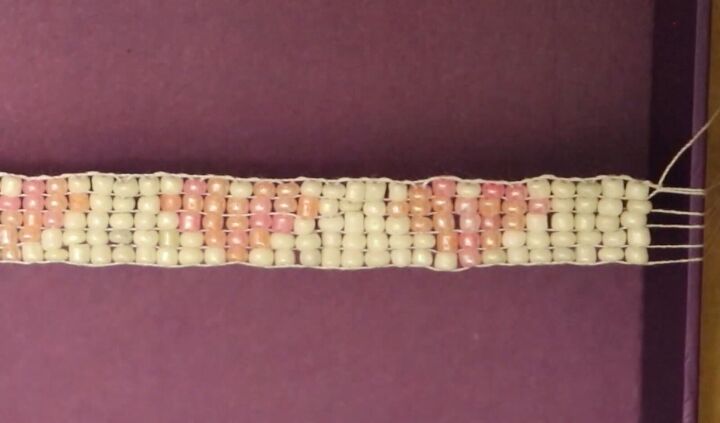
DIY Valentine’s bracelet
Here we have our finished DIY Valentine’s bead bracelet. The design on this bracelet looks so intricate and professional. Everyone will be gobsmacked when you tell them that you made the bracelet yourself!
The heart design on the bracelet is perfect for Valentine’s Day, and this is a great accessory to wear or to give to a loved one as a gift.
The author may collect a small share of sales from the links on this page.


Comments
Join the conversation